To install vinyl plank flooring quickly and simply, first gather your tools and prep a clean, dry subfloor. Let planks acclimate in the room for 48 hours. Plan your layout, choosing plank direction and marking lines for alignment. Start laying the first row along the straightest wall, maintaining a ¼-inch expansion gap with spacers. Continue installing planks in a staggered pattern, cutting edges to fit as needed. Finish by installing trim to hide gaps. Follow these basics to guarantee a smooth, professional floor installation.
Gather Necessary Tools and Materials
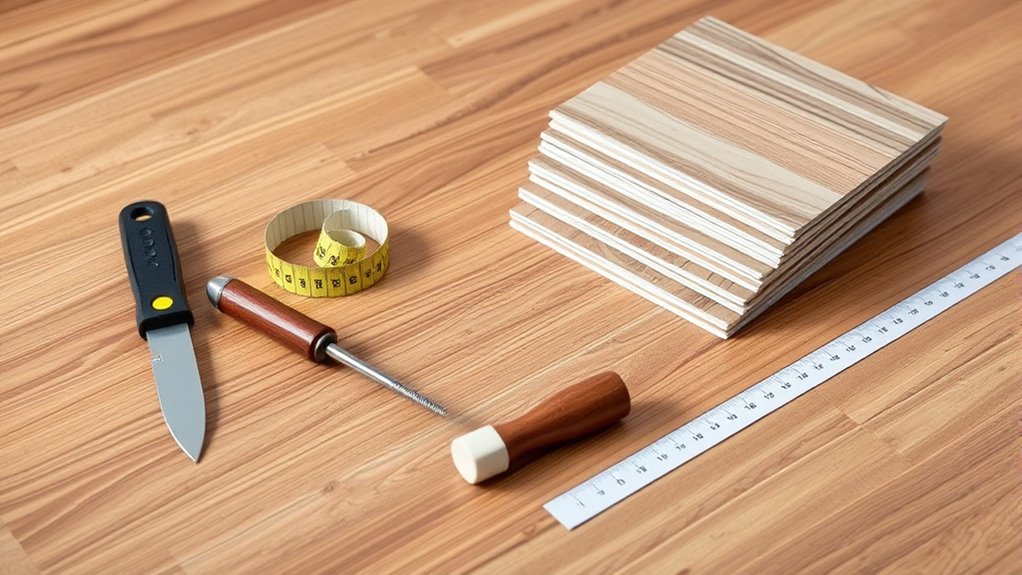
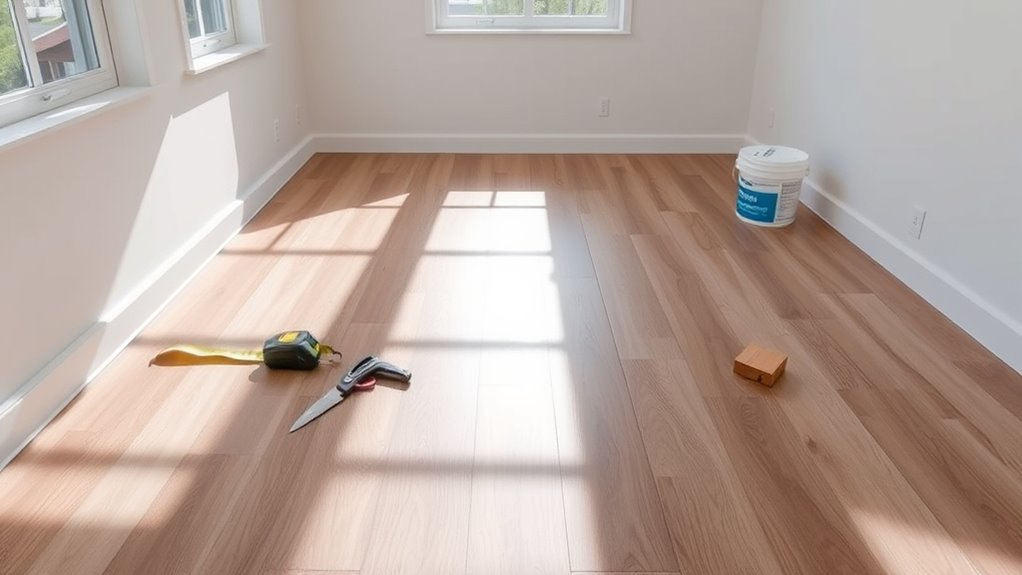
Before you begin installing vinyl plank flooring, you’ll need to gather a specific set of tools and materials to assure a smooth process. Start with a tools checklist: utility knife, measuring tape, straightedge, spacers, tapping block, rubber mallet, and a pull bar. Having these ready assures precise cuts and snug plank fits. Concerning material types, select vinyl planks designed for your room’s conditions—water-resistant for kitchens or bathrooms, and durable options for high-traffic areas. Also, acquire underlayment suited to your subfloor for added stability and sound absorption. Avoid last-minute trips by confirming adhesive or locking system compatibility with your chosen planks. By preparing this essential toolkit and selecting appropriate material types upfront, you’ll maintain control and efficiency throughout your installation, securing the freedom to complete the project on your terms.
Prepare the Subfloor
Before laying vinyl plank flooring, you need to guarantee the subfloor is clean, dry, and level within manufacturer specifications. Remove any debris and repair uneven areas to prevent plank damage or gaps. If required, install a moisture barrier to protect against moisture infiltration and extend flooring durability.
Clean and Level Surface
One critical step in installing vinyl plank flooring is making certain your subfloor is clean and level. Begin with thorough surface cleaning—remove dust, debris, and adhesive residues to guarantee proper plank adhesion. Use a vacuum and damp mop, but avoid excess moisture. Next, assess the subfloor’s flatness using a straightedge; any deviations over 3/16 inch within a 10-foot span require correction. Apply leveling techniques such as patching low spots with a self-leveling compound or sanding down high areas. Allow compounds to cure fully before proceeding. A properly prepared surface prevents plank warping and makes certain a smooth, durable finish. Taking these precise steps frees you from future floor issues and sets a strong foundation for your vinyl plank flooring installation.
Moisture Barrier Installation
After ensuring your subfloor is clean and level, the next step is installing a moisture barrier. This essential layer protects against various moisture types—vapor, liquid, and ground moisture—that can damage your vinyl planks. Here are key installation tips to keep your flooring durable and free from warping:
- Choose a moisture barrier compatible with your subfloor and local moisture conditions.
- Roll out the barrier smoothly, overlapping seams by at least 6 inches to prevent gaps.
- Tape all seams securely with moisture-resistant tape to create a continuous shield.
- Extend the barrier slightly up the walls, trimming excess after flooring installation for complete coverage.
Following these steps frees you from future water damage worries, ensuring your vinyl plank flooring stays flawless and long-lasting.
Acclimate the Vinyl Planks
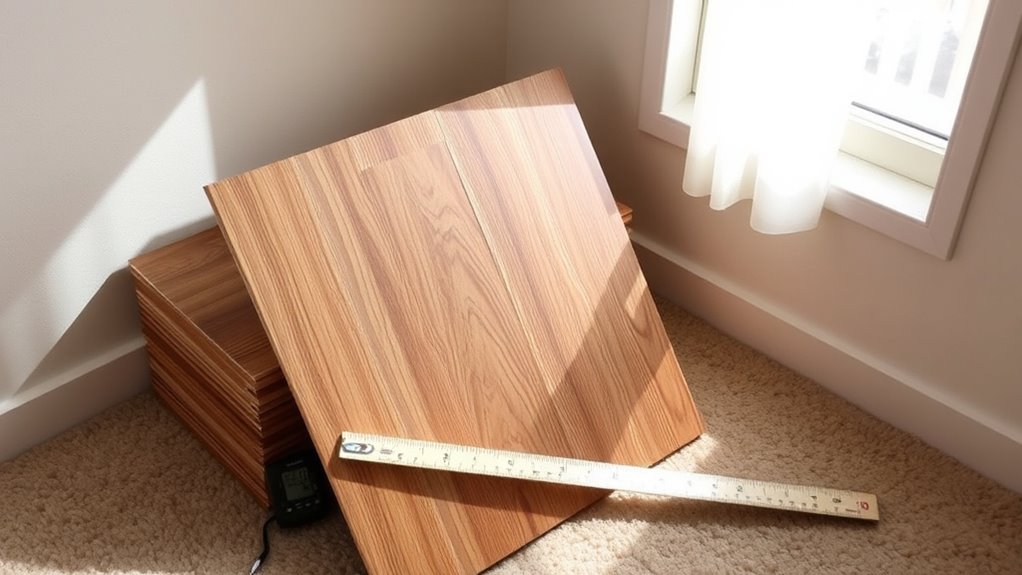
To guarantee peak performance, you should acclimate your vinyl planks by leaving them in the installation area for at least 48 hours. This acclimation period allows the planks to adjust to temperature considerations and humidity levels, preventing expansion or contraction issues post-installation. Verify the room temperature remains stable between 65°F and 85°F during this time.
| Condition | Recommended Range | Impact on Flooring |
|---|---|---|
| Temperature (°F) | 65 – 85 | Prevents warping |
| Humidity (%) | 35 – 65 | Minimizes moisture issues |
| Acclimation Time | 48 hours minimum | Stabilizes plank size |
| Storage Location | Installation site | Verifies accurate acclimation |
| Air Circulation | Moderate | Avoids moisture buildup |
Following these steps verifies your vinyl planks remain dimensionally stable, ready for a flawless installation.
Plan the Layout
Start by measuring the room’s dimensions accurately to calculate the number of planks needed. Decide on the plank direction, typically parallel to the longest wall or main light source, to guarantee a natural appearance. Mark your starting points along the walls to maintain straight, even rows throughout the installation.
Measure Room Dimensions
Accurately measuring your room’s dimensions is essential for planning the layout of vinyl plank flooring. Knowing precise measurements guarantees minimal waste and a seamless fit, regardless of complex room shapes. Use reliable measuring tools like a tape measure or laser distance meter for accuracy.
Follow these steps to capture your room’s dimensions:
- Measure length and width at multiple points to account for irregularities.
- Note any alcoves, doorways, or obstacles affecting layout.
- Sketch the room shape, marking all measurements clearly.
- Double-check measurements before ordering materials.
This approach gives you control over the installation process, preserving your freedom to design without surprises or costly errors. Accurate measurements empower you to execute a flawless vinyl plank flooring project.
Determine Plank Direction
Choosing the right plank direction is essential for both aesthetics and structural integrity. When determining plank orientation, start by evaluating the room’s natural light and focal points. Typically, laying planks parallel to the longest wall enhances visual flow and expands the space’s appearance. You can also orient planks toward a primary light source to emphasize grain and texture. Consider how plank direction interacts with doorways and traffic patterns to avoid awkward cuts or weak seams. Your design aesthetics should align with the room’s function and style—whether you prefer a traditional linear look or a more dynamic diagonal layout. By planning plank orientation thoughtfully, you guarantee a cohesive, durable floor that complements your space while giving you freedom to customize the final look.
Mark Start Points
Before you lay down any planks, you’ll need to mark your start points carefully to guarantee an even and balanced installation. Precise marking techniques set the foundation for your vinyl plank flooring, ensuring the layout feels natural and unrestricted. Follow these steps:
- Measure the room’s width and length accurately to identify the centerline.
- Snap chalk lines along the centerline to establish clear start points.
- Adjust your start points to avoid narrow planks at edges, aiming for at least 2-inch-wide pieces.
- Mark these start points visibly on the subfloor, confirming alignment with your plank direction.
Install the First Row
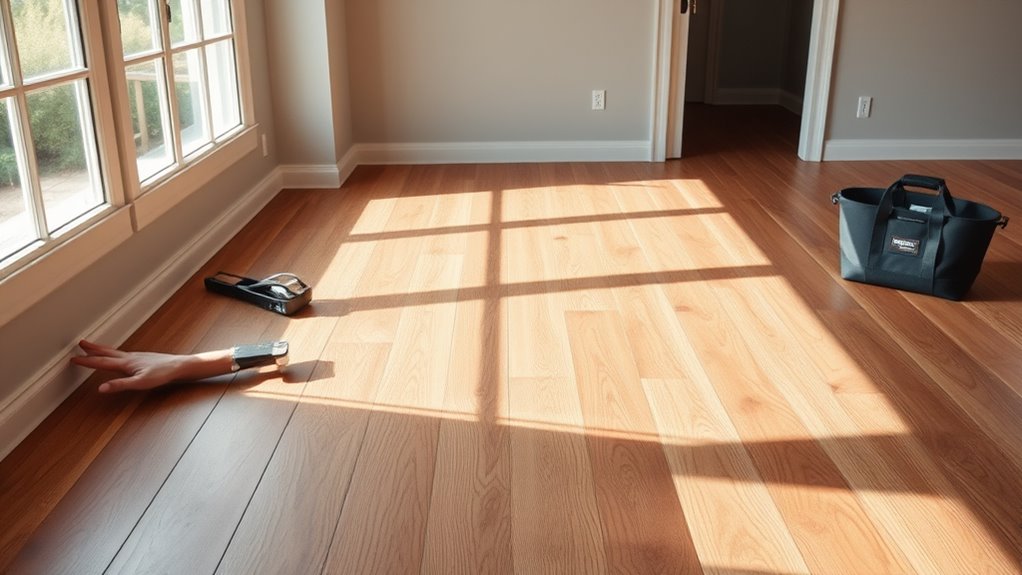
Start by laying out the first row of vinyl planks along the longest, straightest wall in your room. This guarantees your flooring runs smoothly and visually expands the space. Begin with first plank positioning by placing the plank firmly against the wall, maintaining a ¼-inch expansion gap using spacers. Use alignment techniques like snapping a chalk line parallel to the wall to keep the row straight. Check each plank’s fit before locking it in place, guaranteeing the tongue and groove connect seamlessly. Keep the row straight by continually verifying alignment with the chalk line, adjusting as needed. Proper first-row installation is critical; it serves as the foundation for the entire floor, so take time to position and align accurately for a professional finish.
Continue Laying Planks Across the Floor
Once the first row is securely in place, you’ll continue laying vinyl planks across the floor by locking each subsequent plank into its neighbor using the tongue-and-groove system. To maintain a flawless finish, follow these steps:
- Apply plank alignment techniques to guarantee tight, even seams.
- Check that each plank clicks firmly into the previous one without gaps.
- Leave appropriate flooring expansion gaps along walls to allow natural movement.
- Use a tapping block and mallet to secure planks without damaging edges.
Cut Planks to Fit Edges and Corners
Several planks will need precise cutting to fit snugly along edges and corners, ensuring a seamless floor installation. Start by measuring the space carefully, marking the plank where it needs trimming. Use appropriate cutting techniques such as a utility knife for straight cuts or a jigsaw for intricate corner solutions. Score the plank’s surface multiple times then snap it along the scored line for clean edges. For inside corners, miter cuts or coping may be necessary to achieve tight fits without gaps. Always wear safety gear and work steadily to maintain accuracy. Mastering these cutting techniques lets you maintain freedom in your design while ensuring the flooring fits perfectly, avoiding unsightly gaps and promoting durability along edges and corners.
Finish With Trim and Moldings
Three key types of trim and moldings—baseboards, quarter rounds, and connector strips—are essential to complete your vinyl plank flooring installation. Selecting the right trim options and molding types guarantees a polished look and accommodates floor expansion. Here’s how to finish strong:
- Attach baseboards flush against walls to conceal expansion gaps.
- Install quarter rounds along baseboards for a seamless changeover.
- Use connector strips to bridge flooring between rooms or different surfaces.
- Secure all trim with finishing nails or adhesive, avoiding damage to planks.
Choosing appropriate trim options not only enhances aesthetics but also preserves your floor’s integrity. With these molding types properly installed, your vinyl plank flooring will look professional and stand the test of time, giving you freedom from worry.


