To install vinyl floor tiles in seven easy steps, start by gathering the right tools and materials. Prepare your subfloor by cleaning and leveling it thoroughly. Plan your tile layout for a balanced appearance, then carefully cut tiles to fit edges. Apply adhesive or peel back the liner before laying tiles systematically. Press tiles firmly and roll the floor to guarantee good adhesion. Following this method will help you achieve a professional finish, and exploring this approach further can provide valuable details for success.
Gather Your Tools and Materials
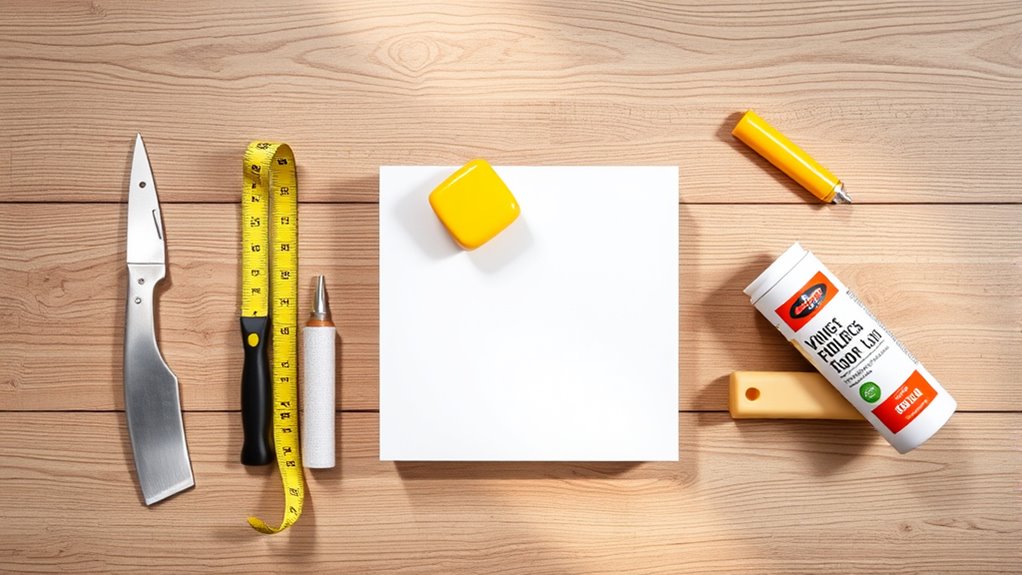
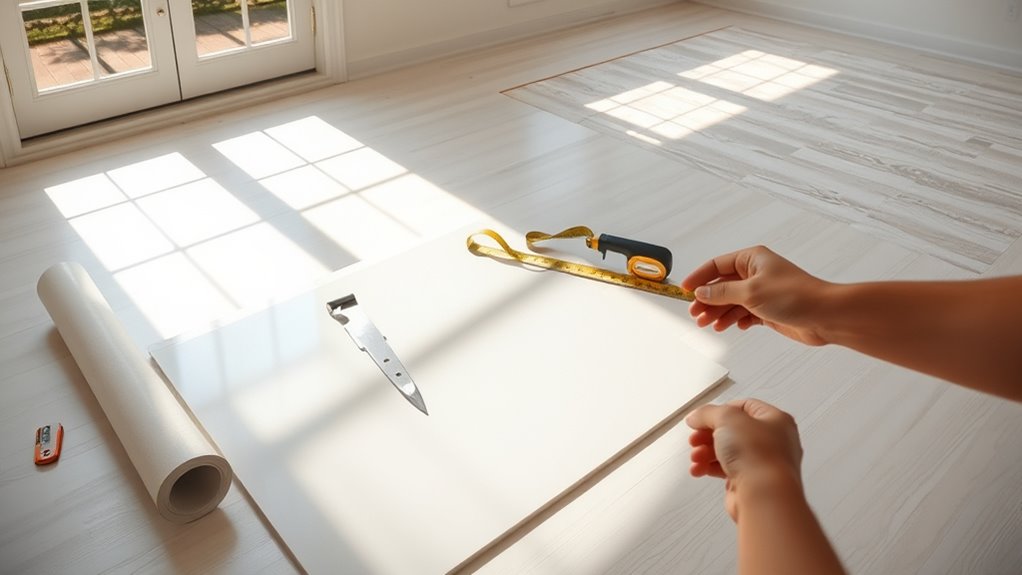
Before you begin installing vinyl floor tiles, you’ll need to gather all the necessary tools and materials to guarantee a smooth process. Start by choosing quality vinyl tiles suited for your space—consider peel-and-stick or glue-down options based on your preference and subfloor type. For tools, get a utility knife with sharp blades, a straightedge or T-square for precise cuts, a tape measure, and a chalk line to mark guidelines. Don’t forget a roller to press tiles firmly, ensuring proper adhesion. When selecting your tools, pick durable, easy-to-handle items to save time and effort—these tool selection tips will help you work efficiently. Having the right material types and tools ready empowers you to install your floor confidently and freely.
Prepare the Subfloor
Before laying your vinyl floor tiles, you’ll need to prepare the subfloor by cleaning it thoroughly to remove dirt and debris. Next, check for any uneven spots and guarantee the surface is level for a smooth installation. Finally, repair any damage like cracks or holes to create a stable base for your tiles.
Clean Surface Thoroughly
A clean surface is vital for guaranteeing your vinyl floor tiles adhere properly and last longer. Start by removing all dust, dirt, and debris using a vacuum or broom. Next, apply a mild detergent mixed with warm water to scrub the floor thoroughly, focusing on sticky spots or stains. Avoid harsh chemicals that might damage the subfloor. After scrubbing, rinse with clean water and let the surface dry completely. These cleaning techniques are essential for effective surface preparation, allowing the adhesive to bond firmly. Remember, any residue or moisture left behind can weaken the tile’s hold, leading to lifting or bubbles. Taking time for proper cleaning guarantees your vinyl floor’s durability and your freedom to enjoy a flawless finish.
Check for Levelness
Two key tools you’ll need to check the levelness of your subfloor are a long level or straightedge and a measuring tape. Start by placing the straightedge across various sections of the floor, especially in high-traffic areas. Use the measuring tape to gauge any gaps between the floor and straightedge. This floor assessment helps identify uneven spots that could affect tile installation. Apply leveling techniques like marking low and high points to guide your preparation process. Remember, a level surface guarantees your vinyl tiles lay flat and last longer. Take your time with this step—it’s essential for a professional finish and the freedom to enjoy your new floor without issues.
Repair Subfloor Damage
Several common types of subfloor damage can compromise your vinyl tile installation, including cracks, holes, and water damage. Begin with a thorough subfloor assessment and moisture testing to identify issues. Repair or replace damaged sections before proceeding.
| Damage Type | Repair Method |
|---|---|
| Cracks | Fill with patching compound |
| Holes | Use plywood patch or filler |
| Water Damage | Replace affected subfloor area |
Ensure the subfloor is dry and stable; moisture can cause tiles to peel or warp. Sand rough patches and clean debris. Your careful preparation guarantees a smooth, durable vinyl floor that offers the freedom to enjoy your space without worry.
Plan Your Tile Layout
Start by measuring the room dimensions accurately to understand how many tiles you’ll need and where cuts will be necessary. Next, identify a starting point—usually the center of the room or a prominent corner—to guarantee your layout looks balanced. This planning will help you avoid awkward gaps and achieve a professional finish.
Measure Room Dimensions
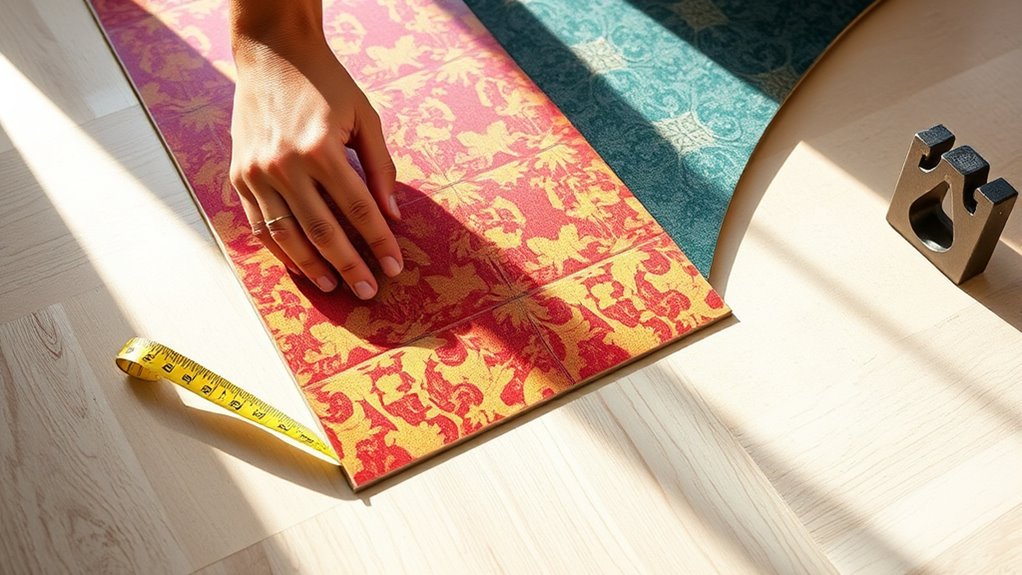
Before you lay down any vinyl floor tiles, you’ll need to measure your room accurately to plan your tile layout. Start by gathering reliable measuring tools like a tape measure, laser measure, or ruler. Measure the length and width of the room in several spots to account for any irregularities in shape. Record these room dimensions carefully. If the room isn’t perfectly square, note those differences, as they’ll affect how tiles fit along walls. Accurate measurements help you calculate how many tiles you need and minimize waste. Taking your time here guarantees a smooth installation later. Remember, precise room dimensions are the foundation of a professional-looking vinyl floor, giving you freedom to design confidently without surprises.
Identify Starting Point
Although measuring your room accurately is essential, identifying the right starting point for your vinyl tile layout is equally important to guarantee a balanced and visually appealing floor. Begin by finding the room’s center using starting point considerations such as snapping chalk lines across the length and width to create intersecting guides. This guarantees your tiles align symmetrically. Next, consider tile alignment strategies that keep cut tiles minimal and positioned along less visible edges or corners. Avoid starting directly against a wall with an uneven surface or door threshold. Instead, start at the intersection of your chalk lines or a focal point for a natural, professional look. Taking time to plan your layout based on these tips will give you freedom to install tiles confidently and achieve a seamless, polished finish.
Cut the Vinyl Tiles to Fit
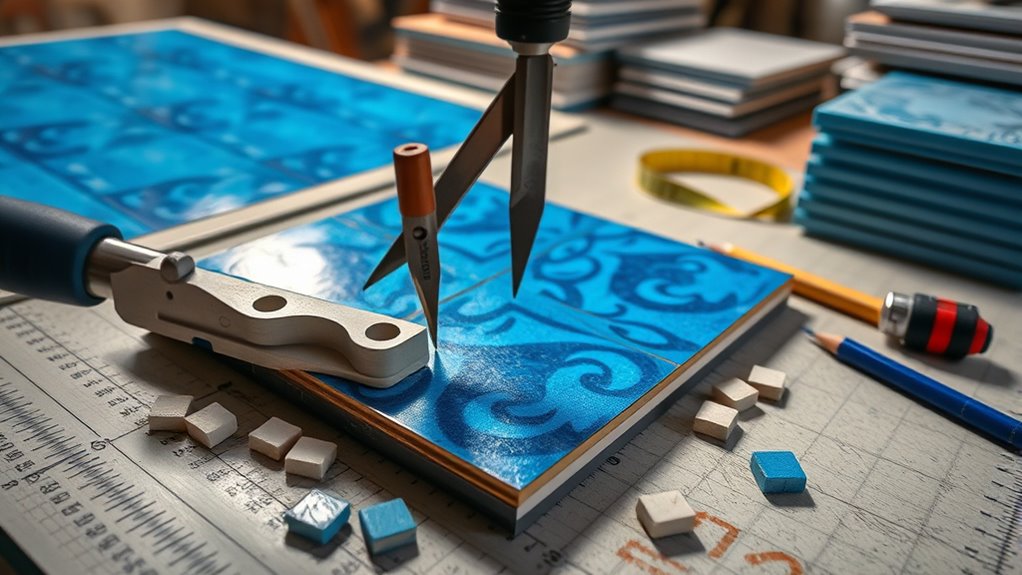
Measure the area where each vinyl tile needs to fit, marking precise cut lines with a pencil or chalk. Accurate tile cutting guarantees a seamless, professional look and maximizes your flooring freedom. Use a straightedge or ruler to guide your cuts for clean edges.
| Tool | Purpose |
|---|---|
| Utility Knife | Score tiles before snapping |
| Straightedge | Guide for precise cuts |
| Measuring Tape | Confirm dimensions |
| Pencil/Chalk | Mark cutting lines |
When cutting, score the tile surface firmly several times, then snap the tile along the line. Always double-check measurements before cutting to avoid errors. Taking your time here will let you install tiles that fit perfectly, giving your floor a polished finish without gaps or overlaps.
Apply Adhesive or Peel Back Liner
Once you’ve cut all your tiles to size, you’ll need to apply adhesive or peel back the liner to prepare for installation. Choosing the right adhesive type or peel option guarantees your tiles stay secure without restricting your freedom to adjust during placement. Here’s what to take into account:
- Adhesive types: Water-based, pressure-sensitive, or peel-and-stick adhesives each offer different bonding strengths and drying times.
- Peel options: Some tiles come with a protective liner you peel back gradually, exposing the sticky surface just before laying the tile.
- Surface prep: Make certain your floor is clean and dry to maximize adhesion or peel effectiveness.
Lay the Tiles Carefully
Start by placing the first tile at the intersection of your reference lines, pressing it firmly into the adhesive or sticky surface. Align each tile carefully, using tile alignment tips such as checking edges and spacing regularly to avoid installation mistakes. Work row by row, maintaining consistent pressure to ascertain tiles adhere without gaps or overlaps. Avoid sliding tiles once placed to prevent adhesive disturbance.
| Step | Tip | Common Mistake |
|---|---|---|
| Place first tile | Use intersection as guide | Misaligned starting tile |
| Align edges | Check spacing with spacers | Uneven gaps |
| Press firmly | Apply even pressure | Loose tiles |
| Continue pattern | Work systematically row-wise | Skipping alignment checks |
Stay patient; precise laying guarantees a flawless floor.
Roll and Seal the Floor
After you’ve carefully laid each tile and verified they’re properly aligned and pressed down, it’s time to secure your work by rolling and sealing the floor. Proper roll techniques guarantee the tiles bond firmly without air pockets, giving you a smooth, durable surface. Use a floor roller, starting from the center and moving outward in overlapping passes to evenly press the tiles. Once rolled, choose the right seal options based on your floor’s location and wear:
- Water-based sealers for easy cleanup and low odor
- Solvent-based sealers for tougher, high-traffic areas
- No-seal options if tiles have a factory finish and minimal exposure
Applying the correct seal protects your vinyl and keeps your floor looking fresh, granting you freedom from frequent maintenance.


