To install a toilet flange on a concrete floor, gather your tools like a drill, socket wrench, and level. Clear the area and remove any old flange. Position the new flange over the drain pipe, applying a wax ring for a watertight seal. Secure the flange with bolts in a crisscross pattern, then test for leaks by flushing the toilet and checking for moisture. If you want more detailed steps, there's much more to explore.
Gather Your Tools and Materials

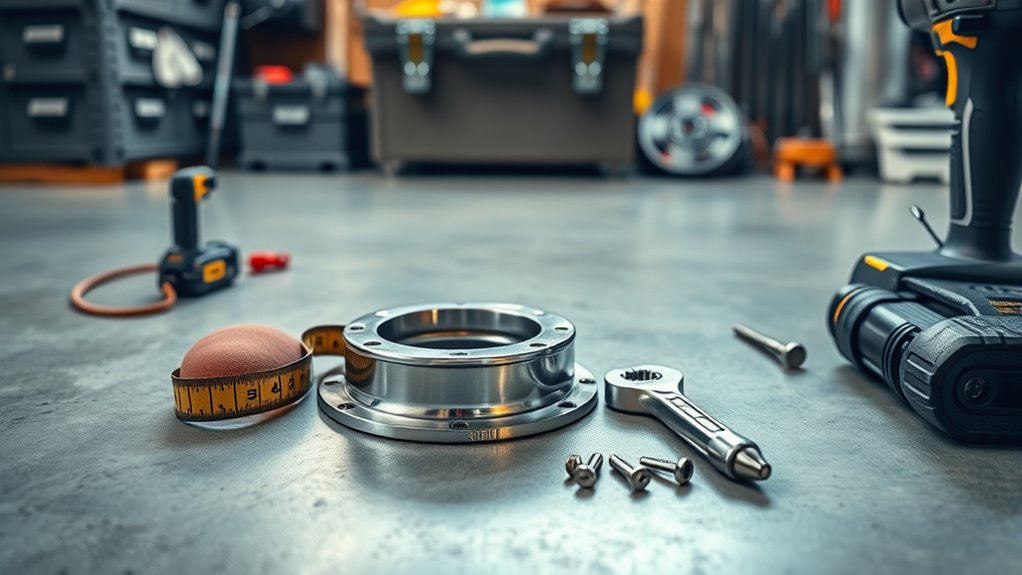
To successfully install a toilet flange, you'll need a few essential tools and materials. First, gather a drill, a socket wrench, and a level. You'll also need screws and anchors suitable for your flange type. If you're working on a concrete floor, consider using a hammer drill for easy installation. Choose the right flange type—PVC, metal, or cast iron—based on your plumbing system. Make sure to have a wax ring or a rubber gasket for sealing. Having these installation materials ready will guarantee a smooth process. Don't forget safety gear, including gloves and goggles. With everything in hand, you're ready to proceed confidently with your toilet flange installation.
Prepare the Area
With your tools and materials gathered, the next step is to prepare the area where the toilet flange will be installed. Start by making sure the floor is clean and free from debris. This area cleanliness is vital for a proper seal when you install the new flange. If there's any old wax ring or residue, scrape it off carefully. Next, inspect the concrete for cracks or irregularities that might affect the flange installation. If you find any, consider patching them for better floor preparation. Use a level to check the surface; it must be even to guarantee stability. Once you've done this, you're ready to move forward with the installation. A well-prepared area sets the foundation for a successful project.
Remove the Old Flange

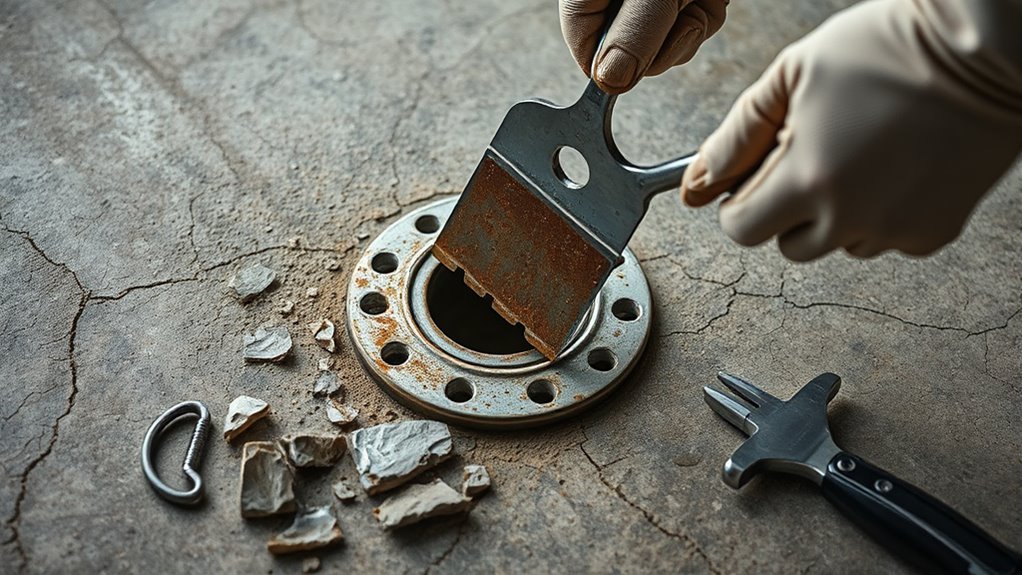
Before you remove the old flange, gather the necessary tools, including a wrench and a putty knife. Carefully remove the bolts that secure the flange to the floor, making sure not to damage surrounding materials. Once the bolts are out, clean the area to guarantee a smooth installation of the new flange.
Gather Necessary Tools
Gathering the right tools is essential for successfully removing the old toilet flange. Start with a flathead screwdriver and a hammer—these will help you pry the flange loose from the concrete. Depending on the flange types used, you may also need a reciprocating saw or a drill for cutting any stubborn bolts or screws. A chisel can assist in removing adhesive or old caulk. Make sure you have safety goggles and gloves to protect yourself during the process. Familiarize yourself with various installation methods, as this knowledge can guide you in evaluating the current flange's condition and preparing for the new one. Having everything ready will streamline your removal process and set the stage for a smooth installation.
Remove Bolts Carefully
Carefully remove the bolts securing the old toilet flange to the floor. Different bolt types may require specific removal techniques, so make certain you've got the right tools ready. Follow these steps for a successful removal:
- Identify the Bolt Type: Determine if you're dealing with hex, square, or other bolt types to choose the appropriate wrench or socket.
- Apply Penetrating Oil: If the bolts are rusted, apply penetrating oil and let it sit for about 10-15 minutes to ease the removal.
- Loosen with Steady Pressure: Use your wrench to apply steady pressure counterclockwise. If necessary, tap gently with a hammer to break the rust seal.
Once you've removed the bolts, you're ready for the next step in your installation process.
Clean Surrounding Area
With the old bolts removed, it's time to clean the surrounding area and take out the old flange. Begin by gathering your cleaning supplies, including a putty knife, rags, and a cleaner suitable for removing debris and old wax. Clear the workspace of any obstructions for better organization. Carefully scrape away any remnants of the old flange and wax ring, ensuring the area is smooth and clean. Check for any signs of damage or mold; if you find any, address those issues before proceeding. Keeping your workspace organized allows for a more efficient installation process later on. Once the area is spotless, you're ready to install the new toilet flange without any lingering materials interfering with the job.
Install the New Flange

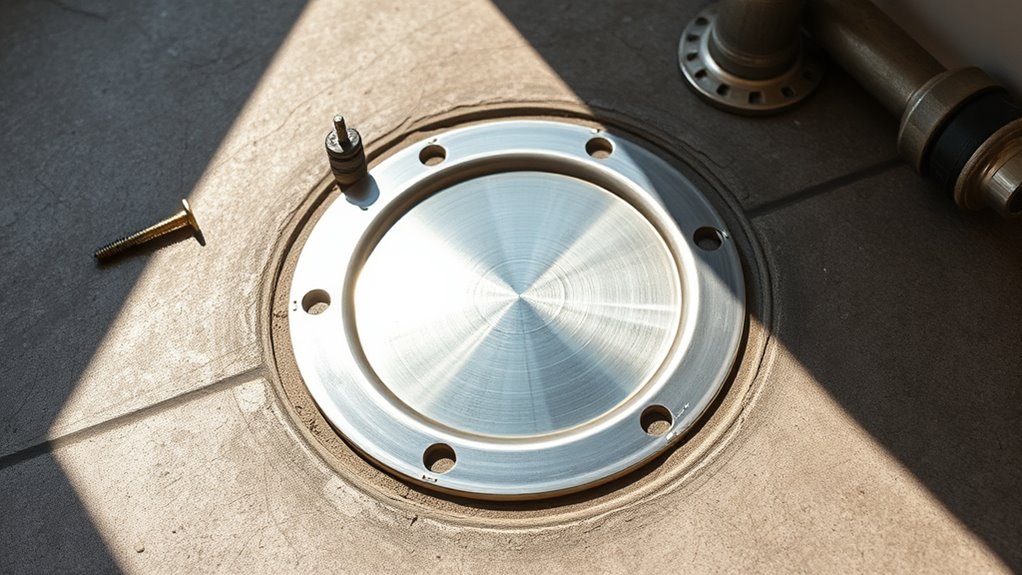
To install the new flange, position it over the drain pipe, guaranteeing it aligns with the bolt holes in your floor. Depending on the flange types you're using, follow these installation tips for a successful fit:
- Check Compatibility: Verify your flange type matches your toilet and drain pipe specifications.
- Use Proper Sealant: Apply a bead of wax or silicone around the flange base to create a watertight seal.
- Align Bolt Holes: Confirm the bolt holes are correctly aligned with the floor's pre-drilled holes to facilitate easy installation later.
Once everything's positioned correctly, you're ready to move on to securing the flange. Following these steps guarantees a solid foundation for your toilet, allowing you the freedom to enjoy your newly installed fixture without worry.
Secure the Flange to the Concrete
Once the flange is positioned correctly, securing it to the concrete floor is the next step. Depending on the flange type you've chosen, there are various securing methods available. Use a hammer drill to create pilot holes in the concrete, aligning them with the flange's mounting holes. Insert concrete screws or anchors, making sure they penetrate deep enough for a sturdy hold. If your flange type allows it, you might also consider using adhesive for added stability. Tighten each screw gradually to avoid cracking the flange. Once secured, double-check the alignment and levelness before proceeding. This guarantees your toilet sits firmly, preventing future leaks and issues.
Test for Leaks and Finalize Installation
After securing the flange, it's vital to check for any water leaks. Turn on the water supply and observe the connections closely for any signs of moisture. If everything's dry, you can finalize the installation and proceed with attaching the toilet.
Check for Water Leaks
Checking for water leaks is a crucial step in ensuring your toilet flange installation is successful. After installation, you need to conduct thorough water detection to prevent future issues. Follow these steps:
- Turn on the water supply and flush the toilet, allowing the tank to fill.
- Inspect around the flange for any visible water pooling or dampness, which indicates a leak.
- Use a towel to dry the area, then wait an hour. Recheck for moisture—this will help confirm if there's a leak.
Secure Flange Properly
If you've confirmed there are no leaks, it's time to secure the toilet flange properly to guarantee stability and prevent future issues. Start by verifying the flange alignment is perfect with the bolt holes facing the toilet. Use a bolting technique that involves inserting the bolts through the flange and into the concrete floor. Tighten them gradually in a crisscross pattern to ensure even pressure, preventing warping. After securing the bolts, double-check the alignment; the flange should sit flush with the floor. Once everything's aligned and tightened, apply a bead of silicone caulk around the base for added protection against moisture. Finally, let the caulk cure before installing the toilet, confirming a robust and leak-free setup.
Frequently Asked Questions
What Type of Flange Should I Use for My Toilet?
When choosing a flange for your toilet, consider both flange types and flange materials. You'll find options like PVC, cast iron, and stainless steel. PVC flanges are lightweight and resistant to corrosion, while cast iron offers durability for heavy-duty applications. Stainless steel provides strength and resistance to rust. Make certain you select a flange that matches your toilet's specifications and the flooring type, so it fits securely and functions properly for years to come.
How Do I Measure for the Correct Flange Size?
To measure for the correct flange size, start by determining the flange dimensions required for your toilet. Use measuring techniques like a tape measure to find the distance from the wall to the existing drainpipe, typically around 12 inches. Guarantee the flange fits snugly over the pipe and aligns with your toilet's base. Double-check your measurements before purchasing, as an accurate fit guarantees a secure installation and prevents leaks down the line.
Can I Install a Flange Without Removing the Toilet?
You can't build a house without a solid foundation, and installing a flange isn't an exception. While it's possible to do flange installation without removing the toilet, it's tricky. You'll need to verify the old flange is secure and clean. Follow toilet maintenance advice by checking for cracks and verifying a snug fit with the new flange. Remember, a little patience goes a long way in achieving a successful installation!
What if My Concrete Floor Is Uneven?
If your concrete floor's uneven, you'll need to use flange leveling techniques to guarantee proper installation. Start by evaluating the floor's condition and prepare it accordingly. You may need to grind down high spots or fill low areas with a leveling compound. Once the surface is even, you can securely install the flange. Proper concrete floor preparation is essential for preventing leaks and guaranteeing stability, so take your time to achieve a flat surface.
How Can I Prevent Future Leaks From the Flange?
To prevent future leaks from the flange, you'll want to follow some flange maintenance tips. Regularly check for cracks or corrosion around the flange. Make sure the wax seal is properly applied during installation; it's vital for leak prevention. Also, consider using a flange with a built-in sealing mechanism for added protection. Finally, inspect the area periodically for any signs of dampness or moisture to catch potential issues early.


