
To install sheet vinyl flooring, start by gathering the necessary tools, including a utility knife and roller. Prepare the subfloor by ensuring it's clean, dry, and level. Measure accurately, then cut the vinyl using the score-and-snap method. Apply adhesive evenly across the subfloor with a notched trowel, ensuring proper ventilation during curing. Lay the vinyl sheet, pressing from the center out to eliminate air bubbles, using a roller for even contact. Focus on securing the edges and corners for a tight fit. For effective installation, there's more to explore about trimming and finishing touches.
Gather Necessary Tools

Before you begin installing sheet vinyl flooring, it's important to gather all the necessary tools to guarantee a smooth process. First, you'll need measuring tools like a tape measure and straight edge to accurately size your flooring and secure precise cuts. A utility knife is essential for trimming the vinyl, while a roller helps to eliminate air bubbles during installation. Next, consider the adhesive types; you'll typically choose between pressure-sensitive and full-spread adhesives, depending on your flooring's requirements. Additionally, a trowel is necessary for applying the adhesive evenly. Having these tools on hand not only streamlines your installation but also empowers you to achieve professional results, giving you the freedom to transform your space with confidence.
Prepare the Subfloor
Before you install sheet vinyl flooring, it's essential to assess the condition of your subfloor. Look for any signs of damage or unevenness, as these can affect the final installation. Once evaluated, make certain the surface is thoroughly cleaned and leveled to provide a stable foundation for your new flooring.
Assess Subfloor Condition
Evaluating the condition of your subfloor is essential for a successful sheet vinyl flooring installation. Start by identifying the subfloor types in your space, such as plywood, concrete, or OSB, as each requires different considerations. Check for any signs of damage, such as warping, cracks, or mold, which could compromise your flooring. Conduct moisture testing to determine if the subfloor is dry enough for installation; excessive moisture can lead to mold growth and flooring failure. A moisture meter can provide accurate readings. If your subfloor fails these assessments, it may need repairs or replacement before proceeding. Taking these steps guarantees a solid foundation, ultimately preserving the integrity and lifespan of your new sheet vinyl flooring.
Clean and Level Surface
A clean and level surface is essential for the successful installation of sheet vinyl flooring. Begin your surface preparation by removing all debris, dust, and old adhesive from the subfloor. This not only guarantees a smooth surface but also promotes effective flooring maintenance in the long run. Next, check for any uneven areas. Use a leveling compound to fill in low spots and sand down high spots.
Here's a quick reference table for surface preparation:
| Task | Tools Needed | Purpose |
|---|---|---|
| Remove debris | Broom, vacuum | Clean surface |
| Fill low spots | Leveling compound, trowel | Achieve a flat surface |
| Sand high spots | Floor sander | Create an even installation surface |
Measure and Cut Vinyl

To guarantee a successful installation, accurate room measurements are vital for cutting the vinyl to fit snugly. You'll need to familiarize yourself with various cutting techniques to achieve clean edges and precise shapes around obstacles. Understanding these aspects will streamline the process and enhance the overall finish of your flooring project.
Accurate Room Measurements
Accurate room measurements are essential for a successful sheet vinyl flooring installation, as even minor discrepancies can lead to costly mistakes. Start by gathering the right tools and applying effective measurement techniques to guarantee precision.
Here are some key tips for measuring your room dimensions:
- Use a reliable tape measure for accuracy.
- Measure each wall from corner to corner.
- Record measurements in a notebook to avoid confusion.
- Check for any obstructions like vents or cabinets.
- Double-check your measurements before cutting the vinyl.
Cutting Techniques Overview
Begin by gathering your tools and preparing to cut the vinyl sheet accurately. You'll need a straight edge, a sharp utility knife, and a measuring tape. There are various cutting methods, but the most effective is the score-and-snap technique. Measure your vinyl precisely, then use the straight edge to guide your knife as you score along your marked line. Apply consistent pressure to guarantee a clean cut. For intricate cuts, consider using scissors or specialized vinyl cutting tools. Always cut with the finished side facing down to avoid damage. Remember, taking your time with these cutting techniques will lead to a professional-looking installation and ultimately enhance the freedom and flexibility of your space.
Apply Adhesive
Carefully apply adhesive to secure a strong bond between the subfloor and the sheet vinyl flooring. Selecting the right adhesive types and employing proper application techniques are essential for a successful installation. Here's how to effectively apply the adhesive:
- Choose the correct adhesive for your vinyl type—permanent or releasable.
- Use a notched trowel to spread the adhesive evenly across the subfloor.
- Maintain consistent pressure while applying to avoid air pockets.
- Follow the manufacturer's guidelines on drying time before laying the vinyl.
- Make sure the room is well-ventilated to promote proper curing of the adhesive.
Lay the Vinyl Sheet
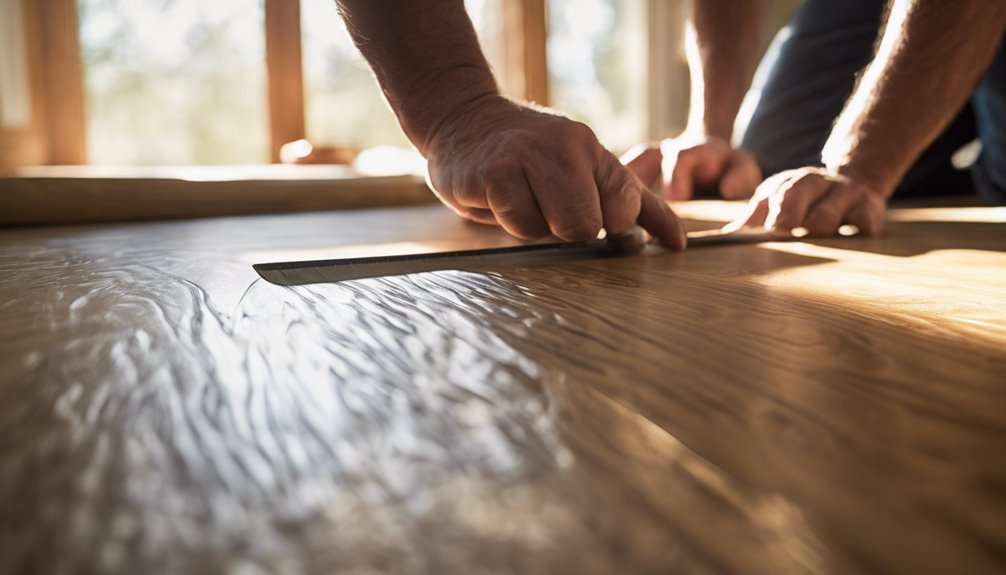
With the adhesive properly applied and ready, you can now lay the vinyl sheet down. Start by carefully positioning the sheet, ensuring that it aligns with your room's layout. It's essential to maintain accurate sheet alignment to avoid any future issues. Gently press the vinyl into the adhesive, beginning from the center and working your way outwards. This method helps eliminate air bubbles that could compromise your vinyl installation. Use a roller or a hand tool to firmly adhere the sheet, ensuring even contact with the adhesive beneath. Pay attention to corners and edges, as these areas often require extra pressure for a secure fit. Finally, check your alignment one last time before moving to the next section.
Trim Edges and Seams
Once the vinyl sheet is securely laid, it's crucial to trim the edges and seams for a clean, professional finish. This step not only enhances the appearance but also guarantees durability. Here are some effective trim techniques to keep in mind:
- Use a straight edge and utility knife for precise cuts.
- Make sure you're cutting on the correct side for a seamless fit.
- For corners, use a miter cut to achieve a tight seal.
- After trimming, perform seam sealing to prevent moisture infiltration.
- Take your time to double-check measurements before cutting.
Finishing Touches

As you wrap up your vinyl flooring installation, paying attention to the finishing touches is vital for achieving a polished look. Begin with a final inspection, ensuring all seams and edges are secure and free from debris. This step is essential for durability and visual appeal. Next, consider adding aesthetic enhancements like baseboards or quarter round trim to cover any gaps and create a seamless connection between your flooring and walls. Choose colors that complement your vinyl to elevate the overall design of the space. Finally, apply a suitable vinyl flooring cleaner to maintain its luster and protect against wear. Completing these finishing touches not only boosts the appearance but also prolongs the life of your beautiful new flooring.
Frequently Asked Questions
Can I Install Vinyl Flooring Over Existing Tiles?
Yes, you can install vinyl flooring over existing tiles, but flooring preparation is essential. First, verify the tiles are securely bonded and in good condition. You'll need to clean the surface thoroughly and possibly level any uneven areas. If the tile has grout lines, consider applying a smoothing compound to create a flat base. While it's possible to avoid removing tiles, doing so might yield a more seamless finish for your new flooring.
How Long Does the Adhesive Take to Dry?
When you think of a masterpiece, the foundation's essential, right? Similarly, adhesive drying is important for a successful flooring installation. Generally, you'll want to allow the adhesive to dry for at least 24 hours, but it can vary based on the product and conditions. For best results, make sure your workspace is well-ventilated and at room temperature. Following these installation tips will help you achieve a durable and stunning floor that lasts.
What Is the Best Way to Clean Sheet Vinyl?
To clean sheet vinyl effectively, you'll want to use gentle cleaning techniques. Start with a mixture of warm water and a few drops of dish soap for regular maintenance. Avoid harsh chemicals, as they can damage the surface. For tougher stains, a solution of vinegar and water can work wonders. Always rinse with clean water afterward to prevent residue. Regular sweeping and mopping will keep your flooring looking fresh and prolong its lifespan.
Is Underlayment Necessary for Vinyl Flooring Installation?
Imagine a sturdy foundation beneath a beautiful floor, much like a strong tree bolstered by its roots. While you might think underlayment's optional, its benefits are undeniable. It provides cushioning, sound absorption, and moisture resistance, essential for longevity. When installing vinyl flooring, consider these installation tips: make certain the underlayment is level and compatible with your vinyl. You'll appreciate the enhanced comfort and durability it brings to your space, allowing you freedom of movement.
Can I Install Vinyl Flooring in a Basement?
You can install vinyl flooring in a basement, but proper basement preparation is vital. First, confirm the space is dry; a moisture barrier is essential to prevent damage from humidity. You'll need to check for any leaks and address them before installation. Additionally, make certain the subfloor is clean and level. By taking these steps, you can enjoy a durable and attractive vinyl floor that withstands the unique conditions of your basement.


