To install polyaspartic floor coating, clean the floor thoroughly, apply the primer, mix and pour the polyaspartic coating, and spread it evenly with a roller or squeegee. Polyaspartic floor coating is a durable and versatile choice for flooring that offers a range of benefits, including resistance to chemicals, UV rays, and abrasion.
It is also quick and easy to install, making it a popular option for both residential and commercial spaces. We will guide you through the step-by-step process of installing polyaspartic floor coating to help you achieve a professional and long-lasting finish.
Choosing The Right Polyaspartic Floor Coating
When selecting a polyaspartic floor coating, several factors should be considered to ensure you choose the right option for your needs.
Performance
The performance of the polyaspartic floor coating should be a key consideration. Look for coatings that offer durability, abrasion resistance, chemical resistance, and UV stability. These properties will ensure that the coating can withstand heavy traffic, impact, and exposure to harsh chemicals or sunlight.
Curing Time
Curing time is another important factor to think about. Polyaspartic floor coatings with a fast curing time can significantly minimize downtime and disruptions. Look for coatings that cure within a short period, allowing you to resume normal operations quickly.
Application Ease
Consider the ease of application when selecting a polyaspartic floor coating. Coatings that are easy to apply can help speed up the installation process. Look for coatings that require minimal surface preparation, have a long pot life, and are easy to mix and apply.
Finish Options
Lastly, consider the finish options available with the polyaspartic floor coating. Different coatings offer various aesthetics, such as glossy, satin, or matte finishes. Choose a coating that matches your desired look and complements the overall design of the space.
Preparing The Surface For Coating Application
Properly preparing the surface is crucial before applying a polyaspartic floor coating. Follow these steps to ensure a clean and suitable surface:
- Clean the floor thoroughly using a degreaser or a suitable cleaner. Remove any dirt, dust, or residues that might affect the adhesion of the coating.
- Repair any cracks or imperfections in the floor. Fill the cracks with a suitable filler and level the surface using a trowel or putty knife.
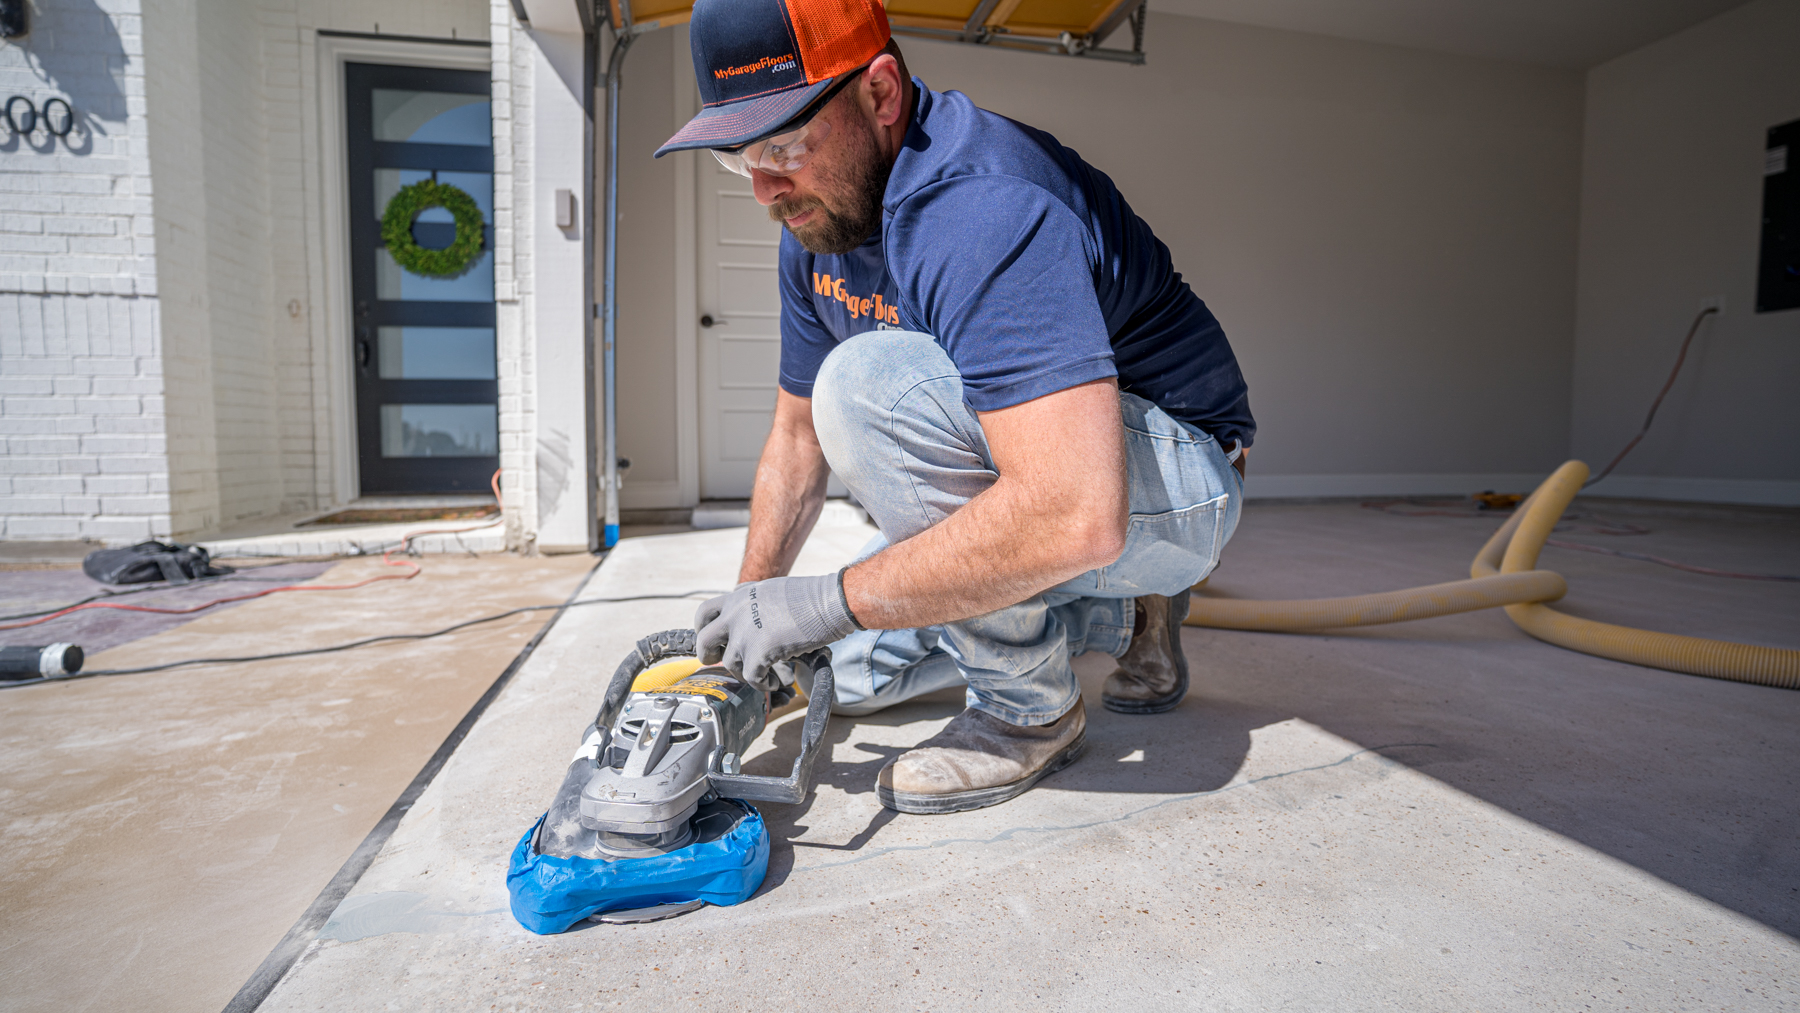
- If there are any existing coatings or sealers on the floor, remove them using a grinder or a floor stripper. This will ensure proper adhesion of the new polyaspartic coating.
- Evaluate the moisture levels of the floor. Use a moisture meter to determine if there is excessive moisture. If so, consider using a moisture barrier or addressing the moisture issue before applying the coating.
- Once the surface is clean, repaired, and free from any existing coatings or moisture issues, it is ready for the application of the polyaspartic floor coating.
Applying The Polyaspartic Coating
Mixing the components of the polyaspartic coating is the first step in the application process. It is crucial to carefully follow the manufacturer’s instructions and ensure that the components are properly combined. Once mixed, the base coat can be applied to the prepared floor surface. It is important to apply the base coat evenly, using a roller or brush, and ensure that it covers the entire surface.
Adding color and decorative effects to the polyaspartic coating can be done during or after the application of the base coat. This allows for customization and creativity, providing a unique and visually appealing floor. Various techniques, such as using color flakes or metallic pigments, can be used to achieve desired decorative effects.
After the base coat and any decorative effects have been applied, it is time to apply the topcoat. The topcoat adds an extra layer of protection and durability to the floor coating. It is important to apply the topcoat evenly and allow sufficient drying time between coats.
Key Points:
- Mix the components of the polyaspartic coating according to the manufacturer’s instructions.
- Apply the base coat evenly, ensuring full coverage of the floor surface.
- Add color and decorative effects as desired during or after the application of the base coat.
- Apply the topcoat for added protection and durability.
Ensuring Proper Curing And Drying Of The Coating
Understanding the curing time for polyaspartic floor coatings is crucial to ensure proper drying and curing conditions. The curing time can vary depending on various factors such as environmental conditions, type of polyaspartic coating, and thickness applied. It is recommended to consult the manufacturer’s guidelines to determine the specific curing time for the coating you are using.
Here are some tips to promote the proper drying and curing conditions:
- Provide adequate ventilation to allow moisture to escape and promote faster drying.
- Maintain the recommended temperature range during the curing process.
- Avoid heavy foot traffic or placing heavy objects on the coating until it is fully cured.
- Keep the coated area clean and free from debris that may hinder the curing process.
- Follow any specific instructions provided by the manufacturer regarding curing time and post-curing procedures.
By understanding the curing time for polyaspartic floor coatings and following these tips, you can ensure a successful installation and long-lasting results.
Maintaining And Extending The Lifespan Of The Coating
Proper maintenance and regular cleaning are crucial for extending the lifespan of your polyaspartic floor coating. To ensure its longevity, follow these recommendations:
- Use a soft-bristle broom or a dust mop to remove loose dirt and debris from the surface on a daily basis.
- For routine cleaning, mix a mild detergent or pH-neutral cleaner with water. Avoid using harsh chemicals or abrasive cleaners that can damage the coating.
- Use a damp mop or a microfiber cloth to clean the floor, focusing on any stained or soiled areas. Rinse thoroughly with clean water afterward.
- For tough stains or spills, address them immediately using the appropriate cleaning method recommended by the manufacturer.
- Place mats or rugs at entrances and high-traffic areas to prevent dirt and grit from being tracked onto the floor.
- Avoid dragging heavy objects across the coating, as it may cause scratches or gouges. Use furniture pads or protective coasters under furniture legs.
- If your polyaspartic floor coating starts showing signs of wear, consider applying a protective topcoat to enhance its durability and extend its lifespan.
Maintaining a clean and well-maintained polyaspartic floor coating not only preserves its appearance but also ensures its resilience against daily wear and tear.
Troubleshooting Common Issues With Polyaspartic Floor Coatings
When installing polyaspartic floor coatings, it is important to be aware of common issues that may arise and how to troubleshoot them effectively. Two such issues are adhesion problems and the presence of bubbles or unevenness in the coating.
Adhesion problems can occur when the coating does not properly bond to the prepared surface. This can result in peeling, flaking, or lifting of the coating. To identify and address adhesion issues, it is crucial to ensure that the surface is clean, dry, and free from dirt, dust, and contaminants. Proper surface preparation, including thorough cleaning and sanding, can help promote good adhesion between the coating and the substrate.
Bubbles or unevenness in the coating can be visually unappealing and may affect the durability of the floor. To prevent these issues, it is important to mix the coating thoroughly and apply it evenly. In addition, proper temperature and humidity conditions should be maintained during installation to minimize the occurrence of bubbles. If bubbles or unevenness are already present, they can be remedied by carefully sanding the affected areas and applying an additional coat of the coating.

Frequently Asked Questions Of How To Install Polyaspartic Floor Coating
How Do You Install Polyaspartic Floor Coating?
To install polyaspartic floor coating, follow these steps: 1) Properly clean and prepare the floor surface. 2) Apply a primer to enhance adhesion. 3) Pour the polyaspartic coating and spread it evenly with a roller or squeegee. 4) Allow it to cure as per manufacturer’s instructions.
5) Enjoy the durable and attractive finish.
How Many Coats Of Polyaspartic Do I Need?
Typically, you will need two coats of polyaspartic for optimal results.
Does Polyaspartic Need A Primer?
Polyaspartic does not necessarily need a primer. It can be applied directly onto a properly prepared surface.
How Thick Can You Apply Polyaspartic?
Polyaspartic can be applied at varying thicknesses depending on the specific product and application. However, it is generally recommended to apply polyaspartic at a thickness of 8-12 mils (0. 008-0. 012 inches) for optimum performance and durability.
Conclusion
Installing polyaspartic floor coating can greatly enhance the durability and aesthetic appeal of your floors. By following the step-by-step instructions provided in this blog post, you can confidently tackle this project on your own. Remember to thoroughly clean and prepare the surface, apply the primer and coating evenly, and allow adequate drying time.
With proper installation, your polyaspartic floor coating will provide long-lasting protection for your floors, making them easier to clean and resistant to stains and damage. Give your floors a professional finish with polyaspartic floor coating today!


