Imagine transforming your living space with just a simple addition. Molding can elevate the look of any room, adding a touch of elegance and style.
Installing molding on the floor might seem like a daunting task, but it doesn’t have to be. With the right guidance, you can achieve a professional look all by yourself. You might wonder, can you really do it? Absolutely! This guide will walk you through every step, ensuring you have the confidence and know-how to get the job done.
Get ready to impress not just yourself, but anyone who steps into your beautifully finished room. Dive in and discover how you can easily make your home look more refined and complete.
Choosing The Right Molding
Baseboard molding is popular. It covers gaps between walls and floors. Quarter-round molding is small and curved. It hides small gaps. Shoe molding is thin. It fits between baseboard and floor. Crown molding sits high on walls. It adds style. Molding can be wood, MDF, or plastic. Each type has benefits. Wood is strong. MDF is smooth. Plastic is water-resistant.
Molding comes in different finishes. Painted finishes can match any room color. Stained finishes show wood grain. Natural finishes keep wood’s original look. Choose a finish that fits your home’s style. Materials vary. Wood is classic. MDF is cheaper. Plastic is durable. Each material has its advantages. Pick what suits your needs best.
Gathering Tools And Materials
Start with a measuring tape for accurate measurements. A miter saw is next. It helps cut angles. Use a hammer for nails. A nail gun can make it faster. Have safety goggles for eye protection.
Wood glue helps hold parts together. Caulk fills gaps. Choose the right molding type and color. Sandpaper smooths rough edges. Use a level to ensure straight lines. Keep a pencil handy for marking.
Preparing The Area
Start by removing all dust and dirt. Sweep the floor with a broom. Use a vacuum for small particles. Ensure the floor is spotless. Dirt can affect the molding stickiness. If needed, mop the floor with water. Let the floor dry completely.
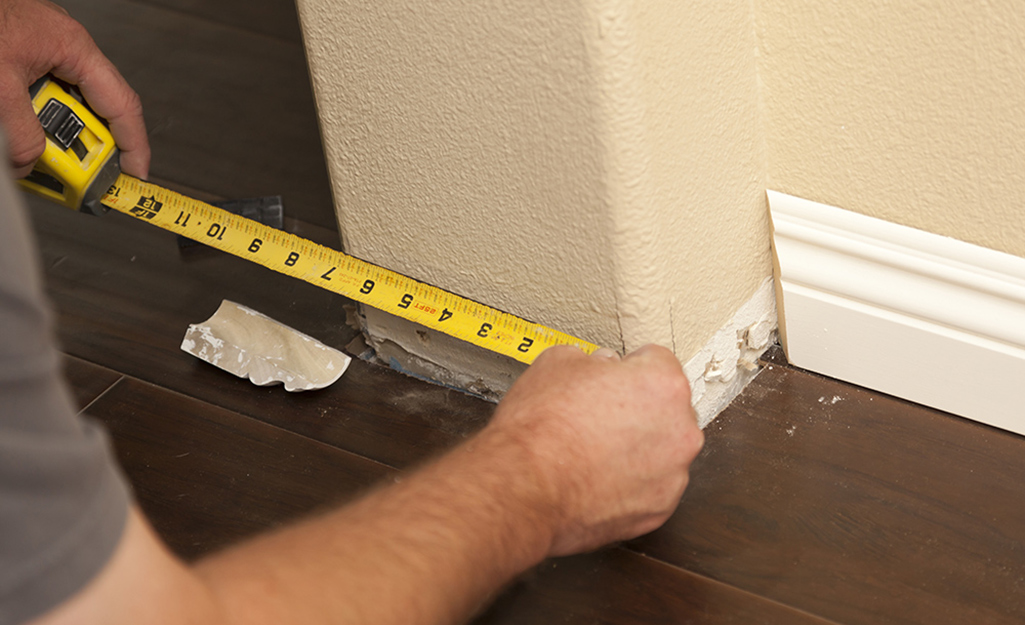
Use a tape measure for accuracy. Measure along the wall where molding will go. Record the length in inches or centimeters. Double-check your measurements to avoid mistakes. If the wall has corners, measure each section. Write down all measurements clearly.
Cutting The Molding
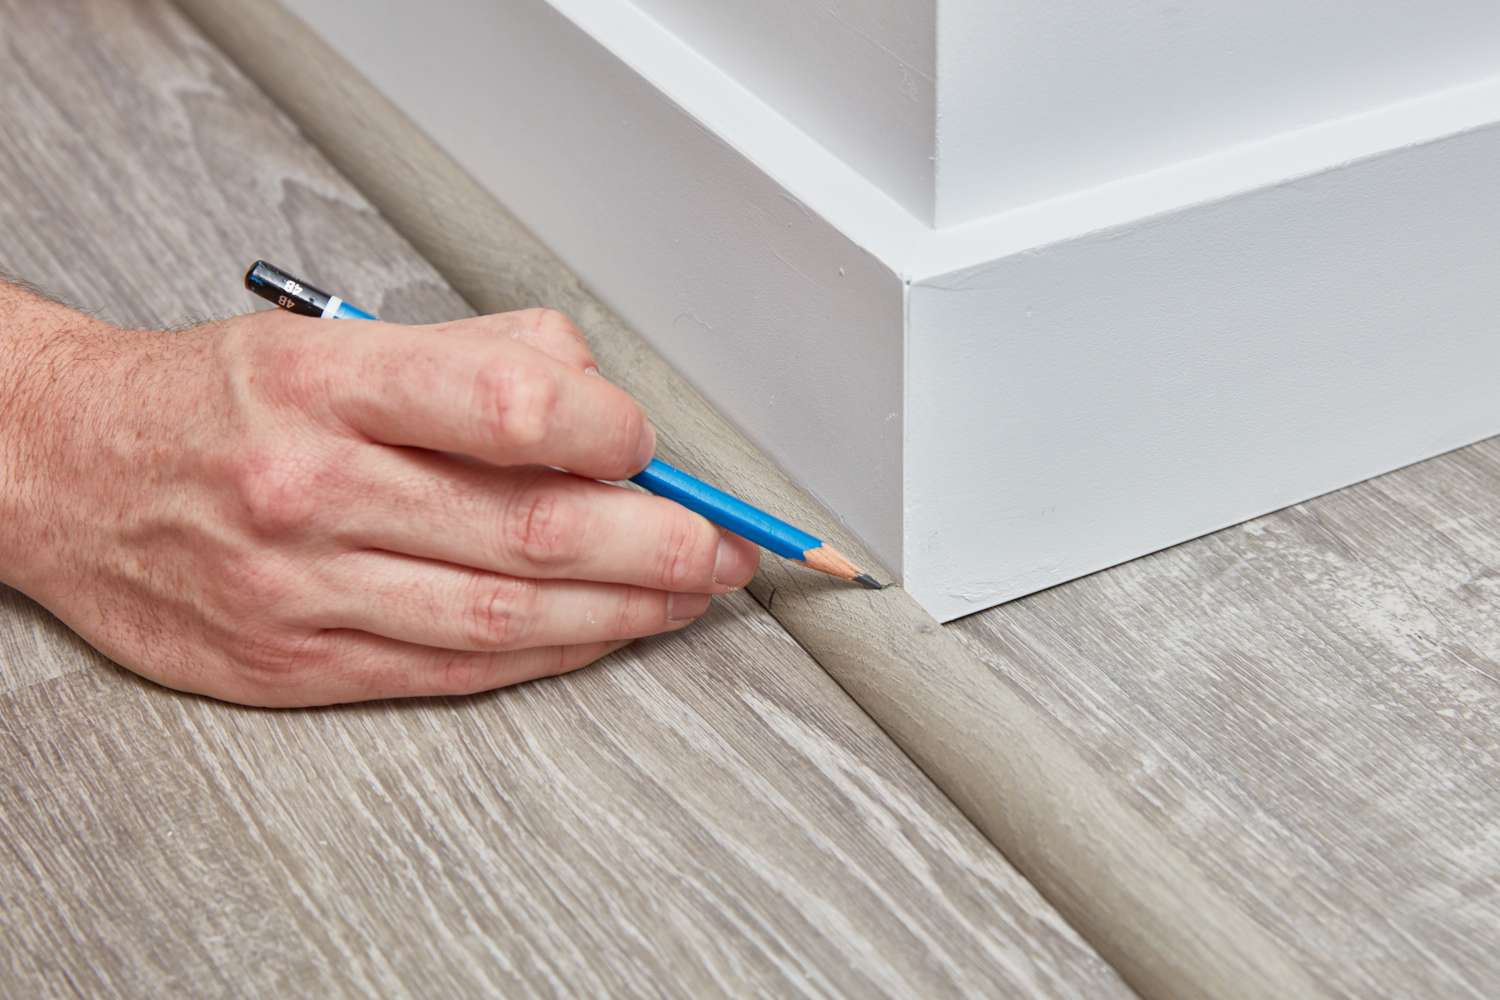
Measuring and Marking are important steps in cutting molding. Use a measuring tape to check the length of the wall. Mark the measurements on the molding with a pencil. Make sure the marks are clear. Double-check the measurements before you cut.
Using a Miter Saw helps in making precise cuts. Set the saw to the correct angle. Hold the molding firmly in place. Slowly lower the saw to make the cut. Keep fingers away from the blade. Always wear safety glasses while cutting. Make smooth cuts for best results.
Installing The Molding
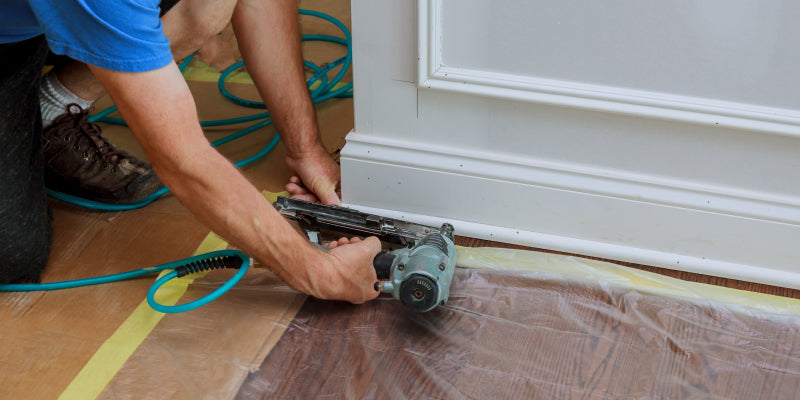
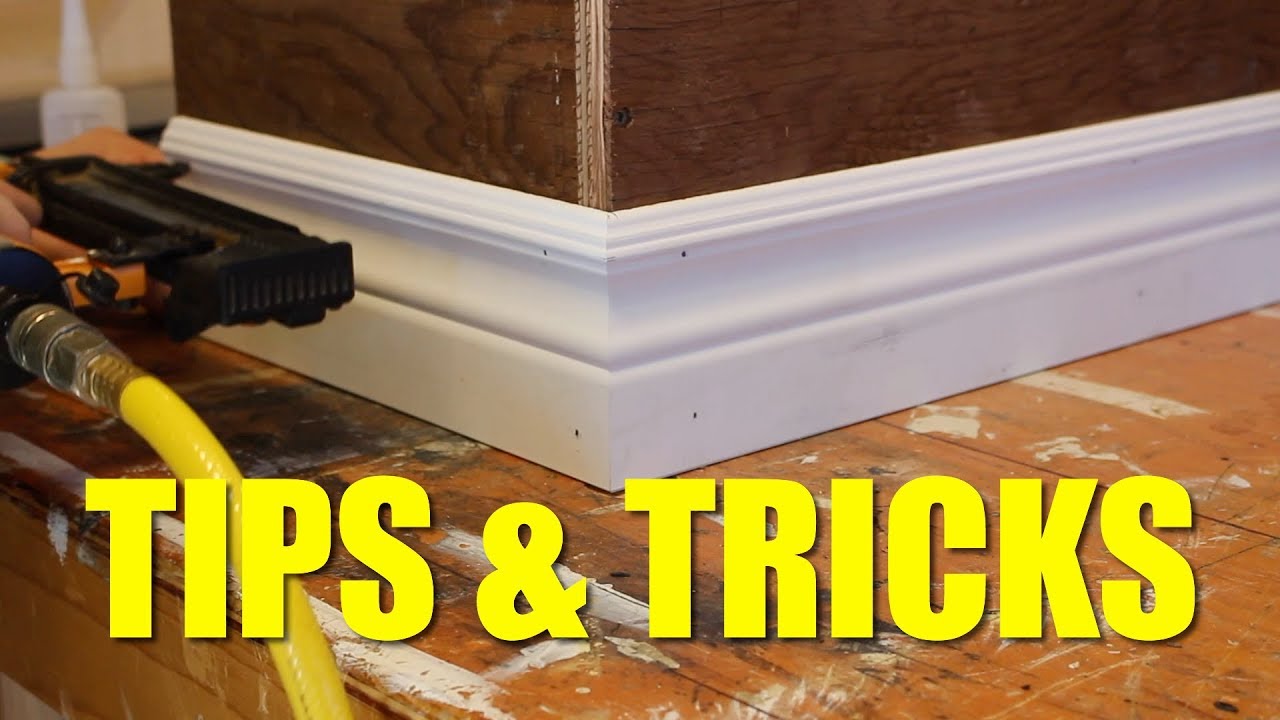
Begin at the corners of the room. Place the molding against the wall. Make sure it fits well. Cut the ends at a 45-degree angle. This helps them meet neatly. Use a miter saw for clean cuts. Double-check your measurements before cutting. Errors can lead to gaps. Work slowly and carefully. Precision is key to a smooth finish.
Secure the molding with nails or adhesive. Nails are strong and hold well. Use a nail gun for quicker work. Place nails every few inches. Push them in deeply. If using adhesive, apply a thin line. Press the molding firmly against the wall. Hold it for a few seconds. This ensures it sticks well. Let it dry completely. Check for any loose spots.
Finishing Touches
Installing molding on the floor adds elegance and a finished look to any room. Start by measuring the area and cutting the molding to fit. Secure it with nails or adhesive, ensuring it aligns perfectly with the floor for a seamless appearance.
Filling Gaps And Nail Holes
Fill the gaps and nail holes with wood filler. Use a putty knife. Make sure to press the filler into the gaps. Allow it to dry. Sand the area for a smooth finish. This makes the molding look neat. Use fine sandpaper for best results.
Painting Or Staining
Choose a color that matches your room. Apply paint or stain with a brush. Keep strokes even and smooth. Let it dry completely. You might need a second coat. This adds a beautiful finish. Makes the molding stand out. Clean up any drips quickly.
Maintenance Tips
Keep the molding clean to make it last longer. Use a soft cloth to wipe dust away. A vacuum cleaner can help with dirt. Use a gentle setting. Avoid using water on the wood. It can cause damage. Use a special cleaner for wood. Read labels before use. This keeps the wood shiny and new.
Small scratches can be fixed easily. Use a wood filler stick. Choose the right color. Rub the stick over the scratch. Smooth the area with a cloth. For bigger damages, you may need help. Sometimes, replacing the piece is best. Always try small fixes first. Protect the molding from heavy hits. This reduces damage over time.
Frequently Asked Questions
What Tools Are Needed For Floor Molding Installation?
To install floor molding, you need a saw, measuring tape, and a hammer. A miter box helps with precise cuts. Use finishing nails or a nail gun for securing. Don’t forget adhesive for better hold. Safety gear, like goggles and gloves, is recommended for protection.
How Do I Measure For Floor Molding?
Measure the room’s perimeter using a measuring tape. Ensure accuracy by noting any irregularities in walls or corners. Mark your measurements clearly on the molding. Double-check before cutting to avoid waste. Accurate measurements ensure a perfect fit for your molding.
Can I Install Molding Myself Or Hire A Pro?
You can install molding yourself with the right tools and patience. It’s a straightforward DIY project. However, hiring a professional ensures precision and saves time. Consider your skill level and available time before deciding. Professionals can handle complex corners better.
What Type Of Molding Is Best For Floors?
Baseboards are the most common choice for floor molding. They offer protection and enhance aesthetics. Choose materials like wood, MDF, or PVC based on budget and style. Consider the room’s moisture level when selecting. Each material has its pros and cons.
Conclusion
Installing molding on the floor enhances the room’s look. It’s a straightforward process that requires patience and attention. Always measure carefully before cutting, ensuring a snug fit. Sanding helps smooth rough edges. Choose nails or glue for secure attachment. Remember, safety first; wear goggles and gloves.
Clean up all debris after completion. You’ll admire your handiwork for years. This project boosts home value and style. With practice, you’ll become more confident in DIY tasks. Enjoy the satisfaction of transforming your space with this simple upgrade.


