
To install luxury vinyl flooring in 5 easy steps, start by preparing a clean, dry, and level subfloor. Measure your room and plan plank layout carefully, adding extra for cuts. Next, cut the planks accurately, ensuring tight joints. Then, lock the planks together while maintaining expansion gaps and staggering seams for stability. Finally, clean your new floor gently and protect it with furniture pads. Follow these essentials, and you’ll be ready to master every detail of the process.
Prepare the Subfloor for Installation
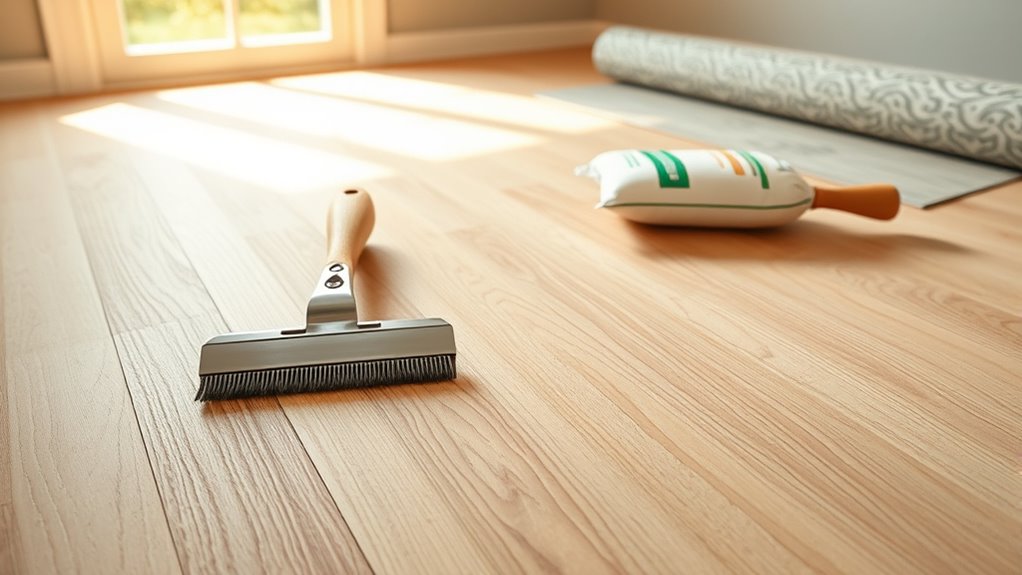
Before you begin installing luxury vinyl flooring, you’ll need to verify the subfloor is clean, dry, and level. Start by identifying the subfloor types in your space—common options include plywood, concrete, or existing vinyl. Each requires different preparation, so knowing what you have is essential. Next, perform moisture testing, especially on concrete subfloors, to guarantee they’re dry enough to prevent future damage. Use a reliable moisture meter and follow manufacturer guidelines for acceptable levels. Remove any debris, nails, or adhesive residues, and patch any holes or uneven areas with a leveling compound. This careful prep gives you the freedom to confidently lay your flooring, knowing it’ll look great and last long without issues caused by an unprepared subfloor.
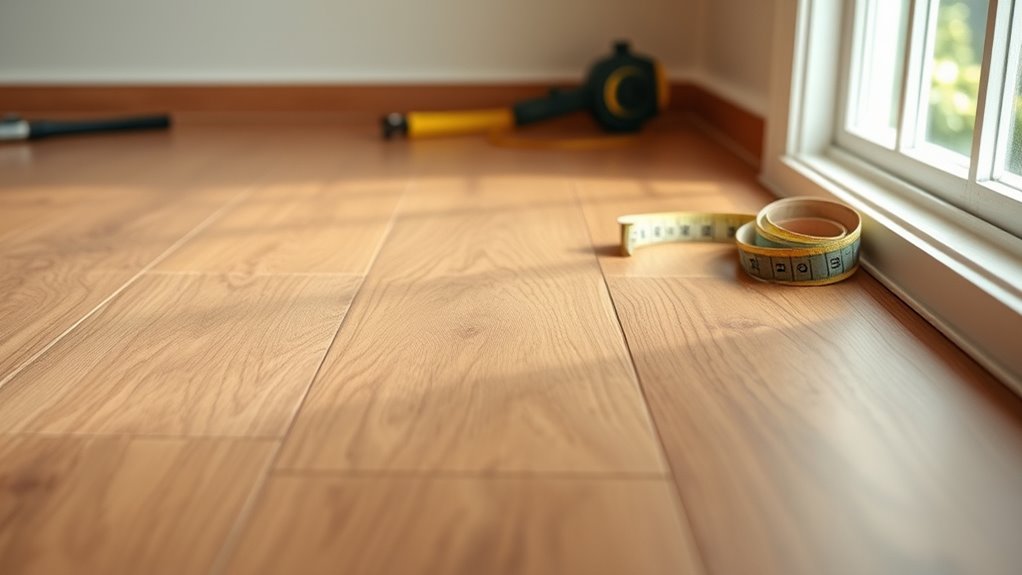
Measure and Plan Your Layout
Start by measuring the room’s length and width accurately to determine how much luxury vinyl flooring you’ll need. Use a tape measure and jot down the floor measurement to calculate the total square footage. Don’t forget to add about 10% extra for cutting waste and mistakes. Next, focus on layout planning—decide the direction you want your planks to run. Usually, running planks parallel to the longest wall or main light source creates a more open feel. Sketch your room’s dimensions and mark where the planks will start and end, ensuring you avoid narrow strips at edges that may look awkward. This planning step gives you freedom to visualize the final look and helps you make precise cuts later. Taking time here guarantees a smooth, professional installation.
Cut and Fit the Luxury Vinyl Planks
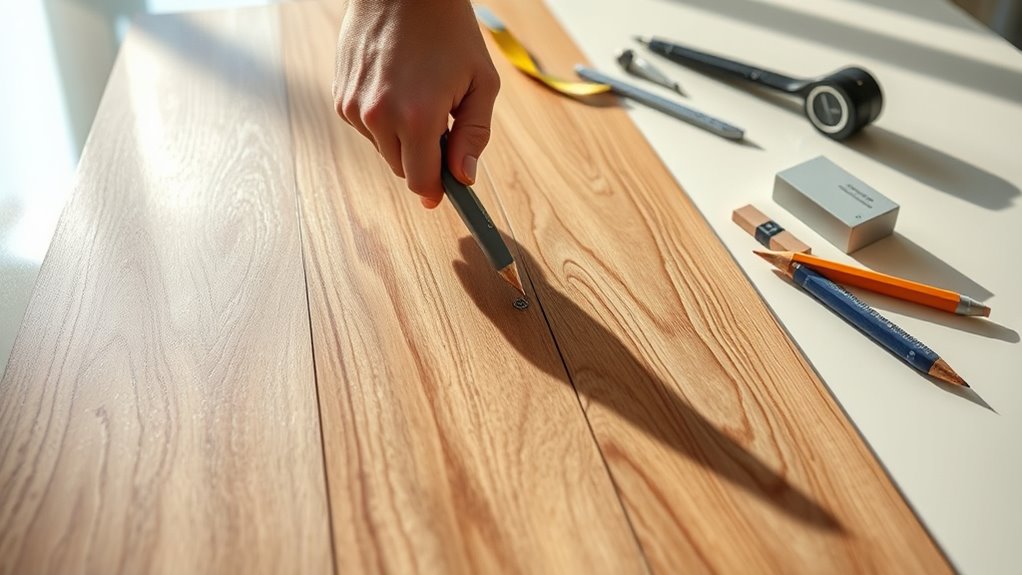
With your layout planned and measurements set, it’s time to cut the luxury vinyl planks to fit your space precisely. Begin by marking each plank where cuts are needed, using a pencil and a straight edge to guarantee accuracy. Employ proper cutting techniques such as scoring with a utility knife and snapping the plank along the score line for clean edges. For irregular spaces or corners, measure twice before cutting to avoid mistakes. Maintaining plank alignment is vital; keep edges straight and joints tight to achieve a seamless look. Use a square tool to verify right angles, especially around doorways or cabinets. Taking your time with cutting and fitting guarantees your flooring will look professional and last longer while giving you the freedom to customize your space perfectly.
Install the Flooring Planks
Lay the first plank carefully along your starting wall, making sure it’s perfectly aligned and snug against the edge. Connect subsequent luxury vinyl flooring options by angling each plank into the previous one, locking them securely. Use spacers to maintain expansion gaps at walls, vital for freedom from buckling. Stagger seams at least 6 inches to enhance stability and aesthetics.
| Step | Action | Tip |
|---|---|---|
| 1 | Lay first plank | Keep it tight to the wall |
| 2 | Angle and lock next plank | Listen for the click |
| 3 | Maintain expansion gaps | Use spacers consistently |
| 4 | Stagger seams | Offset by 6+ inches |
| 5 | Continue across the room | Work methodically for best fit |
This method guarantees a smooth, durable installation of your luxury vinyl flooring options.
Finish and Maintain Your New Floor
Although your luxury vinyl floor is now installed, proper finishing and maintenance are essential to preserve its appearance and durability. Begin by removing all debris and dust with a soft broom or vacuum. Establish a regular cleaning routine using a damp mop and a manufacturer-recommended cleaner to avoid damage. Avoid harsh chemicals or excessive water, which can seep into seams. Attach protective pads to the feet of furniture to prevent scratches and dents when moving items around. Place rugs at entryways to catch dirt and grit that can wear down the surface. Periodically inspect your floor for signs of wear or damage, addressing issues promptly. By following these straightforward steps, you’ll enjoy a beautiful, long-lasting floor that supports your freedom to live and move with ease.


