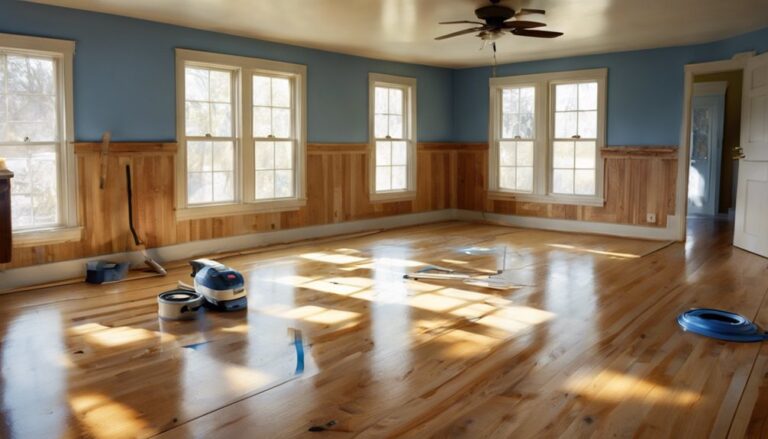
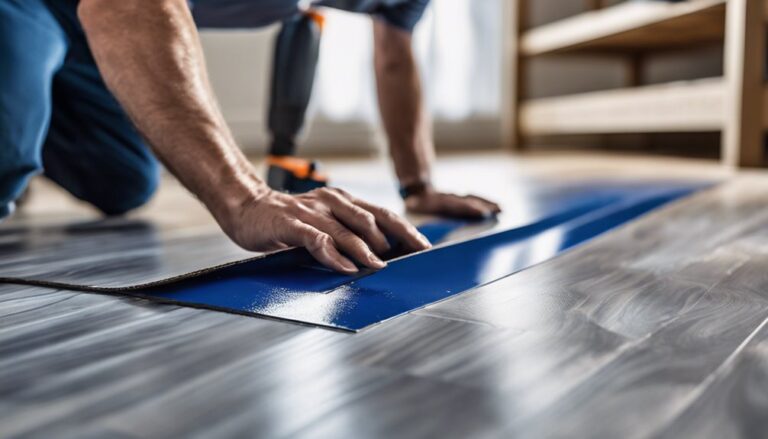
To install linoleum flooring, you'll need tools like a utility knife, measuring tape, and adhesive. First, inspect and prepare your subfloor by ensuring it's clean and dry. Measure your space accurately, then cut the linoleum using a straightedge for precision. Apply the adhesive with a notched trowel, following the manufacturer's guidelines. Once the adhesive is set, lay down the linoleum sheets, rolling them to eliminate air bubbles. Finally, maintain your floor by cleaning regularly to keep it looking fresh. If you're interested in detailed steps or tips, the next part will be beneficial for you.
Gather Necessary Tools and Materials

Before you begin installing linoleum flooring, it's essential to gather all necessary tools and materials. Start with a utility knife for cutting, a straight edge for precision, and a measuring tape for accuracy. You'll also need adhesive, a trowel, and a roller to guarantee proper application.
While you're assembling your tools, consider choosing colors and selecting patterns that complement your space. This step allows you to express your style while making certain the linoleum fits seamlessly into your design. Don't forget safety gear like knee pads and goggles to enhance your comfort during installation. Having everything ready will streamline your process, granting you the freedom to focus on the artistic aspects of your flooring project without interruptions.
Prepare the Subfloor
With your tools and materials ready, the next step is to prepare the subfloor. Begin with a thorough subfloor inspection to identify any damage or irregularities. Look for cracks, bumps, or loose sections that could affect the linoleum's performance.
After that, perform moisture testing to guarantee the subfloor is dry enough for installation. Excess moisture can lead to mold and deterioration, so it's essential to check this.
Here's what to focus on:
- Clear debris and dust from the area.
- Repair any cracks or holes.
- Level uneven surfaces.
- Allow the subfloor to dry completely.
Once you've completed these steps, you'll create a solid foundation for your linoleum flooring, guaranteeing a long-lasting installation.
Measure and Cut Linoleum

As you prepare to install your linoleum flooring, accurately measuring and cutting the material is essential to achieving a seamless fit. Begin by measuring your space meticulously, accounting for corners and edges. Note the dimensions and transfer them to your linoleum, ensuring you consider the specific linoleum types you're using, as thickness can vary. Use a straightedge and a sharp utility knife for clean cuts, employing appropriate cutting techniques like scoring and snapping for larger sheets. If your layout requires intricate cuts, a jigsaw may be necessary. Always double-check measurements before cutting; it's better to cut less initially and trim more as needed. Precision in this step will lead to a polished, professional-looking installation.
Apply Adhesive
Once you've measured and cut your linoleum, the next step is applying adhesive to secure it in place. Choosing the right adhesive types is essential for peak performance. Generally, you'll encounter:
- Pressure-sensitive adhesive: Ideal for easy repositioning.
- Full-spread adhesive: Best for permanent installations.
- Water-based adhesive: Environmentally friendly choice.
- Tile adhesive: Suitable for smaller sections or tiles.
Application techniques vary based on the adhesive you choose. Use a notched trowel for full-spread adhesives to guarantee even coverage. For pressure-sensitive types, apply a thin, uniform layer with a roller. Always follow manufacturer guidelines for drying times and conditions. This careful preparation will assure your linoleum adheres properly, allowing you the freedom to enjoy your new flooring without concerns.
Install Linoleum Sheets

Start by carefully positioning the linoleum sheets in the designated area, making certain they fit snugly against the walls and other surfaces. Depending on the linoleum types you've chosen, lift one sheet carefully and press it into the adhesive, starting from the center and working outward to eliminate air bubbles. Use a roller or your hands to smooth the sheet down. Repeat this process for each subsequent sheet, aligning the design patterns to create a seamless look. Trim any excess material along the edges with a utility knife for a clean finish. Make sure all seams are tight and well-adhered to prevent moisture from seeping underneath. This methodical approach will help you achieve a professional-looking installation that showcases your chosen linoleum styles.
Finish and Maintain the Floor
To guarantee your linoleum floor remains in prime condition, establish a regular cleaning schedule. Avoid using harsh chemicals that could damage the surface, and promptly address any scratches or dents to maintain its appearance. Following these guidelines will prolong the life of your flooring and keep it looking new.
Regular Cleaning Schedule
While maintaining the beauty and longevity of your linoleum flooring may seem intimidating, establishing a regular cleaning schedule is essential for ideal care. To guarantee your linoleum stays in top shape, consider these maintenance tips regarding cleaning frequency:
- Daily: Sweep or vacuum to remove dirt and debris.
- Weekly: Mop with a damp cloth or a linoleum-safe cleaner.
- Monthly: Check for any stains and treat them promptly.
- Annually: Apply a protective coat to retain shine and durability.
Avoid Harsh Chemicals
Since linoleum flooring is sensitive to harsh chemicals, it's essential to choose cleaning products wisely to maintain its integrity and appearance. Instead of using abrasive or toxic cleaners, opt for eco-friendly alternatives that effectively clean without damaging the surface. Products made from natural ingredients can help preserve the linoleum benefits, such as its durability and aesthetic appeal. Regularly using these gentle cleaners not only extends the life of your floor but also contributes to a healthier indoor environment. Always check labels to verify the products are safe for linoleum, and avoid anything with ammonia or bleach. By making informed choices about cleaning supplies, you'll guarantee your linoleum remains beautiful and functional for years to come.
Repairing Scratches and Dents
Even with careful maintenance, scratches and dents can occur on linoleum flooring due to everyday wear and tear. Addressing these issues promptly guarantees your floor remains visually appealing and functional. For effective scratch removal and dent repair, follow these steps:
- Clean the affected area thoroughly.
- Use a linoleum repair kit that matches your floor color.
- Apply the filler for dents and smoothen it out.
- Buff out scratches with fine sandpaper or a specialized scratch remover.
Always test any product in an inconspicuous area first. Regular inspections and timely repairs will keep your linoleum looking fresh and extend its life. Empower yourself with these maintenance techniques to enjoy your flooring without worry.
Frequently Asked Questions
Can I Install Linoleum Over Existing Flooring?
Yes, you can install linoleum over existing flooring, but there're pros and cons to take into account. The main advantage is saving time and effort on removal, while a downside might be uneven surfaces affecting the final look. For installation tips, make sure the existing floor is clean, dry, and level. You might also want to use an underlayment to improve comfort and sound absorption. Always check local guidelines to guarantee compliance with installation standards.
How Long Does Linoleum Flooring Last?
Linoleum flooring typically lasts between 20 to 40 years, depending on its quality and the maintenance you provide. To maximize linoleum lifespan, guarantee you clean it regularly and avoid abrasive cleaners. Using mats in high-traffic areas can also help prevent wear. By following these maintenance tips, you can enjoy a durable and stylish floor for many years. Remember, proper care is key to getting the most out of your linoleum.
Is Linoleum Flooring Waterproof?
Linoleum flooring isn't entirely waterproof, but it offers some water-resistant benefits. While it can withstand spills and moisture, prolonged exposure to water may cause damage. If you're looking for waterproof materials, consider alternatives like vinyl flooring. However, linoleum's natural composition, which includes linseed oil, makes it a durable option for areas with occasional moisture. For maximum performance, guarantee proper sealing and maintenance, allowing you the freedom to enjoy your space without worry.
What Is the Best Way to Clean Linoleum Flooring?
You might think cleaning linoleum flooring is a breeze, but it can be a bit tricky. For the best results, use gentle cleaning methods like a mix of warm water and a few drops of dish soap. Avoid harsh chemicals that could damage the surface. Regular maintenance tips include sweeping or vacuuming frequently to prevent dirt buildup. With the right approach, you can keep your floors looking fresh and prolong their lifespan.
Can I Use Linoleum in High-Moisture Areas?
Yes, you can use linoleum in high-moisture areas, but it's essential to choose a moisture-resistant variety. For best results, guarantee proper installation by applying a suitable underlayment that enhances moisture resistance. Additionally, use adhesive recommended for wet environments, and maintain proper sealing around edges to prevent water infiltration. Regular maintenance will extend its lifespan, allowing you the freedom to enjoy your flooring without constant worry about damage from moisture.


