Are you tired of your old, worn-out floors and ready for a change? Installing Lifeproof flooring could be the perfect solution for you.
Known for its durability and water-resistant qualities, Lifeproof flooring is a top choice for many homeowners who want both beauty and practicality. But how do you install it yourself without any hassle? Don’t worry—you’ve come to the right place. In this guide, we’ll walk you through each step of the installation process, ensuring you have all the tips and tricks to make your project a success.
Whether you’re a seasoned DIY enthusiast or a complete beginner, by the end of this article, you’ll feel confident and ready to transform your space with Lifeproof flooring. Let’s get started and unlock the secrets to a stunning new floor that will elevate your home’s style and functionality!
Tools And Materials Needed
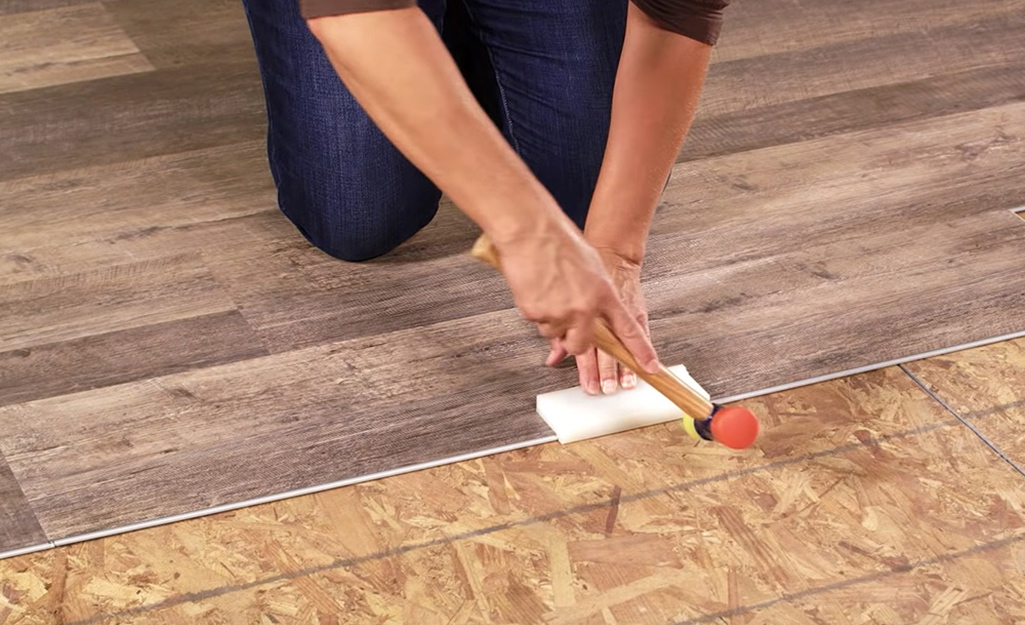
Installing Lifeproof flooring is fun and easy. You need basic tools and materials. A tape measure helps you measure spaces correctly. A utility knife is needed for cutting the flooring. You will need a rubber mallet to tap the planks into place. A tapping block is also necessary. It keeps the edges safe while tapping. Use a pull bar for tight spots.
You need spacers to keep the planks even. A pencil helps mark cuts and measurements. Don’t forget the underlayment for comfort and noise reduction. Keep a cleaning cloth nearby to wipe any dirt. Safety goggles protect your eyes during work. Ensure you have enough flooring planks to cover the area.
Preparing The Subfloor
Make sure the surface is clean. Remove all dirt and dust. Sweep the floor well. Use a damp cloth to wipe the area. Let it dry completely.
The floor must be flat and even. Use a level tool to check. Find any high or low spots. Sand down high areas. Fill low areas with a floor patch.
Check the floor for moisture levels. Use a moisture meter. The reading should be low. Too much moisture can cause damage. Make sure the floor is dry.
Acclimating The Flooring
Let the flooring rest in the room. It needs time to adjust. The ideal time is 48 hours. This helps the flooring adapt to the room’s climate. Temperature and moisture can change the size of the flooring. Acclimation ensures it fits well after installation.
Keep the flooring boxes closed during this time. Place them flat on the floor. Maintain a stable room temperature. It should be between 60 and 80 degrees Fahrenheit. This helps the flooring get used to the room’s conditions. Proper acclimation leads to better results. The flooring will last longer and look great.
Planning The Layout
Proper planning of your Lifeproof flooring layout ensures a seamless installation. Start by measuring the room dimensions accurately. Arrange the flooring pieces to minimize cuts and ensure a balanced look.
Measuring The Room
Start by measuring the room. Use a tape measure for accuracy. Write down the length and width. Multiply them to find the square footage. This helps you know how much flooring you need. Measure twice to be sure. Check for odd shapes or corners. These need extra care. Use graph paper to sketch the room layout. Draw the room shape and include doors or closets. This visual guide helps in planning.
Determining The Starting Point
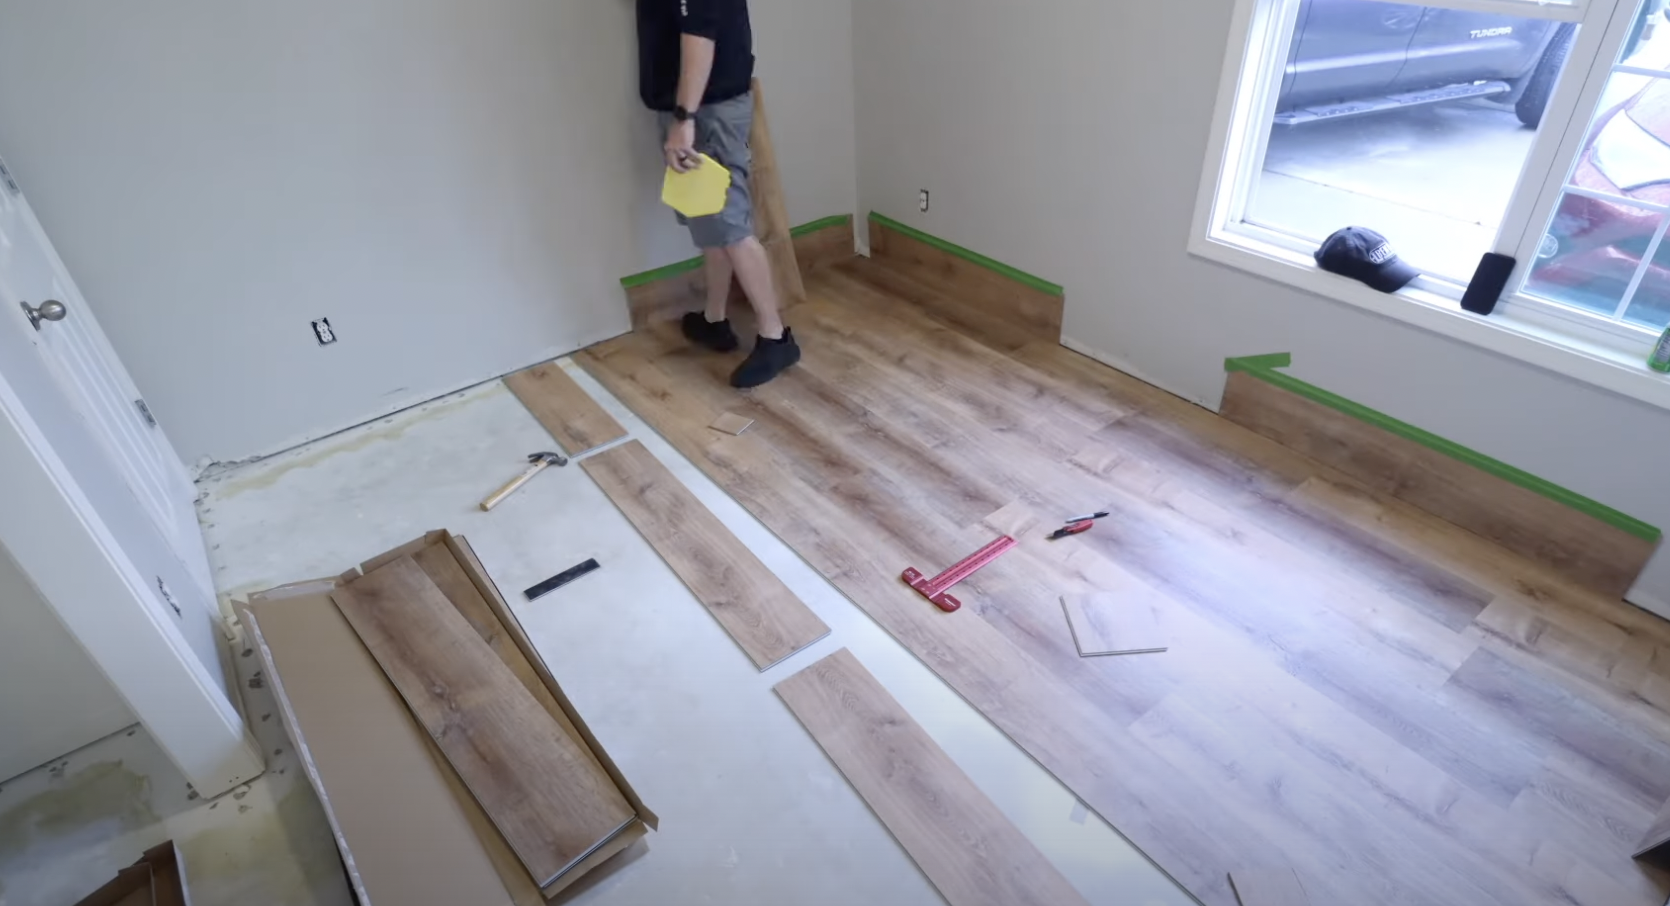
Choose a starting point for your flooring. Usually, begin at the longest wall. This makes the room look bigger. Check if the wall is straight. Use a chalk line if needed. Mark the first plank position. Leave space for expansion gaps. This helps prevent buckling. Make sure the first row is straight. Use spacers for even gaps. This ensures a neat finish. Double-check alignment before moving on.
Installing The First Row
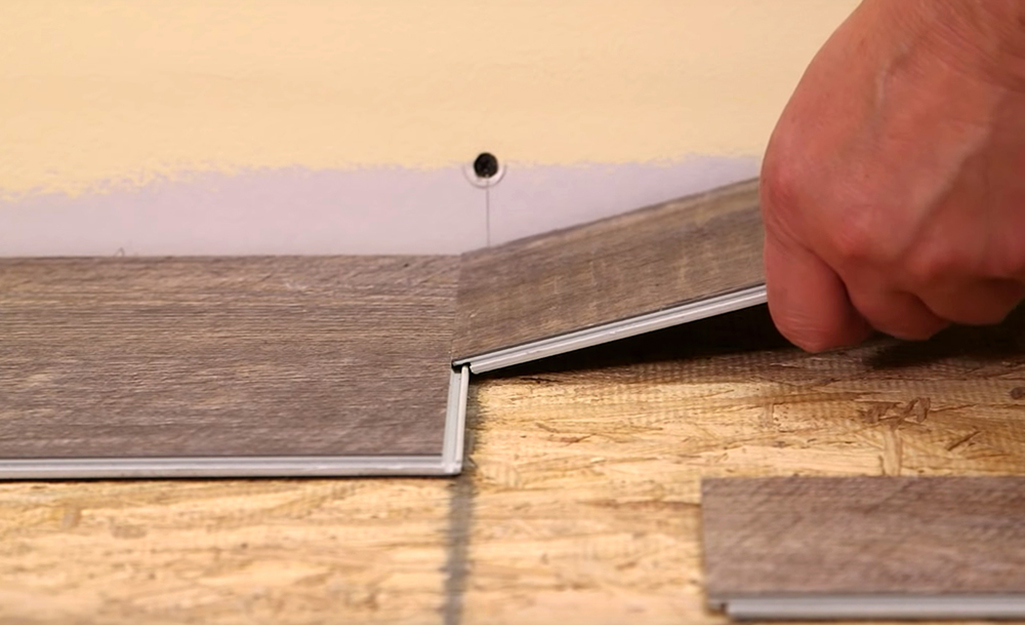
Begin by placing spacers between the wall and flooring. This keeps the floor stable. Spacers help the floor expand and contract. Ensure each spacer is evenly placed. Use a ruler to check the gaps. Proper spacing avoids future issues.
Start with the first plank. Align it carefully with the spacers. Make sure it sits straight. Check its position before moving to the next plank. Each plank should fit tightly with the previous one. Use a tapping block if needed. Proper alignment ensures a smooth surface.
Continuing The Installation
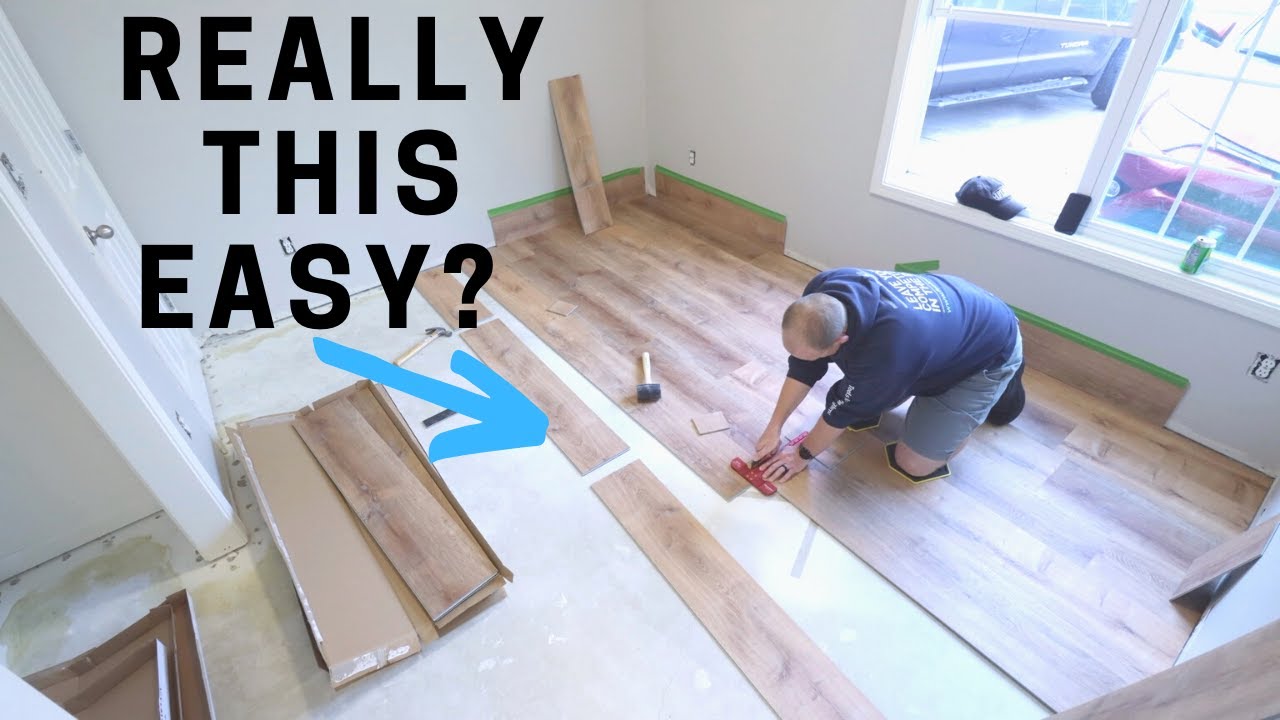
Staggering planks is very important. It makes the floor look nice. Start with a full plank. Then use a half plank next. This pattern adds strength to the floor. Avoid lining up seams in different rows. It may cause weak spots. Gaps between planks should be small. Follow the plan for each row.
Cutting planks to fit is simple. Measure the space carefully. Use a pencil to mark the plank. A sharp saw is best for cutting. Cut slowly to keep edges smooth. Check the fit before placing. Adjust if needed for a snug fit. Proper cutting makes installation easy.
Installing Around Obstacles
Doorways can be tricky areas. First, measure the doorway carefully. You need to cut the flooring to fit perfectly. Use a saw to trim the planks. Ensure the edges are smooth. Sand any rough spots. Test the piece by placing it in the doorway. It should fit snugly. If it does not, trim a bit more. Always take your time. A good fit is important. It makes the floor look nice. Remember to leave a small gap. This is for the floor to expand.
Fixtures can be sinks or pipes. These need special care. First, measure the fixture. Then mark the flooring where it needs cutting. Use a jigsaw for curved cuts. It helps to cut precisely. Check the fit by placing the piece. If needed, trim again. Once it fits, secure it in place. Make sure there is enough gap. This allows the floor to move. Always check the fit twice. Cutting too much can waste material.
Finishing Touches
Installing Lifeproof flooring adds elegance to any room. Start by preparing the subfloor for a smooth finish. Carefully lay each plank, ensuring a snug fit to enhance durability. Enjoy a beautiful and lasting floor with these finishing touches.
Installing Baseboards
Baseboards make the room look complete. First, measure each wall. Then, cut the baseboards to fit. Use a saw for straight cuts. Next, place the baseboard against the wall. Ensure it aligns with the floor. Use a nail gun to secure it in place. Remember to check for gaps. Fill any with caulk. Let the caulk dry. Paint the baseboards for a polished look. Choose a color that matches the room. This step makes the flooring look neat.
Cleaning The Surface
Cleaning the floor is very important. Dust and dirt can harm it. Use a soft broom first. Sweep the entire floor. Next, use a damp mop. Avoid soaking the mop too much. Excess water can damage the floor. Use a cleaner made for Lifeproof flooring. It keeps the surface shiny. Clean corners well. Dirt often hides there. Finally, let the floor dry fully. This keeps your floor looking new and beautiful.
Frequently Asked Questions
How Do I Prepare My Floor For Installation?
Start by cleaning the subfloor thoroughly, removing any debris. Ensure the subfloor is dry and level. You may need to sand down high spots or fill low spots. Acclimate your Lifeproof flooring in the room for 48 hours before installation to prevent any expansion or contraction issues.
Can Lifeproof Flooring Be Installed Over Existing Floors?
Yes, Lifeproof flooring can be installed over most existing floors, including tile and vinyl. Ensure the existing floor is clean, dry, and level. Remove any loose or damaged sections before installation. This helps ensure a smooth, long-lasting finish and prevents any future complications.
Do I Need Underlayment For Lifeproof Flooring?
Lifeproof flooring often comes with an attached underlayment, eliminating the need for additional underlayment. This simplifies the installation process and provides comfort and sound absorption. However, always check the manufacturer’s guidelines for specific recommendations based on your subfloor type.
How Do I Cut Lifeproof Flooring Panels?
Use a utility knife or a laminate flooring cutter to score and snap the panels. For intricate cuts, a jigsaw or a circular saw can be used. Always wear safety goggles when cutting and ensure measurements are accurate to avoid wastage.
Conclusion
Installing Lifeproof flooring is simple and rewarding. This flooring adds style and durability to any room. Follow the steps, and you’ll have a fresh look. Preparation is key, so gather tools before starting. Measure twice to avoid mistakes. Clean the area for a perfect finish.
Enjoy the sturdy and water-resistant benefits. These floors handle daily wear well. They look great, and they’re easy to maintain. Take pride in your new space. With Lifeproof flooring, you achieve a neat and professional result. Now, step back and admire your work!


