Are you planning to give your floor a stunning makeover? Glue down vinyl plank flooring could be the perfect choice for you.
It’s durable, attractive, and adds a touch of elegance to any room. Plus, installing it yourself can save you a lot of money. But where do you start? Don’t worry, you’re about to discover the secrets to a flawless installation.
Imagine walking on a floor that you installed yourself, feeling the pride and satisfaction with every step. This guide will walk you through the process, making it simple and straightforward. You’ll learn the essential tips and tricks to avoid common mistakes and ensure your floor looks perfect. Get ready to transform your space and enjoy the beauty of vinyl plank flooring. Let’s get started!
Choosing Materials
Choose a style that matches your home. Vinyl planks come in many colors and textures. Some look like wood, while others look like stone. You can find both wide and narrow planks. Think about the room’s use and lighting. Bright rooms might need darker planks. Dark rooms might need lighter planks.
Gather tools before starting. You need a tape measure and a utility knife. A straight edge helps cut straight lines. Use a trowel to spread glue. Keep a rubber mallet handy. It helps tap planks into place. Have a clean cloth for wiping glue. Safety gear like gloves and goggles are also important.
Underlayment can reduce noise. It can also add warmth. Some vinyl planks have built-in underlayment. Others need separate underlayment. Make sure it is moisture-resistant. This is important in wet areas. Kitchens and bathrooms need special care. Check the manufacturer’s advice on underlayment. Follow it for best results.
Preparing The Subfloor
Dirt and debris can cause problems for flooring. Begin by sweeping the floor well. Use a mop with warm soapy water for a deeper clean. Ensure the floor is completely dry before moving on. Wet floors can be slippery and unsafe.
Uneven floors can make vinyl planks look bad. Check for high or low spots with a level tool. Sand down high areas if needed. Fill low spots with a leveling compound. Make sure the floor is flat.
Cracks and holes can weaken the floor. Use a filler product to fix them. Apply the filler and let it dry. Smooth the surface with sandpaper. Ensure the floor is ready for vinyl planks.
Acclimating Vinyl Planks
Vinyl planks need time to adjust to the room temperature. Leave them in the room for at least 48 hours. This helps them fit better when you install them. Keep the room at a normal temperature. Around 65 to 85 degrees Fahrenheit is good. This stops the planks from expanding or shrinking later.
Stack the planks in small piles. Do not keep them in the box. This allows air to reach all sides. Check the planks for any damage before installation. Fix or replace any damaged pieces. Preparing the planks is an important step. It ensures a smooth and durable floor.

Planning The Layout
Measure each wall carefully. Write down the numbers. Use a tape measure. Check corners for odd shapes. Make sure measurements are correct. Double-check your work.
Draw a simple sketch of the room. Include doors and windows. Plan where to start. Think about the direction of the planks. Mark spots for cuts. Avoid narrow strips at the edges.
Choose a starting wall. Use a pencil. Draw a straight line along the wall. Make sure it’s straight. This line helps guide you. Start here when laying planks.
Applying Adhesive
Picking the correct adhesive is very important. Make sure it is compatible with your vinyl planks. Some adhesives work better in damp areas. Others are best for dry places. Read the labels carefully. Ask a store expert if unsure. They can help pick the right one. The correct choice ensures a strong bond.
Spreading the adhesive is key. Use a notched trowel. This tool helps spread it evenly. Start at one corner of the room. Work your way across. Apply a thin, even layer. Avoid leaving lumps or gaps. They cause bumps in the floor. Take your time. Ensure it’s smooth and flat. This makes the planks stick well.
Installing The Planks
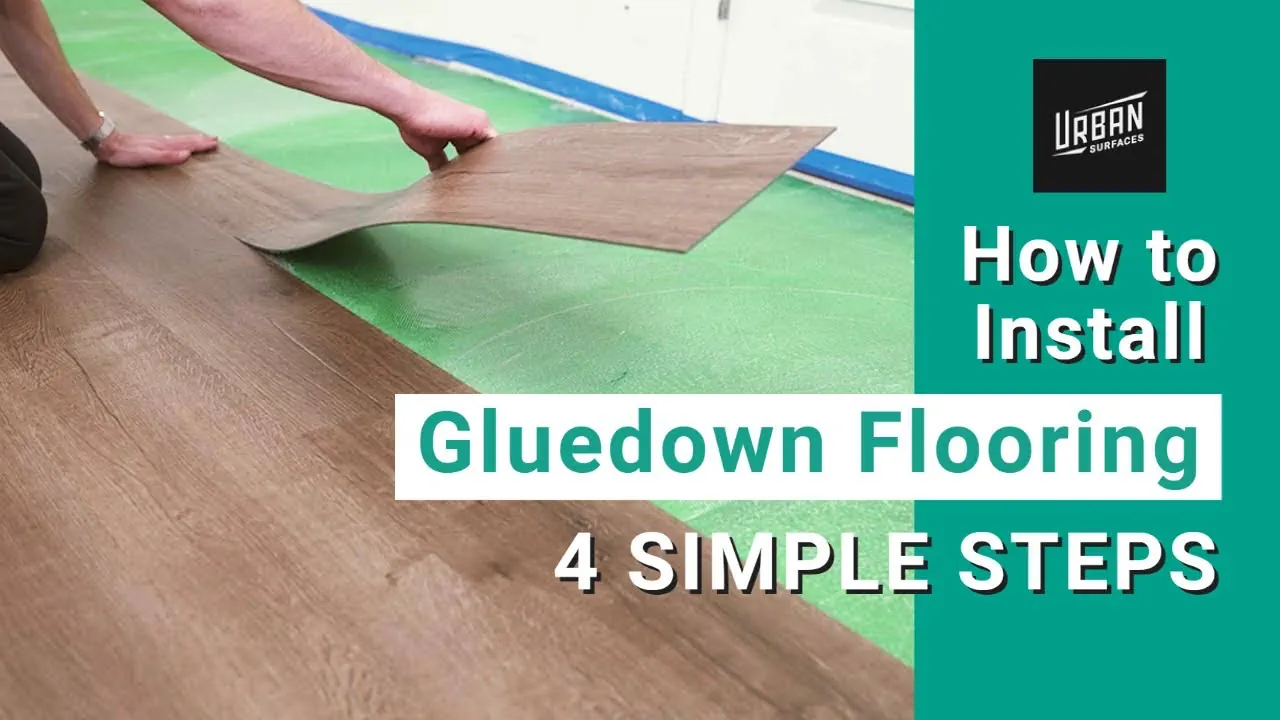
Begin by cleaning the floor. Remove all dust and dirt. Apply glue evenly on the floor. Use a trowel for this task. Place the first plank in a corner. Press it down firmly. Ensure there are no air bubbles.
Measure the space carefully. Mark the plank where you need to cut. Use a utility knife or saw. Cut slowly and carefully. This helps in keeping the plank straight. Always wear safety gloves when cutting.
Align each plank with the one beside it. Use spacers to keep gaps even. Check with a straightedge. This will ensure the planks are straight. Adjust if needed. Take your time to get it right.
Sealing The Edges
Transition strips help cover gaps between floors. They join different floor types. Choose a strip that fits your needs. Measure the gap for a perfect fit. Cut the strip carefully. Use a saw for clean edges. Place the strip over the gap. Press down firmly. Ensure it is straight. Nail or glue the strip into place. Follow instructions from the strip package. Ensure it is secure. No movement should occur. Transition strips help prevent dust and dirt. They make floors look neat and tidy.
Sealant keeps water away. It protects the edges of vinyl floors. Clean the edges first. Dirt and dust can affect the sealant. Use a clean cloth to wipe them. Choose a sealant that is safe for vinyl. Read the label for details. Apply the sealant with a brush. Cover the edges completely. Do not miss any spots. Let the sealant dry. Check the label for drying time. Sealant helps keep floors safe and looking new.
Finishing Touches
Cleaning the floor is important after installation. Use a soft broom to remove dust. Wipe the floor with a damp cloth. Avoid soaking the floor with water. Dry the surface with a clean towel.
Inspecting for gaps helps ensure a smooth finish. Walk around the room carefully. Look for any spaces between planks. Press down gently if gaps appear. Repeat until the floor looks even.
Allowing adhesive to cure is crucial for durability. Do not walk on the floor immediately. Let the glue dry completely. This may take several hours. Check the manufacturer’s instructions for exact timing.
Maintenance Tips
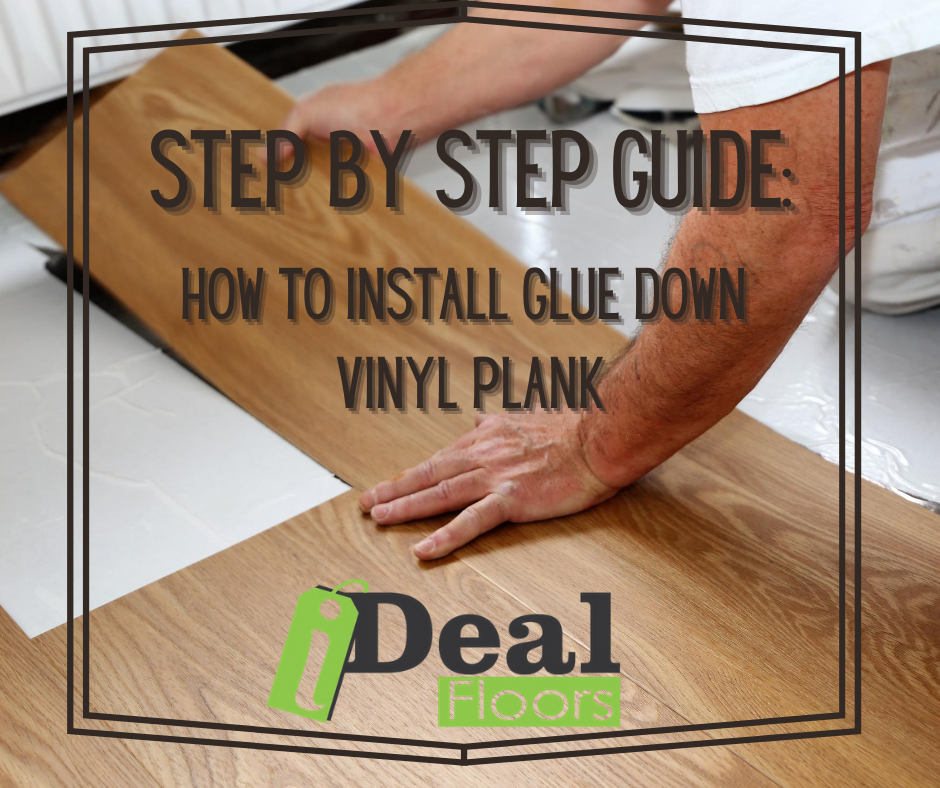
Start by cleaning and leveling the surface before installing glue down vinyl plank flooring. Carefully spread adhesive, ensuring even coverage. Press planks firmly, aligning edges for a seamless finish.
Regular Cleaning Routine
Clean vinyl plank flooring often. Use a soft broom or vacuum. Wet mop weekly with warm water. Dry the floor after mopping. Avoid harsh chemicals. They can harm the floor.
Preventing Damage
Place mats at doors. They trap dirt and debris. Use furniture pads. They prevent scratches. Avoid dragging heavy items. Lift them instead. Keep pet nails trimmed. They can scratch the floor.
Handling Repairs
Small scratches can be fixed. Use a vinyl repair kit. Follow the instructions. Replace damaged planks if needed. Buy extra planks when installing. Keep them for future repairs. Contact professionals for major repairs.
Frequently Asked Questions
How Do I Prepare The Subfloor For Vinyl Planks?
To prepare the subfloor, clean it thoroughly, removing all debris and dust. Ensure it’s level and dry, repairing any imperfections. Use a self-leveling compound if needed. This will ensure the vinyl planks adhere properly and provide a smooth finish.
What Adhesive Is Best For Vinyl Plank Flooring?
Use a high-quality adhesive specifically designed for vinyl plank flooring. These adhesives provide strong, long-lasting bonds. Ensure it’s suitable for your specific subfloor type. Follow the manufacturer’s recommendations for best results, ensuring the flooring remains secure and stable over time.
Can I Install Vinyl Planks Over Concrete?
Yes, vinyl planks can be installed over concrete. Ensure the concrete is clean, dry, and level. Use a moisture barrier if necessary to prevent moisture issues. Proper preparation will ensure a smooth installation and long-lasting results.
Do I Need A Moisture Barrier For Vinyl Planks?
A moisture barrier is recommended if installing over concrete or in moisture-prone areas. It prevents moisture-related issues like warping. Always check the manufacturer’s guidelines to ensure compatibility. This extra step can significantly prolong the life of your flooring.
Conclusion
Installing glue down vinyl plank flooring can transform your space. It offers durability and easy maintenance. With the right tools, the process becomes simple. Proper preparation is essential for success. Follow each step carefully to ensure a smooth finish. Enjoy the new look and feel of your floors.
Admire the modern touch it brings to your home. This flooring choice is practical and stylish. Perfect for any room. Now, it’s time to take pride in your hard work. Your new floors await, adding charm and value to your living space.


