To install floor vinyl in seven easy steps, start by gathering your chosen vinyl type and essential tools like a utility knife, tape measure, and adhesive. Next, prepare your subfloor by cleaning and leveling it. Measure your space carefully and cut the vinyl with precision. Apply adhesive or use peel-and-stick vinyl, then lay down the flooring starting from a corner. Smooth out any bubbles, trim excess edges, and finish neatly. Follow these steps to confidently refresh your floor with a professional touch.
Gather Your Materials and Tools
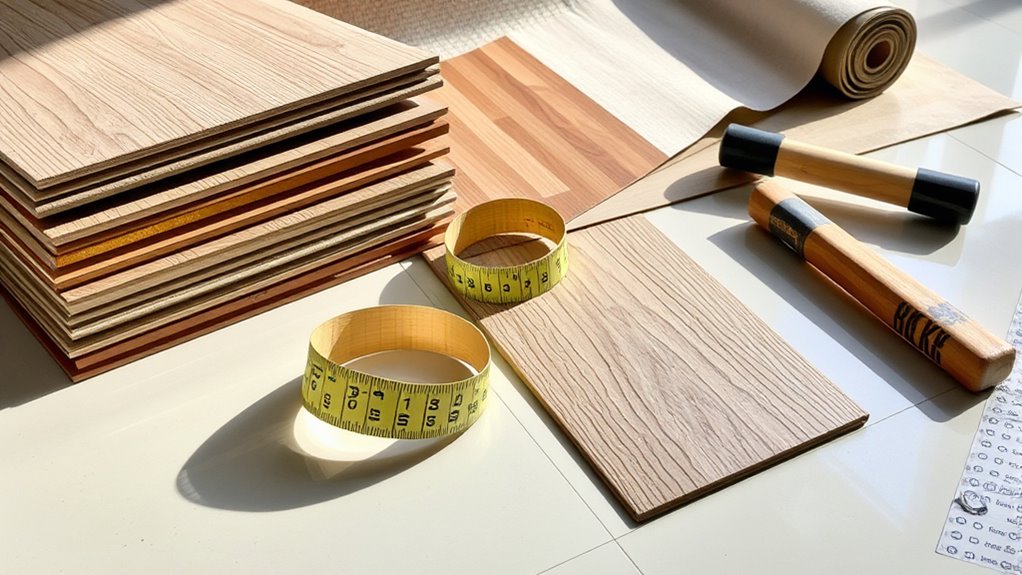
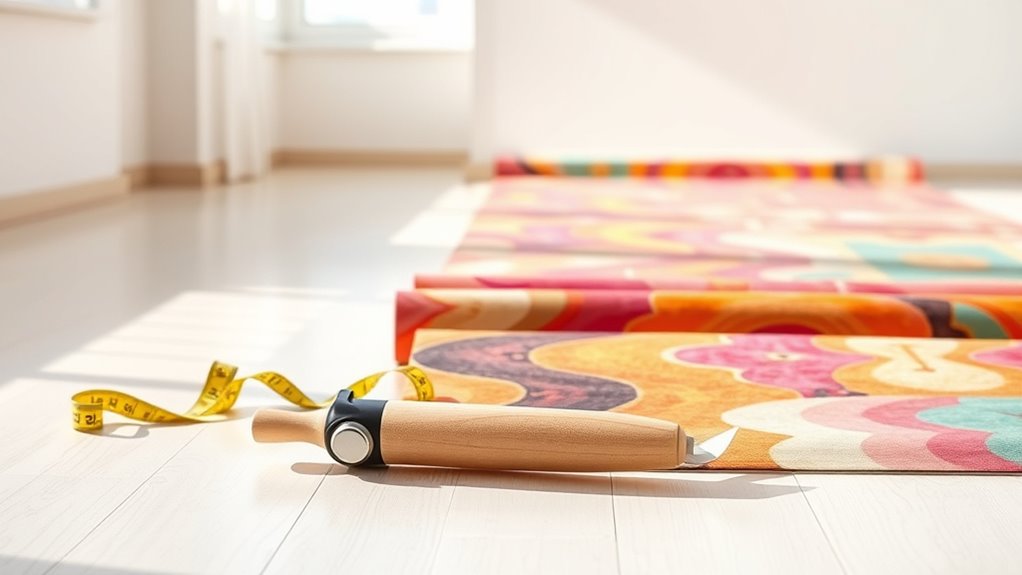
Before you begin installing floor vinyl, you’ll need to gather all the necessary materials and tools to guarantee a smooth process. Start by choosing the right material types: vinyl sheets, tiles, or planks, depending on your style and room needs. Each material type has specific installation requirements, so pick one that matches your skill level and desired finish. For tool selection, make sure you have a utility knife for precise cutting, a straightedge for accurate measurements, a roller to secure the vinyl firmly, and adhesive suited to your chosen vinyl type. Don’t forget a tape measure and a chalk line for layout accuracy. Having the correct materials and tools ready will save you time and help you achieve a professional-looking floor with the freedom to customize your space.
Prepare the Subfloor Surface
Even if you’ve gathered the best materials, your floor vinyl won’t lay properly unless the subfloor is perfectly prepared. Start by identifying the subfloor types—common ones include plywood, concrete, or existing vinyl. Each requires specific surface preparation. For plywood, make certain it’s clean, dry, and free of nails or splinters. Concrete subfloors must be level, smooth, and fully cured; patch any cracks or holes. Remove any dust, dirt, or grease using a vacuum and mild detergent. If the surface is uneven, sand or use a leveling compound. Proper surface preparation prevents bubbles, wrinkles, and premature wear, giving you the freedom to enjoy a flawless vinyl floor. Taking these steps guarantees your installation is smooth and long-lasting.
Measure and Cut the Vinyl Flooring
Before laying your vinyl, you’ll need to measure your space carefully to guarantee a perfect fit. Use a tape measure and mark your vinyl with a pencil or chalk for precise cutting. Choose a sharp utility knife or vinyl cutter to trim the flooring accurately along your marked lines.
Accurate Measurement Techniques
Although measuring vinyl flooring might seem straightforward, getting precise dimensions is essential to avoid costly mistakes and material waste. To master accurate measurement techniques, start by:
- Using a reliable tape measure to record the length and width of the room, measuring at multiple points to account for any irregularities.
- Marking your measurements clearly on the vinyl backing with a pencil or chalk, ensuring you account for any obstacles like doorways or vents.
- Adding an extra inch or two to each measurement for trimming and fitting, giving you the freedom to adjust as needed without running short.
Selecting Proper Cutting Tools
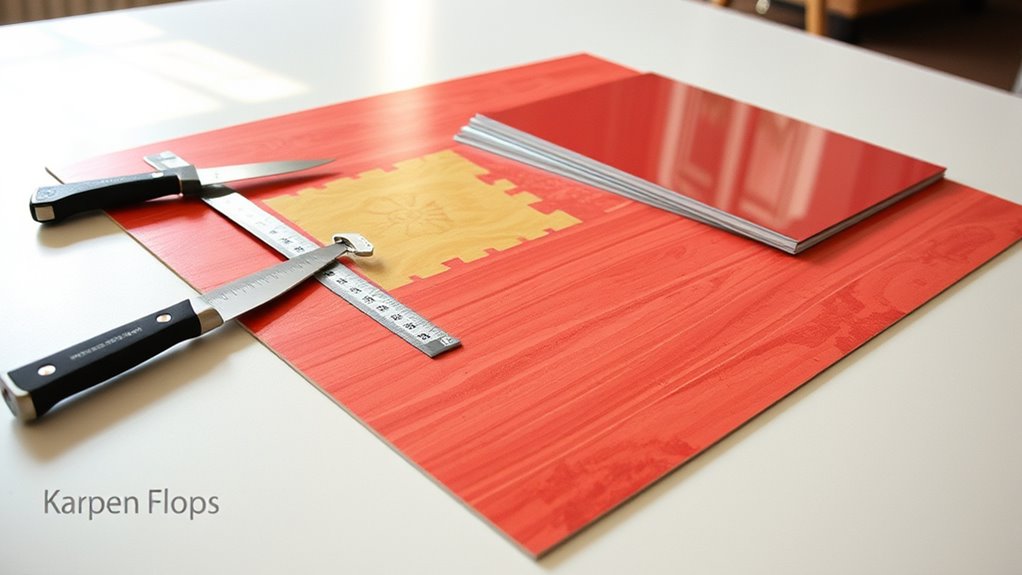
Once you’ve measured and marked your vinyl flooring accurately, the next step is choosing the right tools to cut it precisely. For clean, straight cuts, a sharp utility knife is essential. Make sure to replace blades regularly to maintain accuracy and prevent tearing. A metal straightedge will help guide your cutting, ensuring lines stay true. For more intricate cuts, consider using vinyl cutters or heavy-duty scissors designed for precision. Remember, mastering proper cutting techniques not only improves the look but also saves material. Don’t forget tool maintenance—keep blades clean and sharp, and store tools safely to extend their lifespan. With the right tools and upkeep, you’ll enjoy freedom and confidence while shaping your vinyl flooring perfectly.
Cutting Vinyl to Shape
Start by carefully measuring the area where you’ll lay the vinyl flooring, double-checking your dimensions to guarantee accuracy. Next, it’s time to cut the vinyl to shape, keeping your chosen vinyl patterns in mind to maintain a seamless look. Follow these cutting techniques for the best results:
- Use a straightedge or ruler to guide your cuts, ensuring clean, precise lines.
- Score the vinyl lightly with a utility knife before cutting through fully, especially on thicker materials.
- For complex shapes, make small, incremental cuts to avoid mistakes and preserve the pattern alignment.
Apply Adhesive or Peel-and-Stick Vinyl
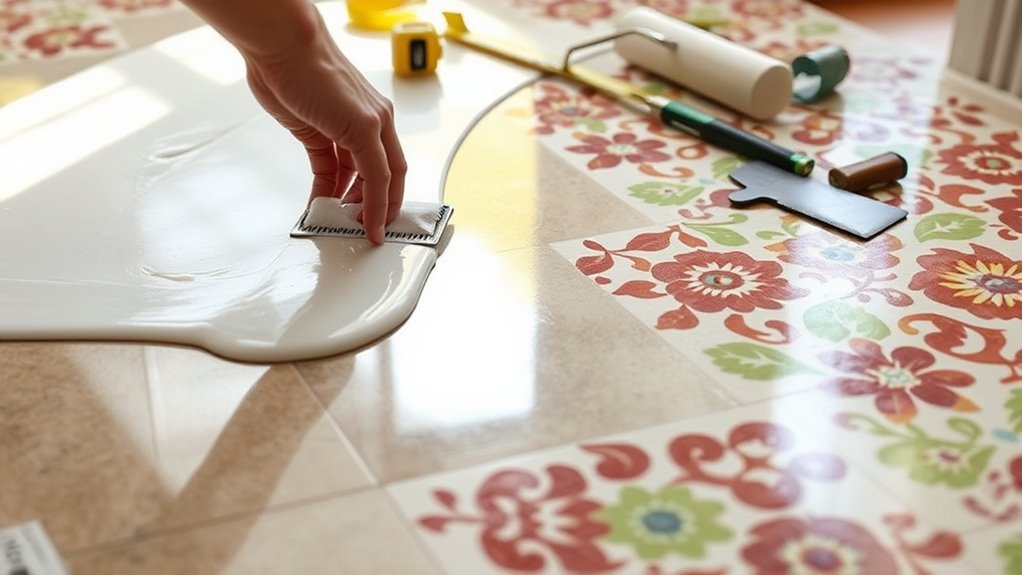
There are two main types of vinyl flooring you can choose from: adhesive-backed (peel-and-stick) and those that require applying glue. For peel-and-stick vinyl, simply peel off the backing and carefully align the sheet with your floor. Take your time to avoid bubbles or misalignment. If you’re working with glue-down vinyl, select an adhesive type suitable for your subfloor—water-based or solvent-based adhesives are common choices. Use a notched trowel to spread the glue evenly, following manufacturer guidelines. A key installation tip is to work in small sections to prevent the adhesive from drying out before you lay the vinyl. Whichever method you pick, make sure the floor is clean and dry for the best adhesion and a smooth finish.
Lay Down the Vinyl Flooring
Carefully position the vinyl sheets or planks onto the adhesive or prepared surface, making sure each piece aligns perfectly with your layout lines. Different vinyl flooring types may require slight adjustments in your approach, but these installation techniques keep your work precise and smooth. Follow these steps to lay down your vinyl:
- Start at one corner of the room, gradually unrolling or placing planks without stretching the material.
- Align edges carefully to avoid gaps or overlaps, ensuring a clean, professional look.
- Press down firmly, using a roller or your hands to secure the vinyl to the adhesive or substrate.
Smooth Out Air Bubbles and Seams
Once you’ve laid down the vinyl sheets or planks, your next step is to address any air bubbles and seams that might have formed. For effective air bubble removal, gently press from the center of each bubble toward the edges using a floor roller or a flat tool wrapped in a soft cloth. This pushes trapped air out without damaging the vinyl. When it comes to seam sealing, apply a quality vinyl seam sealer along the edges where two sheets meet. Use a seam roller to press the sealer evenly, ensuring a tight bond that prevents moisture and dirt from getting underneath. Taking these steps not only smooths out your flooring but also extends its durability, giving you the freedom to enjoy a flawless, professional-looking finish.
Trim Excess Vinyl and Finish Edges
You’ll want to trim any excess vinyl along the edges to assure a clean, precise fit around walls and fixtures. Proper trimming techniques guarantee your floor looks polished and professional. Here’s how to finish strong:
- Use a sharp utility knife and straightedge to carefully cut excess vinyl, following the wall contours closely.
- Leave a small gap (about 1/8 inch) between vinyl and walls to allow for expansion and avoid buckling.
- Apply edge sealing with a high-quality vinyl adhesive or caulk to prevent moisture from seeping underneath and to secure the edges firmly.


