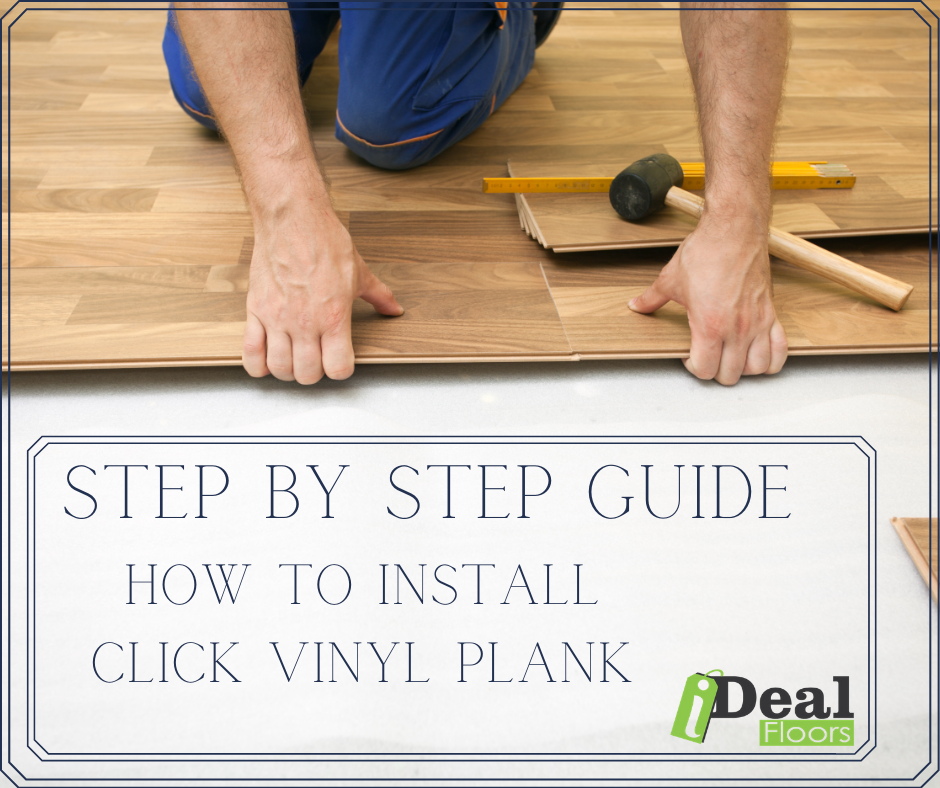
Imagine transforming your home with a flooring option that’s both stylish and easy to install. Click lock flooring is the perfect solution for anyone looking to upgrade their space without the hassle of complex tools or professional help.
This guide is designed with you in mind, offering straightforward steps to ensure your installation process is smooth and stress-free. You’ll discover how simple it is to lay click lock flooring by yourself, saving time and money while achieving stunning results.
Dive in to unlock the secrets of this versatile flooring and turn your home into the haven you’ve always wanted.
Tools And Materials
Gather all necessary tools and materials. You will need a tape measure to check floor size. A utility knife is good for cutting edges. Use a rubber mallet to tap the boards. Get a jigsaw for tricky cuts. Keep a pull bar handy for tight spots. Underlayment is crucial for soundproofing. Don’t forget flooring planks. Make sure to have a pencil for marking. A spacer will help keep gaps even. These tools will make your job easier.
Preparing The Room
Move all furniture out of the room. Take out any carpets or rugs. Ensure there is nothing on the floor. A clean floor is important for installation. Check for any nails or staples left.
Ensure the subfloor is flat and dry. Use a level to check for bumps. Fix any issues before starting. The floor should also be clean. Sweep away any dust or dirt. This helps the new floor fit well.
Let the flooring sit in the room. Do this for at least two days. It helps the flooring adjust to the room’s temperature and humidity. This step is key for a good fit.
Measuring And Planning
Measure the room’s length and width. Use a tape measure for accuracy. Multiply length by width to find square footage. Always round up numbers. Buy extra flooring for mistakes. This prevents running out of materials.
Start with a clean room. Clear furniture and debris. Decide where to place planks. Begin in a corner or doorway. Keep patterns consistent. Avoid small cuts at edges. Check for obstacles like vents. These may need special cuts.
Installing The Underlayment
Choosing the right underlayment is crucial for click lock flooring. The underlayment acts as a cushion. It provides stability to the floor. Some underlayments reduce noise. Others offer moisture protection. Check if your room is prone to moisture. Choose an underlayment with a moisture barrier. Consider the thickness of the underlayment. Thicker ones offer more comfort. They also provide better sound absorption. Make sure your underlayment is compatible with your flooring. This ensures the best results.
Laying the underlayment is simple. First, clean the floor. Ensure it’s dry and free from debris. Unroll the underlayment slowly. Cut it to fit the room size. Use tape to secure the seams. Make sure the underlayment is flat. Avoid wrinkles or folds. These can affect the flooring. Once done, your floor is ready for the next step. Proceed with laying the click lock flooring.
Laying The First Row
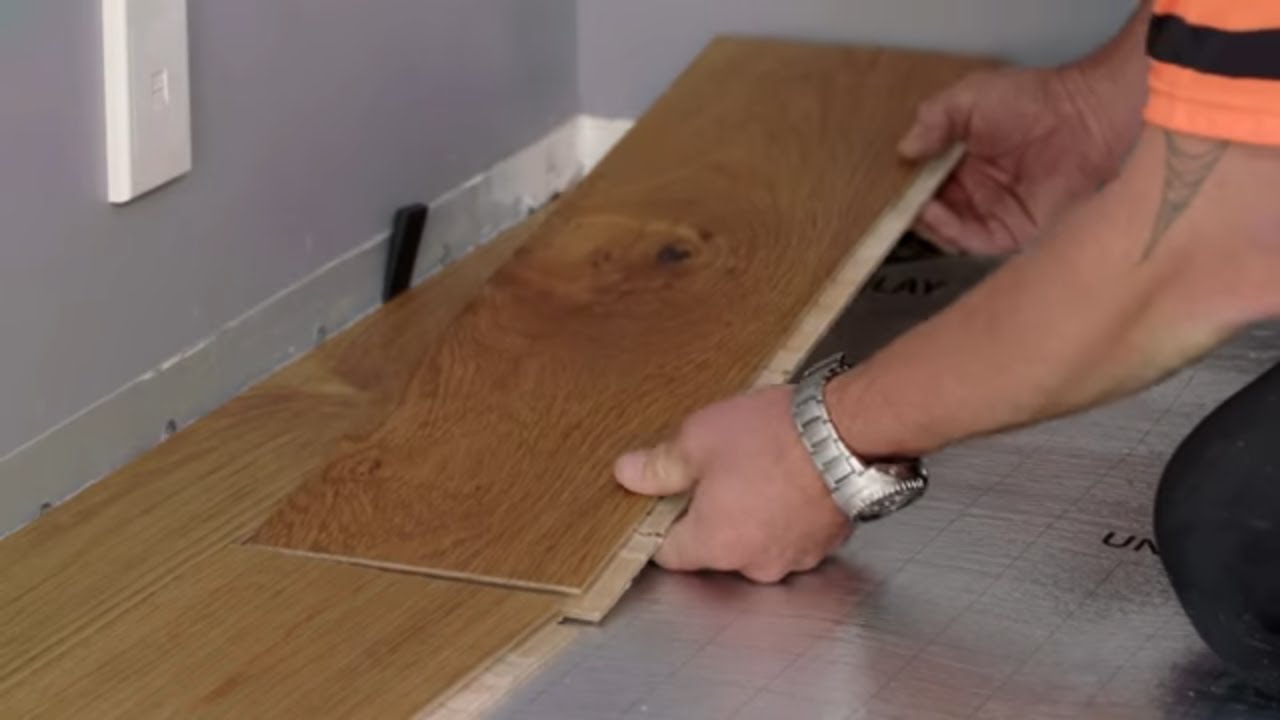
Start by placing the first plank near the wall. Make sure the plank is straight. The tongue side should face the wall. Align each plank closely for a perfect fit. A tight fit makes the floor look nice.
Spacers are helpful. They go between the wall and the plank. Spacers keep the floor from moving. Place them every few inches. It leaves space for expansion. Wood can grow and shrink. This space helps avoid damage. Once the row is complete, check the alignment again. Everything should look straight and neat.
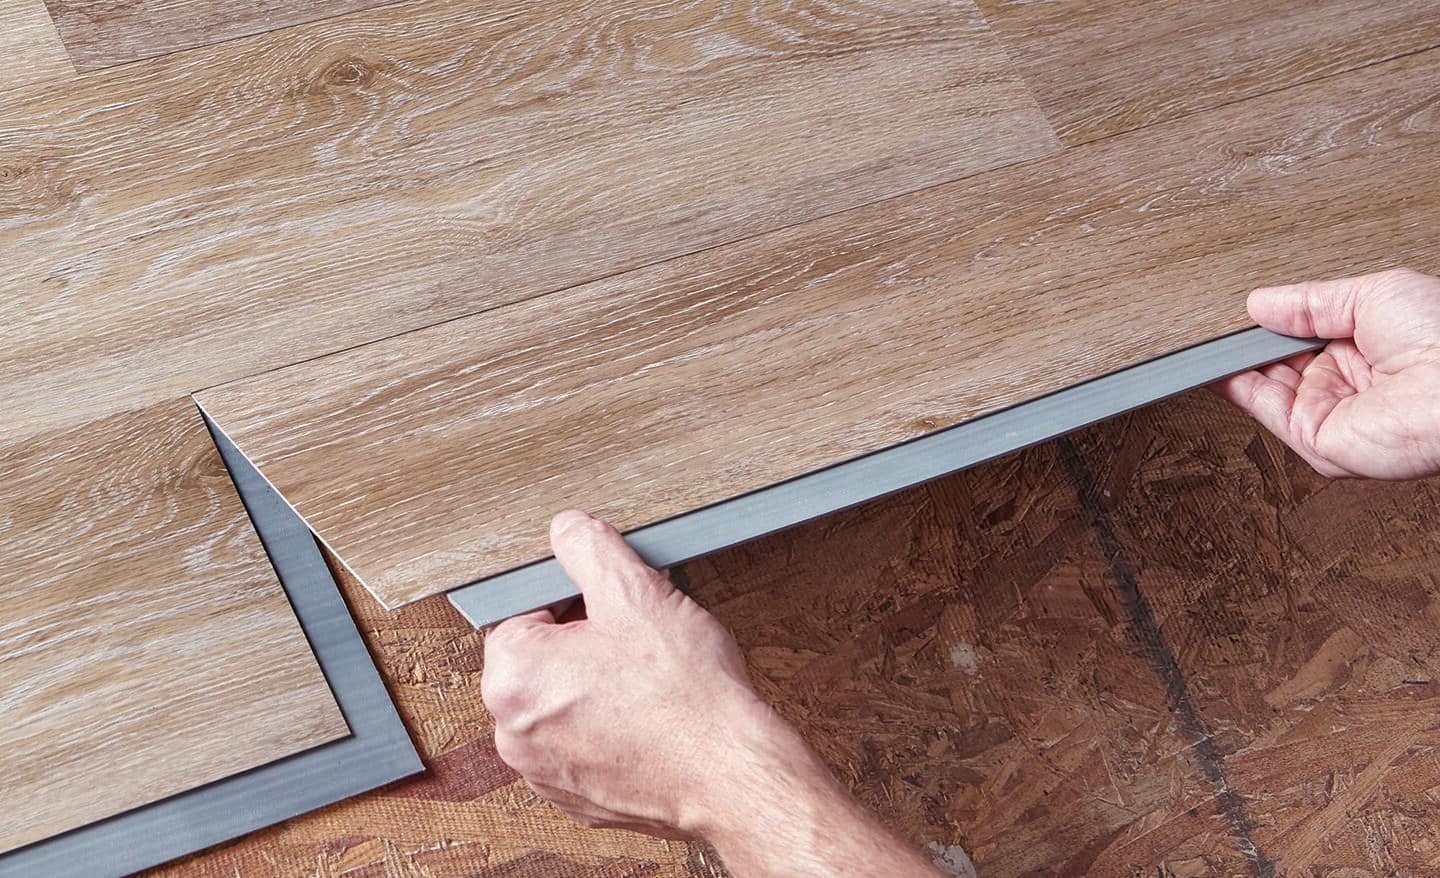
Continuing The Installation
Start with the first plank. Align it with the wall. Ensure the groove faces out. Take the next plank. Connect it to the first one. Use a gentle push. Hear a click sound. That means it’s connected. Repeat the process. Keep the planks tight. Check for gaps. If any, adjust them. Move along the row. Finish one row before starting another. Continue this way until the floor is covered.
Measure the space for the last plank. Use a tape measure. Mark the length on the plank. Use a pencil for marking. Cut the plank carefully. Use a saw for cutting. Ensure the cut is straight. Place the cut piece in the gap. Tap it into place. Use a tapping block if needed. Ensure it fits snugly. Check for any open edges. Make adjustments if necessary. Repeat for other edges. Finish the room neatly.
Finishing Touches
Transition pieces join two types of flooring. They create a smooth path between rooms. Measure the gap first. Cut the transition strip to fit. Use a saw for this. Make sure it fits snugly. Place the strip into the gap. Secure it with adhesive or screws. Press down firmly. Let it dry if using glue. Check that it is stable.
Baseboards cover gaps at the floor edge. Remove nails gently from old baseboards. Position the baseboard against the wall. Use a nail gun to attach. Start at one end. Work your way across. Check for gaps. Fill gaps with caulk. Paint for a finished look. Let the paint dry completely.
Post-installation Care
Gently sweep the floor with a soft broom. This removes dirt and dust. Use a damp mop for deeper cleaning. Avoid soaking the floor with water. Excess water can damage the flooring. Use a mild cleaner when needed. Avoid harsh chemicals. They can harm the floor’s surface. Always dry the floor after mopping. This prevents water spots and streaks.
Place mats at doorways to catch dirt. This keeps your floor clean. Use furniture pads under chairs and tables. This stops scratches. Rearrange furniture occasionally. This prevents dents in the floor. Check for loose planks regularly. If found, refit them right away. Avoid dragging heavy objects on the floor. Lift them instead. Regular care keeps the floor looking new.
Frequently Asked Questions
How Do I Prepare My Floor For Installation?
Ensure the subfloor is clean, dry, and level. Remove any debris and repair imperfections. Acclimate the flooring in the room for 48 hours. This helps avoid expansion or contraction issues. Use a moisture barrier if installing over concrete. Proper preparation ensures a smooth and successful installation process.
Can Click Lock Flooring Be Installed Over Tiles?
Yes, click lock flooring can be installed over tiles. Ensure the tiles are flat and securely attached. Use an underlayment for added cushioning and soundproofing. Check the manufacturer’s guidelines for compatibility. Proper installation over tiles can enhance floor longevity and appearance.
What Tools Are Needed For Click Lock Flooring?
You’ll need a tape measure, rubber mallet, and spacers. Use a saw to cut flooring panels to size. A tapping block helps secure panels. Ensure you have a utility knife for precise trimming. Gather all tools before starting to streamline the installation process.
Is Click Lock Flooring Suitable For Bathrooms?
Click lock flooring can be suitable for bathrooms if it’s waterproof. Ensure proper sealing around edges to prevent moisture seepage. Choose flooring designed for high-moisture areas. Regular maintenance will help preserve its appearance and functionality. Always consult manufacturer guidelines for best results.
Conclusion
Installing click lock flooring is simple and rewarding. You now know the steps. Measure carefully. Prepare your surface well. Follow the click system. Enjoy your new floor. It looks great and lasts long. Easy to clean and maintain. A smart choice for any room.
With patience and care, you achieve the best results. Invite friends and family. They will admire your handiwork. Your home feels fresh and updated. This flooring option suits many styles. Affordable and durable. You can change the look of your space.
All with your own hands.


