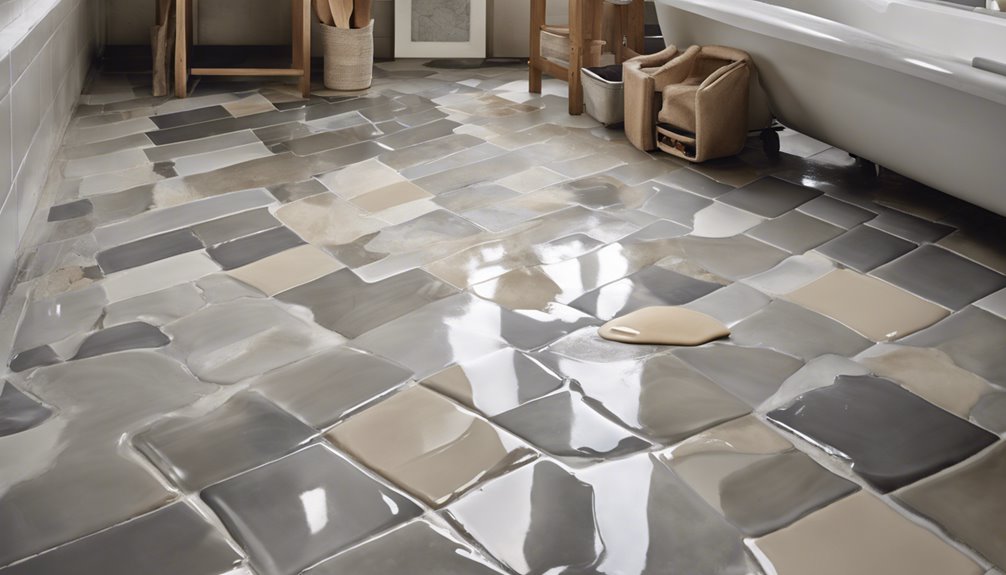
To grout a tile floor, start by gathering your tools: a grout float, mixing bucket, sponge, and grout saw. Clean the surface thoroughly, guaranteeing it's dry and free from debris. Choose the right grout type and mix it to a peanut butter-like consistency. Using the float at a 45-degree angle, apply the grout into the joints, then wipe away excess with a damp sponge. Allow it to cure for 24 to 48 hours, then seal the grout lines to protect against stains and moisture. These steps will assure your floor looks great and lasts longer. More details await you ahead!
Gather Your Tools
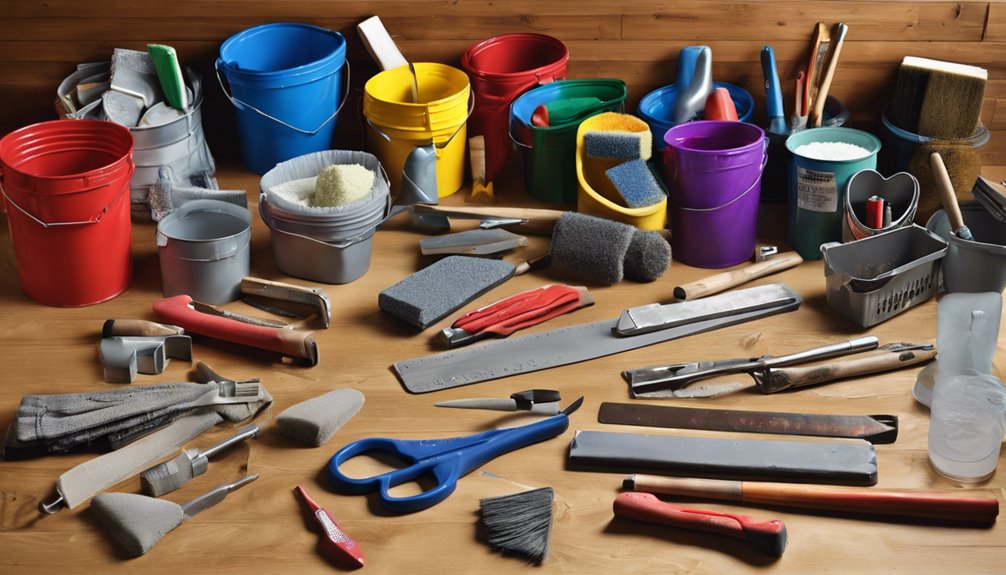
Before you plunge into grouting your tile floor, it's essential to gather the right tools. Start with a grout float, which helps you apply the grout evenly. You'll also need a mixing bucket for combining your grout and a sponge for cleanup. Consider having a grout saw handy for any touch-ups.
Once you have your tool types ready, don't forget about tool maintenance. Make sure your tools are clean and in good condition; this will make your job smoother and more efficient. A quick wash after use can prevent grout from hardening on your float or sponge. With the right tools and a bit of care, you're set to achieve a professional-looking finish on your tile floor.
Choose the Right Grout
Choosing the right grout is essential for achieving a polished look on your tile floor. You'll want to evaluate the different types of grout available, the color that best complements your tiles, and the appropriate thickness for your joints. Making these decisions carefully can enhance both the appearance and durability of your flooring.
Types of Grout
Selecting the right grout is essential for the longevity and appearance of your tile floor. You've got a couple of main options to contemplate:
- Sanded Grout: Ideal for wider joints (over 1/8 inch), this type contains sand for strength and durability.
- Unsanded Grout: Best for narrower joints (under 1/8 inch), it offers a smoother finish and is easier to work with on delicate tiles.
- Epoxy Grout: Water-resistant and stain-proof, this grout is perfect for areas exposed to moisture, like bathrooms.
- Cementitious Grout: Traditional and cost-effective, it's versatile but requires sealing to prevent stains.
Choosing the right grout not only enhances your tile's beauty but also guarantees it stands the test of time.
Color Selection Tips
How do you want your tile floor to look when it's finished? The right grout color can make a significant impact. Consider grout color psychology—light colors can create an airy feel, while dark colors can add depth. If you're aiming for a striking look, use contrasting grout colors to make your tiles pop.
Here's a quick reference table to help you decide:
| Grout Color | Effect |
|---|---|
| White | Bright and spacious |
| Gray | Modern and sleek |
| Black | Bold and dramatic |
| Beige | Warm and inviting |
Choose wisely, and let your tile floor reflect your style and personality!
Grout Thickness Considerations
When it comes to grout thickness, understanding the specifics of your tile installation can make all the difference in achieving a professional finish. Here are some key considerations:
- Tile Size: Larger tiles typically require less grout depth due to reduced tile spacing.
- Joint Width: Wider joints need more grout, so adjust your application accordingly.
- Material Type: Different materials may have varying recommendations for grout thickness.
- Usage Area: High-traffic areas may benefit from thicker grout for added durability.
Prepare the Surface
Before you start grouting your tile floor, it's crucial to prepare the surface properly. Begin with thorough surface cleaning. Remove any dust, debris, or adhesive residue from the tiles and grout lines. A damp sponge works wonders for this task, ensuring your surface is pristine. Once cleaned, let it dry completely. Next, consider surface priming if necessary. This step can enhance the adhesion of the grout, especially on porous surfaces. Use a suitable primer and apply it evenly, allowing it to dry as per the manufacturer's instructions. By taking these steps, you'll create a solid foundation for your grout, ensuring a lasting finish. Investing time in this preparation now will save you hassle down the road.
Mix the Grout Properly
Before you start mixing grout, make certain you've chosen the right type for your tiles. It's crucial to follow the manufacturer's mixing instructions closely for the best results. Properly mixed grout guarantees a strong, durable finish that will stand the test of time.
Choose the Right Type
Choosing the right type of grout is essential for achieving a durable and visually appealing tile floor. The right grout not only complements your tiles but also enhances their longevity. Consider these grout types before you start:
- Sanded Grout: Ideal for larger joints, providing strength and durability.
- Unsanded Grout: Best for smaller joints, ensuring a smooth finish.
- Epoxy Grout: Offers excellent stain and water resistance, perfect for high-moisture areas.
- Latex-Modified Grout: Enhances flexibility and adhesion, suitable for various surfaces.
Don't forget that proper surface preparation is key to grout performance. Assess your tile and joint sizes to select the best option. This way, you can enjoy a beautiful, long-lasting tile floor without worries!
Follow Mixing Instructions
Once you've selected the right grout, mixing it properly is essential for achieving a strong and lasting bond. Use the right mixing techniques to guarantee the grout consistency is perfect. Follow the manufacturer's instructions for the correct water-to-grout ratio, as this can vary.
| Mixing Technique | Description |
|---|---|
| Hand Mixing | Combine grout and water in a bucket with a trowel for small areas. |
| Power Mixing | Use a drill with a paddle attachment for larger batches. |
| Consistency Check | Aim for a smooth, peanut butter-like texture before application. |
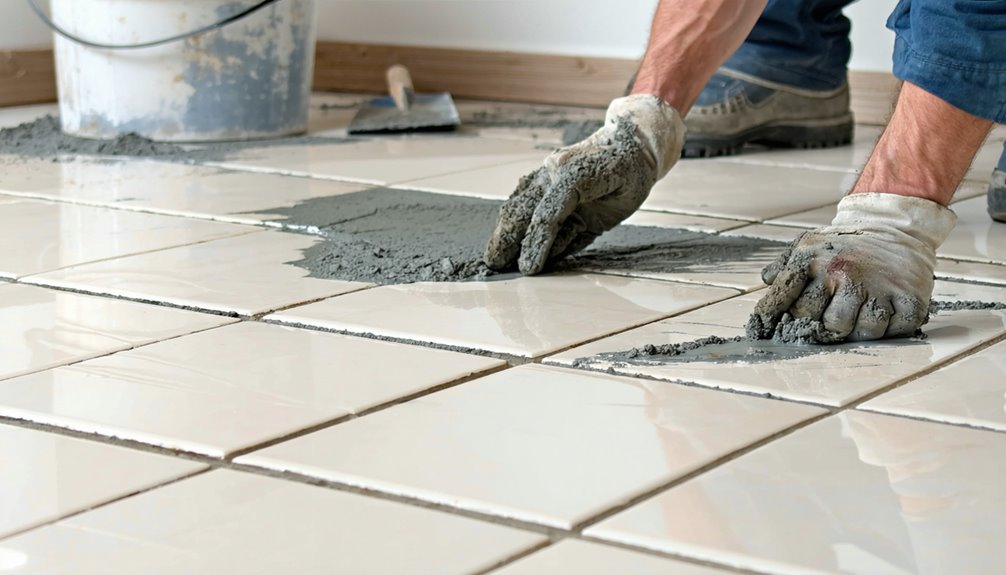
Apply Grout With a Float
Applying grout with a float is a straightforward process that can considerably enhance the look of your tile floor. Here are some essential float usage tips to make the grout application techniques easier:
- Choose the Right Float: Use a rubber float for smooth application.
- Work in Sections: Focus on small areas to guarantee the grout doesn't dry out.
- Angle the Float: Hold the float at a 45-degree angle to fill the joints effectively.
- Press Firmly: Apply pressure while moving the float to push the grout into the gaps.
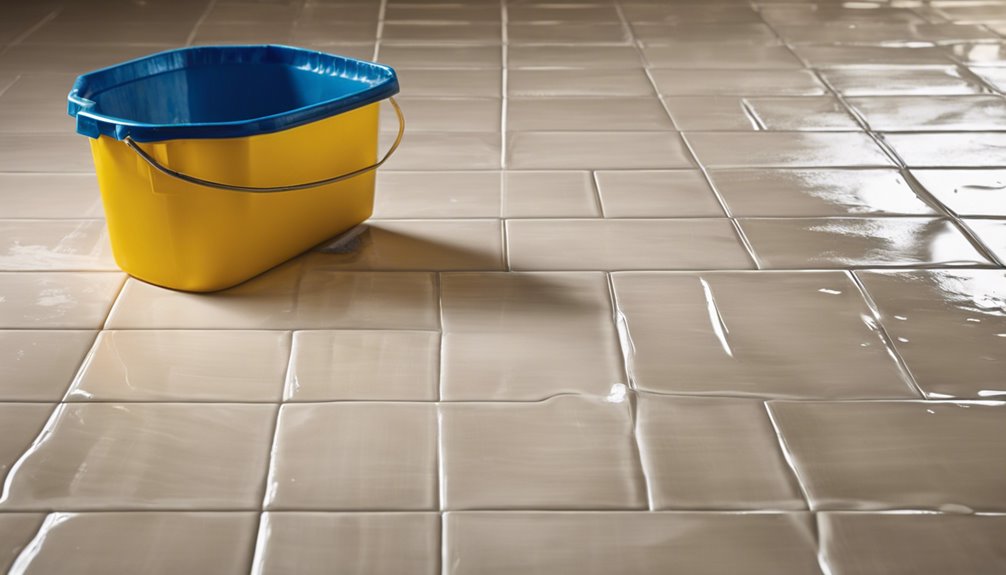
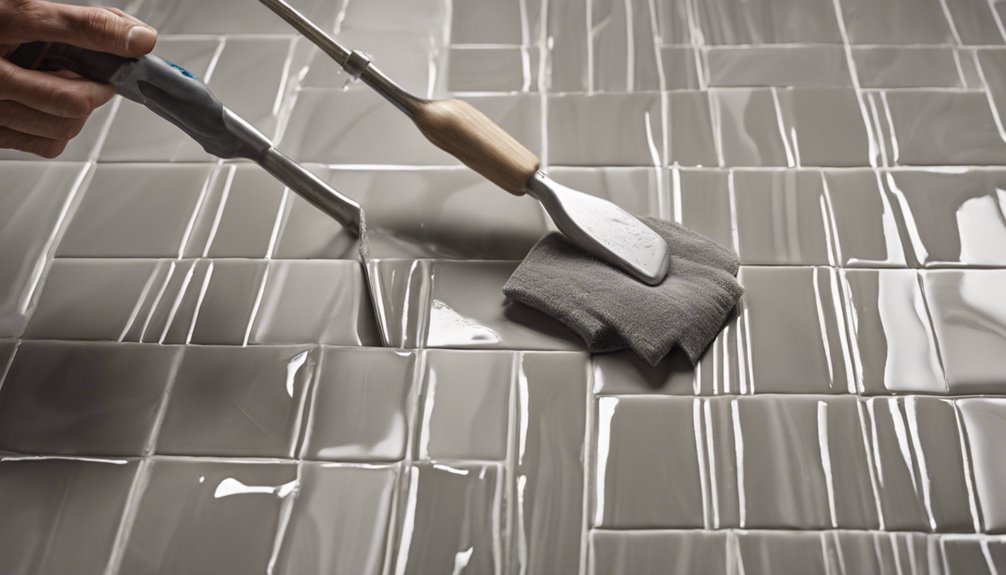
Remove Excess Grout
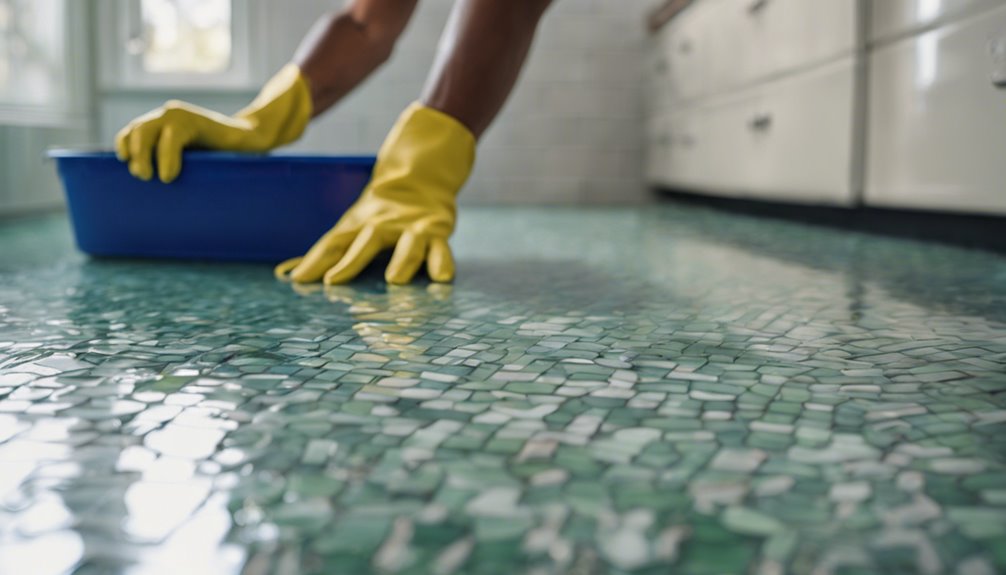
As you finish applying grout, it's important to remove any excess before it hardens on the tile surface. Start by using a damp sponge or cloth to gently wipe away the excess grout, ensuring you're not pulling grout out of the joints. This is one of the most effective excess grout removal techniques. For stubborn spots, a grout scraper or plastic putty knife can help lift away residue without scratching the tile. Make sure to keep your tools for cleaning clean as well; rinse them frequently to avoid redepositing grout. Remember, the sooner you tackle this task, the easier it'll be to maintain a neat and professional-looking finish on your tile floor.
Allow Grout to Cure
While you might be enthusiastic to walk on your newly grouted tile floor, it's crucial to allow the grout to cure properly. Rushing this process can lead to cracks or uneven surfaces. Here are key points to keep in mind during curing:
- Curing Time: Typically, allow 24 to 48 hours for the grout to cure fully.
- Humidity Factors: High humidity can increase curing time, while low humidity can speed it up.
- Temperature Control: Keep the area at a stable temperature between 50°F and 90°F.
- Avoid Water Exposure: Keep the floor dry; do not mop or expose it to water until fully cured.
Patience now will guarantee your floor looks great and lasts longer. Enjoy your newfound freedom once it's ready!
Seal the Grout Lines
Once the grout has fully cured, sealing the grout lines is essential to protect them from moisture and stains. You've got a few grout sealing techniques to choose from, like using a sealant applicator or a spray-on product. Whichever method you pick, make sure to apply the sealant evenly, covering all the grout lines completely. The benefits of sealing are significant; it not only enhances the durability of your grout but also makes cleaning easier in the long run. Sealing helps prevent mildew and discoloration, maintaining the fresh look of your tile floor. Be sure to follow the manufacturer's instructions for drying time, ensuring maximum protection for your beautiful new tiles. Happy sealing!
Clean and Polish Tiles
After sealing the grout lines, it's important to clean and polish your tiles to guarantee they look their best. Here's how to achieve that shine:
- Gather Supplies: Get a mop, bucket, tile cleaner, and polishing cloths.
- Tile Cleaning: Use a suitable tile cleaner and mop to remove dirt and grime. Rinse thoroughly.
- Dry the Surface: Let the tiles air dry or use a dry mop to prevent streaks.
- Tile Polishing: Apply a tile polishing product with a soft cloth, buffing in circular motions for a brilliant finish.
Frequently Asked Questions
Can I Grout Over Existing Grout?
You can grout over existing grout, but it's often better to remove the old grout first. Using grout removal techniques will guarantee better adhesion and longevity. If you decide to go over it, make sure the surface is clean and sound. When you're ready to regrout, consider your grout color options to refresh the look of your tiles. Just remember, proper preparation is key to achieving a durable finish that lasts.
How Long Should I Wait Before Sealing Grout?
You should typically wait at least 24 to 48 hours after grouting before sealing. This allows the grout to cure properly. For the best grout sealing tips, check the manufacturer's recommendations, as some products may require longer drying times. If you're keen to enjoy your new floor, remember that sealing too soon can trap moisture, leading to issues down the line. Patience will pay off for a durable finish!
What Should I Do if Grout Dries Too Quickly?
If your grout's drying faster than a desert sun, it's essential to adjust the drying conditions. You might want to guarantee the grout consistency is just right—add a little more water if it's too thick. Keep the area well-ventilated but avoid direct drafts that can accelerate drying. If it's already hardened, you can lightly mist it with water to rehydrate it, making it easier to work with before it sets completely.
Is It Necessary to Use Grout Release?
Using grout release isn't strictly necessary, but it offers several benefits. It can make cleanup easier and prevent grout from adhering to the tile surface, which helps maintain a clean look. If you're keen on achieving a flawless finish, consider applying grout release before you start. This technique can save you time and effort during grout application, giving you more freedom to focus on your design without worrying about messy tiles.
Can I Use Sanded Grout in Wet Areas?
Yes, you can use sanded grout in wet areas, but it's crucial to take into account a few factors. Sanded grout is ideal for larger joints and offers durability, making it suitable for areas like showers or kitchens. However, verify the grout is properly sealed to prevent moisture penetration and mold growth. If you're working with smaller joints, you might want to opt for unsanded grout instead. Always follow the manufacturer's recommendations for best results.


