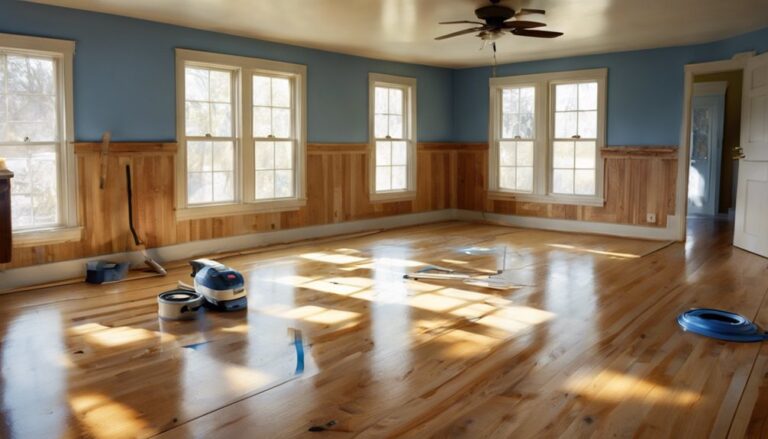
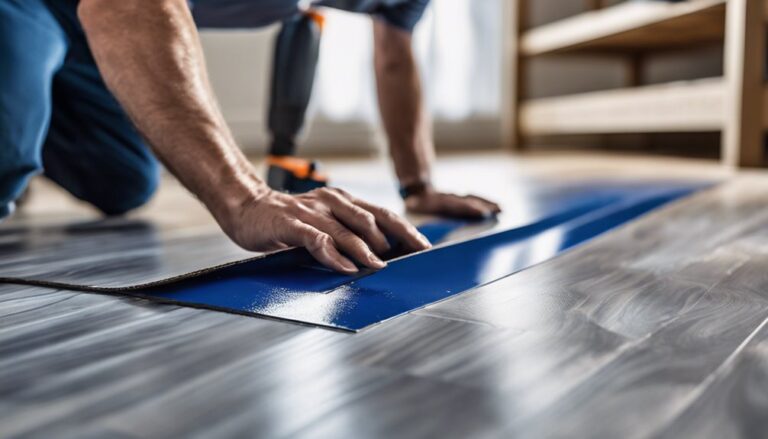
To fix squeaky wood floors from above, first pinpoint each squeak’s exact spot by walking slowly and marking locations. Clear debris and dust to inspect for loose boards or gaps. Sprinkle powdered graphite or talcum powder into joints to reduce friction. For persistent squeaks, secure boards using corrosion-resistant screws driven into joists with pre-drilled holes. Minor cracks can be filled with wood glue or flexible adhesives for stability. Explore these steps further to fully eliminate those annoying floor noises.
Identify the Source of the Squeak

Where exactly is that squeak coming from? To identify the source of a squeaky wood floor, you must systematically pinpoint the exact location causing the noise. Squeak causes often stem from friction between wood types or from loose fasteners beneath the surface. Different wood types expand and contract at varying rates, intensifying movement and noise. Begin by walking slowly across the floor, noting each squeak’s position. Use a pencil or tape to mark these spots discreetly. Then, apply pressure directly over the marked area to confirm the squeak’s origin. Understanding the interaction between wood types and structural components is essential, as it informs the appropriate repair method. Accurate identification empowers you to regain control and freedom over your living space, eliminating annoying interruptions efficiently.
Prepare the Floor Surface
Before addressing the squeak, you need to clear all debris from the floor surface to guarantee accurate inspection. Examine each floorboard carefully for gaps, cracks, or loose nails that could be causing the noise. Proper preparation at this stage is critical for an effective and lasting repair.
Clear Debris Thoroughly
Although it might seem trivial, thoroughly clearing debris from your wood floor is essential to guarantee effective repairs. You’ll need appropriate cleaning tools—such as a vacuum with a hardwood floor attachment and a stiff-bristle broom—to remove dust, dirt, and loose particles that compromise adhesion and obscure problem areas. Precision in this step guarantees no foreign material interferes with repair materials or fasteners. Neglecting this can lead to incomplete floor maintenance, reducing repair longevity and allowing squeaks to persist. Focus on corners, gaps, and seams where debris accumulates. Use a damp cloth to wipe residual dust, avoiding excess moisture. By meticulously clearing debris, you create a favorable surface for repair, enabling your wood floor to regain structural integrity and freedom from noise with lasting results.
Inspect Floorboards Closely
Once you’ve cleared all debris, closely inspect each floorboard for signs of damage, warping, or looseness that could cause squeaks. Conduct a thorough floor inspection to identify squeak causes, focusing on joints and fasteners. Pay attention to gaps, nails pulling out, or boards shifting.
| Floorboard Condition | Potential Squeak Cause | Inspection Tip |
|---|---|---|
| Warped | Movement under load | Look for elevation differences |
| Loose | Friction at joints | Press and wiggle boards |
| Damaged | Weak structural points | Check for cracks or splits |
This precise evaluation lets you target problem areas effectively, ensuring a lasting fix and the freedom to enjoy silent, stable flooring.
Use Powdered Graphite or Talcum Powder

If you’re looking for a dry lubricant to reduce squeaks without attracting dust or dirt, powdered graphite or talcum powder is an effective choice. Both materials work by minimizing friction between the floorboards and the subfloor. For graphite application, sprinkle a fine layer directly into the gaps where the boards rub. Work the powder in by gently tapping the boards to guarantee deep penetration. Talcum powder functions similarly; apply it evenly across the squeaky joints, then use a soft brush to distribute it thoroughly. This method is ideal if you want a clean, residue-free fix that won’t clump or stain. Remember, these powders are best for minor friction issues and won’t secure loose boards—so use them as a precise lubricant, not a structural solution.
Apply Wood Screws to Secure Loose Boards
To effectively secure loose floorboards, you’ll need to select wood screws that are long enough to penetrate the subfloor without causing damage. Position each screw at the joist beneath the board, spacing them evenly to guarantee stability. Proper placement and screw type are critical to eliminating squeaks without compromising the floor’s integrity.
Choosing the Right Screws
Selecting the appropriate wood screws is essential when securing loose floorboards, as using the wrong type can cause further damage or fail to eliminate squeaks. You’ll want to choose screw types specifically designed for wood, such as flat-head or bugle-head screws, which provide ideal grip without splitting the wood. Consider corrosion-resistant materials like coated or stainless steel screws to guarantee longevity. Screw lengths must be sufficient to penetrate the floorboard and subfloor securely—typically 1.5 to 2.5 inches depending on board thickness. Avoid screws that are too short, which won’t hold properly, or too long, which could damage underlying structures. By selecting the correct screw types and lengths, you maintain floor integrity while effectively silencing squeaks, giving you the freedom to walk confidently across your floors.
Proper Screw Placement
Although securing loose floorboards with screws seems straightforward, proper placement is critical to effectively eliminate squeaks without causing damage. Begin by selecting screw types suited for hardwood or softwood, typically coarse-threaded wood screws for maximum grip. Placement techniques dictate driving screws near joists or subfloor supports, ideally every 12 to 16 inches along the board’s length. Position screws about 1 inch from the board edge to prevent splitting while guaranteeing they penetrate at least 1 inch into the joist beneath. Pre-drilling pilot holes reduces wood splitting risk and guarantees precise alignment. By following these placement techniques, you’ll firmly anchor loose boards, restoring floor stability and freedom from squeaks without compromising structural integrity. Proper screw types paired with strategic placement assure a durable, quiet floor you can confidently enjoy.
Try Adhesive Solutions for Minor Gaps

When minor gaps between floorboards cause squeaks, applying adhesive solutions can effectively stabilize the wood and reduce noise. You’ll want to select from various adhesive types and gap fillers designed to bond wood securely without damaging the finish. Here’s what to take into account:
- Use wood glue for small cracks, guaranteeing a strong, invisible bond.
- Try construction adhesive for wider gaps needing structural reinforcement.
- Think about silicone-based gap fillers for flexibility and moisture resistance.
- Apply adhesive with a fine-tipped applicator to avoid excess residue.
- Clamp or weight the boards after application to enhance adhesion and eliminate movement.
Selecting the right product guarantees a durable repair, granting you freedom from annoying creaks without removing floorboards. Always follow manufacturer instructions for ideal results.
Prevent Future Squeaks With Regular Maintenance
Applying adhesive solutions can considerably reduce existing squeaks, but maintaining your wood floors regularly will help prevent new ones from developing. To guarantee longevity and freedom from noise, perform regular inspections focusing on areas prone to movement or moisture exposure. Identify loose boards, gaps, or signs of wear early to apply targeted preventive measures before squeaks emerge. Use a calibrated moisture meter to monitor subfloor humidity and maintain ideal conditions, as fluctuations can cause wood expansion or contraction. Tighten fasteners and replace damaged nails or screws promptly to reinforce floor stability. Additionally, schedule seasonal checks to address environmental changes affecting the wood’s integrity. By adhering to a disciplined maintenance routine, you’ll safeguard your floors against future squeaks and preserve their structural soundness without intrusive repairs.


