
First, check how deep the scratch is to decide your fix. Gather a soft cloth, fine sandpaper, and a laminate repair kit that matches your floor color. Clean the area gently and dry it well. For minor scratches, use a furniture marker or polish; for deeper gouges, apply color-matched filler with a putty knife, then smooth and let it dry. Finish by buffing for a blended look. Keep going to discover more detailed tips for flawless results.
Assessing the Damage on Your Laminate Flooring
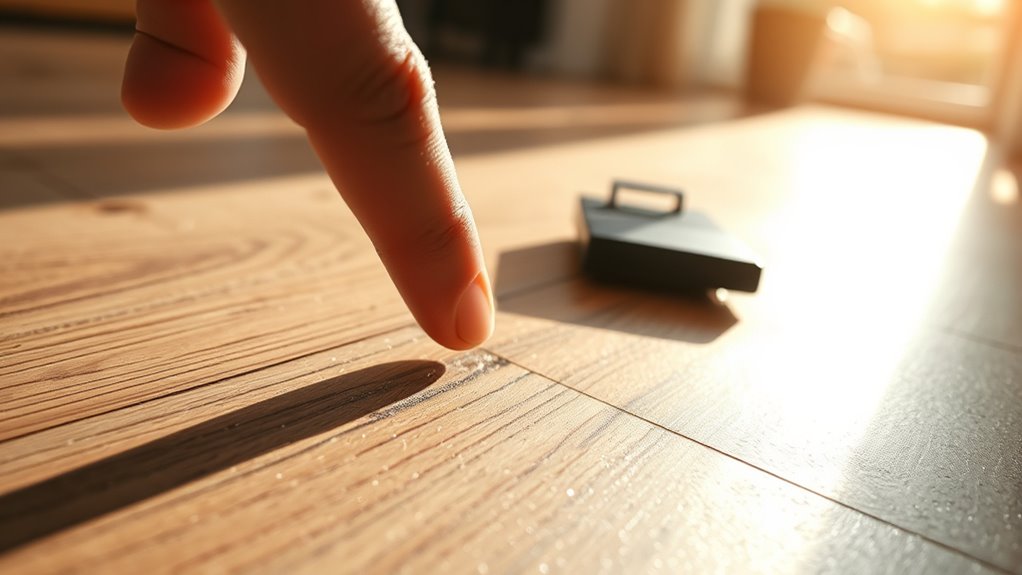
How bad is the scratch on your laminate flooring? Start your damage assessment by closely examining the scratched laminate under good lighting. Run your fingers over the scratch to feel its depth—surface scratches are easier to fix, while deeper gouges may need more attention. Note the size and location of the damage to decide your next steps. If the scratch is barely visible, you can likely repair it yourself with simple techniques. However, if the damage exposes the core material or covers a large area, you might need to contemplate replacing the affected plank. Taking the time for a careful damage assessment helps you choose the right fix and keeps your laminate floor looking fresh and free from bigger problems down the line.
Gathering the Necessary Tools and Materials
Once you’ve figured out the extent of the scratch on your laminate floor, the next step is to gather everything you’ll need to fix it. Start with tool selection: a soft cloth, fine-grit sandpaper, and a putty knife are essential. You might also need a utility knife for deeper scratches. For material types, pick a laminate repair kit that matches your floor’s color; these kits usually include wax sticks or putty. If the scratch is minor, a simple furniture polish or marker designed for laminate floors can do the trick. Avoid using harsh chemicals or abrasive tools—they can cause more damage. By preparing the right tools and materials upfront, you’ll save time and guarantee a smoother repair process, giving you the freedom to restore your floor confidently.
Cleaning and Preparing the Scratched Area
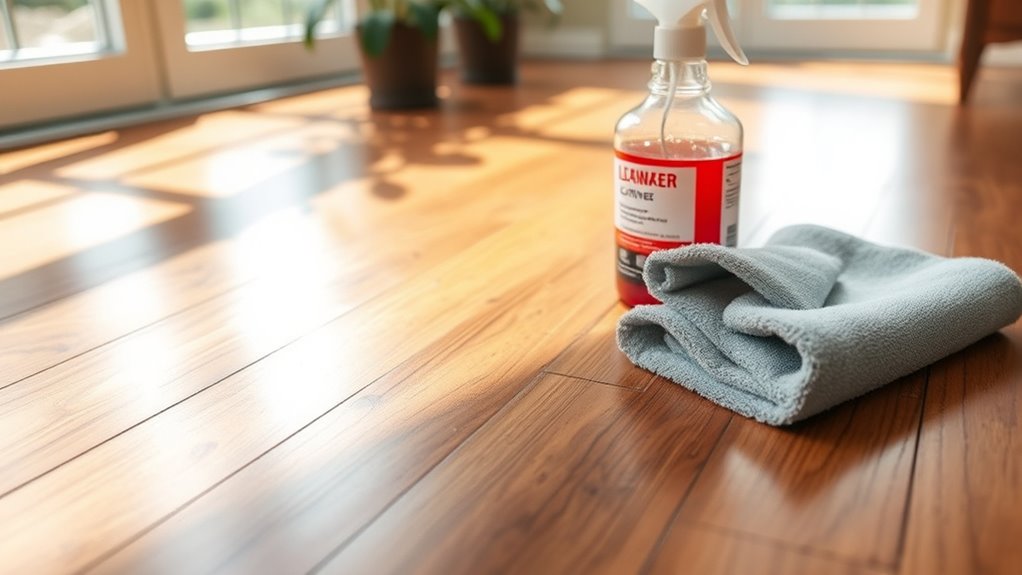
Before you start repairing the scratch, make certain you clean and prepare the area thoroughly. Use gentle cleaning solutions to remove dirt and debris without damaging the laminate. After cleaning, dry the surface completely to guarantee the best repair results. Proper preparation techniques set the foundation for a smooth fix and lasting results.
| Step | Tip |
|---|---|
| 1. Choose cleaning solutions | Use mild soap or laminate-specific cleaner |
| 2. Wipe the area | Use a soft cloth to avoid further scratches |
| 3. Dry the surface | Let it air dry or use a dry cloth |
| 4. Inspect the scratch | Check for dirt trapped inside before fixing |
This careful prep helps your laminate flooring look great and repairs hold strong.
Repairing Minor Surface Scratches
After cleaning and preparing the scratched area, you’re ready to tackle minor surface scratches. Start by selecting a laminate scratch repair kit or a color-matched furniture marker. Apply the product carefully along the scratch, following the grain of the laminate. Use a soft cloth to gently buff the area, blending the repair into the surrounding floor. For added protection, apply a thin layer of clear laminate floor polish once the repair dries. This step not only enhances the look but also supports ongoing laminate maintenance by sealing the surface. Regularly inspect your flooring for new scratches and address them quickly to keep your floor looking fresh. With simple, consistent scratch repair, you’ll enjoy the freedom of a beautiful, well-maintained laminate floor.
Fixing Deeper Gouges and Chips

When you’re dealing with deeper gouges and chips, picking the right repair materials is key to a smooth fix. You’ll want to use a filler that matches your floor’s color and texture for the best results. Next, carefully apply the filler using a putty knife, making sure to fill the damaged area completely before smoothing it out.
Selecting Repair Materials
Though minor scratches can often be buffed out, fixing deeper gouges and chips requires specific materials to restore your laminate flooring properly. First, identify your laminate type, as this affects the repair products you’ll need. Some laminates respond better to wax sticks, while others require specialized fillers. Next, focus on color matching to guarantee the repair blends seamlessly with your floor. You can find repair kits designed for various laminate colors or use custom-mixed fillers. Avoid guessing—test your chosen material on a hidden spot to check the color match. Having the right materials on hand will make the repair smoother and keep your floor looking natural, letting you enjoy your space without worrying about imperfections.
Applying Filler Techniques
Since deeper gouges and chips can’t be fixed by simple buffing, you’ll need to carefully apply filler to restore your laminate floor’s surface. Start by choosing the right filler type—wax sticks work well for small dents, while putty fillers suit larger holes. Match the filler color closely to your floor for a seamless look. Before applying, clean the damaged area thoroughly. Use a putty knife or your finger to press the filler firmly into the gouge, ensuring no air pockets remain. Smooth the surface level with the floor. Let the filler dry completely according to the product instructions. Finally, gently buff the repaired spot to blend it with the surrounding laminate. Following these application methods helps your floor look flawless again without restricting your freedom to enjoy your space.
Applying a Protective Finish to Restore Shine
Even if your laminate flooring looks dull after fixing scratches, you can quickly bring back its shine by applying a protective finish. Start by choosing the right protective sealants or laminate polish designed for laminate floors. Clean the surface thoroughly, then apply the finish evenly using a soft cloth or applicator. Let it dry completely to achieve a smooth, shiny surface that guards against future damage.
| Step | Tips |
|---|---|
| Clean | Use a mild cleaner and dry well |
| Choose Finish | Pick laminate polish or protective sealants |
| Apply | Spread evenly, avoid puddles |
| Dry | Allow full drying time (check product label) |
| Maintain | Reapply polish periodically for lasting shine |
This simple step restores freedom to enjoy your floors without dullness.


