
To fix gaps in your hardwood floors, first assess gap size and cause—usually moisture changes. Clean and dry the area thoroughly. For small gaps, apply color-matched wood filler smoothly, then sand once dry. For larger gaps, insert natural fiber rope or wood slivers secured with wood glue. After filling, sand the surface evenly and refinish to restore appearance and protection. Maintaining stable indoor humidity afterward helps prevent recurrence. Keep following for a detailed, step-by-step fix approach.
Understanding the Causes of Gaps in Hardwood Floors
Although hardwood floors are designed to fit tightly together, gaps can develop over time due to changes in moisture levels. You need to understand that wood expands and contracts in response to ambient humidity and temperature fluctuations. Seasonal changes cause wood to lose or gain moisture, resulting in dimensional shifts. Effective moisture control within your living space minimizes these movements, preserving floor integrity. If you neglect humidity regulation, the wood contracts during dry months, creating visible gaps. Conversely, in high humidity, the wood swells, potentially causing buckling. By maintaining consistent indoor moisture levels, you allow your hardwood floors the freedom to remain stable. Recognizing this dynamic will help you manage and prevent gaps, ensuring your floors retain their seamless appearance and structural soundness.
Assessing the Severity of the Gaps
To accurately assess the gaps in your hardwood floor, start by measuring their width using a caliper or ruler. Next, identify the underlying causes, whether seasonal shrinkage, moisture issues, or installation errors. Finally, evaluate the overall floor condition to determine if gaps are isolated or indicative of broader structural concerns.
Measuring Gap Width
Before you decide on the repair method, you need to accurately measure the width of the gaps between your hardwood floorboards. Employing precise gap measurement techniques guarantees you understand the severity of the issue, guiding you toward the appropriate fix. Start by selecting suitable gap width tools such as a feeler gauge, ruler, or caliper. Methodically measure each gap, noting variances across the floor. Record measurements carefully to identify patterns or unusually wide spaces. Accurate data collection empowers you to choose solutions like filler compounds or board replacement confidently. Precision here isn’t just about numbers; it’s about regaining control over your floor’s integrity and appearance, allowing you the freedom to restore your space effectively and efficiently.
Identifying Gap Causes
Understanding the root causes behind the gaps in your hardwood floor is essential for evaluating their severity and selecting an effective repair method. Typically, gap expansion results from seasonal changes that cause wood to contract in low humidity and expand when moisture levels rise. You need to determine if the gaps appear only during dry seasons or persist year-round. Persistent gaps may indicate subfloor issues or improper installation. Additionally, check for structural shifts or excessive wear that could contribute to gap formation. Evaluating these factors allows you to gauge whether simple infill repairs suffice or if more extensive intervention is necessary. By methodically identifying gap causes, you maintain control over your floor’s integrity and guarantee you choose a repair strategy that aligns with your home’s natural environmental fluctuations.
Evaluating Floor Condition
Once you’ve pinpointed the causes behind the gaps in your hardwood floor, the next step is to evaluate their severity accurately. A thorough floor inspection combined with precise gap identification lets you decide the best course of action, preserving your freedom to restore your space effectively.
| Gap Size | Impact on Floor Integrity | Recommended Action |
|---|---|---|
| Less than 1/8″ | Minimal | Monitor, seasonal fill |
| 1/8″ to 1/4″ | Moderate | Use wood filler or putty |
| 1/4″ to 1/2″ | Significant | Re-nail or re-glue boards |
| Over 1/2″ | Severe | Professional repair |
Evaluate gaps methodically during your inspection to guarantee your hardwood floor remains stable and visually appealing.
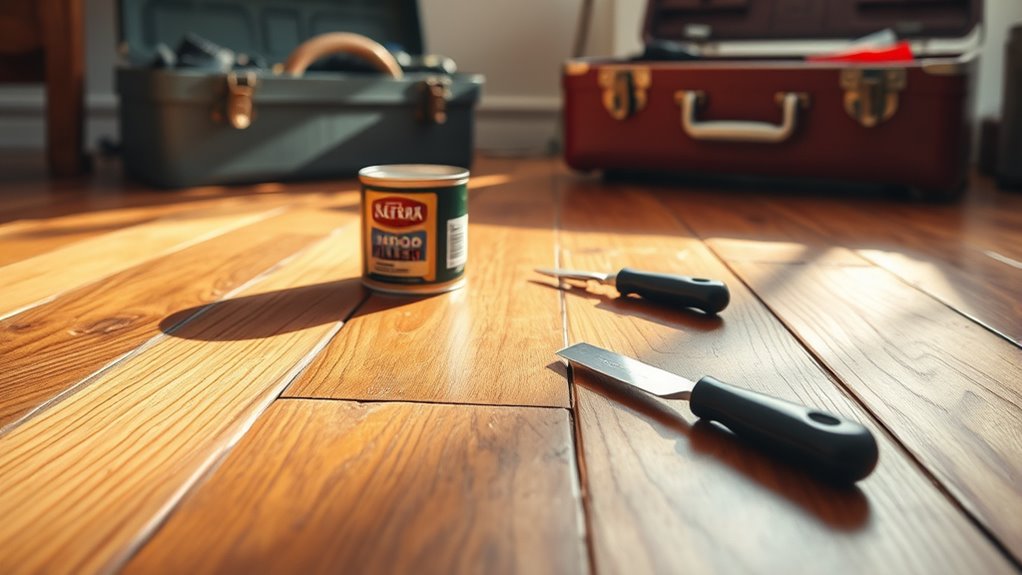
Preparing Your Hardwood Floor for Repair
To prepare your hardwood floor for repair, start by thoroughly cleaning the surface to remove dirt, dust, and debris that could interfere with adhesion or finishing. Use a vacuum followed by a damp microfiber cloth for effective floor preparation. Next, conduct a detailed gap inspection, measuring the width and depth of each gap to determine the appropriate repair method. Pay attention to any loose or damaged boards, as these will need additional stabilization. Make certain the floor is completely dry before proceeding. Removing any old finishes or residues around the gaps helps achieve better bonding for fillers or adhesives. This meticulous preparation sets the foundation for durable repairs, allowing you the freedom to restore your hardwood floor with confidence and precision.
Using Wood Filler to Fill Small Gaps
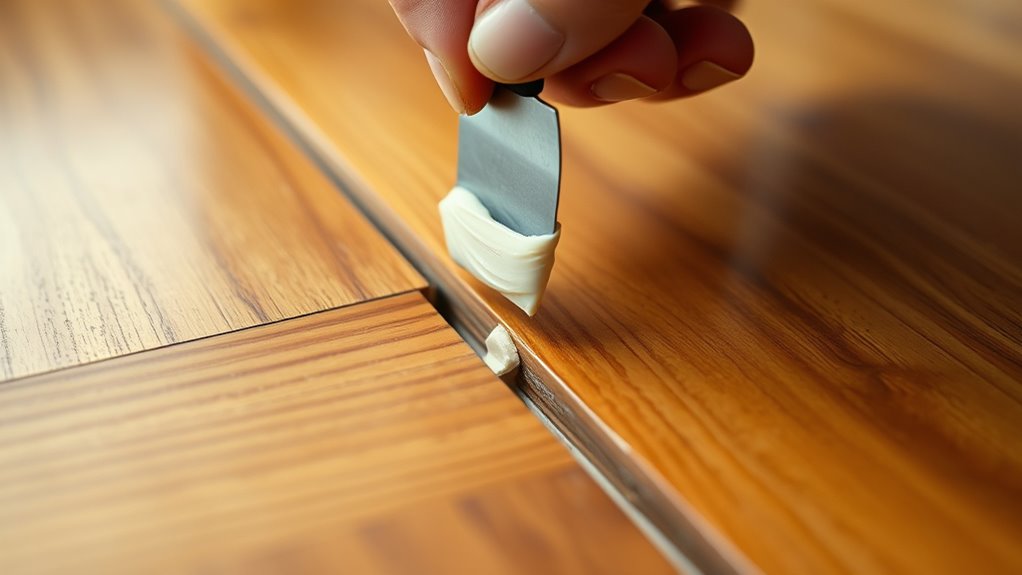
Although small gaps in hardwood floors may seem minor, addressing them with the right wood filler is essential for maintaining structural integrity and appearance. Selecting the appropriate wood filler types—such as water-based, solvent-based, or epoxy—depends on gap size and floor conditions. Application techniques require precision: clean the gap thoroughly, apply filler with a putty knife, and smooth the surface flush with the plank. Proper drying time is vital before sanding or finishing.
| Emotion | Wood Filler Types | Application Techniques |
|---|---|---|
| Confidence | Water-based (easy clean) | Clean gap, apply, smooth |
| Satisfaction | Solvent-based (durable) | Use putty knife, fill evenly |
| Freedom | Epoxy (strong bond) | Allow proper drying time |
| Control | Quick-dry options | Sand flush before finishing |
| Assurance | Color-matched fillers | Inspect for complete fill |
Applying Rope or Wood Slivers for Larger Gaps
When addressing larger gaps in your hardwood floor, selecting the appropriate rope material is essential for durability and compatibility. You’ll want to choose natural fibers that compress easily and resist decay. Inserting wood slivers requires careful sizing and secure placement to guarantee a seamless fit within the gap.
Choosing Rope Materials
Selecting the right rope material is essential for effectively filling larger gaps in hardwood floors. You’ll want to balance durability, flexibility, and ease of installation. Natural fibers like jute or cotton offer excellent breathability and blend well with wood, while synthetic options such as nylon provide superior strength and resistance to moisture. Choose based on your specific floor conditions and desired longevity.
| Material | Pros | Cons |
|---|---|---|
| Jute (Natural) | Breathable, eco-friendly | Less moisture-resistant |
| Cotton (Natural) | Soft, easy to work with | Can compress over time |
| Nylon (Synthetic) | Strong, moisture-resistant | Less natural appearance |
| Polypropylene (Synthetic) | Durable, flexible | Can be less breathable |
Select a rope that fits the gap size snugly for ideal stability.
Inserting Wood Slivers
Two main options exist for filling larger gaps in hardwood floors: rope and wood slivers. When opting for wood slivers, you’ll need to select appropriate wood sliver types that closely match your floor’s species and grain. This guarantees a seamless repair and maximum durability. The repair techniques involve cutting thin, tapered slivers to fit snugly into the gaps, then securing them with wood glue. Here’s a methodical approach:
- Measure the gap width and depth precisely to tailor the slivers.
- Use a sharp utility knife or chisel to shape slivers for a tight fit.
- Apply wood glue evenly on slivers before inserting, then clamp if possible.
This technique restores structural integrity while preserving your floor’s natural freedom and aesthetic.
Sanding and Refinishing After Gap Repair

Although gap repair restores the floor’s structural integrity, sanding and refinishing are essential to achieve a uniform surface and consistent finish. Begin with proper sanding techniques: use a drum sander for large areas and an edge sander for corners. Start with coarse-grit sandpaper to remove excess filler and smooth unevenness, then progress to finer grits for a polished surface. Guarantee thorough dust extraction to avoid finish imperfections. Next, select refinishing options that suit your floor’s wear and desired appearance—water-based polyurethane offers quick drying and low odor, while oil-based provides deeper color and durability. Apply multiple thin coats with a high-quality applicator, sanding lightly between coats to enhance adhesion. This methodical approach grants your floor a seamless, revitalized look, preserving its natural beauty and your freedom to enjoy the space.
Preventative Measures to Avoid Future Gaps
To minimize the risk of future gaps in your hardwood floors, maintaining stable indoor humidity levels is essential. Fluctuations cause wood to expand and contract, leading to separation between planks. You can protect your floors by focusing on humidity control and regular maintenance. Consider these key measures:
- Use a humidifier in dry seasons and a dehumidifier in humid conditions to keep relative humidity between 35%-55%.
- Inspect floors periodically for early signs of gaps or damage, addressing issues promptly to prevent worsening.
- Avoid excessive water exposure during cleaning; use damp mops instead of wet ones to prevent wood swelling.


