To fix a squeaky floor, start by identifying the source of the noise—you might have loose boards or gaps. Try sprinkling talcum powder or graphite into the cracks to lubricate the area. If that doesn't work, tighten loose floorboards by securing them with screws or nails. For extra support, you can apply wood glue into gaps and clamp them together. If you're still struggling, consider installing a squeak-repair kit. If the problem persists, seeking professional help can guarantee all issues are addressed effectively. There's more you can do to keep your floors quiet and stable.
Identify the Source of Squeaks
Before you can fix a squeaky floor, you first need to identify the source of the noise. Start by walking around the area, listening carefully for the squeaks. Common squeaky floor causes include loose floorboards, gaps between the boards, or nails that have come loose. Different floor material types, like hardwood, laminate, or carpet, can also contribute to the issue. For hardwood floors, the squeaks often arise from friction between boards or between a board and the subfloor. In laminate, it might be an issue with the locking mechanism. By pinpointing the specific cause, you'll be better equipped to choose the right solution, allowing you to reclaim the peace and freedom of your home without the disruption of annoying squeaks.
Use Talcum Powder or Graphite
If you're looking for a simple solution to your squeaky floor, talcum powder or graphite can work wonders. Talcum powder helps lubricate the floorboards, while graphite can provide a longer-lasting effect. In this section, you'll learn how to apply these materials effectively and some tips to prevent future squeaks.
Talcum Powder Benefits
One simple solution for reducing squeaky floorboards is using talcum powder or graphite. Talcum powder can work wonders for floor maintenance by filling gaps between boards, thereby minimizing friction and noise. It's a quick and easy fix that doesn't require extensive tools or expertise. Just sprinkle some powder over the affected area and work it into the cracks with a soft brush. This helps lubricate the floorboards, allowing them to move smoothly without the annoying squeaks. Plus, talcum powder is readily available and inexpensive, making it a practical choice for anyone looking to restore peace to their home. Embracing this simple method can empower you to tackle floor issues efficiently and keep your living space serene.
Graphite Application Technique
Although both talcum powder and graphite can effectively reduce squeaks in your floorboards, understanding the right technique for applying graphite can maximize its benefits. Start by identifying the squeaky areas. Once you've pinpointed the trouble spots, use a small brush or applicator to apply a thin layer of graphite powder directly between the floorboards. The unique graphite properties provide excellent lubrication, reducing friction where the boards meet. Be sure to work it into the seams gently; this guarantees better coverage and effectiveness. After application, walk over the area to help distribute the graphite and enhance its lubrication techniques. This process not only quiets your floor but also prolongs its life, giving you the freedom to enjoy your space without disruption.
Preventive Measures Tips
To keep your floors quiet and prevent squeaks from developing, using talcum powder or graphite can be an effective strategy. Start by sprinkling talcum powder or graphite into the gaps between your floorboards. This acts as a lubricant, reducing friction and noise. For best results, verify your floor insulation is intact and moisture-free, as dampness can exacerbate squeaks. Regular preventive maintenance is key; check your floors periodically to identify any potential squeak hotspots. If you catch issues early, you can apply more powder or graphite before they escalate. Embracing these simple steps not only enhances your comfort but also empowers you to maintain a peaceful living environment.
Tighten Loose Floorboards
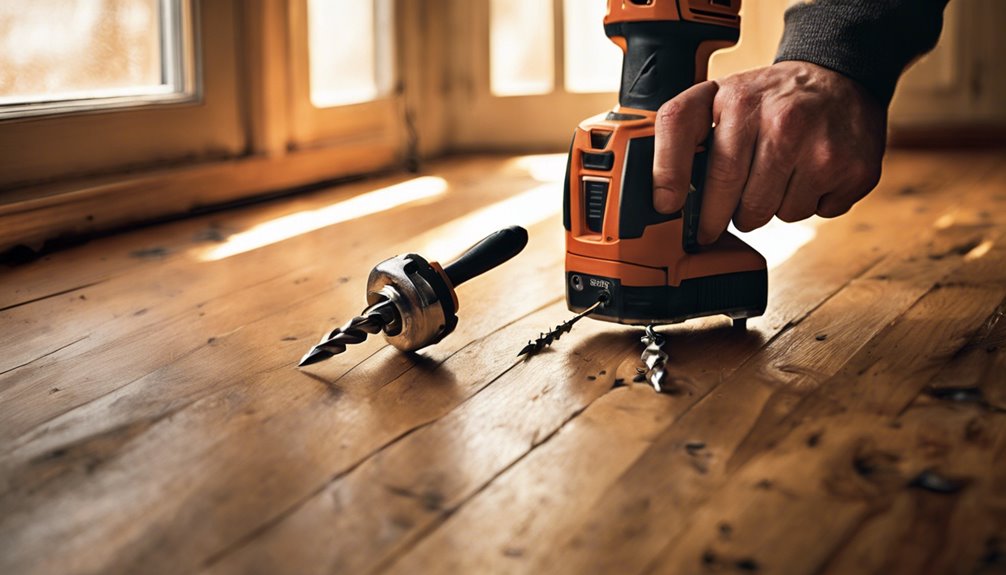
Start by identifying any loose floorboards, as they're often the main culprits behind that annoying squeak. Walk around your room, applying pressure to each board; listen for any movement or sound. Once you've pinpointed the loose areas, grab a few screws or nails. If you're using screws, drill them at an angle into the floorboards, ensuring they penetrate the subfloor. This'll create a tighter fit and eliminate the movement causing the squeak. For nails, hammer them down firmly, making sure they're flush with the surface. Remember to use fixing techniques that don't compromise the appearance of your flooring. After tightening, walk around again to check if the squeaky floorboards have been silenced; freedom from noise is just a step away!
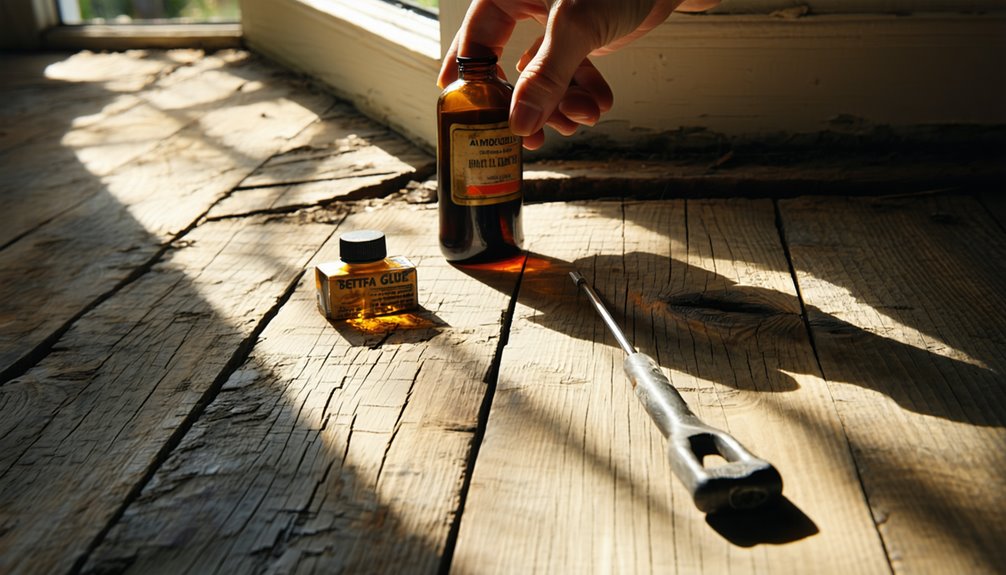
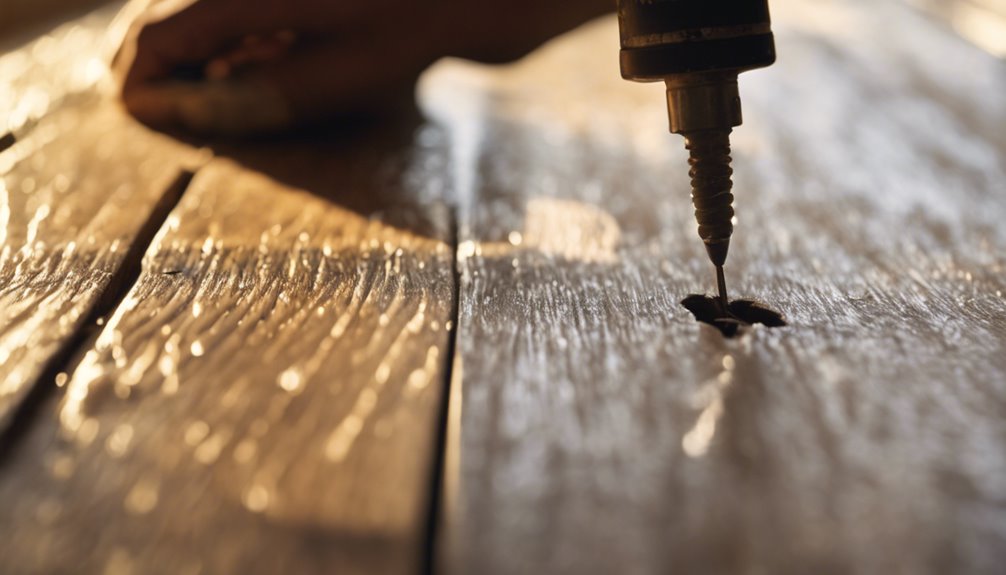
Apply Wood Glue for Stability
Applying wood glue can greatly enhance the stability of your floorboards and help reduce squeaks. First, choose the right wood glue types; PVA (polyvinyl acetate) is ideal for interior use, while polyurethane works for outdoor applications. Before applying, clean the area to remove dust and debris. Use a syringe or a small brush for precise application, ensuring you get the glue into any gaps between the floorboards and joists. Apply a thin, even bead, and clamp the boards together if possible for best adhesion. Allow the glue to cure according to the manufacturer's instructions—this is critical for lasting results. Once dry, you'll notice a significant reduction in squeaks, bringing you one step closer to a quieter home.
Install Squeak-Repair Kits

If you're tired of those annoying squeaks, installing a squeak-repair kit can be a simple solution. There are various types of kits available, each designed for specific floor types, and understanding the installation process is key to success. You'll also need some basic tools on hand to guarantee a smooth and efficient repair.
Types of Squeak-Repair Kits
When dealing with squeaky floors, you'll find several types of squeak-repair kits designed to tackle this common issue effectively. Each kit offers different squeak repair options and kit components, so you can choose what best suits your needs.
| Kit Type | Key Components | Best For |
|---|---|---|
| Screw Kits | Screws, drill bit, guide | Wooden floorboards |
| Injection Kits | Syringe, lubricant, nozzle | Tight spaces |
| Powder Kits | Powdered lubricant, applicator | Under carpet areas |
| Adhesive Kits | Adhesive, applicator | Loose floorboards |
| Bracket Kits | Metal brackets, screws | Structural support |
Installation Process Explained
Before you plunge into the installation of your chosen squeak-repair kit, it's important to gather all necessary tools and materials to streamline the process. Having everything on hand makes the installation techniques much smoother and frees you from unnecessary interruptions. Here's what you'll need:
- Squeak-repair kit
- Wood screws or fasteners
- A drill or screwdriver
- Measuring tape
- Safety goggles
Once you've collected your installation materials, read the kit's instructions carefully. Mark the squeaky areas, then use your drill or screwdriver to secure the fasteners into the floor joists. This method effectively reduces movement between the floorboards, eliminating that annoying squeak. Take your time; a precise installation will guarantee long-lasting results and a quieter home.
Tools Required for Installation
Gathering the right tools is essential for a successful installation of your squeak-repair kit. You'll need a drill with a suitable bit for your flooring materials, screws, and a screwdriver. A stud finder can help you locate the joists, ensuring you secure the repair kit properly. For noise reduction, consider using a rubber mat or felt pads to cushion the area. A hammer may also come in handy if you need to tap in any loose boards. Finally, keep a vacuum nearby to clean up any dust or debris during the process. With these tools in hand, you'll be well-equipped to tackle those pesky squeaks and enjoy a quieter, more comfortable space.
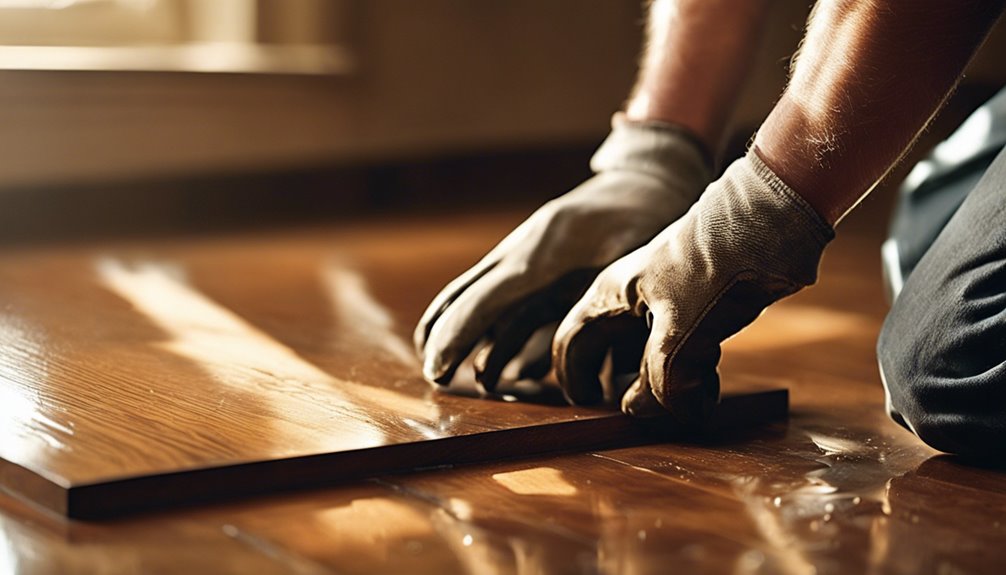
Consider Adding Support Beams
Adding support beams can considerably reduce squeaks in your floor, especially in older homes where the structure may have settled over time. By reinforcing the floor, you can enjoy a quieter, more stable living environment. Here are some support beam materials you might consider:
- Solid wood beams for durability
- Steel beams for maximum strength
- Engineered wood beams for a lightweight option
- Laminated veneer lumber for flexibility
- Composite materials for moisture resistance
When it comes to beam installation techniques, guarantee you place the beams strategically to distribute weight evenly. This approach not only minimizes floor movement but also enhances overall stability. With the right materials and techniques, you can reclaim the peace in your home.
Seek Professional Help
If you're struggling to eliminate persistent squeaks despite your best efforts, it might be time to seek professional help. Hiring professional services can provide you with an expert evaluation that identifies underlying issues you might've missed. They have the experience and tools to address complex problems effectively.
| Service Offered | Benefits |
|---|---|
| Floor Inspection | Detects hidden issues |
| Repair Solutions | Provides tailored fixes |
| Maintenance Advice | Prevents future squeaks |
Frequently Asked Questions
Can I Prevent Floor Squeaks From Occurring in the First Place?
Absolutely, you can prevent floor squeaks from occurring! Start by ensuring proper floor insulation during installation; this minimizes movement and friction. Use quality materials and consider adding soundproofing underlayment. Also, regular maintenance, like tightening loose floorboards, can help. If you're retrofitting, adding screws instead of nails can greatly reduce squeaking. Remember, a little foresight and attention to detail can lead to a quieter, more comfortable space that truly feels like home!
What Tools Do I Need to Fix Squeaky Floors?
When tackling the symphony of squeaks, you'll need a few trusty tools. Think of them as your orchestra—each plays a crucial role. Grab a screwdriver for fasteners, a hammer for gentle persuasion, and wood glue for stubborn joints. A floor repair kit can be your secret weapon, while a squeak detection tool helps pinpoint trouble spots. With these repair techniques, you'll reclaim the serenity of your space, transforming noise into tranquility.
Are There Specific Types of Flooring More Prone to Squeaking?
Yes, certain flooring types are more prone to squeaking. Hardwood floors often squeak due to their natural movement and the settling of the house. If you've got carpeted floors, they might also squeak, especially if the underlayment isn't secure. To reduce noise, you can check for loose boards or nails in hardwood and guarantee a tight fit in carpeted areas. Addressing these issues can give you a quieter, more comfortable living space.
How Long Does It Take to Fix Squeaky Floors?
You might find it surprising, but fixing squeaky floors can be a quick and satisfying task! Depending on the repair techniques you choose, time estimates for completion can range from 30 minutes to a few hours. If you're using simple solutions like powdered graphite or screws, it'll be on the shorter side. For more extensive repairs, like replacing boards, you could spend a day. Either way, you'll enjoy the freedom of a quieter home!
Will Fixing Squeaky Floors Damage My Existing Flooring?
You might worry that squeaky floor repair could damage your existing flooring, but generally, it shouldn't. If you use the right techniques and tools, like screws or adhesive, you can minimize any risk. Just be sure to follow proper flooring care guidelines. It's all about being gentle and precise with your approach. If you're cautious, you can enjoy a quieter space without compromising your beautiful floors.


