To fill your floor jack with hydraulic oil, first gather the right tools, including the specified oil. Make certain you’re working on a flat surface and wear safety gear. Remove the fill plug and inspect the existing oil for contamination. Using a clean funnel, slowly add the correct hydraulic oil until the level meets manufacturer guidelines. Reinstall the fill plug securely, then test the jack’s performance by pumping it gently. Follow these steps carefully, and you’ll maintain your jack’s reliability and safety with ease.
Gather the Necessary Tools and Materials
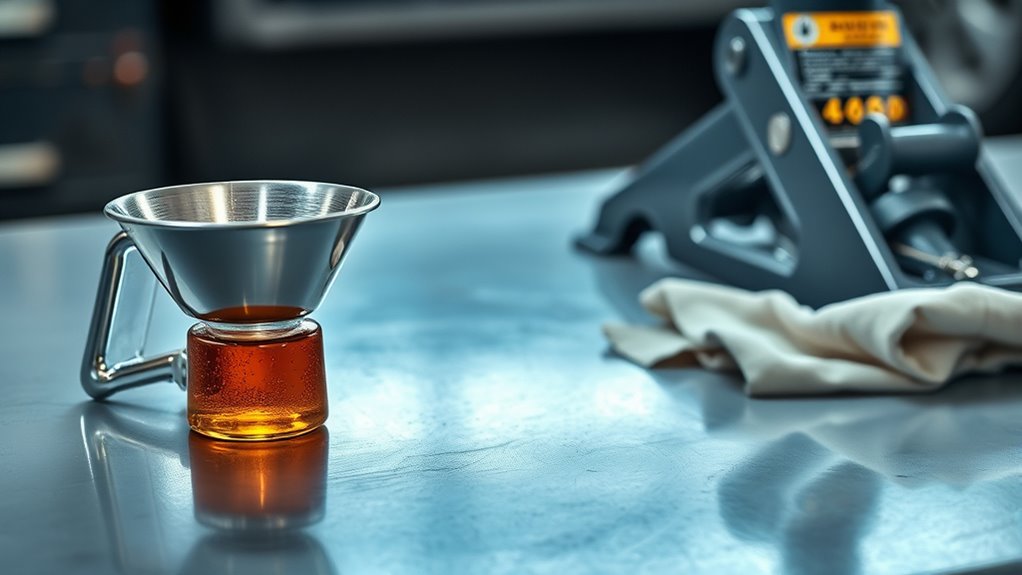
Before you begin filling your floor jack with hydraulic oil, you’ll need to gather all the necessary tools and materials to guarantee a smooth process. Start with a tools checklist: a clean funnel, a wrench or screwdriver to open the fill plug, a clean rag, and the correct hydraulic oil. Confirm the oil specifications by consulting your floor jack’s manual; using the specified grade guarantees peak performance and avoids damage. Avoid substitutes or generic oils, as they can compromise the jack’s hydraulic system. Make certain the work area is well-lit and organized to prevent misplacing any components. Having these tools and the correct oil ready will help you complete the task efficiently, giving you the freedom to maintain your equipment confidently and safely.
Ensure Safety Precautions Are in Place
With all your tools and the correct hydraulic oil ready, it’s important to prioritize safety throughout the process. First, equip yourself with appropriate safety gear—wear gloves, safety glasses, and protective clothing to guard against oil spills and skin contact. Verify your workspace is well-ventilated and free of ignition sources, as hydraulic oil can be flammable. Familiarize yourself with emergency procedures, including spill containment and first aid measures, so you can respond swiftly if accidents occur. Keep a fire extinguisher and absorbent materials nearby. Before starting, double-check that no children or pets are in the area. Maintaining these precautions not only protects your well-being but also maintains your freedom to work independently and confidently on your floor jack maintenance tasks.
Position the Floor Jack on a Level Surface
Although it might seem straightforward, positioning your floor jack on a level surface is crucial for accurate hydraulic oil filling and safe operation. Without proper jack stability, the oil level readings can be misleading, risking malfunction or damage.
Follow these steps to guarantee ideal positioning:
- Find a flat, hard surface free of debris to prevent tilting.
- Use a spirit level to confirm the surface’s evenness before placing the jack.
- Position the floor jack so all four wheels rest firmly on the surface.
- Avoid uneven or inclined areas that compromise jack stability and oil distribution.
Locate and Remove the Hydraulic Oil Fill Plug
The hydraulic oil fill plug is typically located on the main body of the floor jack, often near the top or side. To find the fill plug location, inspect the jack’s housing carefully; it usually appears as a small, threaded cap. Before proceeding, verify the jack is stable on a level surface. For fill plug removal, use the appropriate tool—often a wrench or screwdriver—to turn the plug counterclockwise. Apply steady pressure to avoid stripping the threads. Once loose, remove the plug completely and set it aside in a clean area to prevent contamination. Proper fill plug removal grants you clear access to the reservoir, enabling you to refill the hydraulic oil efficiently and maintain your jack’s ideal performance.
Inspect the Existing Hydraulic Oil Condition

You should first check the hydraulic oil’s color for any darkening or cloudiness, which indicates contamination. Look for debris or particles that suggest internal wear or external dirt. Finally, assess the oil level to confirm it’s within the recommended range before adding more.
Oil Color Check
Someone checking a floor jack’s hydraulic oil should start by examining its color, as this provides a clear indication of the fluid’s condition. The oil’s hue reflects its viscosity and the effectiveness of oil additives that maintain system performance. To perform an accurate oil color check, follow these steps:
- Remove the oil reservoir cap and observe the fluid in natural light.
- Compare the oil’s color to the manufacturer’s recommended standard—typically clear amber or light brown.
- Identify any darkening or cloudiness, which suggests oil degradation or additive breakdown.
- Note any deviation from normal color, as this can affect oil viscosity and compromise hydraulic function.
Maintaining proper oil color guarantees your floor jack operates reliably and prolongs its service life.
Contamination Signs
Contamination in hydraulic oil can severely impair your floor jack’s performance and cause premature wear. To inspect contamination signs, check for cloudiness, milky appearance, or dark discoloration—these often indicate water or dirt intrusion. You might also notice sludge or metal particles settling at the bottom, signaling contamination causes such as seal failures or improper storage. Contaminated oil compromises lubrication and increases internal friction, reducing your jack’s reliability and lifespan. To maintain peak function, practice contamination prevention by regularly sealing fill ports and storing the jack in a clean, dry environment. Always use clean tools when handling oil and avoid mixing different hydraulic fluids. Recognizing contamination signs early empowers you to act swiftly, preserving your equipment’s freedom to perform without unexpected breakdowns.
Oil Level Assessment
How can you accurately determine if your floor jack’s hydraulic oil is at the correct level and in suitable condition? Proper oil level assessment is essential because hydraulic fluid dynamics depend on precise fluid amounts and quality to function effectively. Here’s how to inspect it:
- Locate the oil fill plug and clean the surrounding area to prevent contamination.
- Remove the plug and check if the oil surface is near the fill hole; low levels impair hydraulic pressure.
- Assess oil viscosity impact by observing thickness; overly thin or thick oil signals degradation.
- Look for discoloration or debris indicating contamination affecting fluid dynamics.
Maintaining correct oil level and quality guarantees your floor jack performs reliably, granting you the freedom to operate safely and efficiently.
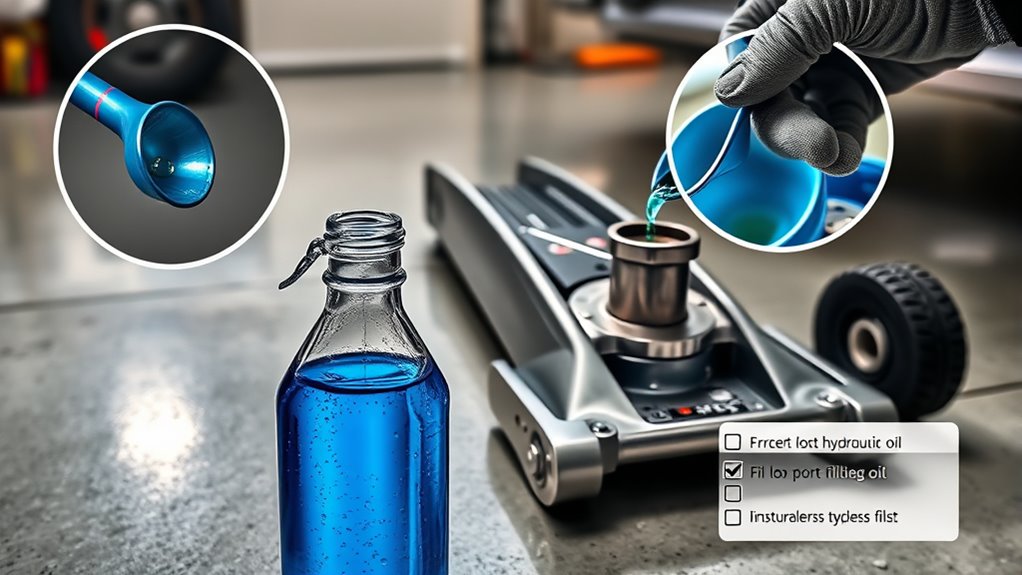
Clean the Fill Plug and Surrounding Area
Before opening the fill plug, make certain you thoroughly clean the plug and the surrounding area to prevent any dirt or debris from entering the hydraulic system. Effective fill plug maintenance begins with wiping down the plug using a clean, lint-free cloth. If necessary, use a small brush to remove stubborn dirt from crevices around the plug. Maintaining area cleanliness is vital to avoid contaminating the hydraulic oil, which can impair the jack’s performance and cause premature wear. Avoid using compressed air, as it can push debris into the system. Once the area is spotless, you can safely loosen the fill plug. Taking these precise steps guarantees your floor jack remains reliable and extends your freedom to work without interruptions caused by contamination or improper maintenance.
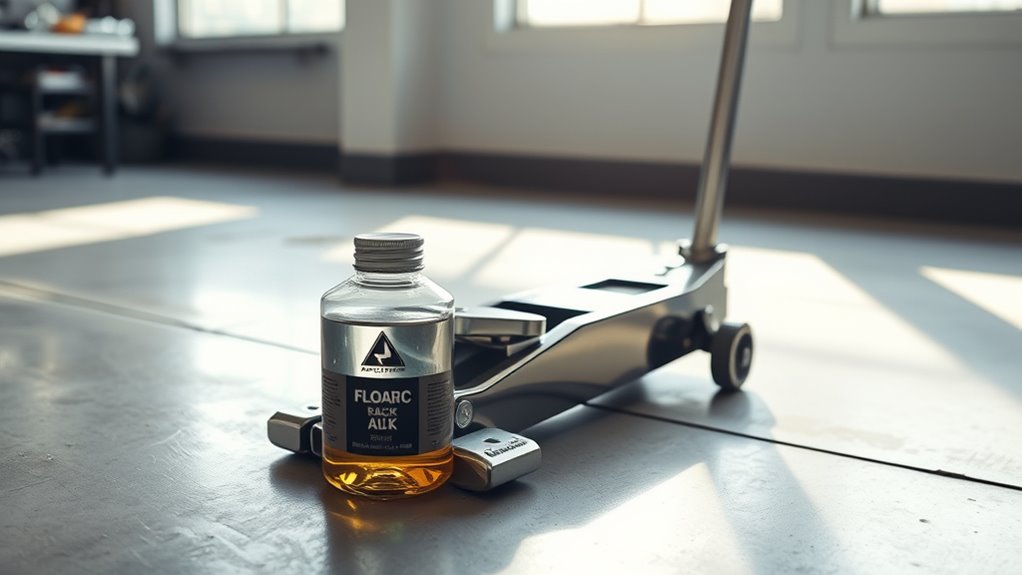
Add the Appropriate Type of Hydraulic Oil
You need to use the hydraulic oil specified by the floor jack’s manufacturer to guarantee proper function. Always check the owner’s manual for the correct type and viscosity rating before adding fluid. Avoid using contaminated or incorrect fluids, as they can damage the jack’s internal components.
Choose Correct Oil Type
Although it might seem straightforward, selecting the correct hydraulic oil is essential for your floor jack’s best performance and longevity. Using the wrong hydraulic oil type or viscosity rating can cause poor lifting efficiency and damage internal components. To choose correctly, consider these points:
- Identify the hydraulic oil types compatible with your jack, typically mineral-based or synthetic.
- Check viscosity ratings; a common range is ISO 32 to ISO 46, balancing flow and protection.
- Avoid oils with additives not suited for floor jacks, as they may degrade seals or cause foaming.
- Guarantee the oil maintains stability across temperature variations for consistent jack operation.
Check Manufacturer Recommendations
Selecting the right hydraulic oil involves more than just matching viscosity or base type; consulting your floor jack’s manufacturer recommendations guarantees compatibility and peak performance. Before adding hydraulic fluid, carefully review the manufacturer guidelines provided in the user manual or on the product label. These guidelines specify the exact type and grade of hydraulic oil suited for your jack, ensuring ideal function and preventing damage. Using the recommended hydraulic fluid maintains system integrity, supports proper lubrication, and extends the jack’s lifespan. Avoid substituting with generic oils, as they may lack necessary additives or have incompatible properties. By adhering strictly to the manufacturer’s specifications, you maintain safety and operational freedom, ensuring your floor jack performs reliably every time you need it.
Avoid Contaminated Fluids
When adding hydraulic oil, it’s crucial to guarantee the fluid is clean and free from contaminants that could impair your floor jack’s performance. Using the correct hydraulic fluid types prevents damage and maintains system efficiency. Avoid contamination sources like dirt, water, and incompatible fluids.
Follow these steps to avoid contaminated fluids:
- Always use hydraulic oil recommended by the manufacturer to match system requirements.
- Store hydraulic oil in sealed, clean containers to prevent dust and moisture ingress.
- Clean the fill area and funnel before adding oil to avoid introducing dirt.
- Never mix different hydraulic fluid types, as chemical incompatibilities can degrade seal materials and fluid performance.
Check the Oil Level and Adjust as Needed
A dipstick or sight glass on your floor jack lets you accurately check the hydraulic oil level. Start by positioning the jack on a level surface and removing the fill plug. Insert the dipstick fully, then remove it to inspect the oil’s height. The fluid should reach the designated mark; if it’s low, add clean hydraulic oil cautiously to avoid overfilling. Maintaining the correct oil level guarantees ideal jack performance and extends its lifespan. Regular oil maintenance tips recommend checking levels monthly and adhering to fluid replacement frequency guidelines, typically every 1-2 years or after heavy use. Monitoring and adjusting the oil level gives you control and freedom from unexpected equipment failures, keeping your floor jack reliable for all lifting tasks.
Reinstall the Fill Plug Securely
Secure the fill plug firmly to prevent hydraulic fluid leaks and maintain the jack’s proper pressure. A secure installation is essential for your floor jack’s reliability and safety. Here’s how to do it right:
- Align the fill plug with the opening carefully to avoid cross-threading.
- Hand-tighten the fill plug initially, ensuring it seats smoothly.
- Use the appropriate tool to tighten the fill plug securely, applying moderate torque—don’t overtighten.
- Inspect the fill plug area for any signs of leakage or misalignment after installation.
Test the Floor Jack for Proper Operation
After reinstalling the fill plug securely to prevent leaks, you’ll need to test the floor jack to verify it operates correctly. Begin by pumping the handle slowly and observing the hydraulic performance; the jack should lift smoothly without hesitation or unusual noise. Check for any oil seepage around the fill plug and seals to ascertain a tight system. Next, position the jack under a stable, flat surface and raise the load incrementally, verifying jack stability at every stage. The jack should hold its position firmly without sinking or wobbling. Lower the jack carefully and confirm the descent is controlled and consistent. This testing guarantees your floor jack delivers reliable hydraulic performance and maintains jack stability, granting you the freedom to work confidently and safely.