
Have you ever walked into a room and felt the solid, sleek appeal of a perfectly polished concrete floor? If you’re looking to transform your space with a durable, glossy finish, learning how to epoxy your concrete floor might be just what you need.
Imagine a floor that’s not only strong and resistant but also incredibly easy to maintain. Whether it’s your garage, basement, or any other space, an epoxy coating can offer both beauty and functionality. In this guide, you’ll discover the step-by-step process to achieve that flawless epoxy finish.
You’ll learn how to avoid common mistakes and ensure a long-lasting result. By the end of this article, you’ll be equipped with the know-how to tackle this project with confidence and ease. Ready to revamp your floors? Let’s dive in!
Benefits Of Epoxy Flooring
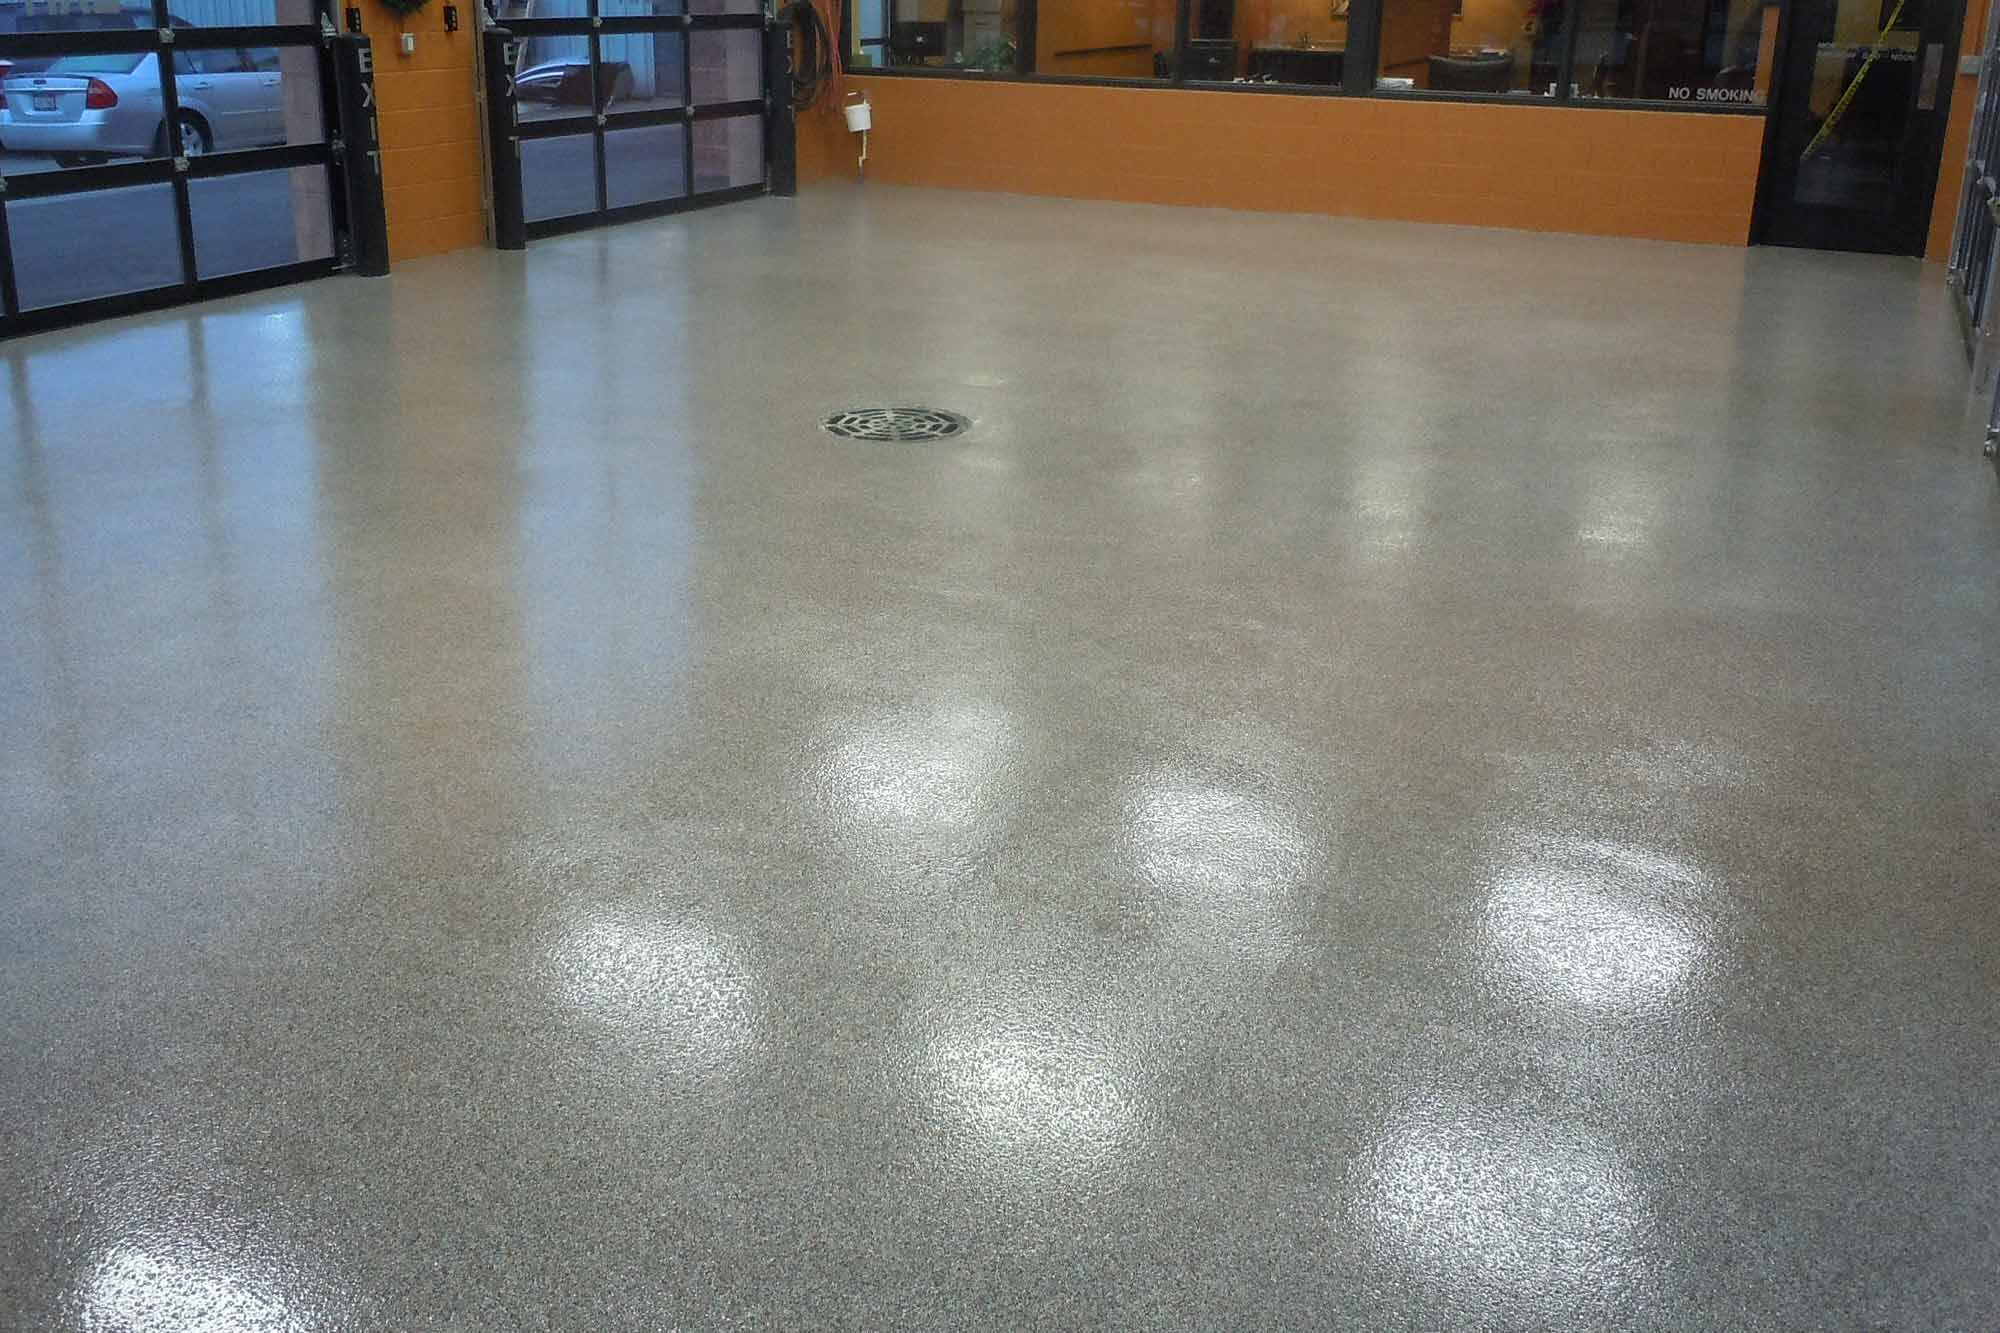
Epoxy flooring is very strong. It lasts a long time. Concrete floors with epoxy are easy to clean. Dirt and stains do not stick. Epoxy floors are shiny. They look nice in homes and shops. They also resist water. Water spills will not damage the floor. Epoxy protects against scratches and marks. Heavy objects will not hurt it. It is also safe. People will not slip when walking. Epoxy can be customized. Different colors and designs are available. This makes floors unique.
Choosing The Right Epoxy
Epoxy coatings come in different types. Water-based epoxy is easy to apply. It is less smelly and dries fast. Solvent-based epoxy is strong. It is good for high traffic areas. 100% solid epoxy is the toughest. It offers high durability.
Consider the surface condition before choosing epoxy. Check if the floor is old or new. Think about traffic levels. Busy places need stronger epoxy. Choose based on the look you want. Some epoxies are shiny. Others are matte.
Tools And Materials Needed
You need a paint roller for applying the epoxy. A paintbrush helps with corners. Use a bucket for mixing. Don’t forget a mixing stick. A scraper is handy for cleaning. A vacuum keeps the floor dust-free.
Epoxy resin and hardener are essential. You need primer for better adhesion. Get cleaning solution for prep work. Masking tape helps with edges. Non-slip additive is useful for safety. Protective gear keeps you safe.

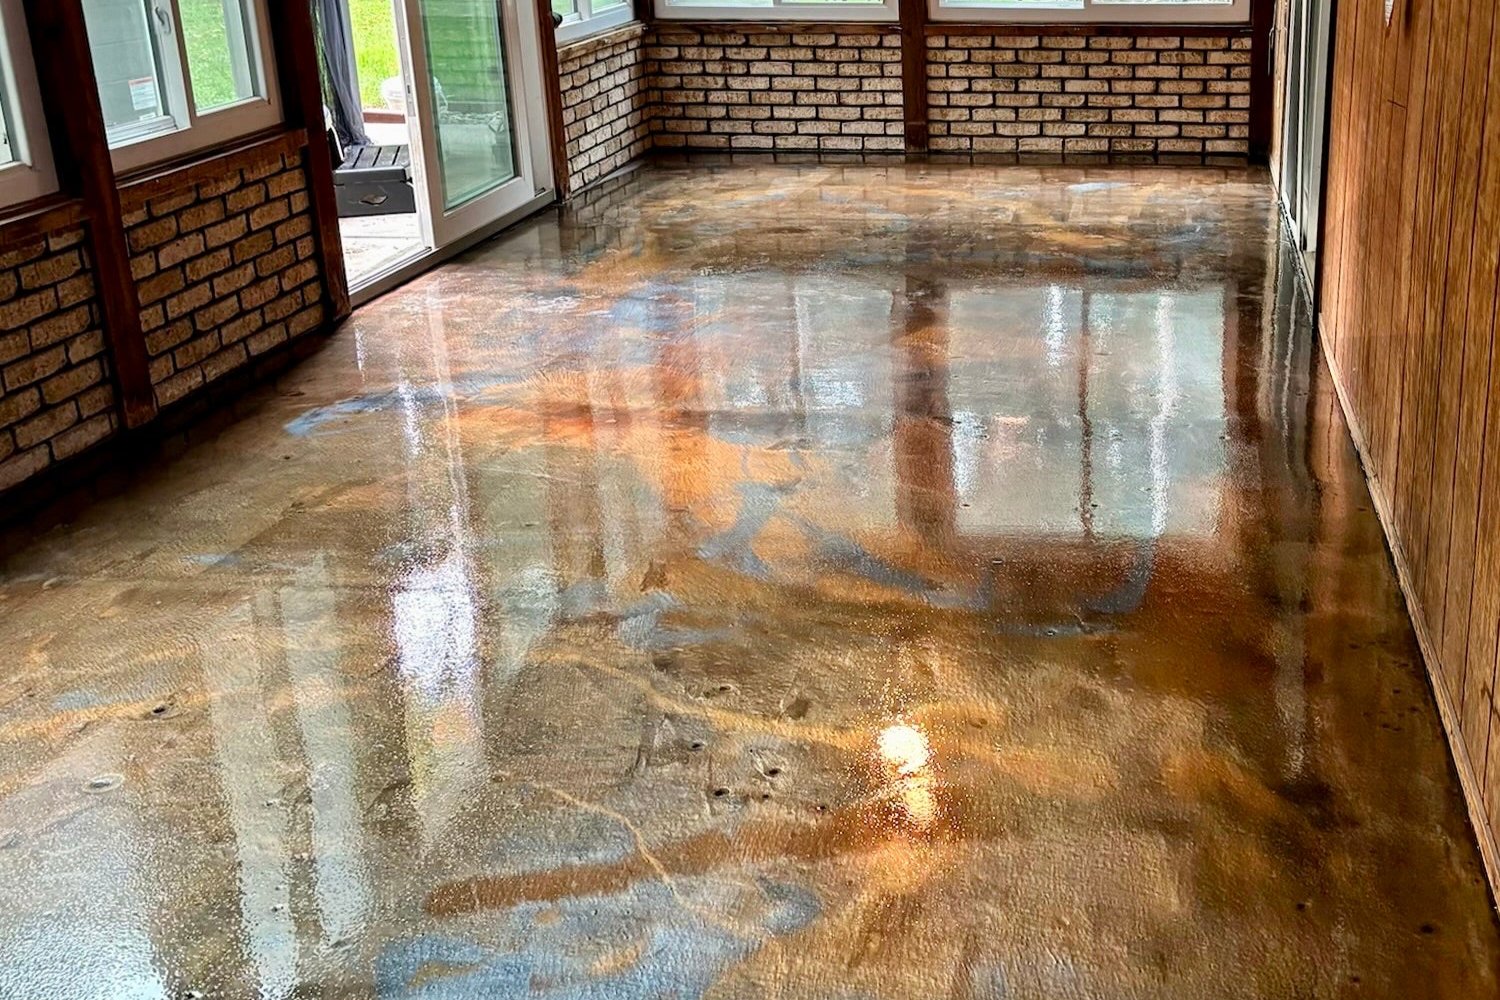
Preparing The Concrete Surface
Cleaning the concrete floor is vital. Use a broom to sweep the area. Remove all dust and dirt. Next, mop the floor with warm water. Add some mild soap. Scrub stubborn spots with a brush. Rinse the floor. Let it dry completely before you continue.
First, inspect the concrete for cracks. Fill cracks with a concrete patch. Use a putty knife for the job. Smooth the surface well. Check for any bumps. Sand them down if needed. Ensure the floor is even. A smooth surface is best for epoxy.
Etching makes the surface rough. This helps epoxy stick better. Use a commercial etching solution. Follow the instructions on the package. Apply the solution evenly. Scrub the floor with a stiff brush. Rinse thoroughly with water. Let it dry before epoxy application.
Mixing The Epoxy
Epoxy has two main parts: resin and hardener. Resin is thick and sticky. Hardener is the part that makes it dry. Both parts are important. They work together to make the floor strong.
Always read the instructions on the package. Each brand may have different steps. Mix them in the right order. Use a clean container. Wear gloves to protect your hands.
Mix the resin and hardener slowly. Stir for at least 3 minutes. Make sure there are no bubbles. Use a stick or a drill mixer. Mixing slowly helps to avoid bubbles.
Mix the amount you can use in 30 minutes. Epoxy sets fast. Use a clock to keep track of time. Work in a cool place. Heat makes epoxy harden faster.
Applying The Epoxy
Begin with a clean floor. Remove all dust and dirt. The primer helps the epoxy stick well. Pour the primer in a line. Use a roller to spread it. Cover the whole floor. Wait for it to dry. This may take a few hours.
Mix the epoxy base coat. Follow the instructions on the pack. Pour the mixture on the floor. Use a roller to spread it. Work in small sections. Make sure it is even. Leave no gaps. Allow it to dry.
Sprinkle decorative flakes when the epoxy is wet. Toss them lightly by hand. Spread them evenly. Do not add too many. Less is more. Let the epoxy dry fully. This may take a day.
Curing And Finishing Touches
Curing and finishing touches ensure a smooth epoxy finish on concrete floors. Proper curing time enhances durability and appearance. Final steps like polishing add a glossy sheen, making the floor look polished and professional.
Allowing Proper Curing Time
Concrete needs time to dry and harden well. This is called curing. Curing helps the floor become strong. After applying epoxy, wait at least 24 hours. During this time, keep the floor clean and dust-free. Protect the floor from water and dirt. This helps the epoxy set properly. A well-cured floor lasts longer and looks better.
Applying A Top Coat
A top coat makes the floor shiny and strong. It protects the epoxy from scratches. Before applying, make sure the floor is clean. Use a brush or roller to spread the top coat evenly. Let it dry for a few hours. This coat will seal the floor and make it look beautiful. A good top coat keeps the floor looking new.
Maintenance Tips
Epoxy concrete floors last longer with regular care. Sweep often to remove dirt. Use a damp mop for spills. Avoid harsh chemicals that can damage the surface. Keep the floor dry to prevent slipping.
Regular Cleaning
Keep the epoxy floor clean to make it last longer. Use a soft broom or vacuum cleaner. This removes dust and dirt. Mop with warm water weekly. Add a small amount of mild soap. Avoid harsh chemicals. They damage the epoxy surface. Rinse the floor well after mopping. Dry it with a clean towel. This prevents water spots.
Handling Spills And Stains
Wipe spills quickly to prevent stains. Use a soft cloth or paper towel. Avoid scrubbing hard. It may scratch the surface. Clean oily spills with a mild detergent. Rinse with warm water. Dry the area with a soft cloth. For stubborn stains, use a gentle cleaner. Follow the instructions on the bottle. Always test cleaners on a small area first.
Common Mistakes To Avoid
Epoxy floors need clean surfaces. Dirt and dust cause problems. Clean the floor well. Ensure it is dry. Moisture affects epoxy. Wet areas ruin the finish. Measure the room first. Use the right amount of epoxy. Too much or too little creates issues. Mix epoxy carefully. Follow instructions. Wrong ratios lead to weak floors. Ventilation is important. Open windows and doors. Fumes can be harmful. Wear safety gear. Protect your skin and eyes. Skipping safety steps is risky.
Temperature matters. Cold floors affect epoxy. Warm the room if needed. Timing is key. Apply epoxy quickly. Waiting too long causes hardening. Check the weather. Rain might affect drying. Prepare tools beforehand. Missing tools delays the process. Avoid these mistakes for a smooth finish.
Frequently Asked Questions
What Tools Do I Need For Epoxy Flooring?
To epoxy a concrete floor, you’ll need a few key tools. These include a roller, paintbrush, mixing paddle, and a squeegee. You’ll also need protective gear like gloves and goggles. Ensure you have a clean surface and sufficient ventilation. Proper preparation ensures a smooth and durable epoxy finish.
How Long Does Epoxy Take To Dry?
Epoxy typically takes 24 to 72 hours to fully dry, depending on conditions. Temperature, humidity, and epoxy type can affect drying time. It’s crucial to wait the full drying period before using the floor. This ensures durability and prevents damage.
Always check the manufacturer’s instructions for specific drying times.
Can I Apply Epoxy Over Painted Concrete?
Yes, you can apply epoxy over painted concrete, but preparation is key. The surface must be clean and free from loose paint. Sand the painted area to create a rough texture for better adhesion. Proper surface preparation ensures a successful epoxy application and prevents peeling or bubbling.
How Do I Prepare Concrete For Epoxy?
Preparing concrete for epoxy involves cleaning and repairing. Remove dirt, grease, and old coatings. Patch any cracks or holes for a smooth surface. Use a concrete grinder or acid etching for better epoxy adhesion. Proper preparation is vital for a durable and long-lasting epoxy finish.
Conclusion
Epoxy coating transforms concrete floors beautifully. It adds durability and style. Preparation is key for a smooth finish. Clean the surface well. Mix epoxy carefully. Apply it evenly. Allow ample drying time. A well-done epoxy floor lasts years. Protects against stains and cracks.
Enhances home or workspace. You can do it yourself. Follow steps closely for best results. Enjoy your new, shiny floor. It boosts aesthetic appeal. A practical choice for any space. Create a fresh look with epoxy. Experience the benefits firsthand.
Your floor will thank you. Happy flooring transformation!


