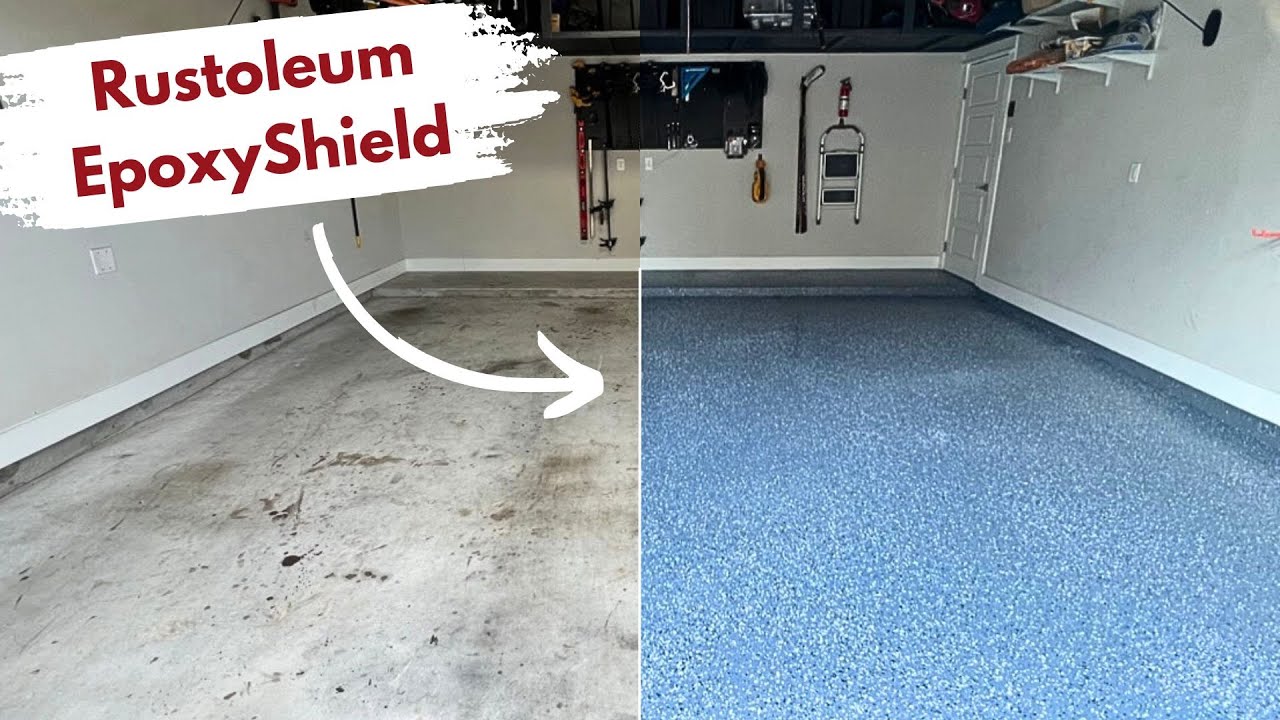
Imagine walking into your garage and seeing a floor that’s not only durable but also sleek and shiny. Epoxy flooring offers you this transformation, turning a dull concrete surface into a stunning and practical space.
If you’re tired of dealing with dust, cracks, and stains, then you’re in the right place. You might think that such a project is complicated, but with the right guidance, you can do it yourself and achieve professional-looking results. This guide will show you how to epoxy your garage floor step-by-step, revealing the secrets to a flawless finish that will make you proud every time you step into your garage.
Ready to discover how you can enhance your space and add lasting value to your home? Let’s dive in!
Benefits Of Epoxy Flooring
Epoxy flooring makes garage floors strong. It resists stains and spills. Easy to clean. A mop or broom does the job. It lasts long. Very durable. No need to worry about cracks. It shines brightly. Reflects light well. Makes garage look bigger. Colors and designs are endless. Choose what you love. It protects the concrete below. Keeps it safe and sound. Saves money on repairs. Simple installation. Professionals can do it fast. It is safe too. No slippery surface. Perfect for busy garages.
Materials And Tools Needed
First, gather all materials. You will need epoxy paint. A paint roller is essential. Don’t forget the mixing bucket. Use a stir stick to mix. Get a paint tray for easy use. Protective gear is important. Wear gloves and a mask.
Next, collect tools. A broom will clean the floor. Use a scraper to remove dirt. Have a pressure washer ready. A degreaser is helpful for oil spots. Use a squeegee to dry the floor. Painter’s tape will protect edges. Lastly, have sandpaper for rough spots.
Preparing The Garage Floor
Remove all items from the garage. Keep the space empty for easy work. Use a dolly or cart for heavy stuff. Check every corner for hidden items. Ensure the floor is clear and ready.
Sweep the floor with a broom. Remove dirt and dust. Use a vacuum for small particles. Wash the floor with soap and water. Rinse it thoroughly. Let it dry completely.
Inspect the floor for cracks. Use epoxy filler for repairs. Fill small holes with patching material. Smooth the surface with a trowel. Let repairs dry before moving on.
Etching The Concrete Surface
Choosing an Etching Solution is important. It helps clean and prepare the floor. Many solutions are available. Acid-based solutions work well. They etch the concrete deeply. Safer options exist too. Citrus-based solutions are gentler. They are easier to handle. Choose what suits your needs best. Always wear protective gear. Gloves and goggles are important. Safety first!
Applying the Etching Solution is the next step. Pour the solution on the floor. Spread it evenly. Use a broom or brush. Scrub the floor gently. Wait for the solution to work. This takes some time. Rinse the floor with water. Remove all residues. Let the floor dry completely. Dryness is crucial for epoxy application.
Mixing The Epoxy
Mixing ratios are very important. They ensure a strong finish. Always check the epoxy kit instructions. Follow the exact ratios given. Never guess the amounts. Wrong ratios can make the floor weak. Use a measuring cup for accuracy. This helps in getting the right mix.
Start with a clean mixing container. Pour the resin first. Next, add the hardener. Use a stir stick to mix. Stir slowly but thoroughly. Mix for at least three minutes. Make sure there are no clumps. A smooth mix is necessary. It ensures an even floor coat. Quick mixing can create air bubbles. These bubbles ruin the finish. Take your time to mix well.
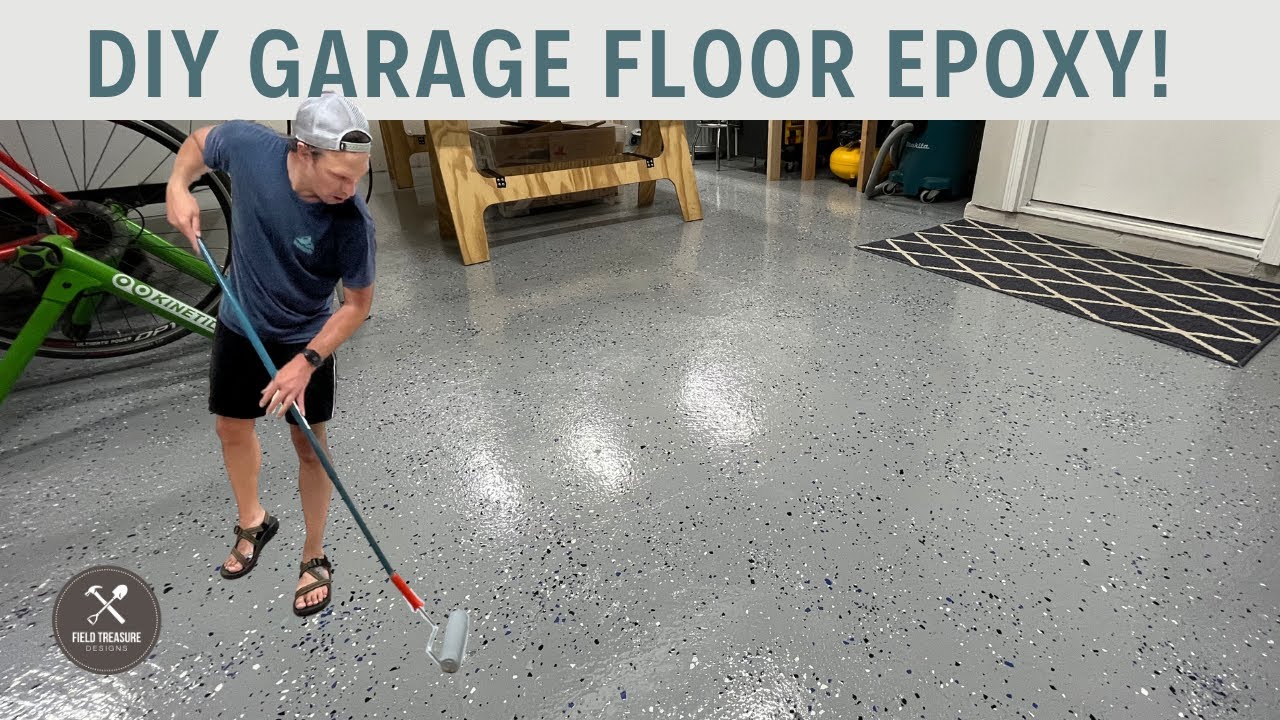
Applying The Epoxy Coating
Begin by using a small brush for the edges. This helps in reaching corners and tight spots. Keep a steady hand to avoid uneven lines. Work slowly to cover all edge areas. Make sure the epoxy is even and smooth. This will ensure a clean finish later.
Use a paint roller for the open areas. It helps to spread the epoxy quickly and evenly. Roll in a back-and-forth motion. This helps in avoiding streaks. Always check for any missed spots. Fill them in with the roller. The floor should look uniform and glossy.
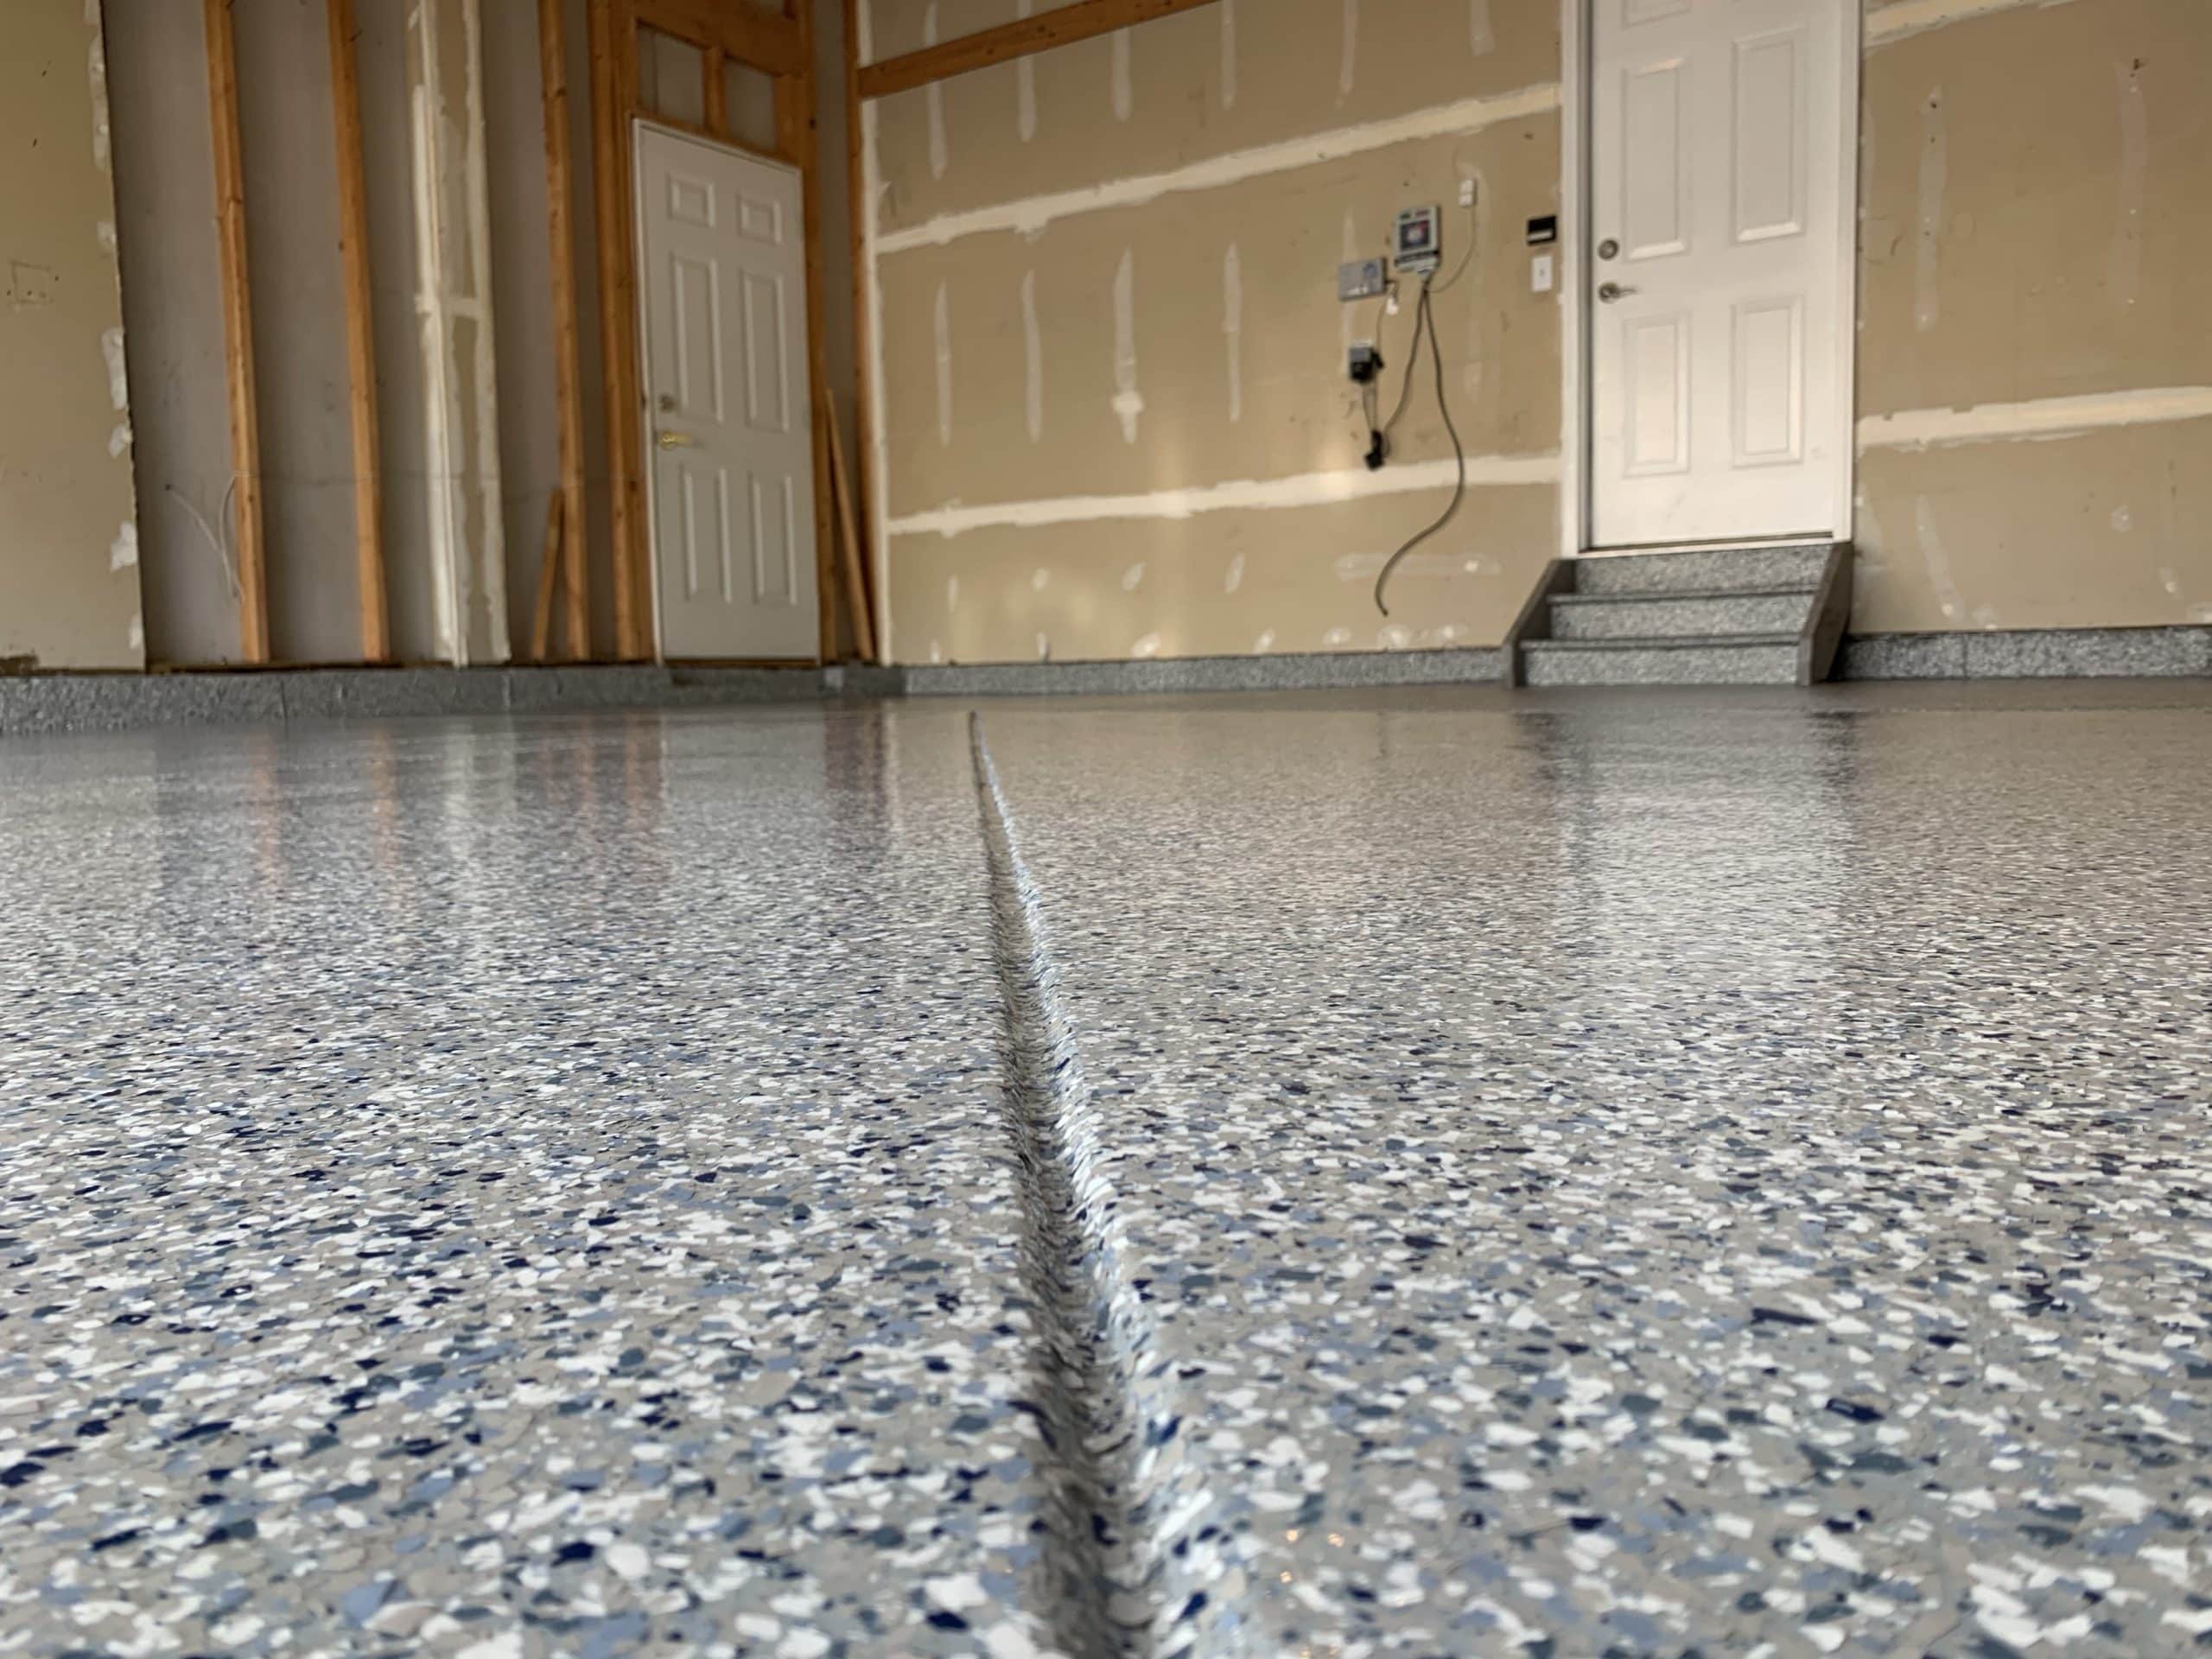
Adding Decorative Flakes
Picking the right flake color is fun. It makes your garage floor look nice. Bright colors can make the floor stand out. Neutral colors like gray and white are calm. These colors match with many things. Some people like mixing colors. This can create a unique look. Think about what you like best. Also, consider what fits your garage style.
Tossing flakes evenly is important. It gives the floor a nice look. Start by throwing flakes in small areas. Use your hand to spread them. Toss the flakes gently. This helps them spread out. Try to cover the entire area. Don’t rush. Take your time to do it right. It’s like adding sprinkles on ice cream. You want them everywhere.
Curing And Drying Times
Epoxy needs time to cure. It’s not just about drying. Drying is quick. Curing takes longer. Allow at least 24 hours before walking on the floor. Wait 72 hours before driving on it. This ensures the epoxy is strong. It will last longer. This step is very important.
Humidity affects curing. High humidity slows the process. Keep the garage closed. This keeps the moisture out. Temperature matters too. Cool temperatures slow curing. Ideal temperature is 70°F. Use a heater if needed. Follow these steps carefully.
Maintaining Your Epoxy Floor
Epoxy your garage floor to enhance durability and appearance. Clean the surface thoroughly before applying the epoxy. Ensure even application for a smooth finish.
Regular Cleaning Tips
Sweep the floor every week. Use a soft broom. A soft mop is also good. Warm water cleans well. Mix mild soap with water. Avoid harsh chemicals. They can damage the floor. Keep the floor dry. Water stains the floor. Dry the floor after mopping. Don’t let water sit. Clean spills right away. Use a damp cloth for spills.
Dealing With Stains And Spills
Act quickly on stains. Use white vinegar for tough spots. Mix vinegar with water. Blot the stain with a cloth. Do not rub. Rubbing spreads the stain. Baking soda helps too. Make a paste with water. Apply to the stain. Wait a few minutes. Wipe with a clean cloth. Repeat if needed. Stains fade with time. Regular cleaning prevents stains. Protect your floor from scratches. Place mats near doors.
Frequently Asked Questions
What Are The Benefits Of Epoxy Flooring?
Epoxy flooring is durable, easy to clean, and resistant to stains and chemicals. It enhances the garage’s appearance and can withstand heavy traffic. The glossy finish also improves lighting by reflecting light. Additionally, epoxy flooring is cost-effective and offers a long-lasting solution for garage floors, making it a popular choice.
How Long Does Epoxy Flooring Last?
Epoxy flooring can last 10 to 20 years with proper maintenance. Its longevity depends on factors like usage, quality, and installation. Regular cleaning and avoiding harsh chemicals can extend its lifespan. For best results, consider professional installation. Proper care ensures epoxy remains attractive and functional for many years.
Can I Epoxy My Garage Floor Myself?
Yes, you can epoxy your garage floor yourself. It requires preparation and following instructions carefully. Ensure the floor is clean and dry before starting. While it’s a DIY-friendly project, hiring professionals can guarantee a smoother finish. Consider your skill level and time before deciding.
How Do I Prepare A Floor For Epoxy?
To prepare a floor for epoxy, clean it thoroughly and repair any cracks. Remove all debris, grease, and oil stains. Use a degreaser and etch the concrete for better adhesion. Ensure the floor is completely dry before applying epoxy. Proper preparation is crucial for a successful application.
Conclusion
Transforming your garage floor with epoxy is simple and rewarding. Follow the steps carefully. Prep the surface well. Mix the epoxy thoroughly. Apply it evenly. Let it cure completely. These actions ensure a durable and stunning finish. It’s about patience and attention to detail.
Anyone can achieve a professional look with effort. A garage with epoxy flooring is clean and attractive. Enjoy your new space! Make it the envy of your neighborhood. Your garage deserves this upgrade. It’s an improvement worth the time and effort.
Consider it a worthwhile project.


