
To do stairs with laminate flooring in three easy steps, start by preparing your stairs—remove old carpet, secure loose boards, and clean thoroughly. Next, measure risers and treads precisely, then cut laminate planks to fit snugly, allowing space for connections. Finally, secure the planks with strong adhesive and reinforce discreetly with finishing nails, adding edge molding to protect and finish. Follow these precise steps to achieve a professional, durable staircase transformation, with more detailed techniques available to guarantee perfection.
Preparing Your Stairs for Laminate Installation
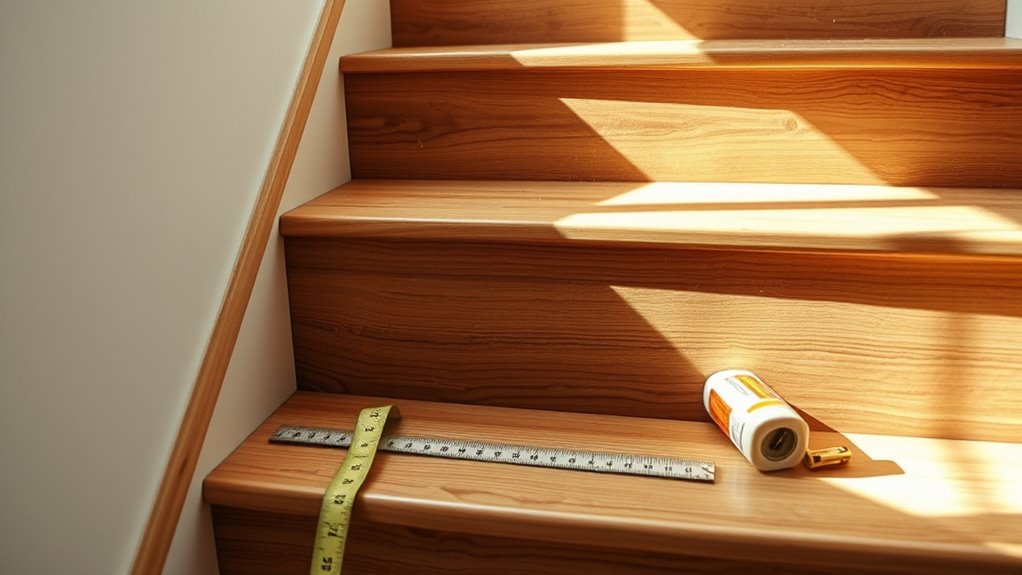
Before you begin installing laminate flooring on your stairs, you’ll need to thoroughly prepare the surface to assure proper adhesion and a smooth finish. Start by taking precise stair measurements, including tread depth, riser height, and stair width, to confirm accurate plank sizing later. Next, inspect the surface for any loose or squeaky boards; secure these firmly to the substructure. Remove any existing carpet, nails, or debris to create a clean, flat base. Sand down rough spots and fill gaps or holes with wood filler, allowing it to dry completely. Finally, verify that each stair is level and stable, as uneven surfaces can compromise laminate installation. Proper surface preparation is essential to achieve a durable, professional-looking staircase that supports your freedom to move safely.
Cutting and Fitting Laminate Planks on Stairs
When cutting and fitting laminate planks on stairs, you’ll need to measure each tread and riser carefully to guarantee accurate cuts that fit snugly without gaps. Start with the stair risers, cutting planks to match their height and width precisely. Next, measure the tread depth, allowing space for laminate connections. Use a fine-tooth saw for clean edges. Mark each plank before cutting, guaranteeing a perfect fit against nosing and risers.
| Component | Measurement Tip | Cutting Tool |
|---|---|---|
| Stair Risers | Measure height & width twice | Fine-tooth saw |
| Stair Treads | Account for tread depth | Miter saw |
| Laminate Connections | Allow clearance for expansion | Utility knife |
Accurate cutting guarantees a seamless, professional look and freedom in design.
Securing and Finishing Your Laminate Staircase
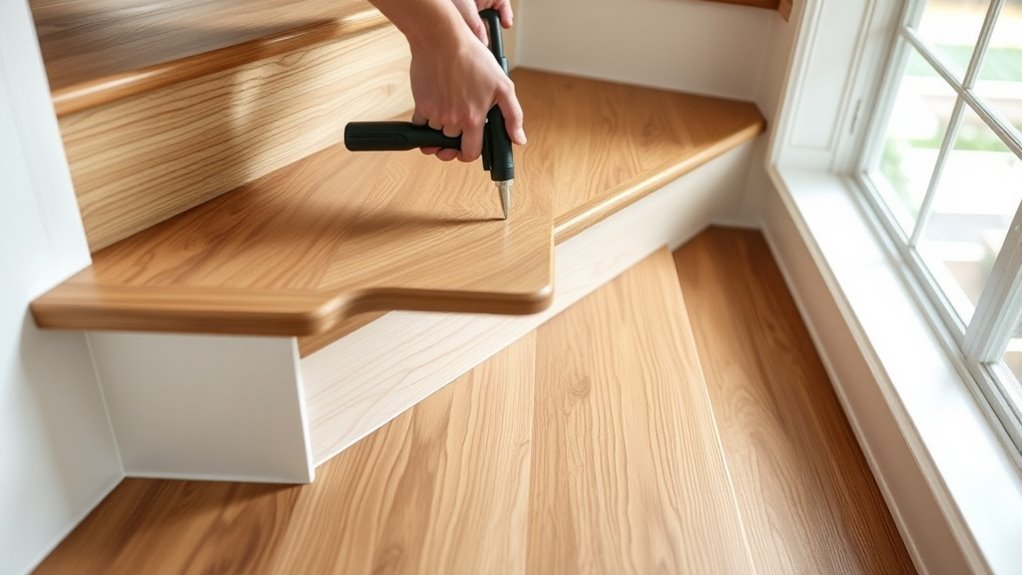
Secure each laminate plank firmly to the stair structure using appropriate adhesives and fasteners designed for laminate flooring. Start by applying a high-quality construction adhesive to the stair tread, then position the laminate plank accurately. Use finishing nails or screws in discreet locations to reinforce the bond without damaging the surface. Next, install edge molding along the stair’s nosing to protect the laminate edges and provide a clean, finished look. Confirm the molding fits tightly against the plank and the stair riser, using adhesive and small nails as necessary. Double-check all connections between treads and risers for a seamless appearance. Proper securing and finishing not only enhance durability but also give you the freedom to enjoy a safe, stylish laminate staircase for years.


