Start by gathering your cleaning supplies: a broom or vacuum, microfiber mop, bucket, soft-bristle brush, and a pH-neutral cleaner made for ceramic tiles. Next, mix the cleaner with warm water, testing a small spot first, then mop the floor with the solution to loosen dirt. Finally, scrub grout lines carefully, rinse thoroughly with clean water, and dry the floor promptly to avoid streaks or slips. Following these steps will guarantee a deep clean and lasting shine—explore further tips for ideal care.
Gather Your Cleaning Supplies
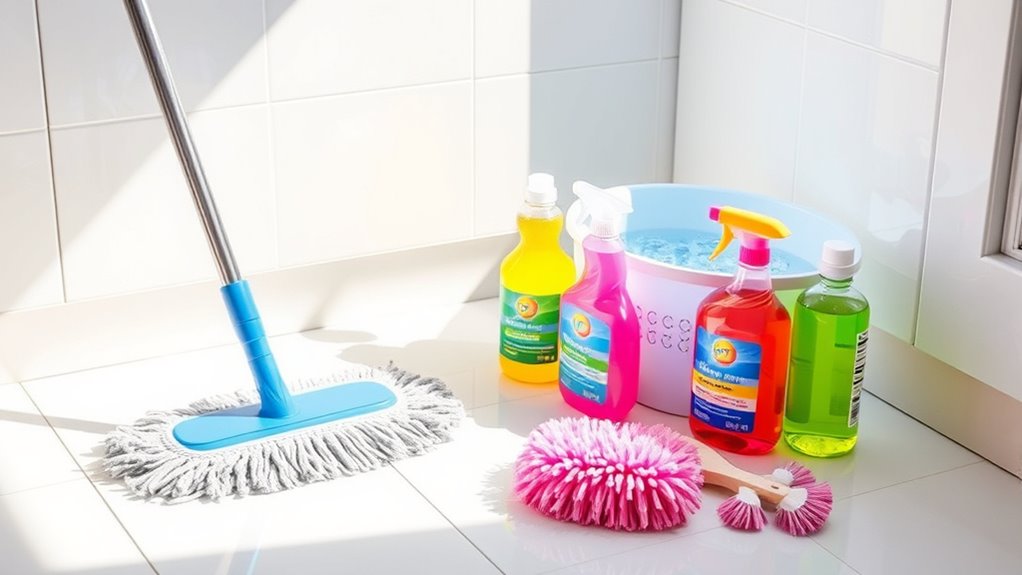
Before you begin deep cleaning your ceramic tile floors, you’ll need to gather all the necessary supplies to guarantee an efficient process. Start by selecting effective cleaning tools: a sturdy broom or vacuum for removing loose dirt, a microfiber mop for gentle yet thorough cleaning, and a bucket for your cleaning solution. Include a soft-bristle brush to target grout lines without causing damage. For floor maintenance, choose a pH-neutral cleaner specifically designed for ceramic tiles to avoid eroding the surface. Have clean, dry towels ready for drying and buffing. Organizing your supplies beforehand facilitates you won’t interrupt your workflow, giving you the freedom to clean confidently and methodically. This preparation sets a solid foundation for maintaining your ceramic floors’ beauty and durability over time.
Prepare and Apply the Cleaning Solution
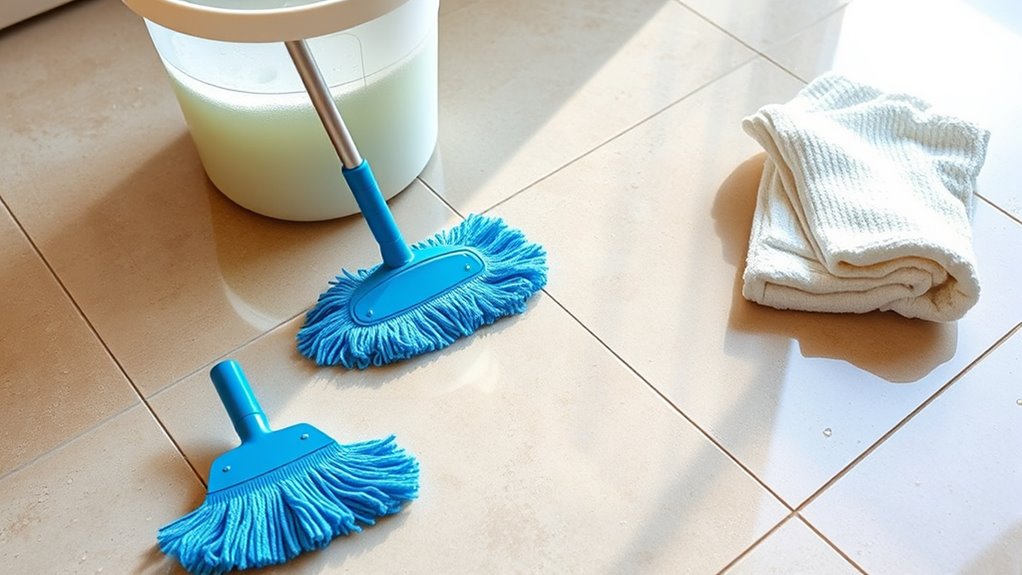
Once you have gathered all your supplies, mix the pH-neutral cleaner with warm water in your bucket according to the manufacturer’s instructions, ensuring the solution is neither too concentrated nor too diluted. This balance is essential for solution effectiveness, as an improper mixture can damage your tiles or leave residue. Use precise measurements for consistency. Before applying, test the solution on a small, inconspicuous area to confirm it won’t affect the tile’s finish. When ready, dip your mop or sponge into the solution, wring out excess liquid to avoid over-saturation, and apply evenly across the floor. These cleaning techniques protect your tiles and maximize the cleaner’s performance, giving you control and freedom over the deep-cleaning process without risking damage or wasted effort.
Scrub, Rinse, and Dry the Floor
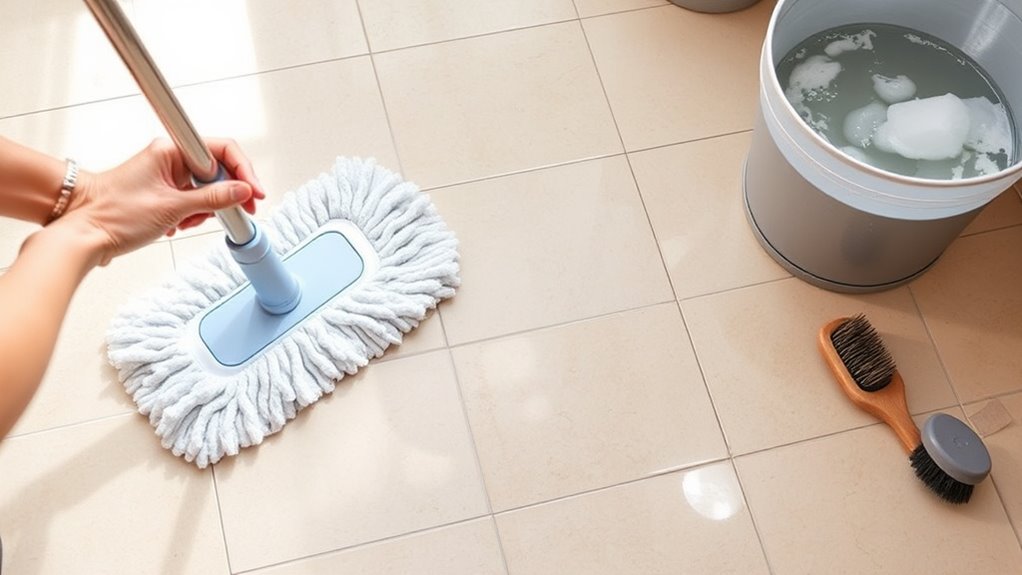
After applying the cleaning solution evenly, you’ll want to scrub the floor to break up dirt and grime lodged in the grout and on the tile surface. Use firm, circular scrubbing techniques with a stiff-bristled brush, focusing on grout lines where buildup is heaviest. Work methodically across the floor, ensuring no spots are missed. Once scrubbed thoroughly, rinse the floor with clean water to remove all residue, using a mop or sponge for efficiency. Avoid leaving excess water pooled, as it can cause streaks or damage. For drying methods, use a microfiber mop or absorbent towels to soak up moisture quickly, preventing slips and water spots. This careful approach leaves your ceramic tile fresh and spotless, giving you the freedom to enjoy a beautifully clean floor.


