Cutting vinyl plank flooring is easy with the right tools and techniques. Start by measuring your space accurately and marking the planks with a pencil. For straight cuts, use a utility knife to score along a straight edge, then snap the plank. For more intricate cuts, a jigsaw works well. Always wear safety goggles and gloves for protection. If you've large planks, a circular saw is efficient. After cutting, consider sealing the edges to protect against moisture. To guarantee professional results, there are more tips and techniques that can perfect your installation.
Understanding Vinyl Plank Flooring
Vinyl plank flooring is a popular choice for many homeowners due to its durability and aesthetic appeal. You'll find various vinyl plank types available, including rigid core and flexible options, each offering unique benefits. Rigid core planks are excellent for high-traffic areas, while flexible planks can conform to subfloor imperfections. When it comes to installation methods, you can choose between glue-down, click-lock, or loose lay techniques, depending on your comfort level and project scope. Each method has its advantages: click-lock is user-friendly, while glue-down provides a more permanent solution. Understanding these aspects empowers you to select the right vinyl plank flooring for your space, ensuring it meets both your style and functional needs. Enjoy the freedom to create a beautiful home!
Essential Tools Required
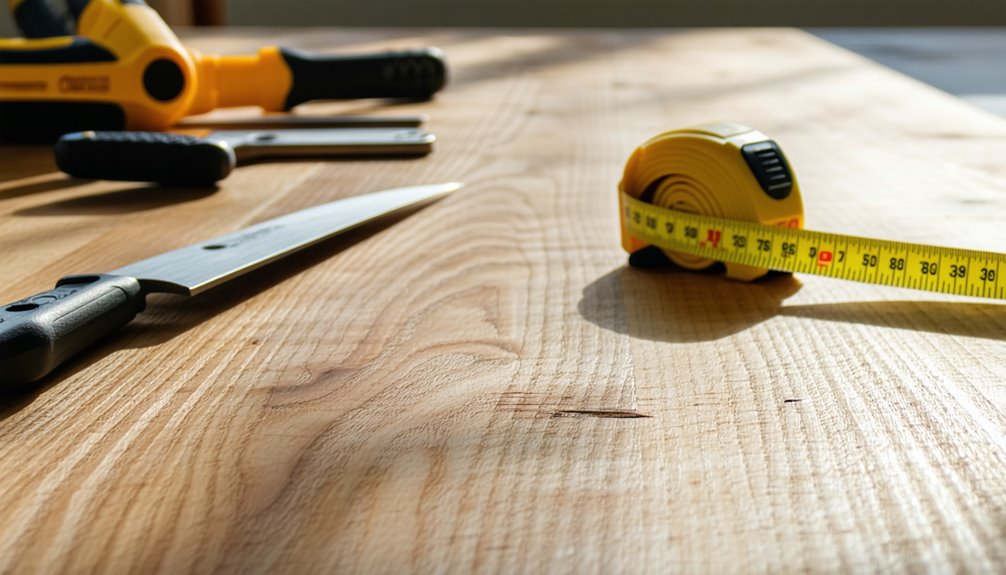
To cut vinyl plank flooring effectively, you'll need some essential tools. A good cutting tool makes the job easier, while safety equipment helps keep you protected. Let's go over what you'll need to get started.
Cutting Tools Overview
Whether you're a DIY enthusiast or a seasoned professional, having the right cutting tools is essential for a successful vinyl plank flooring project. You'll want to take into account various cutting methods, including using a utility knife or a specialized vinyl plank cutter. A utility knife with a sharp blade is great for straight cuts, while a vinyl cutter can handle larger sections with ease. Different blade types, such as hooked or straight blades, can help you achieve precise cuts depending on your needs. For intricate designs or tight spaces, a jigsaw with a fine-toothed blade will come in handy. Investing in these essential tools guarantees you'll cut your vinyl planks effectively and efficiently, giving you the freedom to create a flawless floor.
Safety Equipment Necessities
Before you start cutting vinyl planks, it's important to contemplate your safety. Using the right personal protective gear guarantees you're well-prepared for the task ahead. Here are some essential gear recommendations:
- Safety Goggles: Protect your eyes from dust and debris.
- Dust Mask: Keep airborne particles at bay to breathe easier while you work.
- Cut-Resistant Gloves: Safeguard your hands from sharp edges of the planks.
Measuring Your Space
Before you start cutting vinyl plank flooring, you need to measure your space accurately. Knowing the exact dimensions of your room will help you plan your cut layout efficiently. This step guarantees you maximize your material and achieve a professional-looking result.
Accurate Room Dimensions
Getting accurate room dimensions is essential for a successful vinyl plank flooring installation. Start by visualizing your room layout and gathering the right measurement tools. Here's what you need to do:
- Measure the Length and Width: Use a tape measure to determine the length and width of the room. Don't forget to measure any alcoves or nooks.
- Note Doorways and Windows: Measure the height and width of doorways and windows, as these will affect your flooring layout.
- Calculate Total Square Footage: Multiply the length by the width to get the total square footage, ensuring you have enough vinyl planks for the entire space.
With these accurate dimensions, you're all set to move forward confidently!
Planning Cut Layout
Once you have your room dimensions, planning the cut layout for your vinyl plank flooring becomes essential to guarantee a seamless installation. Start by sketching a rough diagram of your space, noting doorways and potential obstacles. This visual aid will help you determine effective cutting strategies that minimize waste. Aim for a staggered plank pattern to enhance aesthetics and stability. Consider the plank lengths and how they'll fit in your layout—cutting shorter pieces for edges can create a more polished look. Always measure twice before cutting; accurate layout planning reduces errors. Finally, keep in mind the direction of light and foot traffic, as it can influence your design's appeal. With careful planning, you'll achieve a beautiful, professional finish.
Marking the Planks
To effectively cut vinyl plank flooring, accurate marking of the planks is essential. You'll want to guarantee proper plank alignment to achieve clean cuts and a professional look. Here are three effective marking techniques to take into account:
- Measuring Tape: Use a measuring tape to get precise lengths for each plank.
- Pencil or Marker: Lightly mark the cut line on the plank using a pencil or marker for easy visibility.
- Square Tool: Employ a square tool to guarantee your lines are straight and at right angles.
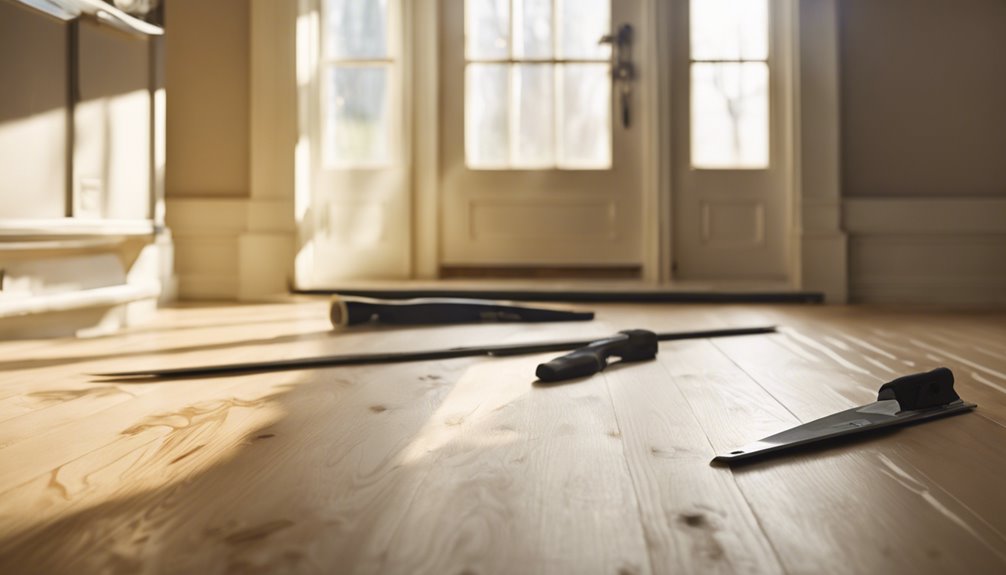
Cutting Techniques
When it comes to cutting vinyl plank flooring, there are several effective techniques you can use to guarantee a smooth and precise finish. Two popular methods are scoring techniques and creating various cut patterns.
Here's a quick reference table to help you choose the right approach:
| Technique | Best For | Tools Needed |
|---|---|---|
| Scoring | Straight cuts | Utility knife |
| Jigsaw | Curved cuts | Jigsaw |
| Miter saw | Angle cuts | Miter saw |
| Circular saw | Long planks | Circular saw |
| Table saw | Multiple pieces | Table saw |
Use these techniques based on your project needs, and you'll achieve the freedom to create a beautiful flooring layout.
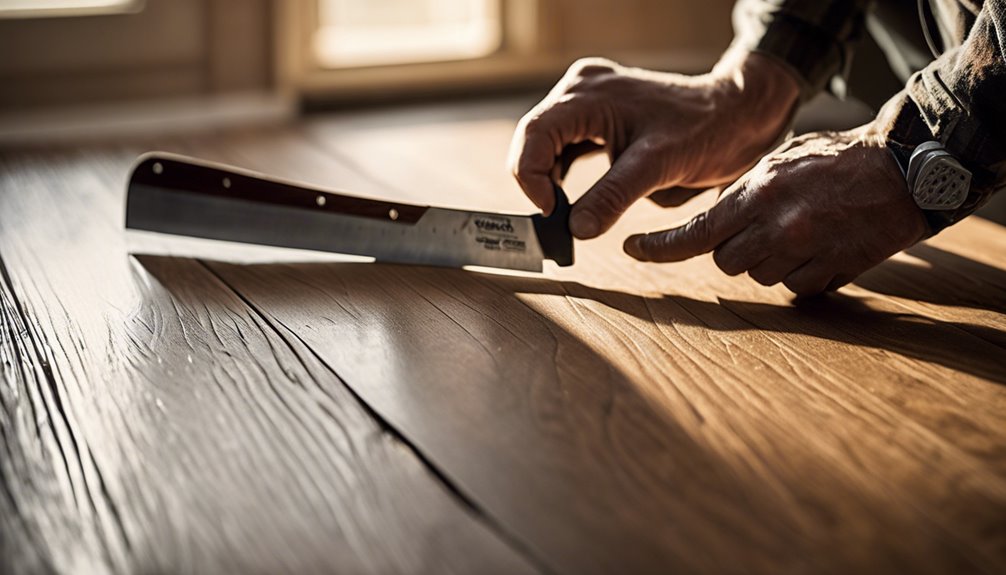
Using a Utility Knife
Cutting vinyl plank flooring with a utility knife is a straightforward and efficient method for achieving clean, straight cuts. To guarantee proper utility knife usage, follow these steps:
- Measure your plank: Use a tape measure to determine the desired length and mark it clearly.
- Score the plank: Firmly run the utility knife along the marked line, applying even pressure to create a shallow cut.
- Snap the plank: Bend the plank gently at the scored line until it snaps cleanly.
This technique not only simplifies the cutting process but also aids in vinyl plank maintenance, keeping your flooring looking fresh. With a little practice, you'll enjoy the freedom of customizing your space effortlessly!
Employing a Circular Saw
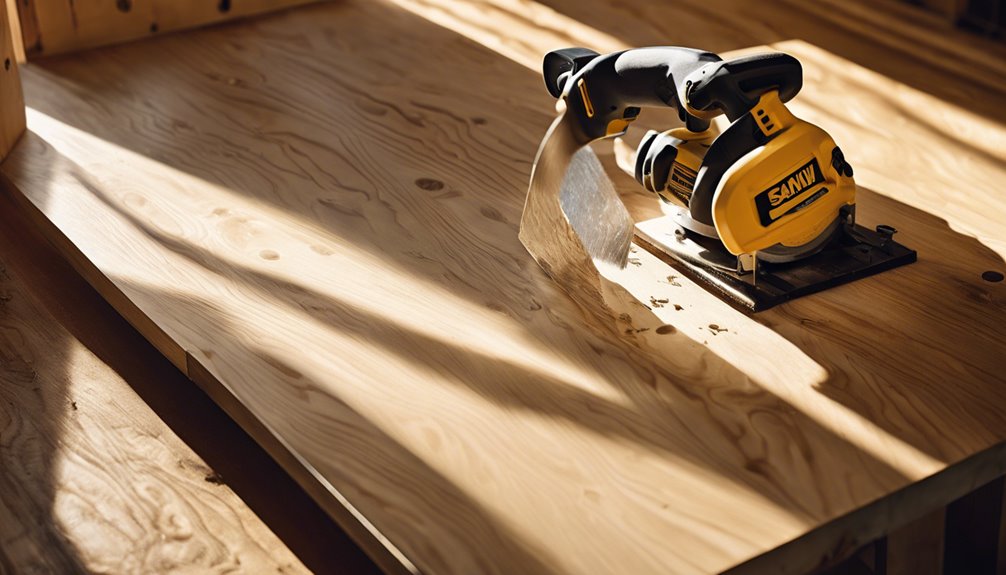
When using a circular saw to cut vinyl plank flooring, safety should be your top priority. Make certain to wear appropriate protective gear and familiarize yourself with the saw's features before you start cutting. In the following sections, we'll cover essential cutting techniques to guarantee clean and accurate results.
Safety Precautions First
Before you start cutting vinyl plank flooring with a circular saw, it is crucial to prioritize your safety. A well-prepared work area and proper safety gear can make all the difference. Here are three key items to have on hand:
- Safety glasses – Protect your eyes from flying debris and dust.
- Hearing protection – Drown out the noise of the saw to prevent hearing damage.
- Dust mask – Keep harmful dust particles out of your lungs.
Ensure your work area is clear of obstacles and clutter to prevent accidents. By taking these precautions, you can work confidently and enjoy the freedom of your DIY project while minimizing risks. Safety should always come first!
Cutting Techniques Explained
Using a circular saw to cut vinyl plank flooring can be an efficient way to achieve clean, precise edges. This method works well for various plank types, especially thicker options. Before you start, make sure you've got the right blade— a fine-toothed blade is ideal for vinyl. Measure and mark your planks carefully, and always cut with the finished side down to avoid chipping. When you're ready, secure the plank on a stable surface to prevent movement during cutting. Remember, the key to successful cutting methods is patience and precision. Take your time, and don't rush your cuts. With practice, you'll find that using a circular saw can free you from the hassle of rough edges and uneven cuts.
Safety Precautions to Take
While cutting vinyl plank flooring can be a straightforward task, it's crucial to prioritize safety to prevent injuries. You'll want to be mindful of cutting hazards that can occur during the process. Here are three safety precautions to take into account:
- Wear safety gear: Always put on safety goggles and cut-resistant gloves. These protect your eyes and hands from sharp tools.
- Work in a well-lit area: Confirm your workspace is well-lit to see what you're doing, reducing the risk of accidents.
- Use proper tools: Ensure your cutting tools are sharp and in good condition to avoid slips and uneven cuts.
Taking these precautions will help you enjoy your flooring project while minimizing risks. Stay safe and get creative!
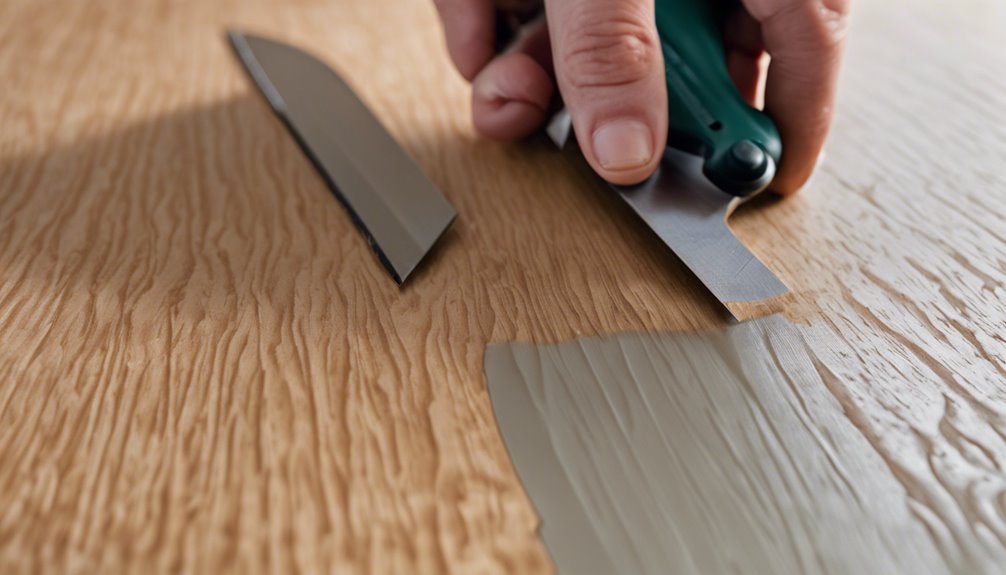
Finishing the Edges
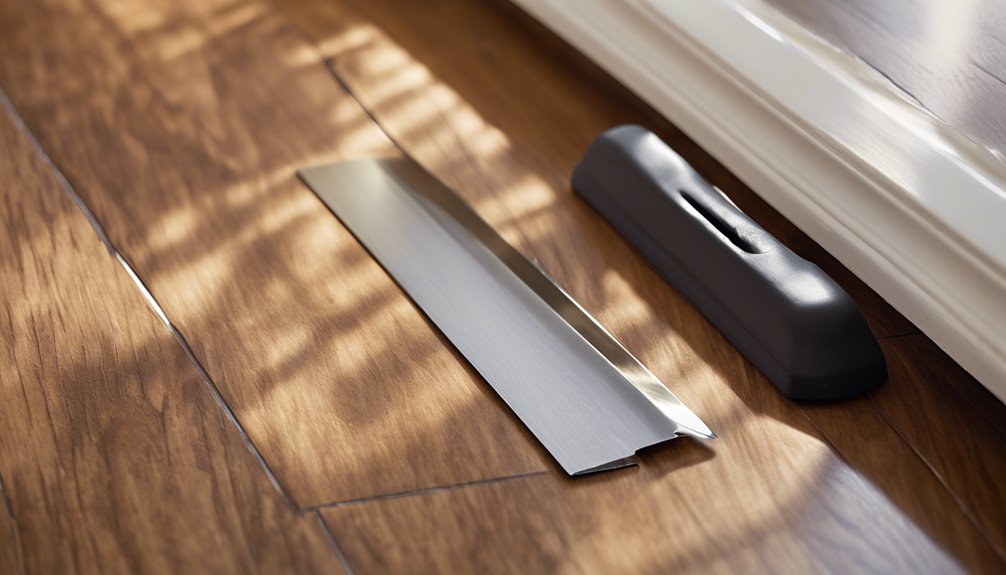
Once you've cut your vinyl planks to fit your space, the next step is finishing the edges for a polished look. Start by applying edge sealing to protect the exposed edges from moisture and wear. Select a suitable sealant that complements your flooring and follow the manufacturer's instructions for application.
Next, focus on trim installation. Choose baseboards or quarter rounds that match your decor, ensuring a seamless connection between the floor and walls. Measure carefully, then cut the trim to fit, securing it in place with nails or adhesive. This not only enhances the aesthetic but also provides additional protection for your flooring. With these steps, you'll achieve a professional finish that showcases your new vinyl plank flooring beautifully.
Tips for Accurate Cuts
To guarantee precise cuts when working with vinyl plank flooring, it is vital to measure accurately and use the right tools. Here are some tips to help you achieve the best results:
- Double-check measurements: Always measure twice before cutting to confirm accuracy. This helps avoid mistakes, especially when dealing with cutting angles.
- Use a straight edge: Align your plank with a straight edge for a clean, straight cut. Proper plank alignment is important for seamless installation.
- Choose the right tool: Depending on the type of cut needed, use a utility knife or a saw. Each tool has its strengths, so select one that suits your specific cutting task.
Following these tips will enhance your cutting precision and lead to a flawless vinyl plank flooring installation.
Frequently Asked Questions
Can Vinyl Plank Flooring Be Installed Over Existing Flooring?
Yes, you can install vinyl plank flooring over existing flooring, as long as the surface is stable, clean, and dry. It's a great option if you want to save time and effort. You've got various flooring options, like carpet or tile, that can work beneath vinyl. Just make sure there's no significant height difference and that the underlayment is suitable. This way, you'll enjoy a beautiful new floor without the hassle of tearing out the old one.
How Long Does Vinyl Plank Flooring Last?
Imagine a sturdy ship sailing smoothly through calm waters—that's vinyl plank flooring for you. With proper care, its durability can last anywhere from 10 to 25 years. To guarantee it remains shipshape, keep it clean and avoid excess moisture. Regular sweeping and occasional damp mopping will help maintain its shine, allowing you the freedom to enjoy your space without worry. When treated well, your flooring can weather time beautifully!
Is Vinyl Plank Flooring Waterproof?
Yes, vinyl plank flooring is often waterproof, making it a great choice for high-moisture areas like kitchens and bathrooms. However, it's important to check the manufacturer's specifications, as some products offer only water resistance rather than full waterproofing. To maintain your flooring, avoid excessive water and clean spills promptly. Regular sweeping or vacuuming can also help keep it looking its best while ensuring you enjoy your space without worry!
Can I Use a Jigsaw for Cutting Vinyl Planks?
A surprising 85% of DIY enthusiasts prefer using power tools for home projects. If you're considering a jigsaw for cutting vinyl planks, it can work, but keep in mind that cutting accuracy is vital. Use proper jigsaw techniques, like a fine-tooth blade and slow speed, to avoid chipping the vinyl. It's important to measure carefully and secure the plank before cutting to achieve precise results. You'll enjoy the freedom of custom cuts with practice!
What Is the Best Underlayment for Vinyl Plank Flooring?
When choosing the best underlayment for vinyl plank flooring, you've got a few underlayment types to contemplate. Foam underlayment is popular for its sound-dampening properties, while cork offers moisture resistance. For installation tips, verify the underlayment is smooth and clean to prevent any bumps. Always check manufacturer recommendations, as some planks require specific types for warranty purposes. This way, you'll enjoy a comfortable and durable floor that meets your lifestyle needs.


