To cut laminate flooring without a saw, first gather a sharp utility knife, a straightedge, measuring tape, and painter’s tape. Measure and mark your cut line precisely, then secure the plank so it won’t slip. Score firmly along the line several times using the knife and straightedge, then snap the plank cleanly along the scored line. Finish by sanding edges smooth for a polished look. For tricky curves or small pieces, there are handy techniques you can apply to get a perfect fit.
Gather the Necessary Tools and Materials
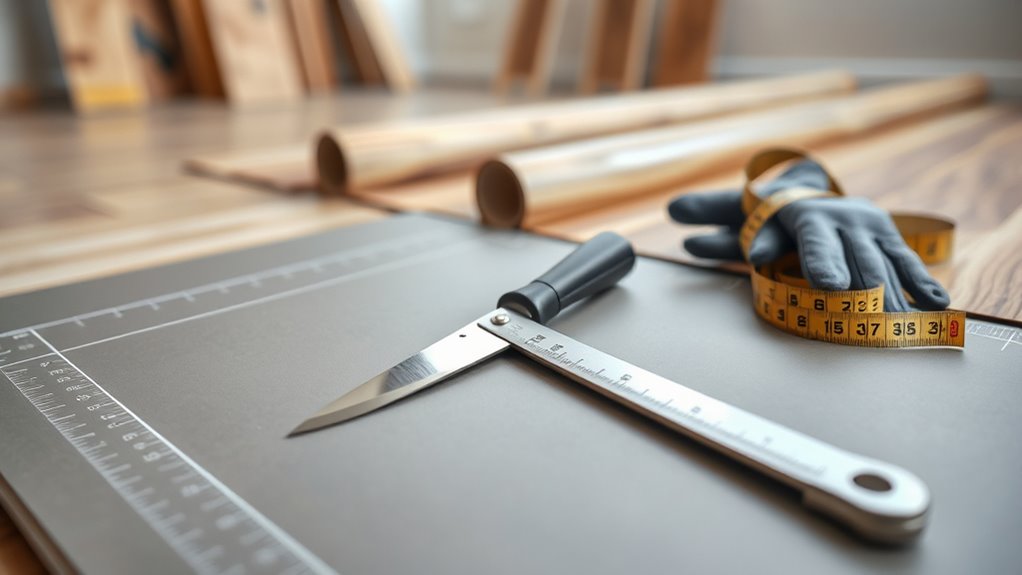
Before you begin cutting laminate flooring without a saw, you’ll need to gather a few essential tools and materials to guarantee the process goes smoothly. Start with a sturdy straight edge or ruler to guide your cutting techniques accurately. You’ll also want a sharp utility knife or a heavy-duty box cutter—these are vital for scoring the laminate materials cleanly. In addition, have some painter’s tape to secure the laminate plank while you work, preventing slips. A measuring tape is indispensable for precise measurements, ensuring your cuts fit perfectly. Finally, keep a flat surface or cutting board handy to protect your work area. With these tools ready, you’ll have the freedom to tackle your laminate cutting confidently and efficiently, even without traditional saws.
Measure and Mark Your Cutting Lines
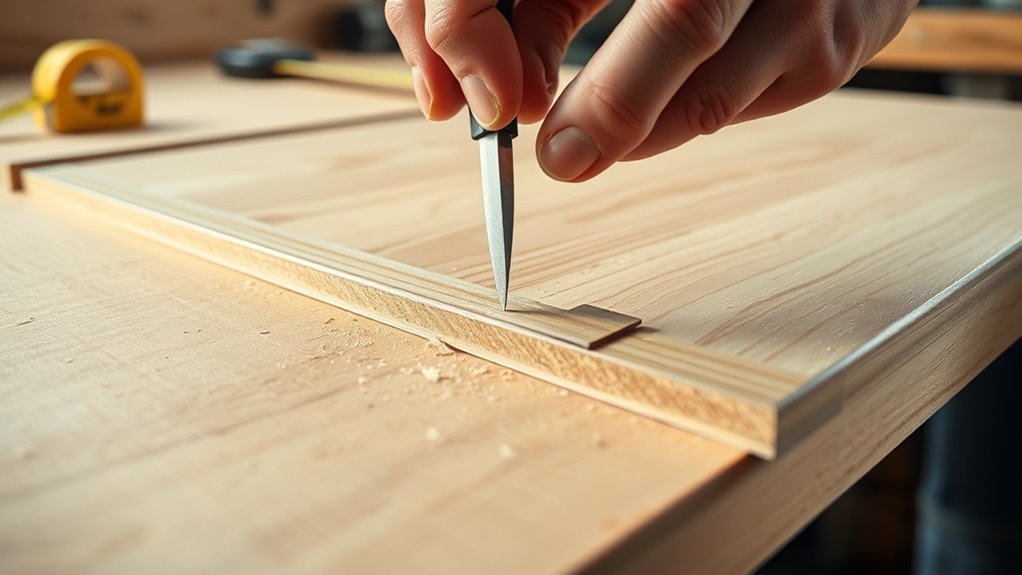
Once you have your tools ready, the next step is to measure and mark the exact cutting lines on your laminate planks. Start by using reliable measuring techniques—measure twice to avoid mistakes. Use a tape measure or a ruler to get precise dimensions according to your space requirements. When marking methods, a pencil works well for visible lines, but a fine-tip marker offers more clarity if you need to see the lines clearly during cutting. Make sure your markings are straight and aligned by using a carpenter’s square or a straight edge. Accurate measuring and marking are essential because they guide your cuts, ensuring your laminate fits perfectly without gaps or uneven edges. Taking your time here gives you the freedom to cut confidently and achieve a professional-looking result.
Score the Laminate With a Utility Knife
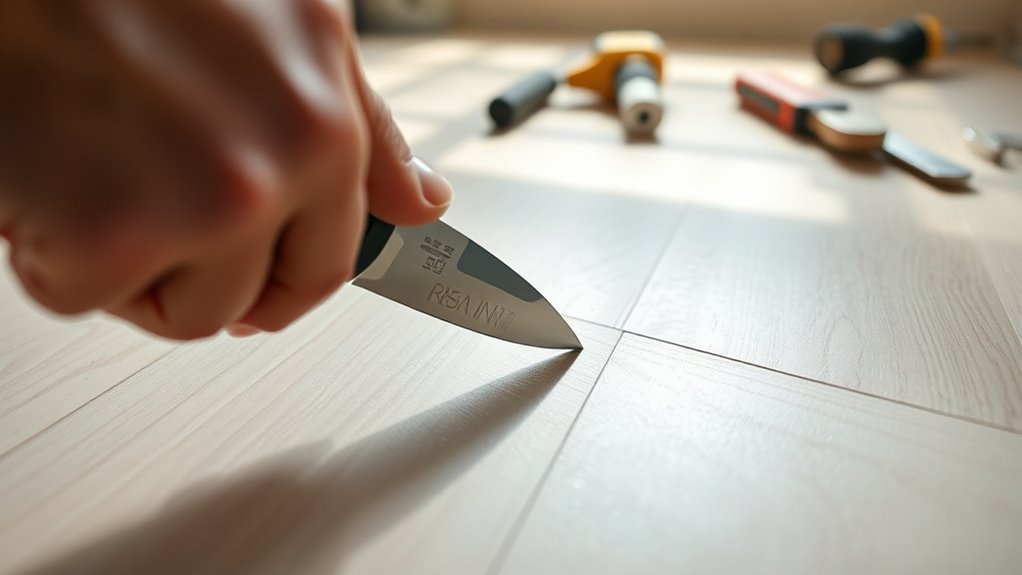
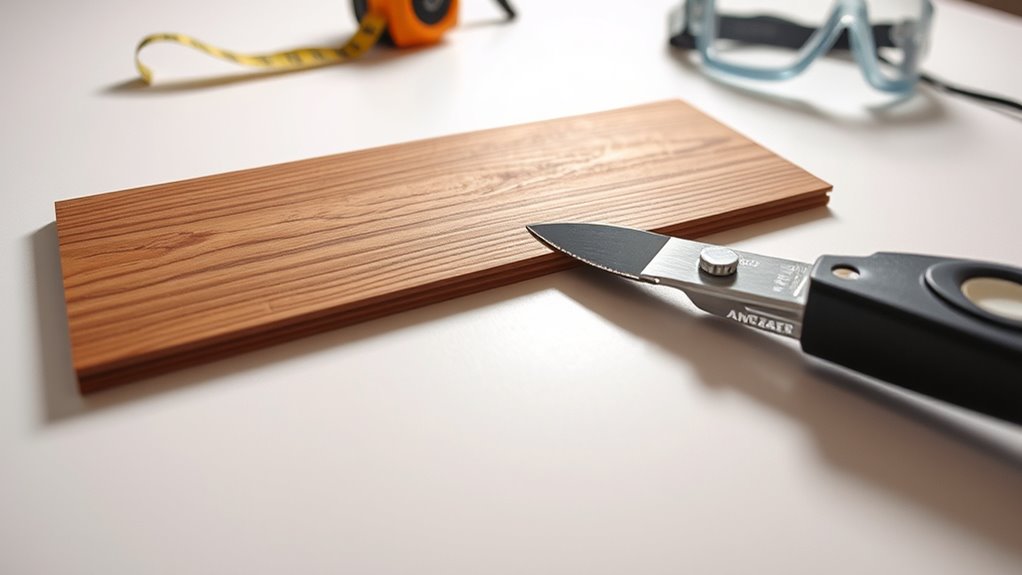
Although it might seem challenging, scoring laminate flooring with a utility knife is a straightforward process that lets you make clean, precise cuts without a saw. To get started, follow these key scoring techniques while always prioritizing utility knife safety:
- Place the laminate on a stable, flat surface to prevent slipping.
- Use a straightedge to guide your knife, ensuring a straight and even score line.
- Apply firm, steady pressure and score the laminate multiple times until a visible groove forms.
Remember to keep your fingers clear of the blade and retract the knife when not in use. By mastering these steps, you’ll gain the freedom to cut laminate flooring accurately and safely without relying on bulky tools.
Snap the Laminate Along the Scored Line
Hold the laminate firmly on a sturdy surface and apply gentle downward pressure just beyond the scored line. Using controlled snap techniques, you’ll create a clean break along your score without cracking or splintering the board. Position your hands so the scored line aligns with the edge of your work surface, then press down steadily. The laminate’s durability means it won’t snap easily without a precise score, so ascertain your cut is deep enough before attempting this step. If done correctly, the board will separate smoothly, letting you move forward without a saw. Mastering these snap techniques gives you freedom from bulky tools while maintaining a professional, clean cut every time.
Smooth the Edges for a Clean Finish
Once you’ve snapped the laminate, you’ll want to smooth the edges for a clean, professional look. Using fine-grit sandpaper or a sanding block, gently sand along the cut to remove any roughness or splinters. For tight spots, a nail file or sanding sponge works well, and finishing with a damp cloth guarantees no dust remains before installation.
Sanding Techniques Overview
Achieving a smooth edge after cutting laminate flooring is essential for a professional-looking finish. Mastering sanding techniques is key to edge smoothing without relying on power tools. Start by selecting the right abrasive grit—coarser grits remove material faster, while finer grits refine the finish. Use gentle, consistent strokes along the edge, avoiding excessive pressure that could damage the laminate surface. Here are three effective sanding techniques you can apply:
- Sand with a sanding block wrapped in medium-grit sandpaper for controlled, even smoothing.
- Employ a fine-grit sanding sponge for delicate touch-ups and finishing touches.
- Use light hand sanding in circular motions to blend rough cuts seamlessly.
Each method helps you regain freedom from saws while achieving clean, polished laminate edges.
Tools for Edge Smoothing
Sanding is a great way to smooth rough edges, but having the right tools can make the process quicker and more effective. For edge finishing on laminate flooring, you’ll want to gather a few essential smoothing tools. A sanding block wrapped with fine-grit sandpaper gives you control and even pressure along cut edges. If you prefer something more flexible, a sanding sponge adapts well to curves or uneven surfaces. Nail files or emery boards can handle tight spots or small imperfections with precision. For faster results, consider a manual hand scraper to gently shave off roughness before sanding. Using these smoothing tools guarantees your laminate edges look clean, professional, and ready for installation—all without needing power tools or a saw.
Finishing Touches Tips
Although cutting laminate flooring without a saw can be tricky, smoothing the edges is essential to guarantee a clean, professional look. To perfect your finishing touches and make those final adjustments, focus on refining the edges carefully. Here’s how you can do it effectively:
- Use fine-grit sandpaper or a sanding block to gently smooth rough edges, preventing splinters and unevenness.
- Employ a laminate edge file for stubborn spots, assuring a consistent finish along all cut lines.
- Wipe away dust with a damp cloth before installation to keep surfaces clean and ready for adhesive or locking.
These finishing touches assure your laminate flooring looks seamless and polished, giving you freedom from rough cuts and enhancing your entire flooring project’s appearance.
Tips for Cutting Curves and Small Pieces
When cutting curves or small pieces in laminate flooring, using tools like a utility knife or a coping saw can give you better control. You’ll want to score the cut line multiple times before snapping or trimming to avoid splintering. For tiny sections, take your time and make gradual cuts to guarantee accuracy and prevent damage.
Tools for Curved Cuts
Cutting curves and small pieces in laminate flooring requires the right tools to guarantee clean, accurate cuts without damaging the material. To help you master curved cuts, start by using curved templates to trace precise shapes onto your laminate. These templates simplify complex patterns and assure consistency. For cutting techniques, consider tools that allow control and flexibility, since laminate is prone to chipping.
Here are three essential tools for curved cuts:
- Utility knife: Ideal for scoring and snapping gentle curves.
- Fine-toothed handsaw or coping saw: Offers controlled, detailed cuts along curved lines.
- Rotary tool with a cutting bit: Perfect for tight curves and intricate shapes.
Choosing the right tool lets you confidently execute curved cuts without a saw, maintaining your laminate’s finish and integrity.
Techniques for Small Pieces
Handling small pieces of laminate flooring calls for careful measurement and steady hands to guarantee clean cuts and a perfect fit. When working with small pieces, use scoring and snapping as your primary cutting techniques. Mark your cut line clearly with a pencil and ruler. Score the laminate surface multiple times using a utility knife to weaken the board along the line. Then, apply gentle pressure to snap the piece along the scored line. For curves or irregular shapes, slowly score along the shape’s outline, taking your time to avoid splintering. If needed, use fine-grit sandpaper to smooth edges. These cutting techniques let you work freely without a saw, ensuring small pieces fit precisely and your project looks professional without complicated tools.