To cover floor tiles without removing them, first assess the tile condition for cracks or moisture and clean the surface thoroughly. Repair any damage and guarantee the floor is level and dry. Choose your covering—vinyl planks, peel-and-stick tiles, carpet tiles, or even paint. Measure carefully, prepare the floor, and follow installation techniques specific to your material. With proper preparation and tools, you’ll transform your space smoothly. Keep following for detailed steps and pro tips to get it perfect.
Assessing the Condition of Your Existing Floor Tiles

Before you start covering your floor tiles, you’ll need to carefully assess their current condition. Begin by evaluating tile integrity—check for any cracks, loose tiles, or damaged grout, as these issues can affect the durability of your new flooring. Walk across the floor and listen for hollow sounds indicating loose tiles. Next, focus on determining moisture levels, especially if you’re covering tiles in areas prone to dampness like bathrooms or basements. Use a moisture meter or place a plastic sheet taped on all edges for 24 hours; condensation under the sheet signals moisture problems. Addressing these factors upfront guarantees your new floor will adhere properly and last longer, giving you the freedom to renovate without unexpected setbacks.
Preparing the Surface for New Flooring
Before laying new flooring, you’ll need to thoroughly clean and dry the existing tiles to guarantee proper adhesion. Take time to repair any cracks or chips, as these can affect the finish and durability of your new surface. Finally, check for uneven areas and level them out to create a smooth base for your flooring.
Clean and Dry Tiles
Anyone tackling a flooring project knows that a clean, dry surface is essential for success. Before laying new flooring over tiles, you need to remove dirt, grease, and moisture thoroughly. Effective cleaning methods include sweeping, mopping with a mild detergent, and using a degreaser for stubborn stains. After cleaning, apply drying techniques like air circulation or using fans to guarantee tiles are completely dry. Moisture trapped beneath new flooring can cause damage, so don’t rush this step.
| Cleaning Methods | Drying Techniques |
|---|---|
| Sweep debris | Open windows for airflow |
| Mop with detergent | Use fans to speed drying |
| Apply degreaser | Allow 24 hours drying |
| Spot clean stains | Check moisture levels |
This prep keeps you free to install confidently and avoid future problems.
Repair Cracks and Chips
Three simple steps can make a big difference when repairing cracks and chips in your floor tiles before installing new flooring. First, thoroughly clean the damaged areas to remove dirt and debris, guaranteeing better adhesion for your crack repair materials. Next, choose a suitable filler—epoxy or a specialized tile filler works best for chip filling. Apply it carefully with a putty knife, pressing the filler into cracks or chips to create a smooth, level surface. Finally, let the filler dry completely according to the product instructions, then lightly sand the area to blend it seamlessly with the surrounding tile. Taking these steps guarantees a stable, even base, giving you the freedom to confidently cover your floor tiles without worrying about imperfections showing through.
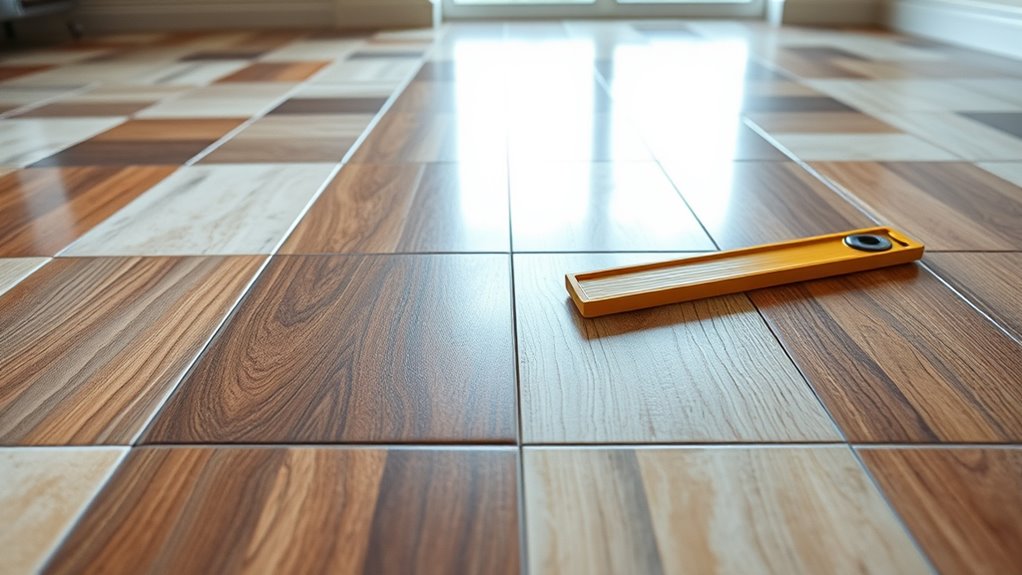
Level Uneven Surfaces
Since uneven surfaces can cause problems like cracks or gaps in your new flooring, it’s crucial to level them properly before installation. Surface leveling guarantees your floor feels solid and looks flawless. Start by cleaning the tiles thoroughly, removing dust and debris. Then, apply smoothing compounds designed for floor leveling. These compounds fill low spots and create a uniform surface. Here’s what you’ll appreciate about this step:
- Prevents future damage to your new floor
- Provides a smooth, comfortable feel underfoot
- Enhances the adhesive bond for your flooring
- Saves time and money by avoiding early repairs
- Gives you confidence in your DIY freedom
Take your time with smoothing compounds, and you’ll enjoy a durable, beautiful floor without removing those old tiles.
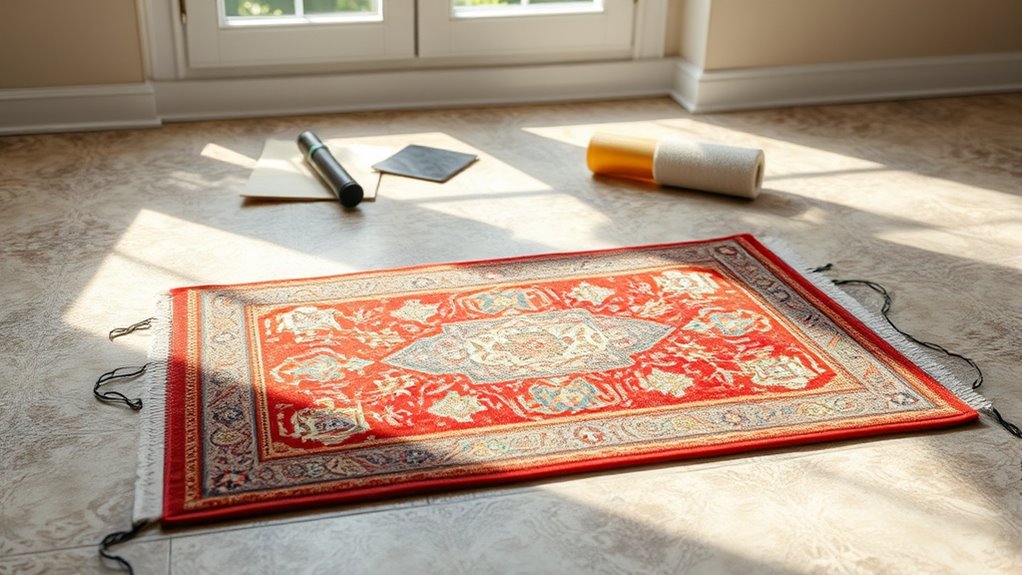
Choosing the Right Flooring Material to Cover Tiles
Selecting the right flooring material to cover your existing tiles can make a significant difference in both the look and durability of your new floor. You’ll want to evaluate factors like comfort, moisture resistance, and ease of installation. Luxury vinyl is a popular choice—it’s durable, waterproof, and mimics natural materials beautifully. Cork flooring offers warmth and sound insulation, perfect for cozy spaces. Here’s a quick comparison to help you decide:
| Material | Pros | Cons |
|---|---|---|
| Luxury Vinyl | Water-resistant, durable | Can feel less natural |
| Cork Flooring | Comfortable, eco-friendly | Sensitive to moisture |
| Laminate | Affordable, easy to install | Less moisture resistant |
| Carpet Tiles | Soft, versatile | Harder to clean |
Choose what fits your lifestyle and style best!
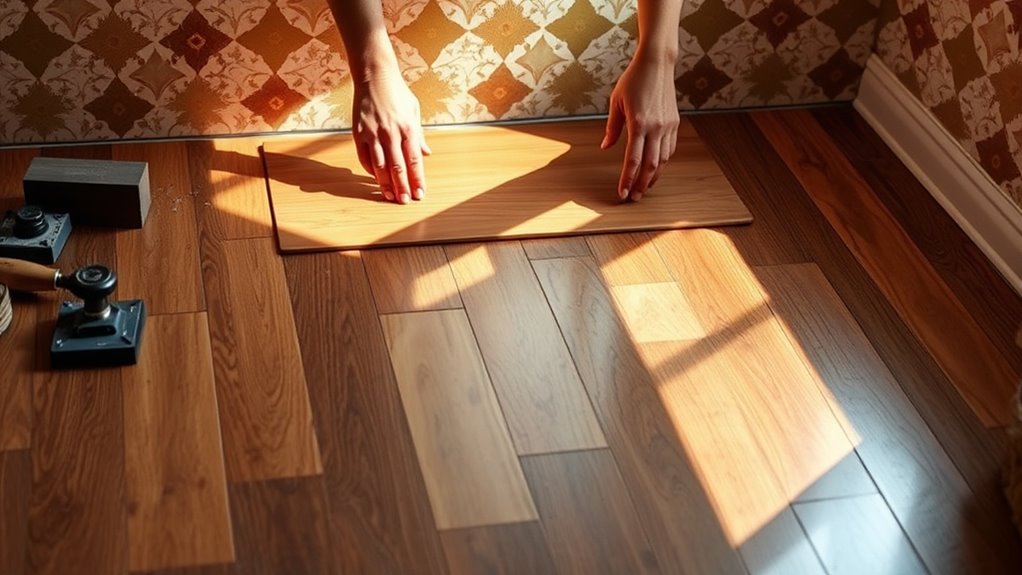
Installing Vinyl Plank or Sheet Flooring Over Tiles
Although vinyl plank and sheet flooring are both excellent options for covering existing tiles, you’ll need to prepare the surface properly to guarantee a smooth installation. Start by thoroughly cleaning the tile floor to remove dirt and grease. Next, check for any uneven grout lines or loose tiles, as these can affect the vinyl plank or sheet flooring’s adhesion. You might need to sand down high spots or fill gaps for a flat surface. When you’re ready, carefully measure and cut your vinyl to fit the room perfectly. Remember, installing vinyl plank or sheet flooring will give your space a fresh look without the hassle of removing tiles.
Prepare your tile floor by cleaning and leveling before installing vinyl plank or sheet flooring for a flawless finish.
- Feel the freedom of a quick transformation
- Enjoy a smooth, professional finish
- Save time and avoid demolition mess
- Customize your space with ease
- Step confidently into your new floor!
Applying Peel-and-Stick Tiles for a Quick Update
If vinyl plank or sheet flooring doesn’t quite fit your style or timeline, peel-and-stick tiles offer a fast, flexible way to refresh your floor without removing existing tiles. Start by thoroughly cleaning and drying the surface to guarantee strong adhesion. Peel and stick options come in various materials and design patterns, letting you customize your space easily. You can create classic, geometric, or even intricate motifs depending on your taste. Simply peel the backing off each tile and press it firmly onto the tile below, aligning edges precisely to avoid gaps. These tiles are lightweight and easy to cut, making installation manageable even for beginners. Plus, they’re removable, giving you freedom to update your look down the road without hassle.
Using Floating Laminate Flooring as a Tile Cover
When you want a durable and stylish floor upgrade without tearing up your existing tiles, floating laminate flooring can be an excellent choice. This method lets you transform your space quickly while preserving the tile beneath. The installation process is straightforward: you lay a moisture barrier, then click the laminate planks together over the tiles—no glue or nails needed. You’ll appreciate how floating laminate offers:
Upgrade your floors stylishly and easily by installing floating laminate right over your existing tiles—no demolition required.
- A smooth, modern finish that feels warm underfoot
- Easy removal or replacement whenever you want change
- Resistance to scratches and everyday wear
- Minimal floor height increase, avoiding door or cabinet issues
- Freedom from messy demolition and long downtime
Painting Floor Tiles for a Budget-Friendly Transformation
Since replacing floor tiles can be costly and time-consuming, painting them offers a budget-friendly way to refresh your space without the hassle of removal. Start by thoroughly cleaning the tiles to remove dirt and grease. Choose budget paint options specifically designed for floors or tiles to guarantee durability. Use tile paint techniques such as applying a primer, followed by thin, even coats of paint with a roller or brush. Let each coat dry completely before adding the next. For extra protection, finish with a clear sealant to guard against wear and moisture. Painting your tiles lets you customize colors or patterns, giving your floor a fresh look without breaking the bank or committing to permanent changes. It’s a practical, freeing solution to transform your floors efficiently.
Laying Carpet Tiles Over Existing Floor Tiles
Before laying carpet tiles over your existing floor tiles, you’ll need to thoroughly clean and dry the surface to guarantee proper adhesion. Choosing the right type of carpet tiles—whether peel-and-stick or modular—is key for durability and style. Once you’ve prepped the area and picked your tiles, follow precise installation steps to secure them firmly and achieve a smooth finish.
Preparing Tile Surface
To guarantee your carpet tiles adhere properly and last longer, you’ll need to start by thoroughly cleaning the existing floor tiles. Proper tile surface preparation is key—this means removing dirt, grease, and grime that could weaken adhesion. Use effective surface cleaning techniques like sweeping, mopping with a mild detergent, and wiping down with a damp cloth. Don’t forget to dry the tiles completely before moving on.
Here’s a quick checklist to help you prepare:
- Sweep away dust and debris
- Mop with warm water and mild detergent
- Scrub stubborn stains gently
- Rinse thoroughly to remove soap residue
- Allow tiles to dry fully, avoiding moisture traps
Taking these steps guarantees a smooth, clean base, giving you the freedom to enjoy a flawless carpet tile installation.
Choosing Carpet Tiles
With your tile surface cleaned and prepped, the next step is picking the right carpet tiles to lay over your existing floor. You’ll find a variety of carpet tile options regarding color, texture, and thickness—choose what fits your style and needs best. Consider durable materials that handle foot traffic well, especially if the area gets busy. Carpet tile benefits include easy installation, simple maintenance, and the freedom to replace individual tiles if damaged, saving time and money. Also, think about the tile backing: some come with peel-and-stick adhesives, while others need separate glue. Prioritize options that offer sound insulation and comfort underfoot, making your space cozier without removing the old floor. Selecting wisely guarantees your new floor feels just right for your lifestyle.
Installation Techniques
Start by confirming your existing tile floor is completely clean and dry, as any dirt or moisture can prevent carpet tiles from adhering properly. When laying carpet tiles over existing floor tiles, mastering tile installation and flooring techniques is key to a smooth, lasting finish. You’ll want to:
- Measure your space carefully to minimize waste and confirm a perfect fit.
- Use a high-quality adhesive designed specifically for carpet tiles.
- Begin installation from the center, working outward for balanced coverage.
- Press each tile firmly to secure it, avoiding bubbles or gaps.
- Trim edges neatly for a polished look that blends seamlessly.
Following these steps gives you freedom to refresh your space without the hassle of removing old tiles, combining practicality with style effortlessly.
Tips for Maintaining Adhesion and Durability
Although covering floor tiles can be a straightforward process, ensuring that your new surface adheres properly and remains durable requires careful preparation and attention to detail. Start by thoroughly cleaning the tiles, removing grease and dirt to enhance adhesion. Use proven adhesion techniques like applying a high-quality primer designed for slick surfaces. When selecting adhesives, choose ones suited for your new flooring material and compatible with tile. For durability, allow adhesives and any leveling compounds to cure fully before walking on the surface. Avoid excessive moisture exposure, which can weaken bonds over time. Additionally, maintain consistent temperature and humidity levels during installation to prevent expansion or contraction that compromises durability. By following these adhesion techniques and durability tips, you’ll enjoy a long-lasting, stable floor covering without removing your original tiles.
Safety Precautions When Working Over Floor Tiles
Before you begin covering your floor tiles, there are several safety precautions you should take to protect yourself and assure a smooth installation. Wearing proper protective gear like gloves and knee pads minimizes injury risks. Guarantee adequate ventilation measures, especially if you’re using adhesives or sealants with strong fumes. Check your workspace for loose tiles or debris to avoid tripping hazards. Keep tools organized and within reach to maintain focus and prevent accidents. Finally, take breaks to avoid fatigue, which can lead to careless mistakes.
- Wear gloves, knee pads, and a dust mask
- Open windows and use fans for ventilation
- Inspect tiles for cracks or looseness
- Keep all tools neatly arranged
- Take regular breaks to stay alert


