
To clean your shower floor, start by gathering the right supplies based on your surface type, such as a firm scrub brush, microfiber cloth, and suitable cleaners like vinegar or a specialized commercial cleaner. Begin by removing loose debris with a broom or vacuum, then apply your chosen cleaning solution evenly. Let it sit briefly before scrubbing with appropriate techniques. For tough stains, a baking soda and vinegar mixture can work wonders. Finally, rinse thoroughly and incorporate a squeegee routine to prevent future buildup. If you follow these steps, you'll achieve a spotless shower floor, and there's more to explore ahead.
Gather Your Cleaning Supplies

Before diving into the cleaning process, it is crucial to gather your cleaning supplies. Start with the right cleaning tools tailored for your shower's surface types, whether it's tile, fiberglass, or acrylic. You'll need a scrub brush with firm bristles, a microfiber cloth for drying, and a squeegee to prevent future buildup. Don't forget a bucket for mixing your cleaning solutions, and consider a spray bottle for easy application. Choose a suitable cleaner based on your surface type; for example, a gentle vinegar solution works wonders on tile, while a specialized cleaner may be necessary for fiberglass. Having everything ready not only streamlines the process but also gives you the freedom to clean efficiently, ensuring your shower floor sparkles with ease.
Remove Loose Debris
With your cleaning supplies at the ready, the next step is to remove any loose debris from the shower floor. Start by using a broom or a handheld vacuum to collect loose dirt and hair. Make sure you're thorough, paying attention to corners and edges where debris tends to accumulate. If you notice any buildup, a damp cloth can help lift stubborn particles. After that, consider using a squeegee to push any remaining water towards the drain, ensuring a dry surface for the next steps. This debris removal process sets the stage for effective cleaning, allowing you to tackle tougher stains and grime more efficiently. A clean foundation makes all the difference in achieving a sparkling finish.
Apply Cleaning Solution
Now that your shower floor is free of loose debris, it's time to apply your chosen cleaning solution. Select effective cleaning agents based on your floor type—whether it's tile, vinyl, or stone. You can use a spray bottle or a mop for application methods.
| Cleaning Agent | Application Method | Suitable For |
|---|---|---|
| Vinegar Solution | Spray and wipe | Tile and glass |
| Baking Soda Paste | Scrub with sponge | Grout and stains |
| Commercial Cleaner | Mop or sponge | Various surfaces |
| Dish Soap Mixture | Spray and scrub | Light dirt |
| Hydrogen Peroxide | Spray and let sit | Mold and mildew |
Make sure to cover the entire area evenly. Let the solution sit for a few minutes before moving on to the next step.
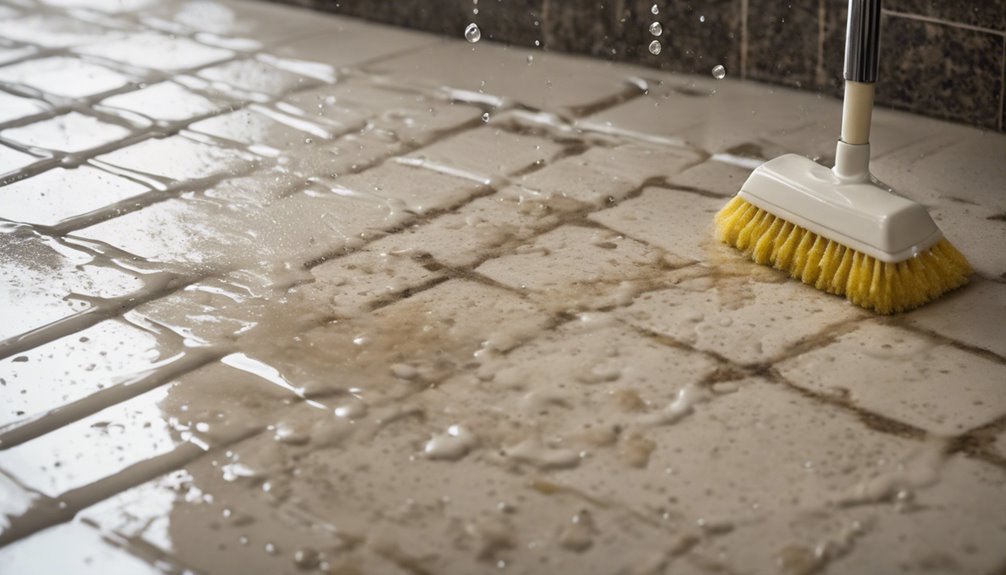
Scrub the Shower Floor
Begin scrubbing the shower floor with a suitable sponge or scrub brush to confirm you effectively remove grime and build-up. Choose effective brushes designed for your shower's surface—soft bristles work well for delicate tiles, while sturdier options tackle tougher materials. Utilize various scrubbing techniques, such as circular motions and back-and-forth strokes, to assure thorough cleaning. Pay attention to corners and edges, where dirt tends to accumulate. Rinse your sponge or brush frequently to prevent redistributing grime. If any areas resist your efforts, apply additional cleaning solution and scrub again. Keep your strokes consistent and firm, but avoid excessive pressure that could damage your surfaces. This methodical approach will leave your shower floor looking pristine and inviting.
Focus on Stains and Grime
Although scrubbing the shower floor is essential, focusing on stains and grime that persist can make a significant difference in achieving a truly clean surface. Start by identifying problem areas, like soap scum or mildew stains. For effective stain removal, use a mixture of baking soda and vinegar; apply it directly to the stains and let it sit for 10-15 minutes. Scrub gently with a soft brush to lift the grime. For deep-seated stains, a commercial cleaner may be necessary—just verify it's suitable for your shower material. After stain removal, consider implementing grime prevention strategies, like regular cleaning and using a squeegee after each shower. This routine will help maintain your shower floor's pristine condition and prolong its life.
Rinse Thoroughly
Rinsing thoroughly is essential to remove any remaining cleaning agents and debris from your shower floor. Using the right techniques can enhance the effectiveness of this step, ensuring a clean and safe surface. Additionally, establishing a regular rinsing frequency helps prevent the buildup of grime and stains, making your cleaning routine more efficient.
Importance of Rinsing
When you clean your shower floor, thoroughly rinsing the surface is essential to ensuring that all cleaning agents and residues are completely removed. This step is vital for maintaining the importance of cleanliness in your shower space. If residues are left behind, they can lead to buildup, which can harbor bacteria and mold, compromising your shower hygiene. Additionally, any lingering chemicals may irritate your skin or affect your health. A proper rinse not only enhances the aesthetic appeal of your shower but also contributes to a healthier environment. By dedicating time to this process, you're investing in your well-being and ensuring that your shower remains a safe, invigorating space for relaxation and rejuvenation.
Best Rinsing Techniques
After confirming that all cleaning agents have been applied effectively, it's time to focus on rinsing techniques that will guarantee a thorough cleanse. Start by selecting an appropriate water temperature; warm water often works best, as it helps to dissolve any remaining residues. Use a handheld showerhead or a detachable nozzle for better control, allowing you to direct the flow toward stubborn spots. Consider using a bucket if your shower lacks a detachable head; pour water from the top, letting it cascade down. Employ a systematic approach, rinsing from the top down to confirm all areas receive attention. Finally, take your time—this isn't a race. Proper rinsing methods will leave your shower floor sparkling clean and free of harmful residues.
Frequency of Rinsing
Regularly rinsing your shower floor is essential to maintaining its cleanliness and preventing the buildup of soap scum and grime. For effective daily maintenance, aim to rinse the floor after each use. This simple habit removes residues and keeps your shower looking fresh. Pay attention to water quality; hard water can leave mineral deposits, so consider using a water softener if you're in an area with high mineral content. Additionally, if you notice persistent stains or discoloration, increase the frequency of rinsing to combat these issues early. A thorough rinse not only enhances the shower's appearance but also contributes to a healthier environment. Consistency is key, and with these practices, you'll enjoy a cleaner, more inviting shower space.
Prevent Future Build-Up

To effectively prevent future build-up on your shower floor, it's essential to establish a consistent cleaning routine that targets common culprits like soap scum and mildew. Start by implementing preventative measures, such as using a squeegee after each shower to eliminate excess water. This simple step greatly reduces moisture, the primary contributor to mold growth. Regular maintenance is key; schedule deep cleaning sessions weekly, using a mixture of vinegar and baking soda to tackle stubborn stains. Additionally, consider installing a water softener to minimize mineral deposits. By dedicating a few minutes to these tasks, you'll maintain a cleaner shower floor and enjoy a more hygienic space, allowing you the freedom to relax without worrying about unwanted build-up.
Frequently Asked Questions
How Often Should I Clean My Shower Floor?
You should aim to clean your shower floor at least once a week to maintain cleanliness and prevent mold buildup. This shower cleaning frequency helps keep your space fresh and inviting. For maintenance tips, consider using a squeegee after each use to remove excess water, and apply a weekly cleaner to tackle soap scum. Staying consistent with these practices not only enhances your shower experience but also prolongs the life of your fixtures.
Can I Use Vinegar on All Shower Floor Types?
You can use vinegar on many shower floor materials, but it's crucial to know its effectiveness varies. For ceramic tiles and glass, vinegar works well to cut through soap scum and mineral deposits. However, avoid using it on natural stone surfaces like granite or marble, as it can damage the finish. Always test a small area first to confirm the vinegar won't harm your specific shower floor material before applying it more broadly.
What Should I Do for Moldy Shower Floors?
Did you know that nearly 60% of households experience mold issues in their bathrooms? To tackle moldy shower floors, start with effective mold removal techniques. Use a mixture of water and vinegar or a commercial mold cleaner, applying it directly to the affected areas. Let it sit for about 10-15 minutes, then scrub with a brush. Rinse thoroughly, and consider sealing your shower floor to prevent future mold growth for a cleaner, fresher space.
Are There Eco-Friendly Cleaning Alternatives Available?
If you're looking for eco-friendly cleaning alternatives, you've got plenty of options. Natural cleaning products like vinegar, baking soda, and essential oils are great choices. Vinegar can effectively cut through grime, while baking soda acts as a gentle abrasive. Mixing these ingredients creates a powerful, non-toxic cleaner that's safe for your home and the environment. By choosing these eco-friendly products, you're not just cleaning; you're also promoting a healthier planet and enjoying a fresher space.
How Can I Prevent Slipping on a Wet Shower Floor?
Did you know that around 234,000 injuries occur annually in bathrooms, many due to slippery surfaces? To prevent slipping on a wet shower floor, consider using shower mats with gripping surfaces. Additionally, installing slip-resistant tiles can greatly enhance safety. These solutions not only reduce the risk of falls but also provide a more secure showering experience. By taking these steps, you'll enjoy your time in the shower with greater confidence and freedom.


