To clean porcelain floor tiles, start by sweeping or vacuuming to remove loose dirt. Mix a mild, pH-neutral cleaner with lukewarm water and mop the tiles using gentle, even strokes. For tough stains, gently scrub with a soft brush and solution. Rinse thoroughly with clean water and immediately dry the floor with a microfiber cloth to prevent water spots. Maintaining this routine keeps your tiles shining brilliantly, and there’s more to learn about detailed care and upkeep ahead.
Gather Necessary Cleaning Supplies
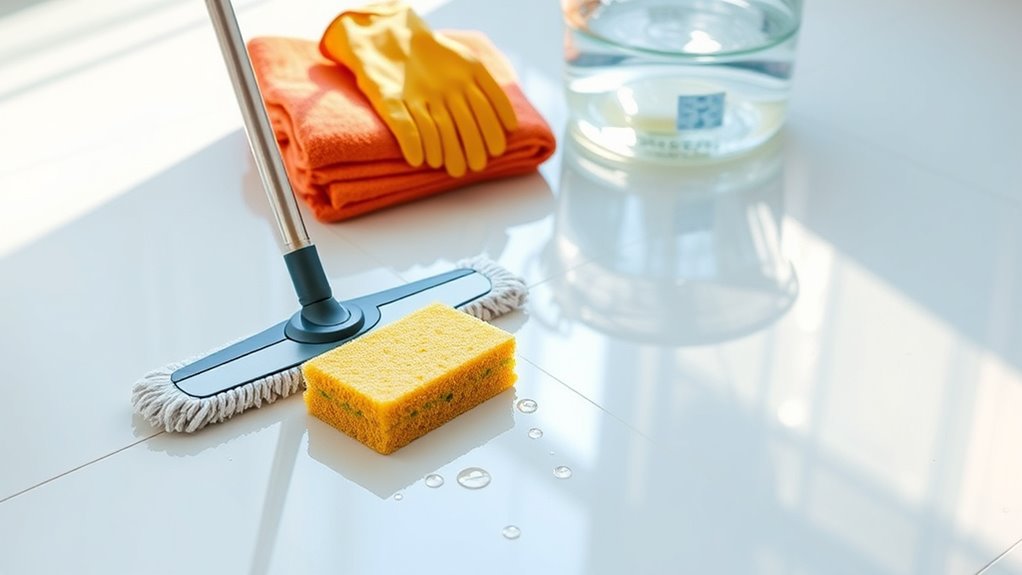
Before you begin cleaning your porcelain floor tiles, you’ll need to gather a few essential supplies. Start with a mild, pH-neutral cleaning agent specifically designed for porcelain; harsh chemicals can damage the surface and grout. Avoid abrasive powders or acidic cleaners. Next, prepare a bucket with warm water to dilute the cleaning agent, guaranteeing effective floor maintenance without residue. You’ll also need a soft-bristle brush or microfiber mop to gently clean without scratching the tiles. Have clean, dry towels or a mop for drying to prevent water spots. Finally, keep a pair of gloves handy to protect your skin from prolonged exposure to cleaning agents. Collecting these supplies in advance guarantees a smooth, efficient cleaning process, giving you freedom from unnecessary interruptions.
Sweep or Vacuum the Floor Thoroughly
Start by selecting the right broom or vacuum designed for hard floors to avoid scratching your porcelain tiles. Make certain to remove all loose dirt and debris, paying close attention to corners where dust tends to accumulate. Thoroughly cleaning these areas guarantees a smooth surface for the next cleaning steps.
Choose Proper Cleaning Tools
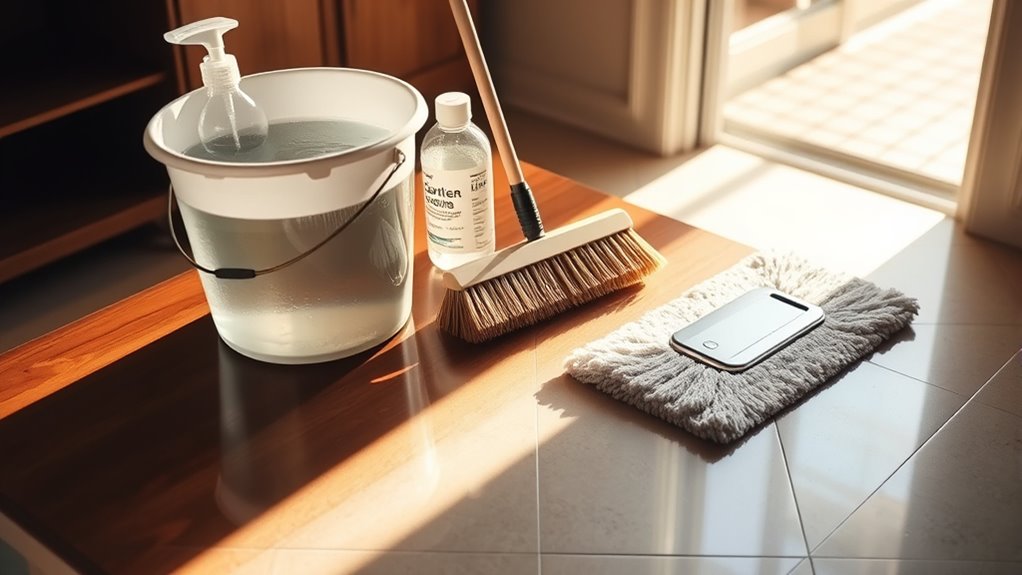
Two essential tools you’ll need to prepare your porcelain floor tiles for cleaning are a broom and a vacuum cleaner. Choosing the right cleaning tools directly impacts your tool effectiveness and the ease of maintaining freedom from dirt and grime. A broom allows you to sweep large areas quickly, while a vacuum cleaner can reach tighter spaces and capture fine dust.
| Tool | Key Benefit |
|---|---|
| Broom | Efficient for broad areas |
| Vacuum Cleaner | Captures fine dust easily |
| Soft-bristle Brush | Gentle on tile surfaces |
| Microfiber Mop | Picks up residual dust |
| Dustpan | Collects debris for disposal |
Selecting proper cleaning tools guarantees your porcelain floor tiles stay pristine without unnecessary effort.
Remove Loose Dirt
To effectively remove loose dirt from your porcelain floor tiles, you’ll want to sweep or vacuum the entire surface thoroughly. Begin at one corner and methodically move across the floor, ensuring no area is missed. This step is vital in porcelain tile maintenance because dirt accumulation can scratch the tile surface over time. Using a soft-bristle broom or a vacuum with a hard floor setting prevents damage while capturing dust and debris efficiently. Avoid pushing dirt into grout lines, as this can make later cleaning more difficult. By removing loose dirt first, you prepare your floor for deeper cleaning, preserving its appearance and extending its lifespan. Staying consistent with this routine grants you freedom from stubborn stains and keeps your tiles looking their best.
Focus on Corners
After clearing the main areas of your floor from loose dirt, pay special attention to the corners. These spots often accumulate dust, debris, and grime that standard sweeping or vacuuming misses. For effective corner cleaning, use a vacuum with a crevice tool attachment or a broom with stiff bristles designed to reach tight spaces. Move slowly and methodically to dislodge trapped particles without scratching your porcelain tiles. Consistent corner cleaning is crucial for thorough tile maintenance, preventing buildup that can dull the tile’s finish or cause grout discoloration. By focusing on these often-overlooked areas, you guarantee a complete clean that preserves your floor’s appearance and longevity. Taking this extra step gives you complete control over your tile maintenance routine.
Prepare a Gentle Cleaning Solution
Start by gathering mild cleaning agents that won’t damage your porcelain tiles. Avoid harsh chemicals and opt for pH-neutral detergents or gentle dish soap. These cleaning agents protect the tile’s finish while effectively lifting dirt. Next, mix your solution with care, adhering to recommended solution ratios—typically, one teaspoon of detergent per gallon of warm water. This balance guarantees the solution is strong enough to clean but gentle enough to preserve the tile’s surface. Measure accurately to maintain consistency and prevent residue buildup. Preparing a gentle cleaning solution this way gives you freedom to clean efficiently without risking wear or discoloration. Keep your solution fresh for each session, and avoid over-concentration to maintain your porcelain tiles’ longevity and appearance.
Mop the Tiles With the Cleaning Solution
You’ll want to select a mop that holds moisture well without soaking the tiles, such as a microfiber or sponge mop. Use smooth, even strokes to apply the cleaning solution, avoiding excess water to prevent damage. Aim to mop your porcelain floor regularly, adjusting frequency based on foot traffic and dirt accumulation.
Choosing the Right Mop
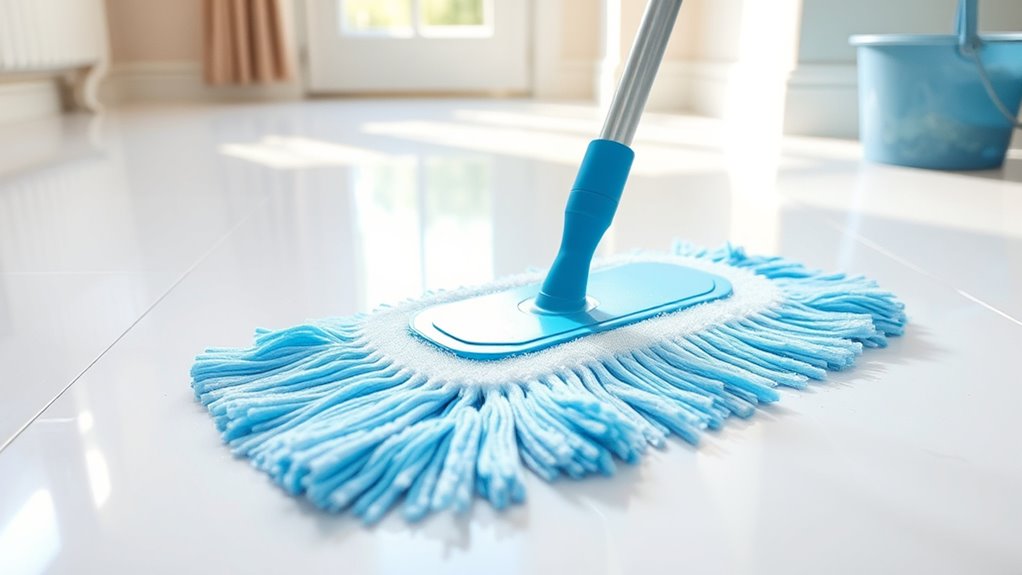
Selecting the right mop is essential for effectively cleaning porcelain floor tiles without causing damage. When choosing, consider mop types and mop materials carefully to maintain your tiles’ pristine condition.
- Microfiber mops offer excellent dirt pickup and are gentle on surfaces.
- Sponge mops absorb well but can leave streaks if not properly wrung out.
- Cotton mops are durable but may hold onto dirt, requiring frequent rinsing.
- Flat mops provide control and are easy to maneuver in tight spaces.
Proper Mopping Technique
To mop porcelain floor tiles effectively, begin by dipping your mop into the cleaning solution and wringing it out thoroughly to avoid excess water, which can seep into grout lines. Use gentle, overlapping strokes to cover the floor systematically, ensuring every tile receives attention. Avoid harsh scrubbing; instead, let the cleaning solutions loosen dirt naturally. Change or rinse the mop frequently to prevent redistributing grime. For tough spots, apply a bit more cleaning solution directly and allow it to sit briefly before mopping. Always move in one direction to maintain consistency and avoid streaks. By mastering these mopping techniques, you’ll preserve both the cleanliness and the integrity of your porcelain tiles, granting you the freedom to enjoy a spotless, beautiful floor without damage or residue.
Frequency of Mopping
Maintaining the cleanliness of your porcelain floor tiles requires establishing a consistent mopping schedule. The right mopping frequency depends on your lifestyle and environment, helping you enjoy spotless tiles without feeling tied down. Consider these guidelines when setting your cleaning schedule:
- High-traffic areas: Mop every 2-3 days to prevent dirt buildup.
- Moderate-traffic zones: Mop once a week for balanced upkeep.
- Low-traffic spaces: Mop biweekly or monthly to maintain freshness.
- Spill-prone spots: Mop immediately after spills to avoid stains.
Target Tough Stains With a Soft Brush
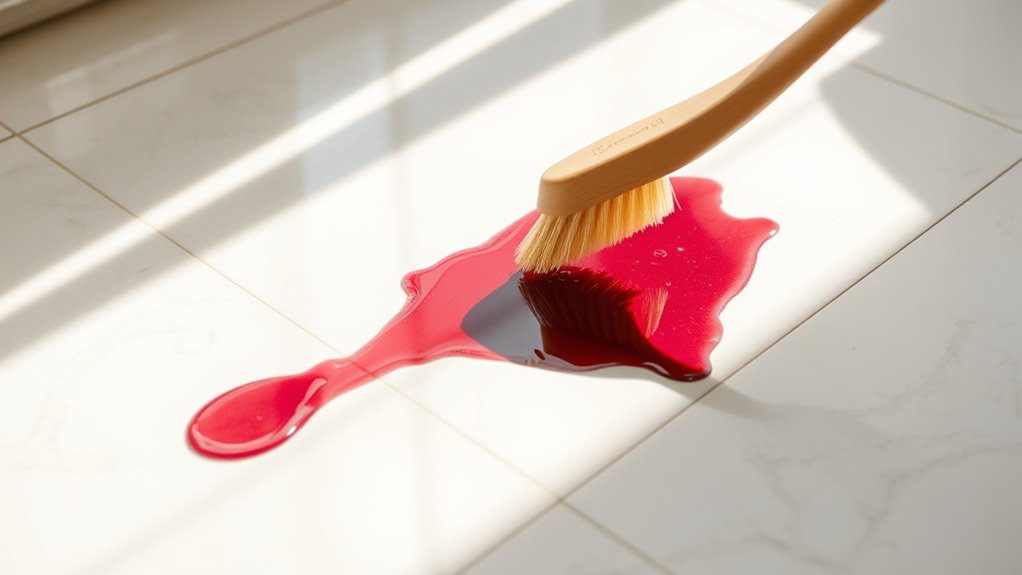
Although porcelain tiles are durable, some stains can be stubborn and require extra effort to remove. For effective stain removal, use a soft brush to gently scrub the affected areas. This approach targets tough stains without damaging the tile surface. Begin by applying a suitable cleaning solution designed for porcelain tiles, then carefully work the brush in small circular motions. Avoid harsh scrubbing or abrasive tools, as they can scratch the glaze. This methodical cleaning technique loosens dirt and grime embedded in grout lines or textured surfaces. By incorporating this step into your regular cleaning routine, you maintain the tile’s appearance and extend its lifespan. Remember, precision and patience during stain removal are key to preserving your freedom from frequent deep cleans.
Rinse the Floor With Clean Water
Once you’ve thoroughly scrubbed the tiles, you’ll need to rinse the floor with clean water to remove any remaining cleaning solution and loosened dirt. Using the right water temperature is vital; lukewarm water works best to efficiently dissolve residues without damaging the tiles. Employ a consistent rinse technique to guarantee every inch is refreshed. Here’s how to do it:
- Pour water steadily across the floor, avoiding puddles.
- Use a mop or sponge to sweep away loosened dirt and suds.
- Change rinse water frequently to maintain cleanliness.
- Work from one corner toward the exit to prevent stepping on wet tiles.
Dry the Tiles to Prevent Water Spots
After rinsing, you’ll want to dry the tiles promptly to prevent water spots from forming. Water spot prevention starts with effective drying techniques. Use a clean, absorbent microfiber cloth or mop to soak up excess water. Work in small sections, moving systematically across the floor to guarantee no moisture lingers. Avoid air-drying, as minerals in the water can settle and leave unsightly marks. For larger areas, a squeegee can speed up the process by removing water quickly before wiping. Consistently applying these drying techniques after each wash preserves the pristine look of your porcelain floor tiles. By drying thoroughly, you maintain freedom from stubborn spots, keeping your floor smooth and spotless without extra effort or additional cleaning products.
Maintain Shine With Regular Cleaning
To keep your porcelain floor tiles looking their best, you need to clean them regularly using appropriate methods and products. Shine maintenance depends on a consistent cleaning schedule that prevents dirt buildup and dullness. Here’s how you can maintain that fresh, polished look:
Regular cleaning with proper methods is key to maintaining the shine and beauty of your porcelain floor tiles.
- Sweep or vacuum daily to remove loose dirt and grit.
- Mop weekly with a mild detergent and warm water, avoiding harsh chemicals.
- Wipe spills immediately to prevent stains and watermarks.
- Use a microfiber cloth for buffing after drying to enhance shine.


