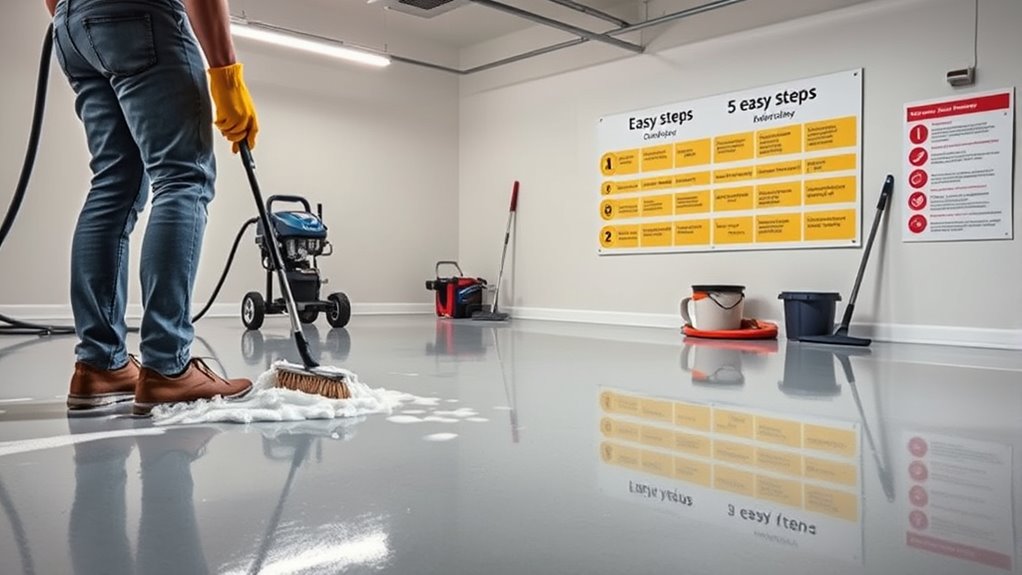
To prepare your garage floor for epoxy, first clear out all items and debris to work on a clean surface. Next, sweep and vacuum thoroughly, focusing on corners to remove dust and dirt. Then, degrease and scrub stubborn stains to guarantee proper adhesion. After that, etch the concrete evenly with an appropriate solution to roughen the surface. Finally, rinse well and let the floor dry completely for the best epoxy results. Follow these steps for strong, lasting coverage, and find out how to perfect each phase.
Remove All Items and Debris From the Garage Floor
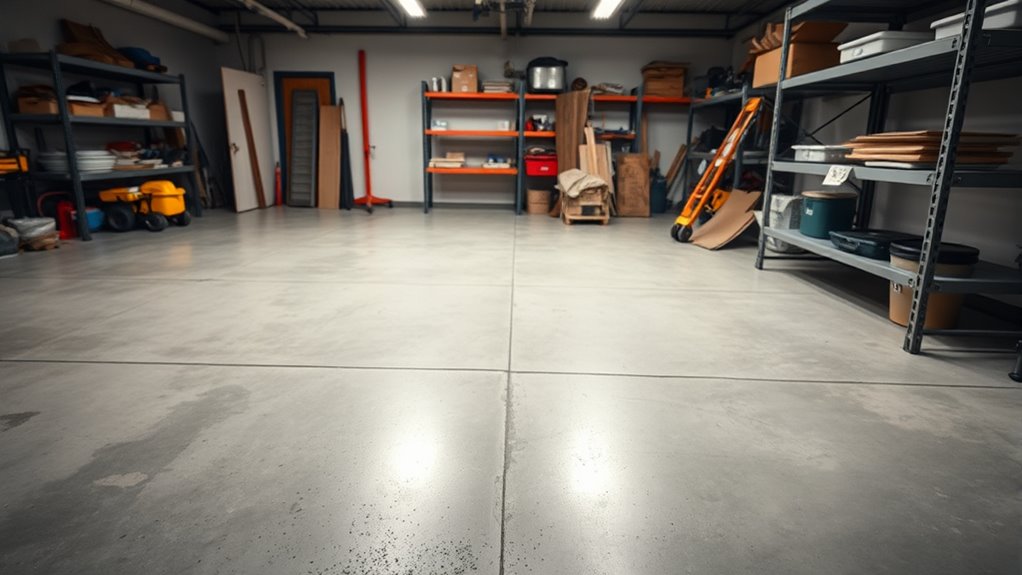
Before you begin any cleaning or preparation, the first step is to completely clear your garage floor of all items and debris. This essential action provides an unobstructed workspace, allowing you to assess the surface accurately. Start by relocating tools, vehicles, and miscellaneous belongings to designated storage solutions, ensuring garage organization maximizes available space and prevents clutter. Removing debris such as dust, leaves, or gravel is critical to avoid imperfections when applying epoxy. Use containers or shelving units to temporarily store items, maintaining a clean environment that supports a smooth coating process. By thoroughly clearing the area, you create ideal conditions for epoxy adhesion, enhancing the durability and appearance of your garage floor. This step not only facilitates cleaning but also promotes long-term garage organization and freedom from disorder.
Sweep and Vacuum Thoroughly
Start by sweeping the garage floor thoroughly to remove loose dirt, dust, and small debris that could interfere with epoxy adhesion. Use high-quality cleaning tools like a stiff-bristled broom to make certain you dislodge particles embedded in surface pores. After sweeping, vacuum the entire area with a shop vacuum designed for fine dust extraction. This two-step approach guarantees the floor is free from contaminants that compromise epoxy bonding. Proper floor maintenance at this stage prevents imperfections and peeling later on. Pay close attention to corners and edges where debris tends to accumulate. By meticulously removing all particulate matter, you create an ideal surface for epoxy application, making certain of a durable, smooth finish that enhances your garage’s appearance and longevity.
Degrease and Treat Stubborn Stains

Once the floor is free of loose debris, the next step focuses on eliminating grease and treating stubborn stains that could undermine epoxy adhesion. You’ll need effective cleaning solutions specifically designed for stain removal. Apply degreasers liberally, scrubbing areas with embedded oil or chemical stains. Rinse thoroughly to prevent residue interference.
| Stain Type | Recommended Cleaning Solution |
|---|---|
| Oil & Grease | Citrus-based degreaser or trisodium phosphate |
| Paint & Epoxy | Mineral spirits or acetone |
| Rust & Metal Stains | Oxalic acid or commercial rust remover |
Use stiff brushes for agitation. Repeat treatment if stains persist. Proper degreasing guarantees epoxy bonds securely, granting you a durable, flawless finish that supports your freedom to use the space as you like.
Etch the Concrete Surface
Although thorough cleaning removes contaminants, etching the concrete surface is essential to create the proper texture for epoxy adhesion. This step in concrete preparation guarantees your epoxy coating bonds securely, preventing peeling or bubbling. To etch effectively:
- Apply a concrete etching solution evenly, following manufacturer instructions closely.
- Scrub the floor with a stiff-bristle brush or mechanical scrubber to open the concrete pores.
- Let the solution sit for the recommended time to chemically roughen the surface.
This controlled abrasion enhances surface adhesion by increasing the microscopic surface area epoxy can grip. Skipping or rushing etching compromises the durability of your epoxy floor, limiting your freedom to enjoy a strong, long-lasting finish. Always prioritize precise etching for best results in your garage floor project.
Rinse and Allow the Floor to Dry Completely
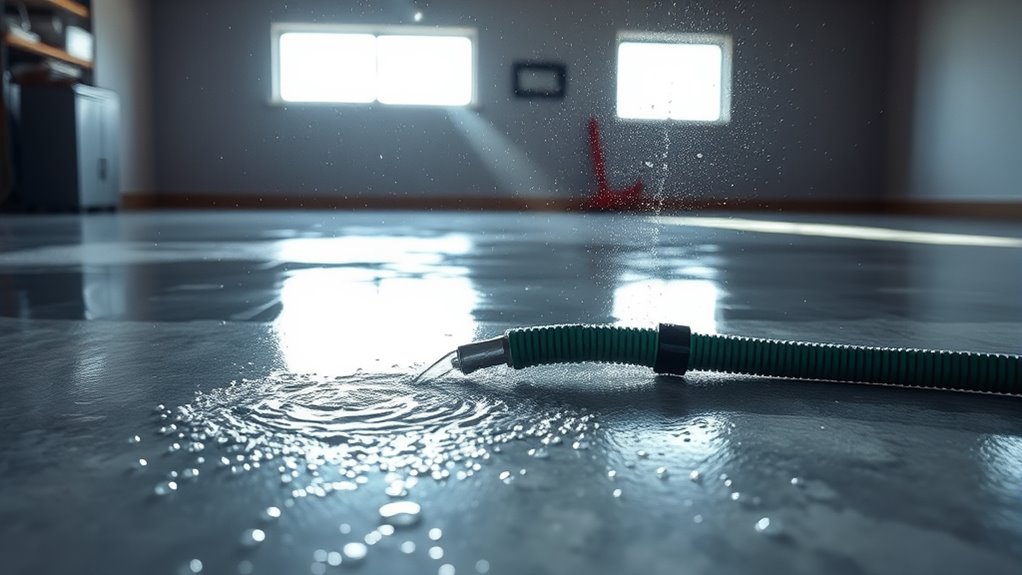
After etching the concrete, you’ll need to rinse the floor thoroughly to remove all residual chemicals and debris that could interfere with epoxy adhesion. Use a garden hose or pressure washer to flush the surface, ensuring no etching solution remains. Pay close attention to corners and edges where residue often accumulates. Once rinsed, apply effective drying techniques—such as using fans or dehumidifiers—to expedite moisture removal. It’s critical the floor dries completely, as any lingering dampness compromises epoxy bonding and long-term floor maintenance. Allow at least 24 to 48 hours of drying time, depending on humidity and temperature conditions. Proper rinsing and drying set the foundation for a durable epoxy coating, giving you the freedom to enjoy a resilient, well-maintained garage floor.


