To clean your shower floor, start by removing all items and rinsing it with warm water to loosen dirt. Choose a cleaner suited to your floor type—natural or mild detergents work well—and spray it evenly, focusing on grout lines. Let it sit a few minutes, then scrub with a stiff-bristled brush. Rinse thoroughly with warm water, wiping excess moisture with a microfiber cloth to prevent damage. Keeping a regular cleaning routine helps maintain shine and freshness; understanding the full process guarantees the best results.
Gather Necessary Cleaning Supplies
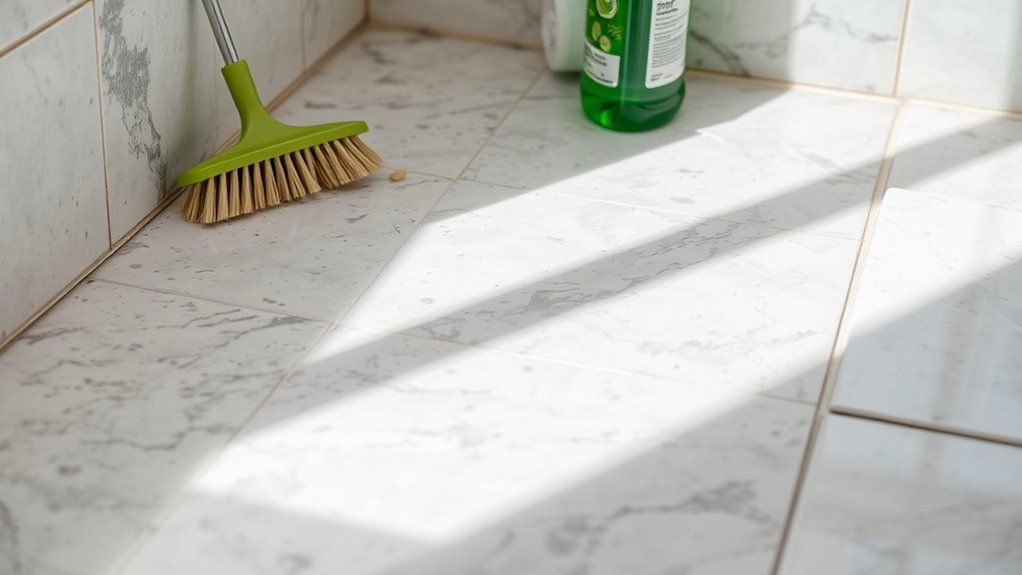
Before you begin cleaning your shower floor, gather five essential supplies to guarantee the process goes smoothly: a scrub brush with stiff bristles, a bucket, a non-abrasive cleaner suitable for your floor type, rubber gloves, and a microfiber cloth. These cleaning tools are crucial for effective, damage-free results. Select a cleaner that matches your floor’s material to avoid wear or discoloration. The scrub brush will tackle grime in grout lines and textured surfaces, while the microfiber cloth helps with final wiping and drying. Rubber gloves protect your hands from harsh chemicals, and a bucket aids in mixing and rinsing. Establish a cleaning schedule to maintain your shower floor’s cleanliness over time, making each session quicker and less labor-intensive, so you can enjoy your freedom from stubborn buildup.
Prepare the Shower Floor for Cleaning
Several preliminary steps will make cleaning your shower floor more efficient and effective. Begin your shower floor preparation by removing all personal items, like soap dishes and mats, ensuring unobstructed access. Next, perform a thorough cleaning surface evaluation: inspect the floor for soap scum, mold, mildew, and mineral deposits. Note any grout damage or deep stains that may require special attention. Rinse the floor with warm water to loosen surface dirt, then use a soft brush or sponge to gently remove loose debris. This methodical approach guarantees you address all problem areas while protecting the floor’s integrity. By carefully evaluating and preparing your shower floor, you set the stage for a successful clean, freeing yourself from stubborn grime with minimal effort.
Choose the Right Cleaning Solution
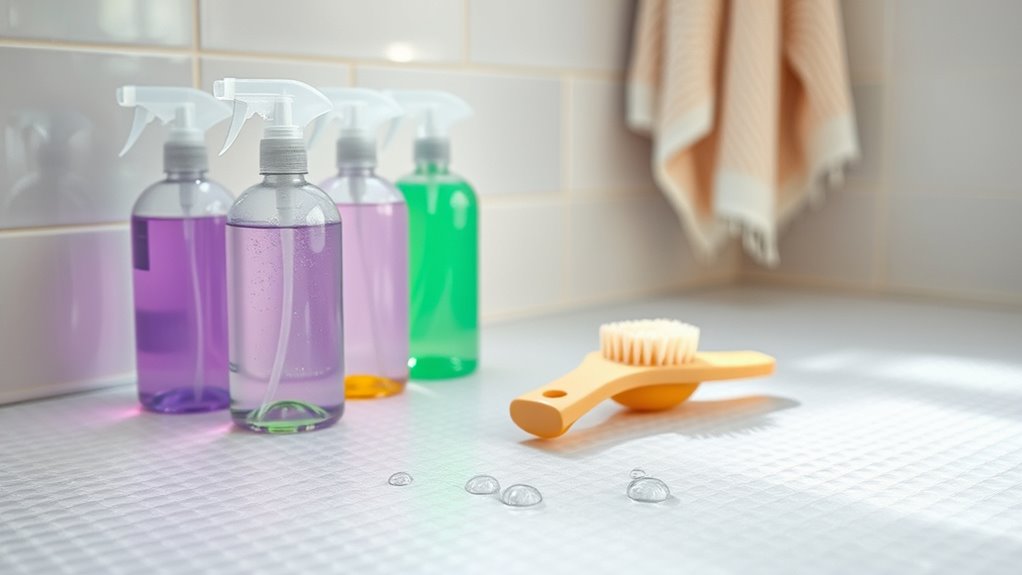
Before you start scrubbing, you need to select the appropriate cleaning agent based on your shower floor’s material and level of dirt. You can choose between natural options like vinegar or baking soda and chemical cleaners designed for tougher stains, but each comes with specific safety precautions you must follow. Understanding these differences guarantees you protect both your surfaces and your health during the cleaning process.
Types of Cleaning Agents
Choosing the right cleaning agent is essential for effectively tackling grime on your shower floor without causing damage. You’ll find various cleaning agents designed for different floor materials and levels of dirt. For routine cleaning, mild detergents or gentle scrubbing agents work well without harming grout or tile surfaces. If you prefer eco friendly options, consider products with biodegradable ingredients that minimize environmental impact while still cutting through soap scum and mildew. Avoid harsh abrasives or acidic cleaners unless you’re sure they’re safe for your specific shower floor type. By selecting a cleaning agent suited to your floor’s material and your personal values, you maintain both its appearance and your freedom to clean confidently, knowing you’re protecting your home and the planet.
Natural vs. Chemical Solutions
While you weigh your options for cleaning solutions, understanding the differences between natural and chemical products is essential to making an informed choice. Natural alternatives often appeal to those valuing eco-friendliness and minimal exposure to harsh substances, but chemical effectiveness can’t be overlooked, especially for tough grime.
- Natural alternatives like vinegar and baking soda are gentle, biodegradable, and safe for frequent use.
- Chemical cleaners typically offer faster results and stronger stain removal but may contain irritants.
- Consider the shower floor material—some chemicals can degrade grout or tiles, while natural options are safer.
- Balance your need for freedom from harmful residues with the urgency of cleaning; natural methods suit routine care, chemicals for deep cleans.
Choose what aligns with your priorities and shower floor’s condition for best results.
Safety Considerations
One key factor in selecting the right cleaning solution for your shower floor is understanding the safety implications for both you and your bathroom surfaces. You need to evaluate if the cleaner can cause slip hazards when wet or leave residues that make the floor slick. Always opt for solutions labeled as non-slip or that rinse away thoroughly. Wearing protective gear—like gloves and goggles—is essential to shield your skin and eyes from harsh chemicals. Avoid mixing cleaning agents, as this can produce toxic fumes. Also, consider your floor material; acidic solutions may damage natural stone, while bleach might discolor grout. By methodically choosing a product that balances effectiveness with safety, you maintain both your freedom to clean confidently and the integrity of your shower floor without unnecessary risk.
Apply Cleaning Solution to the Floor
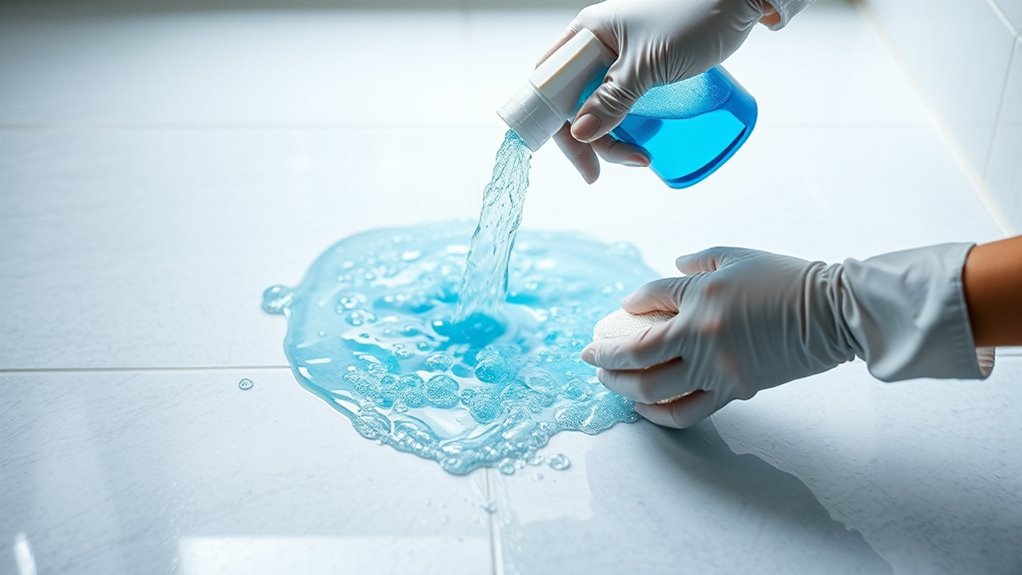
Spray the cleaning solution evenly across the shower floor, focusing on areas with visible stains or soap scum buildup. To maximize solution effectiveness, use these cleaning techniques:
- Hold the spray bottle about 6-8 inches from the surface for an even mist.
- Target grout lines separately, as they often trap grime.
- Allow the solution to sit for 5-10 minutes to break down residue without drying.
- Avoid oversaturating, which can dilute the solution and reduce its power.
Scrub the Shower Floor Thoroughly
After letting the cleaning solution sit, you’ll want to scrub the shower floor thoroughly to lift stubborn grime and stains. Start by selecting the right cleaning tools—a stiff nylon brush works best for textured surfaces, while a sponge with a scrubby side suits smooth tiles. Use firm, circular motions focusing on grout lines and corners where buildup accumulates. Employ scrubbing techniques that vary pressure: gentle on delicate areas, firmer on tough spots. Don’t rush; methodically cover every inch to break down soap scum and mildew. Maintain consistent strokes, ensuring you don’t miss hidden dirt. If needed, reapply cleaner to particularly dirty patches and continue scrubbing until the surface feels clean and smooth. This careful approach frees your shower floor from grime, setting the stage for rinsing and drying.
Rinse the Floor With Warm Water
You’ll want to use warm water, ideally between 90°F and 110°F, to rinse the shower floor effectively without causing damage. Direct the water flow steadily across the entire surface to wash away loosened dirt and cleaning agents. Make sure to rinse thoroughly, paying close attention to corners and grout lines for complete debris removal.
Optimal Water Temperature
Although cold water might seem invigorating, rinsing your shower floor with warm water is essential for loosening soap scum and grime effectively. Understanding water temperature effects helps you achieve the ideal cleaning temperature, ensuring thorough removal of residues without damaging surfaces. Aim for water around 100°F to 110°F (38°C to 43°C) for best results. Here’s why:
- Warm water softens stubborn soap scum, making it easier to scrub away.
- It accelerates chemical reactions if you use cleaning agents, enhancing their efficiency.
- Warmth prevents mineral deposits from settling back onto the floor.
- It avoids thermal shock that can crack tiles or grout from sudden temperature changes.
Effective Rinsing Techniques
Warm water not only helps loosen grime but also plays a key role in rinsing away loosened dirt and cleaning agents effectively. When rinsing your shower floor, use a steady stream of warm water, adjusting water pressure to avoid splashing while ensuring thorough removal of residues. Higher water pressure can dislodge stubborn particles but be cautious not to damage grout or tiles. Rinse systematically, starting from the farthest corner and moving toward the drain to prevent redepositing dirt. Maintaining a consistent cleaning frequency helps reduce buildup, making rinsing simpler and more efficient each time. By mastering these rinsing techniques, you’ll keep your shower floor free of soap scum and grime, ensuring a fresh, hygienic surface that supports your desired freedom from frequent deep cleanings.
Remove Stubborn Stains and Mildew
Since stubborn stains and mildew can deeply embed into your shower floor’s surface, tackling them requires a targeted approach. You’ll want to use specific stain removal techniques combined with mildew prevention tips to reclaim your shower’s cleanliness effectively. Here’s how to proceed:
- Apply a paste of baking soda and water directly on the stain; let it sit for 10 minutes.
- Spray white vinegar over the paste to activate its cleaning power and break down mildew.
- Scrub gently with a soft-bristle brush, focusing on grout lines and crevices where mildew hides.
- Rinse thoroughly with warm water to remove residue and prevent new buildup.
Following these steps gives you precise control over stubborn grime, letting you maintain a fresh, inviting shower floor with ease.
Dry the Shower Floor Properly
After thoroughly removing stains and rinsing away cleaning residues, the next step is to dry your shower floor properly to prevent new mildew and soap scum buildup. Start by selecting the right towel options: microfiber towels excel at absorbing moisture quickly without leaving lint behind, making them ideal. Avoid using rough or coarse fabrics that can scratch surfaces. For drying techniques, begin by pressing the towel firmly against the floor to soak up standing water, then use smooth, overlapping strokes to remove remaining dampness. Pay close attention to corners and grout lines where moisture lingers. If possible, open a window or use a fan to speed up air circulation, complementing your towel work. Proper drying guarantees your shower floor stays fresh and mold-free, giving you the freedom of a clean, inviting space.
Maintain a Clean Shower Floor Regularly
To keep your shower floor spotless and prevent buildup, you’ll want to clean it at least once a week. Establishing a consistent shower cleaning schedule guarantees grime and soap scum don’t accumulate, maintaining a fresh, safe surface. Alongside weekly deep cleans, daily maintenance tips help preserve cleanliness effortlessly.
- Rinse the floor with warm water after each use to wash away residues.
- Use a squeegee or microfiber cloth to remove excess moisture, reducing mold risk.
- Apply a mild daily shower spray to prevent soap scum and mineral deposits.
- Inspect grout and tiles regularly, addressing any mildew or cracks promptly.


