To build a dance floor in 10 easy steps, start by choosing a flat, stable location with enough space. Measure and mark your floor area accurately. Select durable materials like pressure-treated wood for the frame and quality panels for the surface. Prepare the ground by clearing debris and leveling it. Build the frame, lay the surface panels snugly, and secure them properly. Finish with edge trim and maintain your floor regularly for safety and longevity. Keep going if you want a detailed guide on each step.
Choose the Ideal Location for Your Dance Floor
Where should you put your dance floor to get the best results? Start by selecting a flat, stable area that enhances dance floor aesthetics and suits your style. If you’re outdoors, consider ground firmness and drainage to avoid uneven surfaces or water damage. Look for a spot with enough space around to allow freedom of movement and easy access. Shade or shelter can protect the floor and dancers from harsh weather, so factor outdoor considerations like sun exposure and wind. Also, think about visibility—placing your floor where it’s a focal point will boost the vibe. Choosing the right location sets the foundation for a dance floor that’s both functional and visually appealing, giving you the freedom to dance confidently and comfortably.
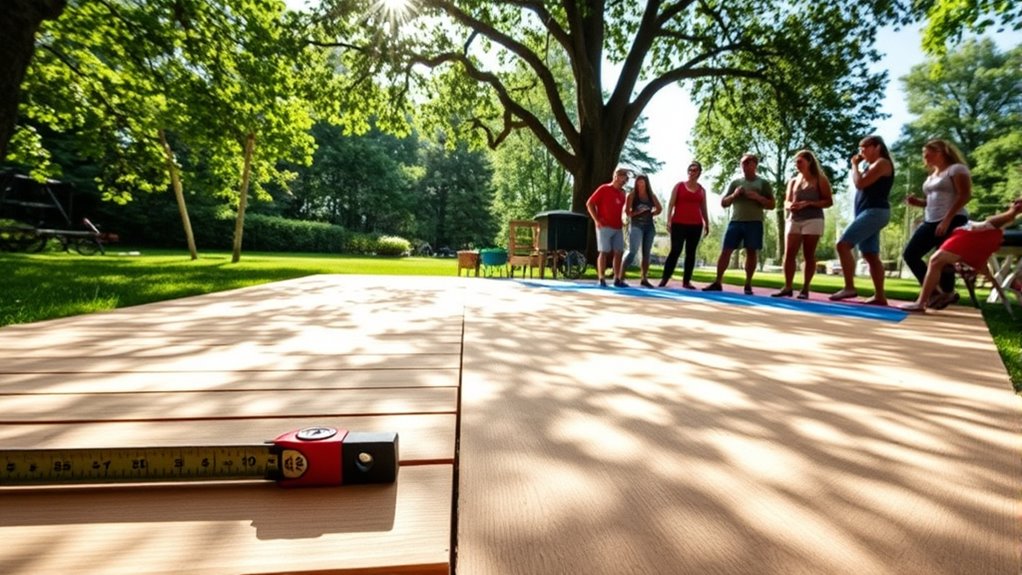
Measure and Mark the Dance Floor Area
Start by measuring the length and width of the space you’ve chosen for your dance floor. Use these dimensions to clearly mark the boundaries, ensuring you have enough room for movement. Accurate measurements and markings will help you create a well-defined and functional dance area.
Determine Space Dimensions
To accurately determine the space dimensions for your dance floor, you’ll need to measure the area carefully and mark the boundaries clearly. Start by evaluating the available room, considering obstacles like furniture or uneven surfaces. Use a tape measure to capture length and width, noting these in your space planning notes. Keep in mind the ideal dance floor dimensions depend on the expected number of dancers — typically, allocate about 4 to 6 square feet per person. Once you’ve recorded measurements, double-check for accuracy to avoid surprises during construction. This step guarantees your dance floor fits perfectly, giving you the freedom to move without constraints. Precise space planning now saves you time and effort later, allowing you to create a functional, inviting dance area.
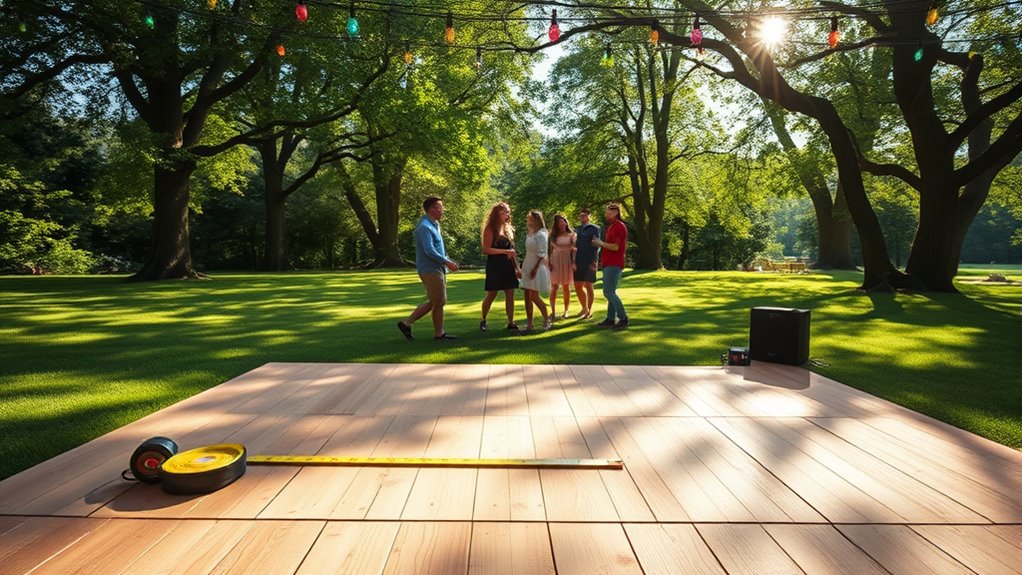
Outline Floor Boundaries
Once you’ve confirmed the exact dimensions for your dance floor, the next step is marking the boundaries clearly on the site. Start by measuring and snapping chalk lines or using painter’s tape to define the perimeter. This visual guide guarantees your floor design stays true to plan and prevents any guesswork during construction. Place boundary markers—like stakes or cones—at corners and along edges to reinforce limits, especially if the floor will be built outdoors or in a large space. These markers help maintain straight lines and keep the layout organized. By outlining the area precisely, you set a clear foundation for assembling the floor components smoothly, giving you the freedom to focus on creativity and flow without worrying about size or shape constraints.
Select the Right Materials for Your Floor Base
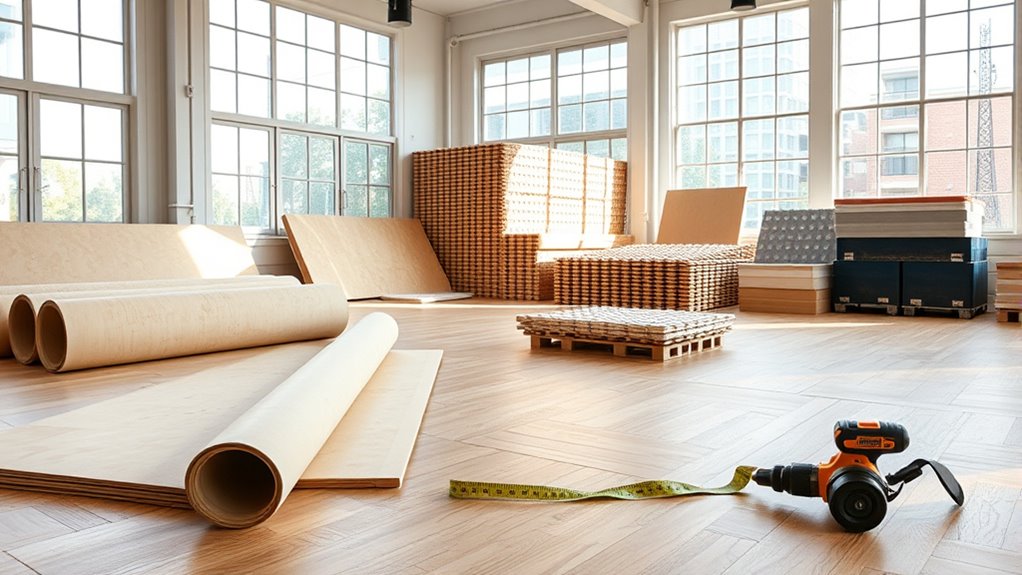
Although choosing the right materials for your floor base might seem straightforward, it’s crucial to take into account factors like durability, shock absorption, and ease of installation. Picking among wood types and other flooring options can affect your dance floor’s comfort and longevity. Here’s a quick comparison to help you decide:
| Material | Durability | Shock Absorption |
|---|---|---|
| Pine Wood | Moderate | Good |
| Oak Wood | High | Moderate |
| Plywood | Moderate | Good |
| Rubber Mat | Low | Excellent |
| Foam Underlay | Low | Excellent |
Choose materials that balance performance and installation ease, so your dance floor stays solid yet forgiving. This guarantees you’ll enjoy freedom of movement without worry.
Prepare the Ground Surface
Before you start building, make certain to clear the area of all debris to create a clean workspace. Next, focus on leveling the ground so your dance floor sits evenly and stays stable. Taking these steps will guarantee a solid foundation for your floor.
Clear Debris Thoroughly
Because a smooth, stable base is essential for your dance floor, you’ll need to clear away all debris from the ground surface thoroughly. Start by removing rocks, sticks, leaves, and any other unwanted materials—this debris removal step guarantees nothing interferes with your floor’s integrity. Use a rake or broom to sweep the area clean, then inspect for small items you might have missed. Proper site cleanup not only prevents uneven spots but also helps avoid damage to your flooring materials later on. Taking the time to clear debris carefully sets you free from future repairs or adjustments. By preparing a clean, debris-free surface, you’re laying the groundwork for a safe, durable, and enjoyable dance floor.
Level the Ground
Once you’ve cleared all debris from the area, the next step is to level the ground. Start by evaluating the surface for uneven spots or slopes. Use ground leveling techniques like raking and shoveling to redistribute soil where needed. For a stable dance floor, compact the soil using effective soil compaction methods—this can be done with a hand tamper or a mechanical plate compactor. Proper compaction reduces settling and prevents future dips, ensuring your dance floor stays flat and safe. Take your time to check the level frequently with a spirit level or straight edge. By preparing a smooth, compacted surface, you’ll create a solid foundation that supports your dance floor and lets you dance freely without worry.
Build the Frame Structure
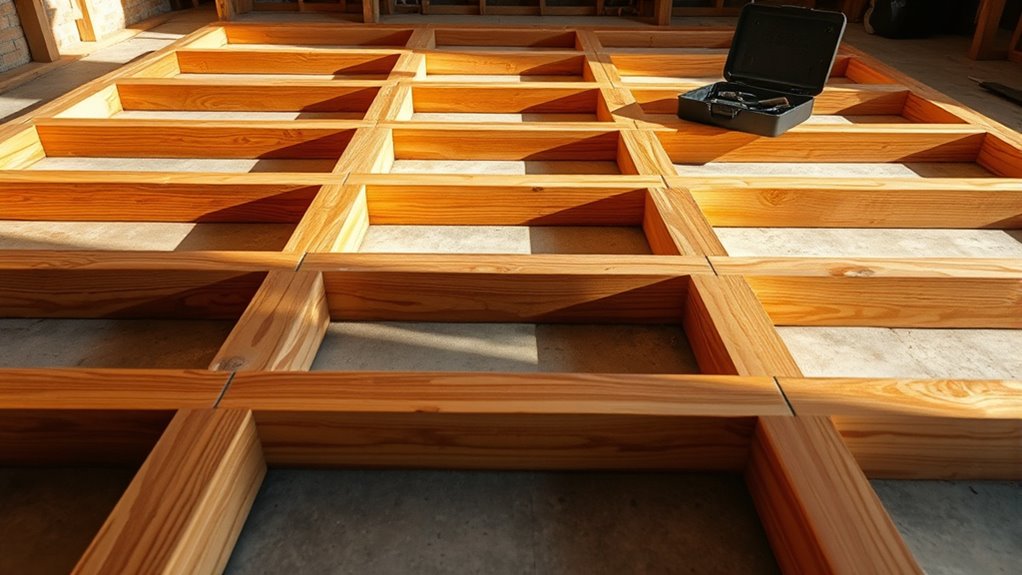
Start by laying out the perimeter of your dance floor with sturdy lumber to create a solid frame. Choose quality frame materials like pressure-treated wood to resist moisture and provide lasting durability. Measure and cut the lumber precisely to confirm a snug fit. Next, assemble the support structure by connecting the perimeter with cross beams spaced evenly for stability. Secure all joints with screws or bolts to prevent movement and maintain rigidity. This support structure is vital for distributing weight evenly and keeping your dance floor steady. Double-check that the frame is square and level before moving on. Taking these steps guarantees a strong foundation, giving you the freedom to dance without worry or interruption. Your frame sets the stage for a flawless, safe dance floor.
Install the Subfloor Panels
With your frame structure square and secure, it’s time to install the subfloor panels that will form the base of your dance floor surface. Begin by selecting quality plywood or OSB panels designed for durability. Lay the first panel carefully, ensuring it aligns perfectly with the frame edges. Proper panel alignment is essential to maintaining a flat, stable surface. Use screws or nails to fasten each panel securely to the frame, spacing fasteners evenly to prevent movement. Continue installing panels in a staggered pattern, avoiding aligned joints for added strength. Check each panel’s position as you go, making adjustments to maintain smoothness. This subfloor installation step creates a solid foundation that supports the dance surface, giving you freedom to customize the top layer confidently.
Lay Down the Dance Surface
Now that your subfloor panels are secure, it’s time to choose the right flooring material for your dance surface. Make certain the base is clean and level before you start laying down the surface panels. Proper preparation and installation will guarantee a smooth, durable floor for every move you make.
Choosing Flooring Material
Selecting the right flooring material is essential for creating a safe and comfortable dance surface. You’ll want to weigh durability, ease of maintenance, and how the floor feels underfoot. Vinyl options are popular—they’re affordable, slip-resistant, and offer a smooth finish that’s gentle on joints. If you prefer a classic look, wood types like maple or oak provide natural shock absorption and elegance. Choose hardwood with a satin finish to reduce glare and prevent slips. Remember, your choice affects not just performance but also the vibe of your space. Whether you go with vinyl options or wood types, aim for a surface that supports your movement and keeps you safe. This freedom to move comfortably makes your dance floor truly enjoyable.
Preparing the Base
Once you’ve picked the right flooring material, the next step is to prepare the base before laying down your dance surface. Proper base preparation guarantees stability and extends the life of your dance floor materials. Start by clearing the area of debris and leveling the ground. If you’re working outdoors, consider adding a moisture barrier to prevent damage. For indoor floors, verify the subfloor is clean, dry, and even. Use a leveling compound if needed to smooth out imperfections. Your base should be firm but slightly cushioned to absorb impact, depending on the type of dance floor materials you chose. Taking time with base preparation means your dance floor will stay secure and perform well, giving you the freedom to dance without worry or distraction.
Installing Surface Panels
The first step in installing your dance floor surface panels is to carefully align and lay them down on the prepared base. Choose dance floor materials that suit your style and durability needs, such as hardwood, laminate, or vinyl panels. Start from one corner, ensuring each panel fits snugly against the next to avoid gaps. During panel installation, use spacers if needed to maintain consistent spacing and prevent warping. Secure panels according to manufacturer guidelines, whether by interlocking edges, adhesive, or screws. Work methodically across the space, checking for levelness and alignment frequently. Taking your time here guarantees a smooth, stable dance surface that supports freedom of movement and enhances every step you take on it. Proper panel installation is essential for a safe, long-lasting dance floor.
Secure the Floor Panels Together
Before securing the floor panels together, make certain each piece is properly aligned and flush with its neighbors. In dance floor construction, tight panel locking guarantees stability and safety as you dance freely. Use the built-in locking mechanisms or interlocking edges to connect panels firmly. Press panels down evenly, avoiding gaps or unevenness that could cause tripping. If your panels require screws or clips, install them according to the manufacturer’s instructions, but don’t overtighten, which can warp the panels. Work systematically row by row to maintain alignment and a seamless surface. Taking the time to secure each panel correctly means your dance floor will stay solid and reliable, giving you the freedom to move with confidence all night long.
Add Finishing Touches and Edges
Although your floor panels are securely in place, adding finishing touches and edges will enhance both the appearance and safety of your dance floor. To give your floor a polished look and protect its edges, consider these practical steps:
- Choose durable edge materials like rubber, metal, or wood to prevent tripping and wear.
- Apply finishing techniques such as sanding and sealing to smooth rough edges and protect against moisture.
- Install border strips where the dance floor meets other surfaces for a seamless, professional finish.
These finishing touches not only improve safety but also provide a clean boundary that defines your dance space, giving you the freedom to dance confidently. By carefully selecting edge materials and applying proper finishing techniques, your floor will look great and last longer.
Maintain and Care for Your Dance Floor
Since keeping your dance floor in top condition guarantees safety and longevity, regular maintenance is essential. Start by using gentle cleaning techniques—sweep or vacuum daily to remove dust and debris that can cause scratches. For deeper cleaning, use a damp mop with a mild detergent; avoid harsh chemicals that could damage the surface. Applying protective coatings periodically will shield your floor from wear and moisture, preserving its finish and preventing warping. Inspect the floor regularly for signs of damage like cracks or loose boards, and repair them promptly to maintain stability. By following these practical steps, you’ll guarantee your dance floor remains smooth, safe, and ready to support your freedom of movement for years to come.


