Are you tired of the outdated flooring in your home? Do you dream of a fresh, modern look without breaking the bank?
Vinyl flooring might just be the solution you’re searching for. It’s affordable, durable, and incredibly stylish. Plus, with a little guidance, you can install it yourself! Imagine the satisfaction of transforming your space with your own hands. You’ll discover step-by-step instructions on how to apply vinyl flooring, ensuring a seamless finish that will make you proud.
Your home deserves a makeover, and you deserve the confidence that comes with a successful DIY project. So, why wait? Dive in and learn how you can easily upgrade your floors, impress your guests, and enjoy your refreshed space for years to come.

Tools And Materials Required
To apply vinyl flooring, gather essential tools first. A tape measure helps measure the floor. Utility knives cut the vinyl sheets. You will need a straight edge for cutting straight lines. A chalk line helps mark the floor. Use a notched trowel to spread adhesive evenly. Have a roller to press the vinyl down.
Gather materials like vinyl sheets or tiles. Adhesive or glue secures the vinyl. Buy underlayment for smooth floors. A floor patch fixes any floor dents.
Wearing knee pads protects your knees. Ensure safety goggles protect your eyes. Work gloves keep your hands safe. All these tools and materials help in easy vinyl flooring.
Preparing The Subfloor
It’s important to clean the floor before starting. Remove all dirt and dust. Use a broom or vacuum to clean. Ensure every corner is spotless. A clean floor helps vinyl stick better.
Moisture can damage the vinyl. Check the floor for any wet spots. Use a moisture meter if possible. The floor must be dry before laying vinyl. This prevents future problems.
The floor must be smooth. Look for bumps or dents. Use a sander to smooth these out. Fill holes with a filler. A smooth surface ensures vinyl lies flat.
Measuring And Planning
Start by measuring the length and width of each room. Use a tape measure for this task. Write down these numbers. Multiply length by width. This gives the square footage. If the room has odd shapes, break it into smaller rectangles. Measure each part separately. Then, add all the numbers together. This ensures you have enough vinyl flooring.
Draw a floor plan on paper. Mark doors and other fixtures. Decide the direction of the vinyl planks. This can change the look. Make sure to plan for extra. This covers mistakes or changes. A well-thought plan helps in cutting and placing the vinyl. Clear planning saves time and reduces waste.
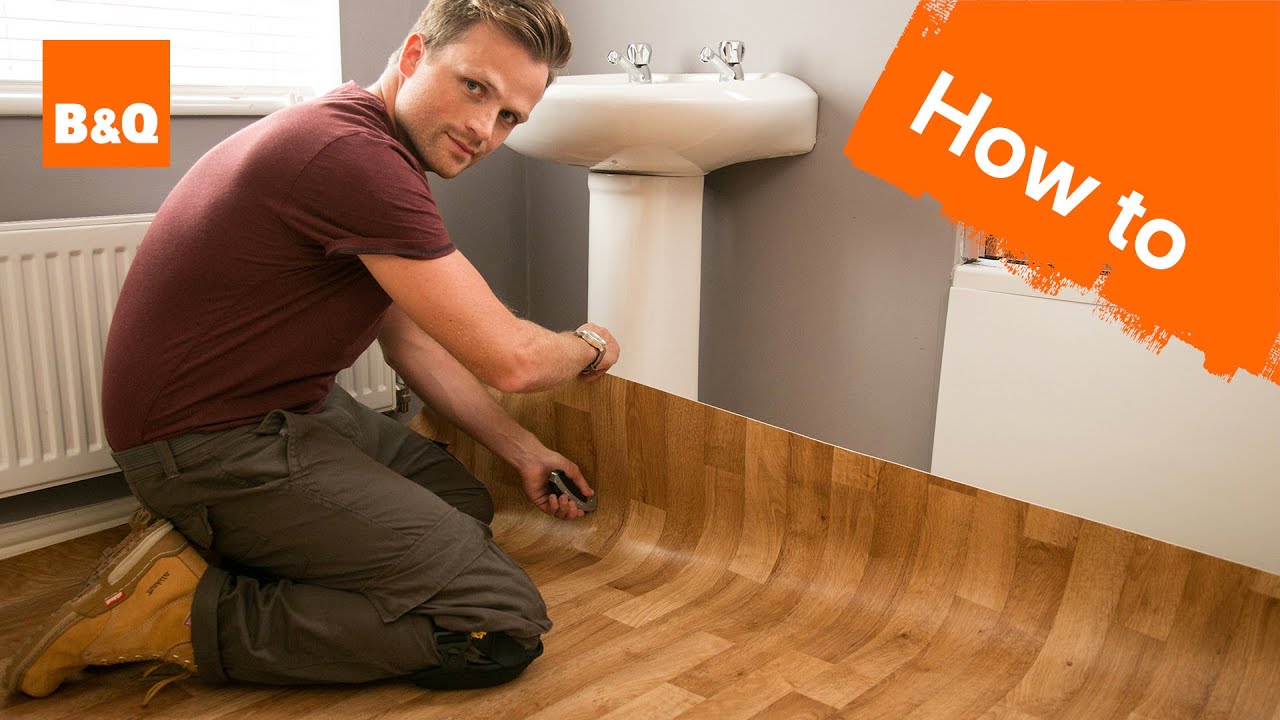
Cutting The Vinyl Sheets
Start by measuring the room accurately to ensure a perfect fit for vinyl sheets. Use a sharp utility knife for precise cuts along the marked lines. This careful approach helps achieve seamless flooring and reduces wastage.
Measuring The Cuts
Measure the area carefully. Use a tape measure. Write down the numbers. Double-check the measurements. Make sure they are right. Accuracy is very important. Wrong cuts can ruin the vinyl.
Using A Utility Knife
Hold the knife firmly. Use a straight edge as a guide. Cut slowly. Press the knife down. Follow the line closely. Safety is key. Keep fingers away from the blade. Make clean cuts. Take your time.
Applying Adhesive
Choosing the right adhesive is key for vinyl floors. Not all adhesives work well. Some are too strong. Others are too weak. Check the label. Make sure it’s made for vinyl flooring. This helps the floor stick better.
Spreading adhesive evenly is important. Use a good trowel. It spreads the glue. Keep it flat. Don’t put too much glue. It can make bumps. Bumps are bad for floors. Spread the glue in thin layers. It helps the floor look flat.
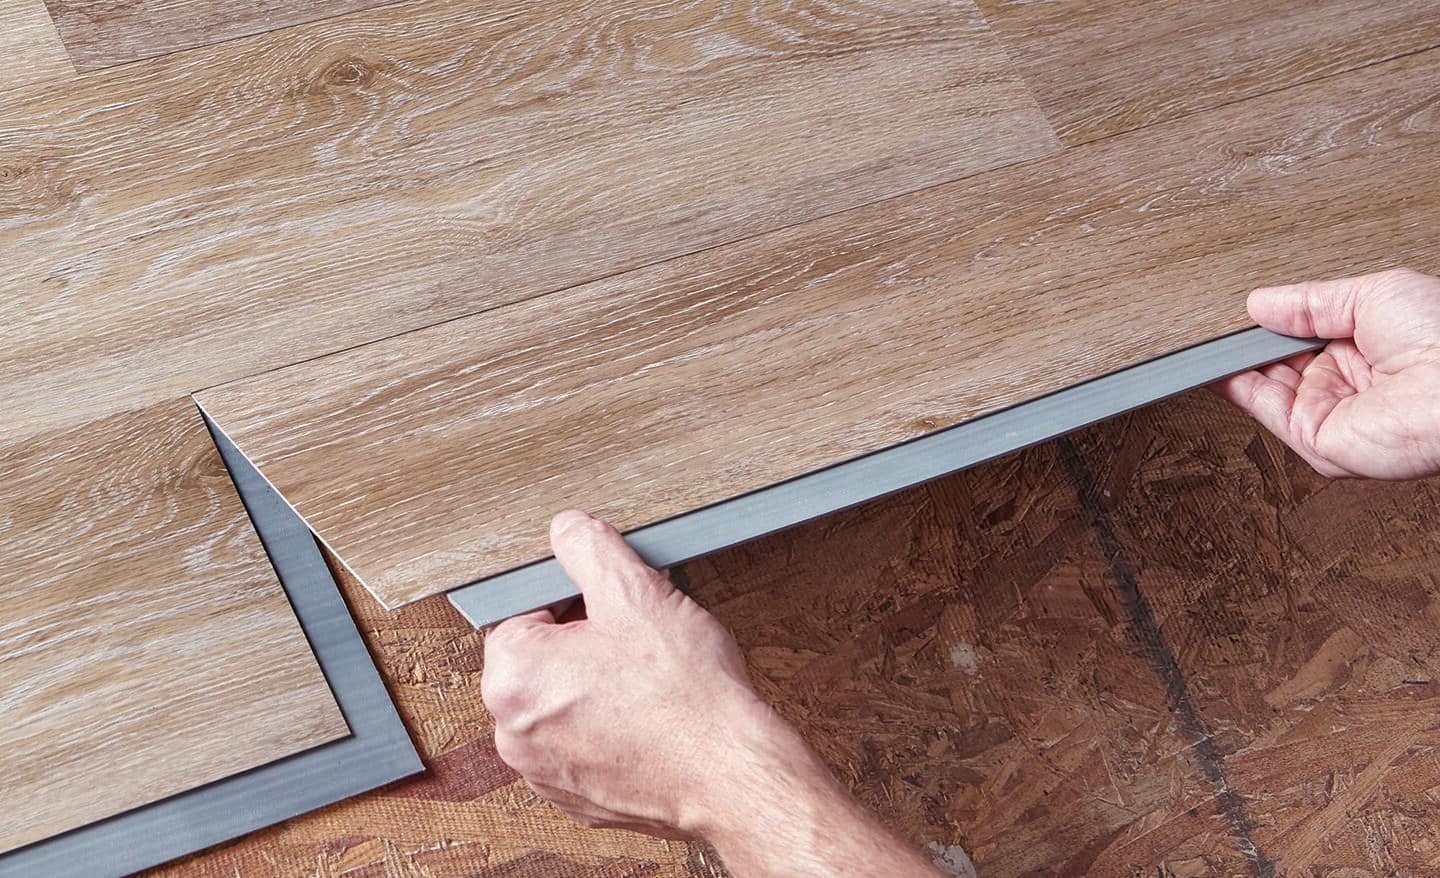
Laying The Vinyl
First, unroll the vinyl sheets on the floor. Check the pattern is straight. Use a straight edge for accuracy. Trim the edges to fit the room size. Make sure all sheets fit together neatly. This prevents gaps or overlaps. It’s important for a clean look.
Use a floor roller to press the vinyl. Start from the center of the sheet. Roll towards the edges. Pressing removes air bubbles. Bubbles can ruin the look. Roll carefully and slowly. Check for bubbles as you go. Use a pin to pop stubborn bubbles. Roll over again to flatten. Smooth vinyl means a better finish.
Finishing Touches
Carefully trim extra vinyl using a sharp knife. This ensures a clean edge. Hold the knife firmly. Cut slowly along the wall. Be precise to avoid mistakes. Take your time. Check your work as you go. This makes sure everything looks neat. A ruler can help guide your cuts.
Fix baseboards to cover the floor edges. Align them correctly with the wall. Use a hammer and nails to secure them. Ensure nails are not too long. Hammer gently to avoid damage. Double-check alignment for a smooth finish. Baseboards give a complete look to the room. They hide any small gaps too.
Maintenance Tips
Use a soft broom for daily cleaning of vinyl floors. It keeps dust away. For a deeper clean, a damp mop works best. Avoid soaking the floor with water. It can harm the vinyl. Use a mild cleaner for stubborn stains. Harsh chemicals can damage the floor. Avoid them. Always dry the floor after cleaning. Moisture can cause problems.
Place mats at entrances to catch dirt. This helps keep the floor clean. Use furniture pads under chairs and tables. This prevents scratches. Heavy furniture can leave dents. Move furniture carefully. Do not drag it across the floor. Sunlight can fade vinyl. Use curtains to block it. Keep your floor looking good.
Frequently Asked Questions
What Tools Are Needed For Vinyl Flooring?
To install vinyl flooring, you’ll need a utility knife, measuring tape, straightedge, vinyl adhesive, and a roller. A chalk line can help with alignment. These tools ensure precise cutting, accurate measurements, and secure adhesion, making the installation process smoother and more efficient.
Can Vinyl Flooring Be Installed Over Tiles?
Yes, vinyl flooring can be installed over tiles. Ensure the tile surface is smooth and clean. Use a leveling compound to fill grout lines. This creates an even base for the vinyl, preventing any imperfections from showing through after installation.
How Long Does Vinyl Flooring Last?
Vinyl flooring can last 10 to 20 years with proper care. Regular cleaning and avoiding heavy impacts extend its lifespan. High-quality vinyl and professional installation also contribute to durability, making it a long-lasting flooring choice for homes.
Is Vinyl Flooring Water-resistant?
Yes, vinyl flooring is water-resistant, making it ideal for bathrooms and kitchens. Its synthetic composition repels moisture, preventing damage. For complete protection, ensure edges are sealed properly during installation. Regular maintenance helps preserve its water-resistant properties.
Conclusion
Vinyl flooring adds elegance and durability to any space. It’s easy to install. Follow steps carefully for a smooth finish. Gather tools before starting. Measure the area accurately. Clean the floor thoroughly. Peel and stick tiles simplify the process. Press firmly to avoid bubbles.
Trim edges for a perfect fit. Enjoy the new look of your room! Vinyl is affordable and practical. Great for high traffic areas. Maintenance is simple. Regular cleaning keeps it shiny. Consider vinyl for your next project. Transform your home with minimal effort.
Happy flooring!


