When figuring out how much it costs to restain hardwood floors, you’ll want to evaluate the size of your flooring, the type of wood, and its current condition, as these affect material and labor needs. Your stain color and finish choice also impact price, along with local labor rates and geographic location. Don’t forget equipment, preparation time, and any extra protective treatments. Understanding these factors helps you plan your budget wisely and get the best results, with more details to explore for your project.
Size of the Flooring Area
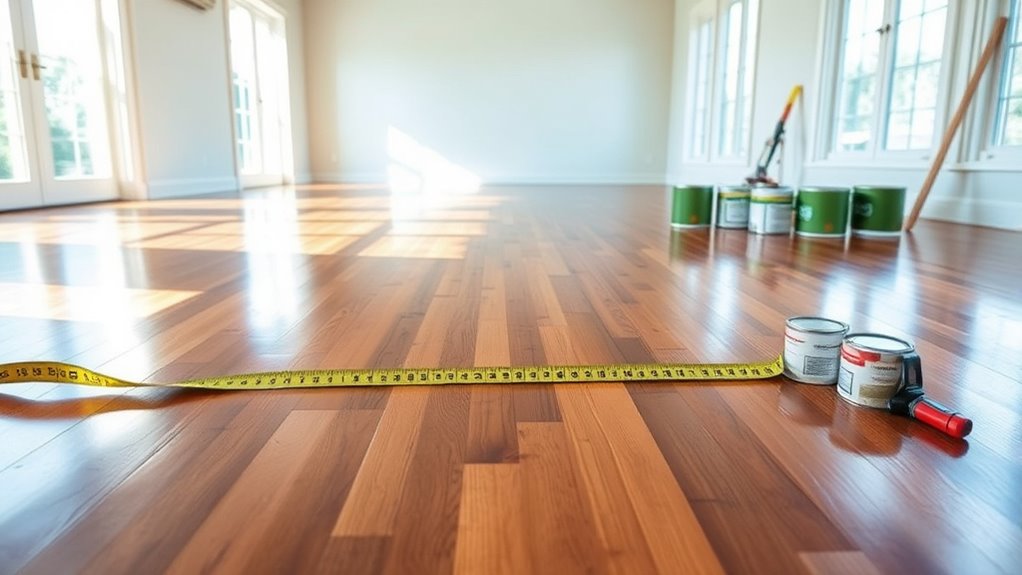
When calculating the cost to restain hardwood floors, the size of the flooring area is one of the most critical factors you’ll need to evaluate. To get an accurate estimate, start by measuring the floor dimensions—length and width—of each room you plan to restain. Multiply these measurements to find the square footage, which forms the basis of your area calculation. If your floors have irregular shapes, break them into smaller rectangles or squares, calculate each area, then sum them up. Knowing the total square footage helps you understand the amount of stain and labor required, directly influencing your budget. Accurate area calculation gives you the freedom to compare costs and make informed decisions without surprises, ensuring your project stays on track and within your financial comfort zone.
Type of Hardwood Material
Choosing the type of hardwood material plays a significant role in determining the cost to restain your floors. Different woods absorb stain differently, influencing both the amount of stain needed and labor. Oak varieties, for example, are popular due to their durability and grain patterns, but red and white oak respond uniquely to stains, potentially affecting the final look and cost. Engineered hardwood, composed of a veneer over plywood, often requires gentler staining techniques to avoid damage, sometimes increasing labor costs. If your floor features exotic hardwoods or softer woods, staining might be trickier and more expensive. Understanding the specific hardwood type helps you anticipate costs and guarantees you choose a staining method that preserves your floor’s character while fitting your budget and style preferences.
Condition of the Existing Floor
Although the type of hardwood material sets the foundation for your project, the condition of your existing floor greatly impacts the overall cost to restain. Before starting, you’ll want a thorough floor inspection to identify scratches, dents, or water damage. These issues can increase repair costs considerably if not addressed beforehand. Minor imperfections might just need sanding, while extensive damage could require board replacement. The better your floor’s condition, the less time and money you’ll spend on repairs, allowing you more freedom in your budget. Skipping this step can lead to unexpected expenses and a less satisfying finish. So, invest in a detailed floor inspection first—it’s the key to understanding the true restaining cost and ensuring your hardwood floors look great for years.
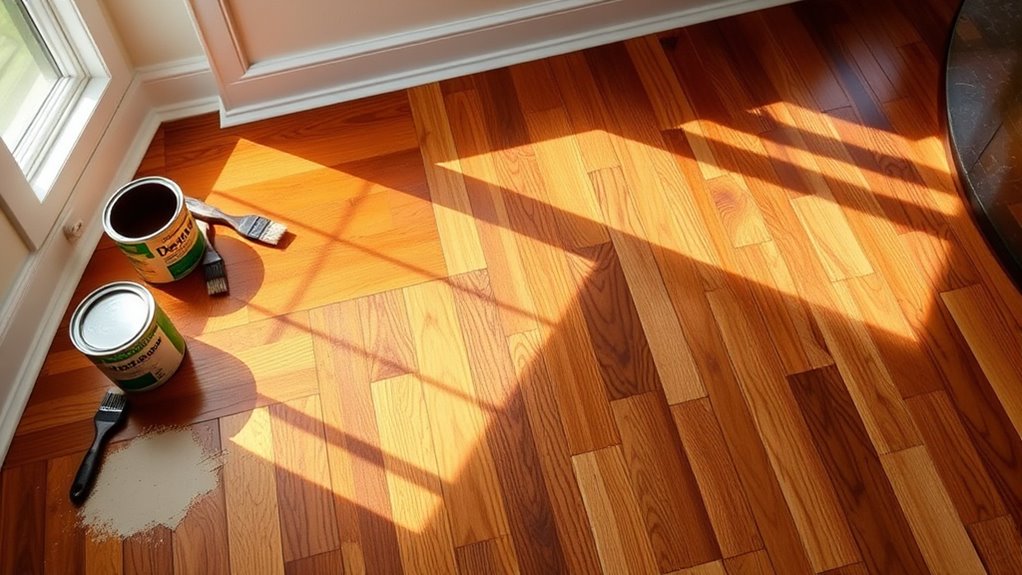
Choice of Stain Color and Finish
When choosing a stain color, you’ll want to contemplate popular options like walnut, cherry, or gray to match your room’s style. You’ll also need to decide between a matte or glossy finish, as each dramatically changes how the floor reflects light and shows wear. These choices directly impact the overall appearance and feel of your hardwood floors.
Popular Stain Color Options
Since the stain color and finish you pick will greatly impact your hardwood floors’ appearance and maintenance, it’s important to understand your options. Here’s a quick guide to popular stain color options:
- Dark stains offer a rich, dramatic look, hiding imperfections but requiring more upkeep to show dust and scratches.
- Light stains brighten your space and highlight the wood grain, making rooms feel more open and airy.
- Natural finishes preserve the wood’s original tone, perfect if you love an authentic, understated vibe.
- Trendy colors and classic shades range from bold greys to warm browns, while custom hues let you tailor the floor to your unique style.
Choosing wisely means balancing aesthetic freedom with practical care.
Matte vs. Glossy Finish
Choosing between a matte and glossy finish can greatly influence both the look and upkeep of your hardwood floors. Matte benefits include hiding scratches and imperfections, making maintenance easier and giving your floor a natural, understated charm. On the other hand, glossy appeal offers a sleek, reflective surface that brightens rooms but may require more frequent cleaning to keep its shine.
| Feature | Matte Finish | Glossy Finish |
|---|---|---|
| Appearance | Subtle, natural look | Bright, reflective |
| Maintenance | Less frequent cleaning | Shows dust and scratches |
| Durability | Conceals wear well | Highlights wear easily |
Choose the finish that fits your lifestyle and desired upkeep freedom.
Impact on Floor Appearance
The finish you pick greatly shapes the overall vibe of your hardwood floors, but the stain color you select plays an equally important role in defining their character. Your color choices will determine the visual impact, setting the mood of your space. To make the right decision, consider these factors:
- Lighter stains brighten rooms and highlight natural wood patterns, creating an open, airy feel.
- Darker stains add warmth and sophistication but can make spaces feel smaller.
- Neutral tones offer versatility, blending with various decor styles without overpowering.
- Bold or unconventional colors express personality but might limit future design freedom.
Labor Costs and Professional Services
When you’re considering refinishing your hardwood floors, understanding labor costs is essential because they often make up a significant portion of the total expense. Labor rates vary depending on your location, the complexity of the job, and the expertise of the professionals you hire. Skilled contractors with professional expertise can efficiently handle sanding, staining, and finishing, ensuring a smooth, lasting result. While DIY might seem tempting, professional services save you time and reduce the risk of costly mistakes. Expect labor rates to range from $3 to $8 per square foot, but this can fluctuate based on demand and the quality of workmanship. By investing in experienced professionals, you gain peace of mind and freedom from the hassle of managing the refinishing process yourself.
Preparation and Repair Requirements
Before restaining, you’ll need to thoroughly clean the floor surface to remove dirt and old finish, which can add to your costs. It’s important to assess any damage like scratches or gouges, since repairs might require extra materials or labor. Keep in mind that replacing damaged boards will also increase your overall expense.
Surface Cleaning Needs
Preparing your hardwood floors for restaining starts with thorough surface cleaning to confirm the new finish adheres properly. Proper surface preparation guarantees longevity and a smooth, even look. Here’s what you need to focus on:
- Remove all furniture and debris to access every inch of the floor.
- Use appropriate cleaning solutions designed for hardwood to eliminate dirt, oils, and old finish residues.
- Lightly sand the surface to create a texture that allows the new stain to bond effectively.
- Wipe down the floor with a damp cloth to remove dust and allow it to dry completely before staining.
Following these steps will set a solid foundation, confirming your floors look stunning and the stain lasts longer without peeling or unevenness.
Damage Assessment Costs
Once your floors are clean and sanded, the next step is to evaluate any damage that might affect the staining process. This damage evaluation is essential because unnoticed cracks, gouges, or water stains can compromise the final look and durability of your floors. You’ll want to carefully inspect the surface for imperfections that need filling or minor repairs before applying stain. Factoring these repairs into your restoration budget helps you avoid surprises later. While minor damage might only require some wood filler and light sanding, more extensive issues could increase costs. Addressing these problems upfront guarantees your floors achieve an even, lasting finish and helps you maintain control over your project’s scope and expenses. Accurate damage evaluation is key to a smooth restaining process and successful results.
Material Replacement Expenses
Although you may have already addressed minor surface repairs, material replacement expenses can considerably impact your overall budget when restoring hardwood floors. Understanding the material types and replacement options is key to managing costs effectively. Here’s what you should consider:
- Matching Material Types – Replacing damaged boards with the same wood species guarantees consistency but might be pricier.
- Availability of Replacement Options – Some exotic woods or custom finishes require special orders, increasing costs.
- Quantity of Material Needed – Larger replacement areas mean more materials and higher expenses.
- Labor for Material Installation – Skilled labor is essential to seamlessly integrate new boards, influencing your budget.
Geographic Location and Market Rates
Because labor and material costs vary widely across regions, the geographic location you’re in plays a significant role in determining the price to restain hardwood floors. Regional pricing is heavily influenced by local demand, availability of skilled labor, and cost of living. For example, urban areas with higher demand typically charge more than rural locations.
| Location | Average Cost per Sq Ft | Local Demand Level |
|---|---|---|
| New York City | $4.50 – $6.00 | High |
| Midwest Rural | $2.00 – $3.50 | Low |
| West Coast | $3.50 – $5.50 | Medium |
Understanding these regional differences helps you plan a budget that fits your freedom to choose quality and timing.
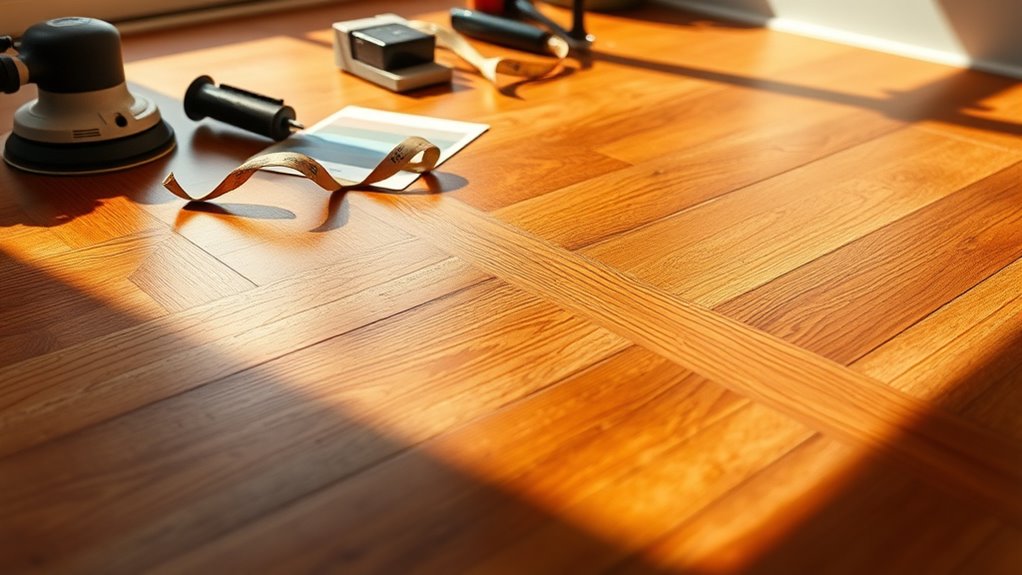
Equipment and Materials Needed
When preparing to restain hardwood floors, you’ll need specific equipment and materials to guarantee a smooth and durable finish. Ensuring you have the right tools will save you time and frustration. Here’s what to gather:
Proper tools and materials are essential for a smooth, durable hardwood floor restain.
- Sanding equipment: This includes a drum sander for large areas, edge sanders for corners, and various grits of sandpaper to smooth the surface properly.
- Staining supplies: Choose high-quality hardwood stain that matches your desired color and type (oil-based or water-based).
- Protective gear: Gloves, masks, and goggles to keep you safe from dust and chemicals.
- Application tools: Brushes, rags, and foam applicators for even stain distribution.
Having these essentials ready lets you control the quality and freedom of your floor’s transformation.
Timeframe for Completion
You can typically expect the restaining process to take anywhere from two to four days, depending on the size of your floors. Factors like floor condition, drying times between coats, and the type of stain used will influence the timeline. Planning ahead will help you minimize disruption and guarantee a smooth project completion.
Average Project Duration
Although the time it takes to restain hardwood floors can vary depending on the size of the area and the condition of the wood, most projects typically take between two to four days to complete. Effective project scheduling and time management are key to a smooth process. Here’s a typical timeline you might expect:
- Day 1: Preparation — Clearing the room and sanding the floor.
- Day 2: Staining — Applying the stain evenly.
- Day 3: Drying — Allowing the stain to set and dry properly.
- Day 4: Sealing — Applying a protective finish and final drying.
Factors Affecting Timeline
The typical four-day schedule for restaining hardwood floors can shift depending on several factors that influence the overall timeline. First, the restaining techniques chosen play an essential role—more intricate methods like hand-sanding and multiple stain layers will extend the process compared to simpler approaches. The size and condition of your floor also impact timeline estimates; larger areas or floors with damage may require extra prep time. Additionally, drying and curing times for stains and finishes vary by product, affecting when the next step can begin. Environmental conditions such as humidity and temperature further influence drying speed. Understanding these factors helps you plan better, giving you the freedom to schedule projects without unnecessary delays or surprises.
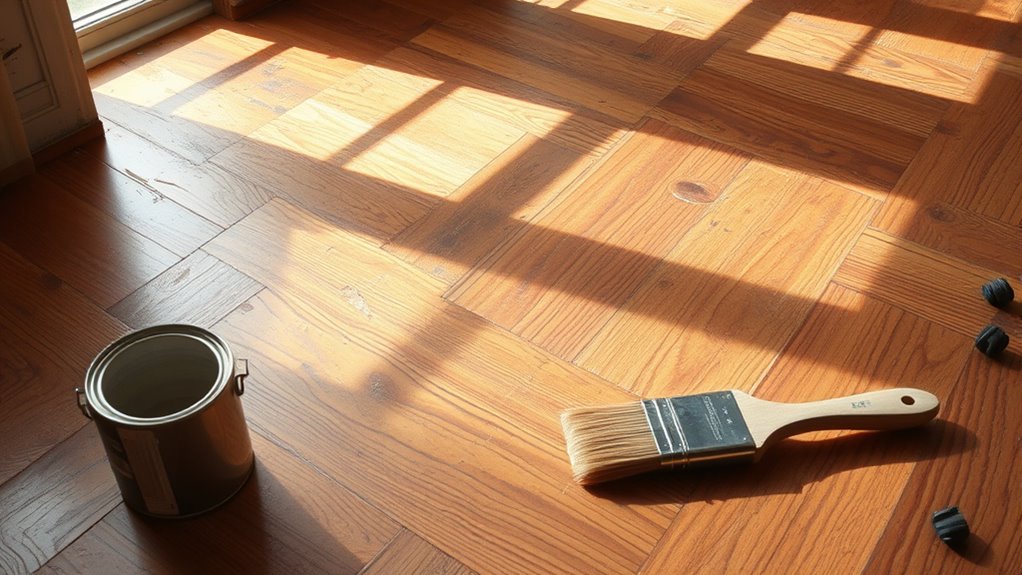
Additional Treatments and Protective Coatings
Since hardwood floors endure daily wear and tear, applying additional treatments and protective coatings can greatly extend their lifespan and maintain their appearance. When you decide to restain, consider these essential steps:
- Protective Sealants: After staining, apply a high-quality sealant to shield your floors from moisture and scratches.
- Additional Layers: Adding multiple coats of finish enhances durability and deepens the wood’s natural beauty.
- UV Protection: Some coatings include UV blockers to prevent fading from sunlight, preserving color vibrancy.
- Maintenance Treatments: Regularly apply maintenance products designed for your floor’s finish to keep it in top shape over time.


