Installing hardwood floors usually takes about one to two days, depending on the size of the area and the complexity of the installation process. Introducing hardwood floors into your home can instantly elevate its aesthetic appeal and increase its value.
Whether you are embarking on a home renovation project or moving into a new space, the installation of hardwood floors can be an exciting and transformative process. However, before diving into this project, it is important to have an understanding of the anticipated timeline.
While the exact duration will vary based on the size of the area and the specifics of the installation, a general estimate can be provided. We will explore the factors that influence the time required to install hardwood floors and provide insight into the process itself. By the end, you will have a clearer idea of how long this installation process typically takes.
Factors Affecting Installation Time
The condition of the subfloor plays a crucial role in determining the time required for hardwood floor installation. If the subfloor is uneven, damaged, or needs repairs, it may take longer to prepare it properly before laying the hardwood. This includes removing old flooring, ensuring a level surface, and addressing any structural issues.
The type of hardwood flooring chosen can also impact the installation time. Pre-finished hardwood often requires less installation time than unfinished hardwood since it doesn’t require sanding, staining, or finishing on-site. Additionally, engineered hardwood, which comes in pre-cut planks, can be installed quicker than solid hardwood, which needs to be nailed or glued down individually.
The size and complexity of the room being floored will affect installation time. Larger rooms naturally take longer to install compared to smaller ones. Moreover, rooms with irregular shapes, multiple corners, or intricate designs may require more time for cutting and fitting the hardwood to ensure a seamless installation.
Pre-installation Preparation
Measuring and Calculating Materials: Before proceeding with the installation of hardwood flooring, it is crucial to accurately measure the area where the flooring will be installed. This involves calculating the square footage of the room and factoring in any additional areas such as closets or hallways. Proper measurements will help in determining the quantity of hardwood flooring required and ensure a seamless installation process.
Acclimating the Hardwood Flooring: One of the essential steps in pre-installation preparation is acclimating the hardwood flooring to the room’s environment. Acclimation allows the flooring to adjust to the temperature and humidity levels of the space, preventing it from warping or expanding after installation. It is recommended to keep the hardwood flooring in the room where it will be installed for a few days, allowing it to adapt to the room’s conditions.
Clearing and Cleaning the Room: Before starting the installation, it is important to clear the room of all furniture, rugs, and other objects. This provides an unobstructed space for the installation process and reduces the chances of any damage to the flooring or obstacles during installation. Additionally, thoroughly cleaning the room, removing any dust, dirt, or debris, ensures a clean and smooth surface for the installation of the hardwood flooring.
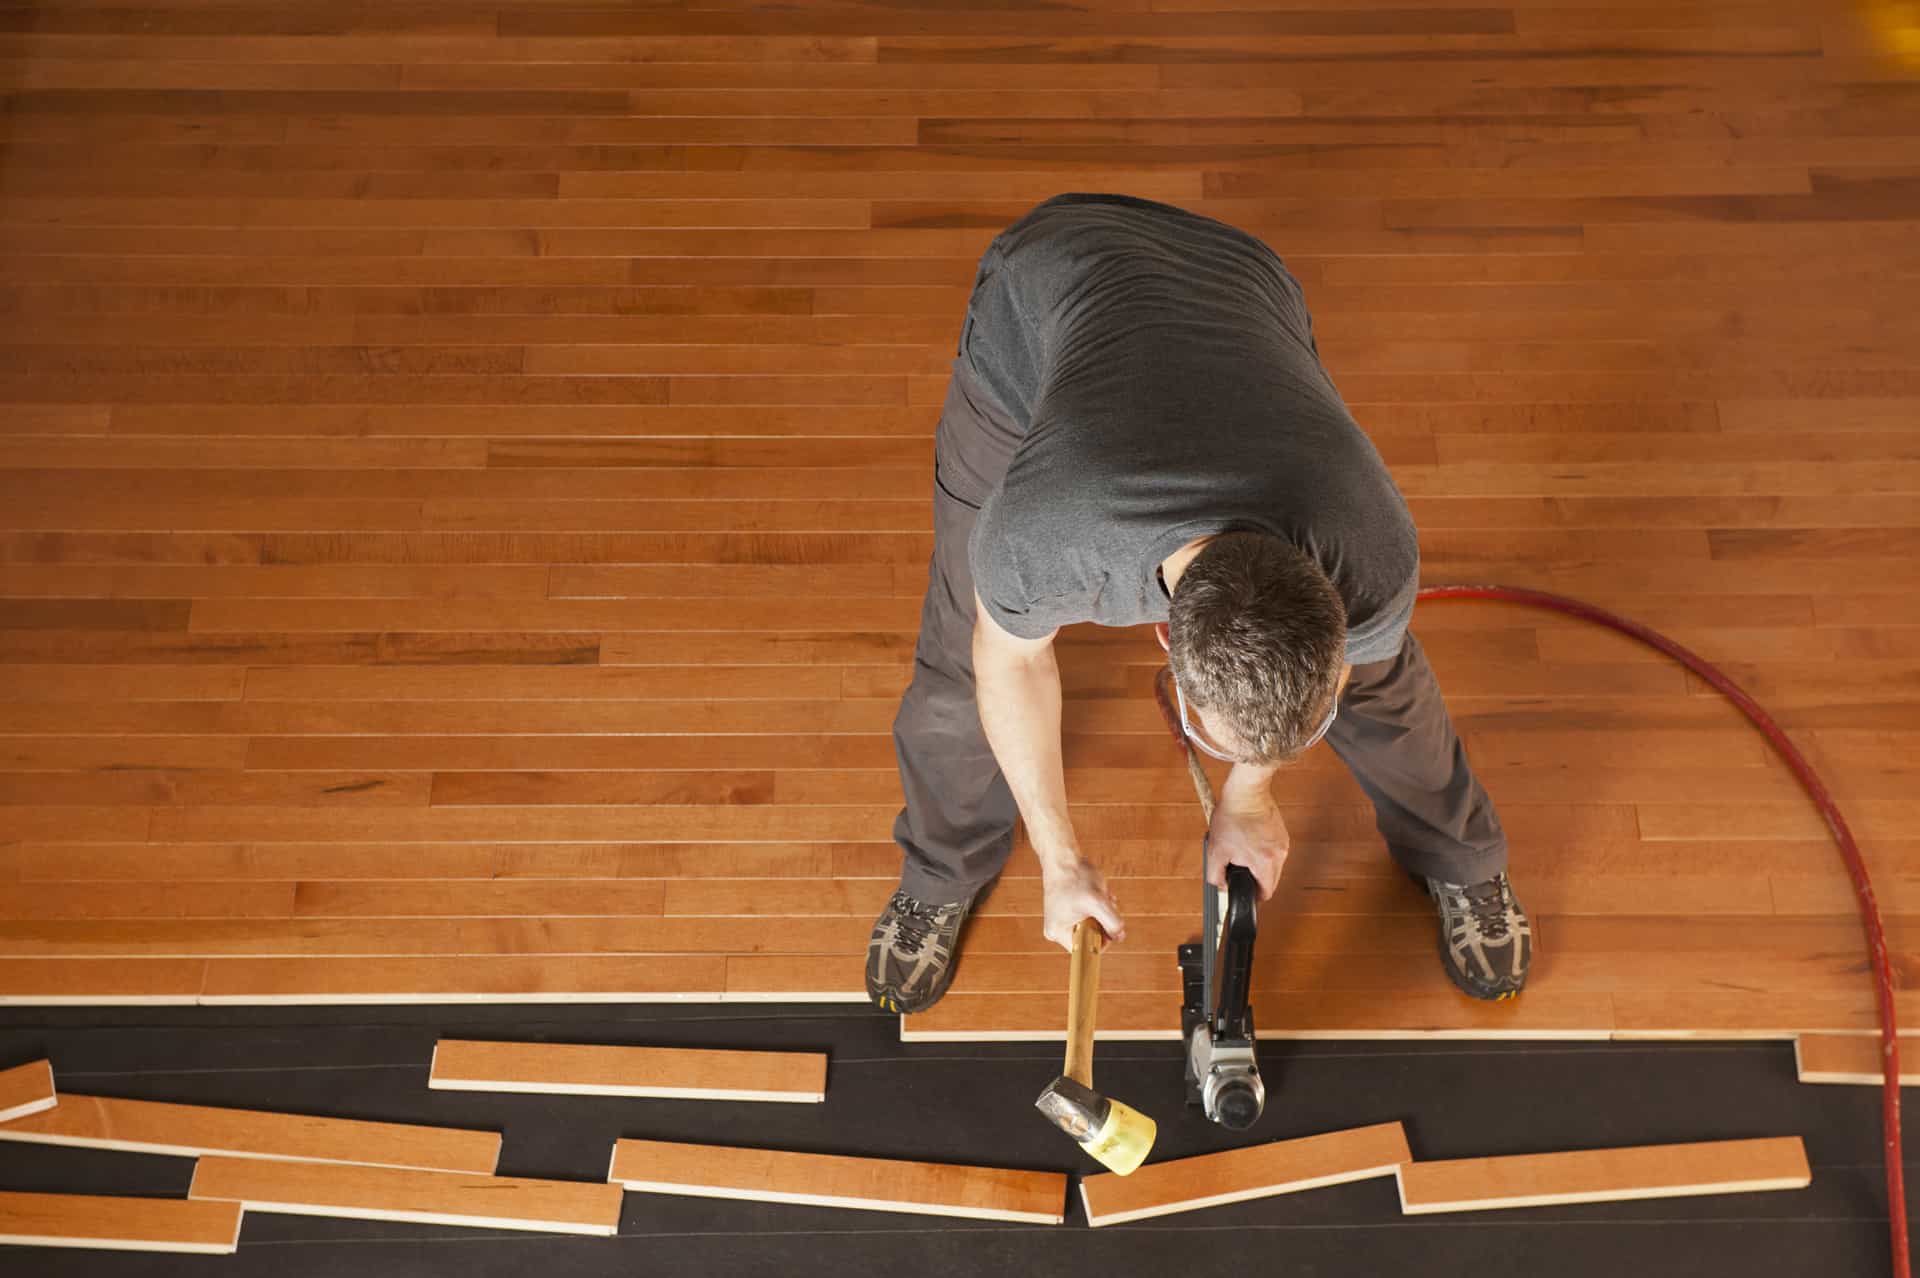
Installation Process
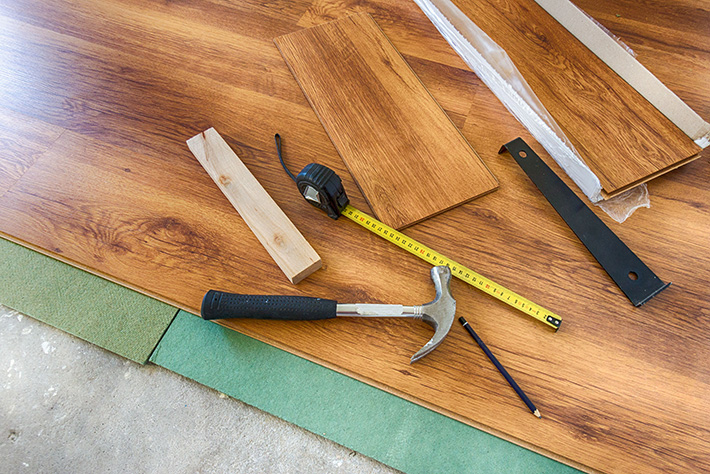
Installing a hardwood floor can be a time-consuming process, but with the right tools and equipment, it can be done efficiently. Before getting started, you’ll need a few essential tools and equipment such as:
| Tools | Equipment |
| Hammer | Moisture meter |
| Tape measure | Table saw |
| Pry bar | Nail gun |
| Chalk line | Tapping block |
Layout And Design Considerations
When it comes to the layout and design of your hardwood floor, consider factors like the room’s shape and size, as well as any architectural features. Start by planning the floor layout and determining the direction of the floorboards. This will help you optimize the visual appeal of the space.
Nailing Down Or Gluing The Hardwood Flooring
Once you’ve prepared the subfloor and decided on the layout, it’s time to start installing the hardwood flooring. Depending on the type of floor you have, you may choose to either nail it down or glue it. Nail down the flooring using an appropriate nail gun, ensuring each plank is securely fastened.
Cutting And Trimming The Flooring
Inevitably, you’ll need to cut and trim the hardwood flooring to fit the edges and corners of the room. Use a table saw to make precise cuts, taking proper measurements to minimize waste. A tapping block and hammer can help you fit the pieces together for a seamless finish.
Installing Baseboards And Transitions
Finally, after the hardwood flooring is secured, it’s important to install baseboards and transitions for a polished look. Attach baseboards using a nail gun or adhesive, ensuring they cover the expansion gap around the perimeter of the room. Install transitions where the hardwood floor meets other flooring surfaces to create a smooth and aesthetically pleasing transition.
Time Estimates For Different Installation Methods
Installing hardwood floors using the traditional nail-down method is a popular choice for many homeowners. This method involves attaching the hardwood boards directly to the subfloor using nails or cleats. The installation time for this method can vary depending on various factors such as the size of the area, the experience of the installer, and the condition of the subfloor. On average, it may take around 1 to 3 days to install hardwood floors using the traditional nail-down method.
The floating installation method is another commonly used technique for installing hardwood floors. Unlike the traditional nail-down method, this method does not require the hardwood boards to be attached to the subfloor. Instead, the boards are laid on top of a foam underlayment, and the boards are connected to each other using a tongue-and-groove system. The floating installation method is generally quicker than the nail-down method and can take around 1 to 2 days to complete, depending on the size of the area.
The glue-down method involves adhering the hardwood boards directly to the subfloor using a strong adhesive. This method provides a stable and secure installation, but it can take longer to complete compared to the other methods. The installation time for the glue-down method can range from 2 to 4 days, depending on factors such as the size of the area, the drying time of the adhesive, and any specific instructions from the manufacturer.
Time-saving Tips And Techniques
Installing hardwood floors can be a time-consuming task, but with these time-saving tips and techniques, you can make the process more efficient:
Organizing And Preparing The Work Area
- Clear the room of furniture and remove any obstacles.
- Clean the subfloor thoroughly to ensure a smooth surface.
- Arrange the necessary tools and materials in a designated area.
- Measure and plan the layout of the planks in advance.
Working With A Team Or Professional Installer
- Consider hiring a professional installer to speed up the process.
- Divide the work among team members to work simultaneously.
- Clearly communicate roles and responsibilities to avoid confusion.
Using Specialized Installation Tools And Aids
- Utilize tools like nail guns and flooring clamps to expedite installation.
- Use installation aids such as spacers and tapping blocks for precision.
- Invest in a quality saw to make accurate cuts efficiently.
Minimizing Mistakes And Re-dos
- Follow the manufacturer’s instructions carefully to avoid errors.
- Double-check measurements and calculations before making cuts.
- Test-fit planks before permanently securing them in place.
Cleaning Up As You Go
- Remove debris and sawdust regularly to maintain a clean work environment.
- Dispose of waste materials properly to prevent clutter.
Post-installation Tasks And Timeframes
The post-installation tasks for a hardwood floor include sanding and finishing, drying and curing, and furniture and accessory placement.
Sanding and Finishing the Hardwood Floor: After the floor is installed, it is essential to sand it to achieve a smooth and even surface. This process helps to remove any imperfections and prepare the floor for finishing. Once the sanding is complete, a finishing coat is applied to protect and enhance the appearance of the wood. This process typically takes a few days to complete, depending on the size of the floor.
Drying and Curing Period: After the finishing coat is applied, the floor needs time to dry and cure. This period can range from a few days to a couple of weeks, depending on the type of finish used and environmental conditions. It is important to avoid placing furniture or walking on the floor during this time to prevent any damage to the finish.
Furniture and Accessory Placement: Once the floor is fully cured, it is safe to place furniture and accessories on the hardwood surface. It is recommended to use protective pads or felt under furniture legs to prevent scratching the floor. Care should also be taken when moving heavy objects to avoid denting or damaging the wood.
Frequently Asked Questions On How Long To Install Hardwood Floor
How Long Does It Take To Lay Hardwood Floor?
It typically takes about 3-5 days to lay hardwood floors, depending on the size of the area and the complexity of the installation. Experienced professionals will ensure efficient and quality workmanship, allowing for a smoother process.
How Soon Can You Walk On Hardwood Floors After Installation?
You can walk on hardwood floors after installation within 24-48 hours.
How Long Does It Take To Install A 300 Square Foot Hardwood Floor?
It typically takes about 2-3 days to install a 300 square foot hardwood floor.
How Long Does It Take To Remove And Install Hardwood Floors?
Removing and installing hardwood floors typically takes around 2-5 days, depending on the size of the project and any additional preparations needed.
Conclusion
Installing hardwood floors can be a time-consuming process, but with the right tools and expertise, it can be done efficiently. By following proper installation techniques, you can enjoy the beauty and durability of hardwood floors for years to come. Remember to consider factors such as the size of the space, acclimation time, subfloor preparation, and the type of hardwood being installed.
With careful planning and attention to detail, the process can be completed smoothly. So, get ready to enjoy the charm and elegance of your newly installed hardwood floors!


