You can expect hardwood floor refinishing to take about two to three days, depending on factors like your floor’s condition, wood species, and type of finish. Sanding usually takes several hours, followed by staining and applying multiple finish coats, each requiring proper drying time—typically 6 to 24 hours for stain and shorter for finishes. Environmental conditions also influence drying speed. Understanding these stages helps you accurately plan your project timeline and what’s involved next.
Assessing the Condition of Your Hardwood Floors
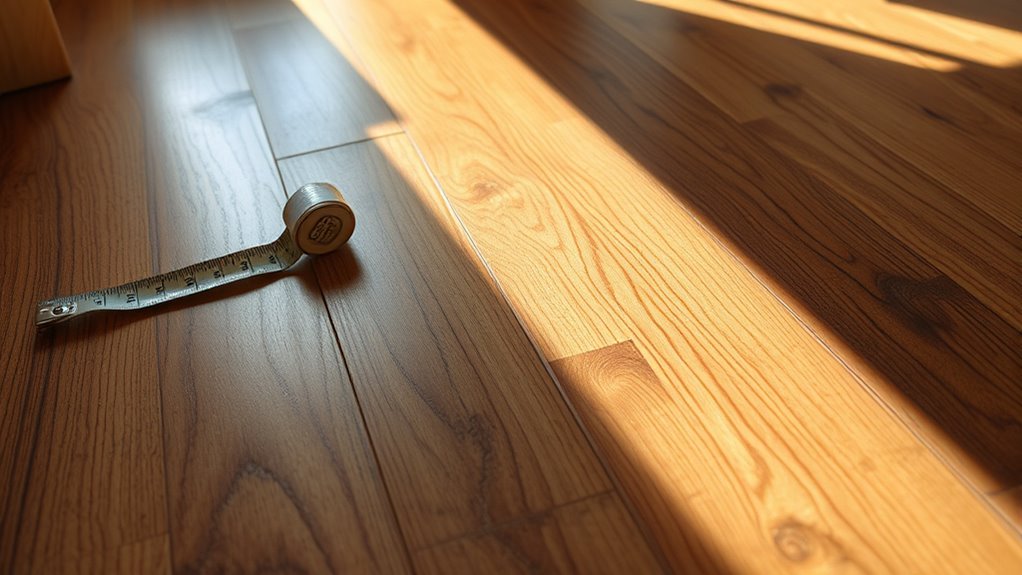
How do you determine if your hardwood floors need refinishing? Start by evaluating scratches across the surface; minor scuffs may only require spot treatments, but deep gouges or widespread wear indicate refinishing is necessary. Next, evaluate moisture levels in the wood, since excessive moisture can cause warping or cupping, compromising floor integrity. Use a moisture meter to measure content—readings above 12% typically signal a problem. Check for discoloration or dullness, signs that the protective finish has worn off, exposing the wood beneath. By precisely evaluating scratches and assessing moisture, you gain a clear understanding of your floor’s condition. This approach empowers you to decide if refinishing will restore your hardwood’s freedom to shine and endure, avoiding premature or unnecessary interventions.
Preparing the Room for Refinishing
Before refinishing, you’ll need to clear all furniture and personal items from the room to guarantee unobstructed access to the floor. Next, protect adjacent areas by sealing doorways and covering vents to prevent dust and debris from spreading. Proper preparation minimizes contamination and streamlines the refinishing process.
Clearing Furniture and Items
Although it might seem straightforward, clearing all furniture and items from the room is an essential step in preparing for hardwood floor refinishing. Effective furniture removal prevents damage and allows unobstructed access to the floor surface. Proper item organization guarantees belongings are safely stored and easy to return post-refinishing.
| Task | Purpose | Tips |
|---|---|---|
| Furniture Removal | Protect floors and workers | Use sliders or dollies |
| Item Organization | Avoid loss or damage | Label and box small items |
| Clear Corners | Access edges and baseboards | Move items systematically |
| Heavy Objects | Prevent strain or injury | Enlist help or professional |
Protecting Adjacent Areas
When you’re ready to refinish your hardwood floors, protecting adjacent areas is essential to prevent dust, debris, and finish from damaging walls, furniture, and fixtures. Start by applying painter’s tape precisely along baseboards, door frames, and any trim to create a clean seal. This tape application is critical to avoid finish bleed and simplify cleanup. Next, install dust barriers—plastic sheeting secured tightly with tape—to isolate the refinishing zone. These barriers minimize dust migration into other rooms, preserving your home’s cleanliness and your freedom to move elsewhere safely. Ascertain all vents and doorways are properly sealed. By carefully managing tape application and dust barriers, you maintain control over the environment, making the refinishing process efficient and protecting your home’s integrity throughout the project.
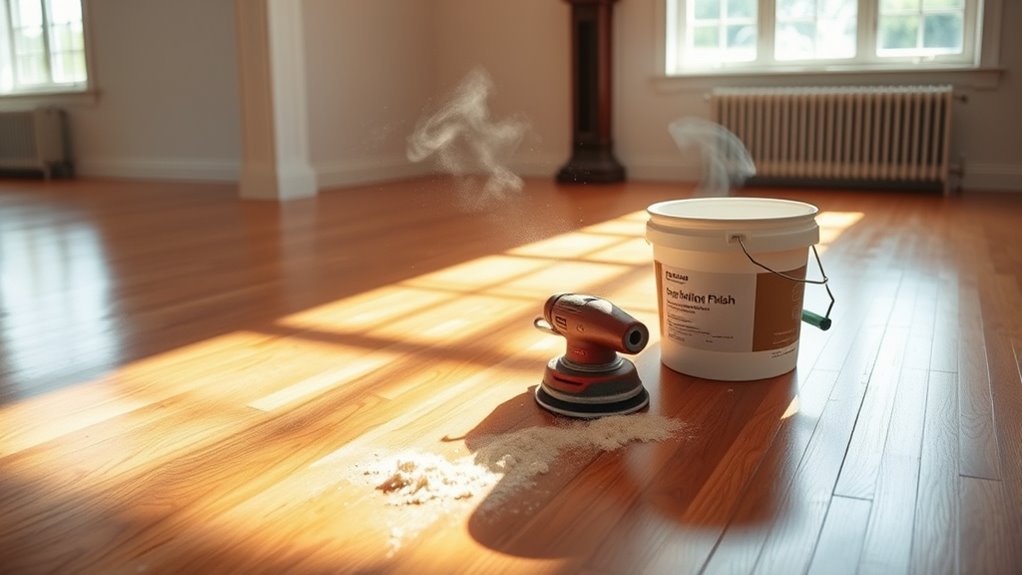
The Sanding Process and Time Required
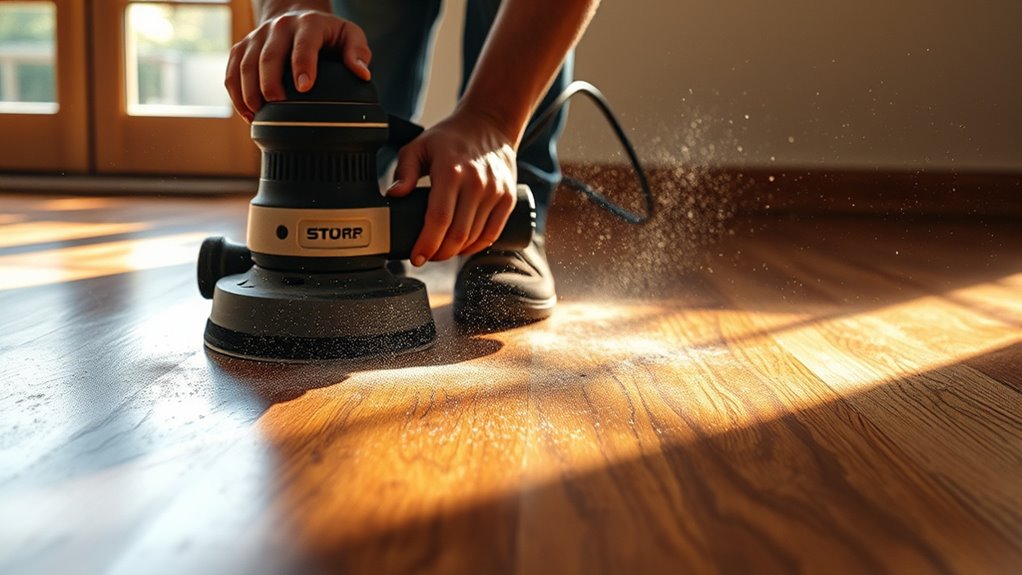
Since the sanding process directly impacts the quality and durability of your hardwood floors, understanding the time required is crucial. The duration largely depends on sanding techniques and equipment choices. Typically, professionals use drum or orbital sanders—each offering different efficiency and finish quality. Drum sanders remove old finish quickly but require skill to avoid gouging, while orbital sanders provide a smoother, more controlled cut, ideal for finer work. You’ll need to progress through multiple grits, starting coarse to remove imperfections and finishing fine to prepare for staining. For an average room, expect sanding to take anywhere from 3 to 6 hours, factoring in machine setup, edge sanding, and cleanup. Mastering these techniques guarantees your floors are prepped perfectly for subsequent finishing steps.
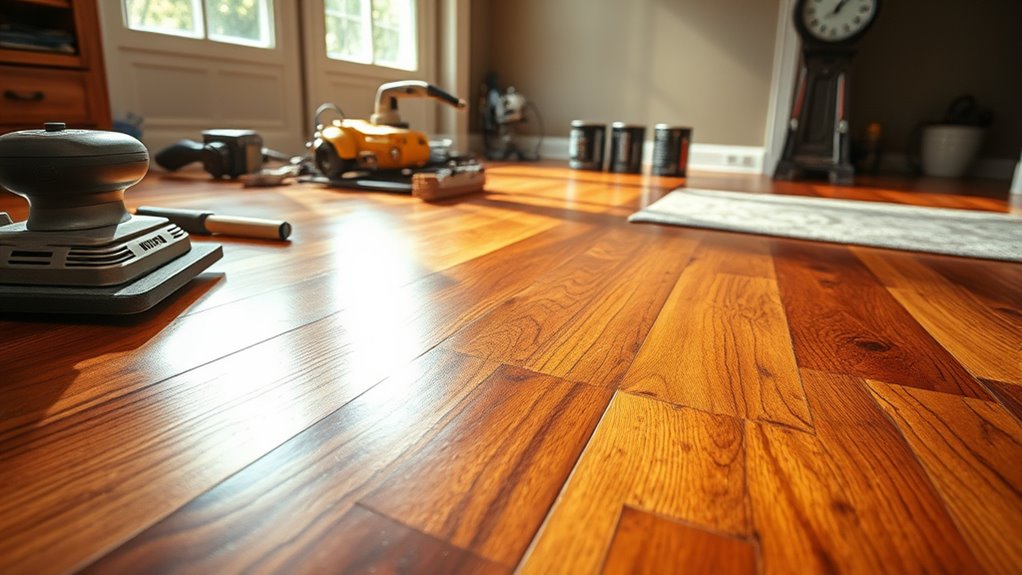
Applying Stain and Finish Coats
When applying stain and finish coats, you’ll need to select the appropriate stain based on your desired color and wood type. Be certain to account for specific drying times between each coat to guarantee proper adhesion and curing. Additionally, the number of finish coats you apply will impact both durability and total project duration.
Choosing the Right Stain
Although selecting the right stain can seem straightforward, it requires careful consideration of wood species, desired color, and finish compatibility to guarantee ideal adhesion and durability. You’ll want to evaluate various stain types—oil-based, water-based, gel stains—and their interaction with your hardwood. Your color selection should complement the wood’s natural grain and your room’s lighting.
| Wood Species | Recommended Stain Type |
|---|---|
| Oak | Oil-based or gel |
| Maple | Water-based |
| Cherry | Oil-based |
| Pine | Water-based or gel |
Choosing correctly assures your floors maintain their appearance and resist wear. Always test your stain on a small, inconspicuous area before full application to confirm compatibility and desired tone.
Drying Times Explained
Understanding drying times for stain and finish coats is essential to achieving a durable and attractive hardwood floor. When applying stain, you’ll generally wait 6 to 24 hours before sealing, depending on the product. Finish coats, such as polyurethane, require specific drying methods—air drying is standard, but some professionals use fans or dehumidifiers to accelerate curing. Humidity impact plays a critical role; high moisture levels slow drying and can cause tackiness or uneven finishes. Conversely, low humidity speeds drying but might lead to premature curing, risking surface defects. To maintain control, monitor indoor humidity and select drying methods accordingly. By respecting these variables, you guarantee each layer cures thoroughly, granting your refinished floor longevity and the freedom to enjoy its beauty without worry.
Number of Finish Coats
Because the number of finish coats directly affects durability and appearance, it is crucial to apply them properly for hardwood floor refinishing. The number of coatings you choose determines the finish durability and overall protection against wear. Typically, three to four coats are recommended to balance longevity and aesthetic depth. Applying too few can compromise durability, while too many may cause uneven surfaces or extended project time.
Consider these factors when deciding the number of coatings:
- Type of finish (oil-based vs. water-based) and its drying time
- Floor usage intensity and expected foot traffic
- Manufacturer’s guidelines on recommended coats
- Desired sheen level and color richness
Drying and Curing Times Between Coats
Once you apply a coat of finish, you’ll need to allow adequate drying and curing time before proceeding with the next layer. Proper drying techniques and curing methods guarantee the finish adheres well and lasts longer. Typically, drying takes 2–6 hours, while curing may require up to 24 hours. Environmental conditions influence these times.
| Finish Type | Drying Time | Curing Time |
|---|---|---|
| Oil-Based | 6-8 hours | 24-48 hours |
| Water-Based | 2-4 hours | 12-24 hours |
| Polyurethane | 4-6 hours | 24 hours |
You should always follow manufacturer guidelines for best results, guaranteeing you don’t rush between coats and compromise the floor’s durability or appearance.
Factors That Can Affect the Overall Timeline
Although the basic steps for refinishing hardwood floors are straightforward, several variables can greatly influence the total time required. Understanding these factors helps you plan efficiently and avoid unexpected delays. Weather conditions, for instance, affect drying and curing times; high humidity slows down these processes. The floor type is another critical element—hardwoods like oak may require different sanding and finishing approaches compared to softer woods. Additionally, the condition of the floor can impact prep time, with damaged areas needing extra attention. Finally, the chosen finish type also determines how long each coat takes to dry.
- Ambient temperature and humidity levels
- Wood species and floor thickness
- Extent of surface damage and repairs
- Type of finish applied (oil-based vs. water-based)


