Imagine stepping into a shower that feels like a spa retreat, with a floor that’s as stunning as it is functional. Achieving this isn’t just a dream; it’s a reality that starts with you.
Tiling a shower floor might seem like a daunting task, but with the right guidance, you can transform your bathroom into a masterpiece. You don’t need to be a professional to create a waterproof, stylish shower floor that stands the test of time.
All it takes is a little patience, some basic tools, and a clear plan. You’ll discover the secrets to tiling a shower floor effectively. You’ll learn how to choose the right materials, prepare the surface, and ensure a perfect finish that adds value and beauty to your home. Whether you’re renovating or building from scratch, this step-by-step guide will empower you to tackle the project with confidence. By the time you reach the end, you’ll not only know how to tile a shower floor but also how to make it a space you’ll love stepping into every day. Keep reading, and unlock the potential of your bathroom with tips that make tiling simple and satisfying.
Preparation Essentials
First, gather all your tools. You need a trowel and level. A tile cutter is also important. Don’t forget a rubber mallet. Get spacers for gaps and a grout float.
Materials are next. Tiles are the most important. Choose waterproof ones. Get mortar for sticking them. Grout fills spaces. Have sealant ready for finishing. Finally, wear safety goggles.
Begin with cleaning the shower floor. Remove old tiles carefully. Check for any damages. Fix any cracks you find. Sweep away all dust and debris. Make sure the surface is dry and smooth.
Use a cleaning solution if needed. This helps remove grease or stains. Rinse well and let it dry. A clean surface ensures tiles stick well. Now, it’s ready for tiling.
Choosing The Right Tiles
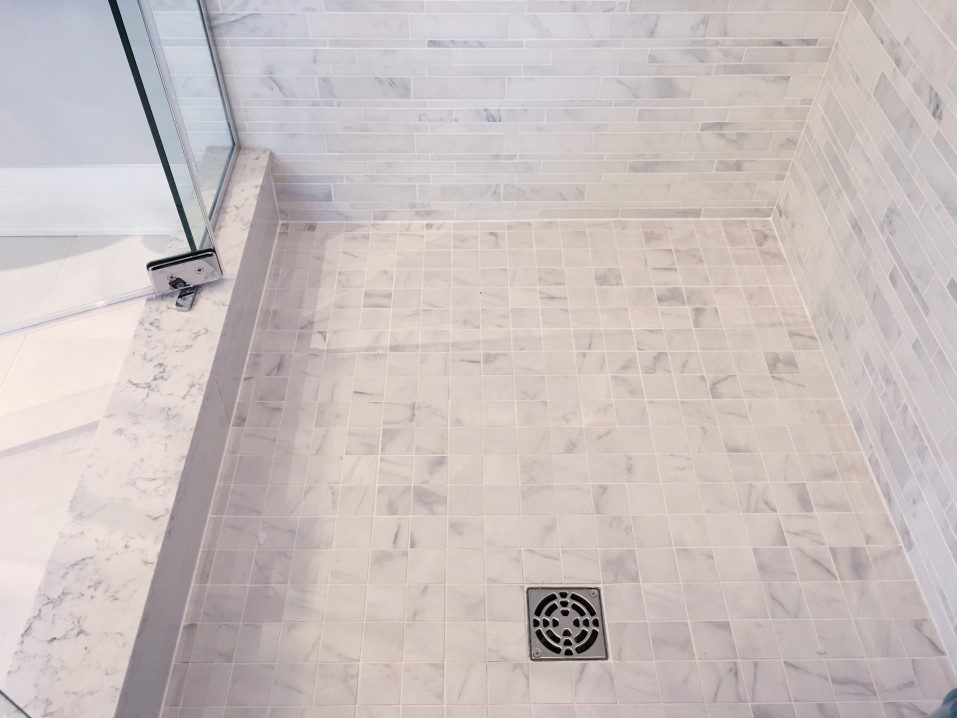
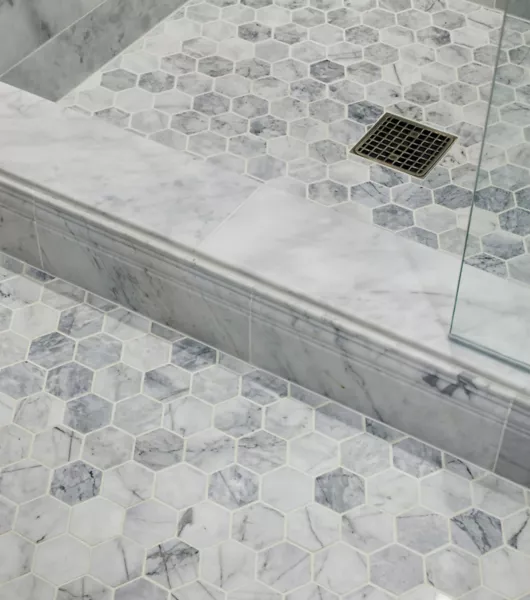
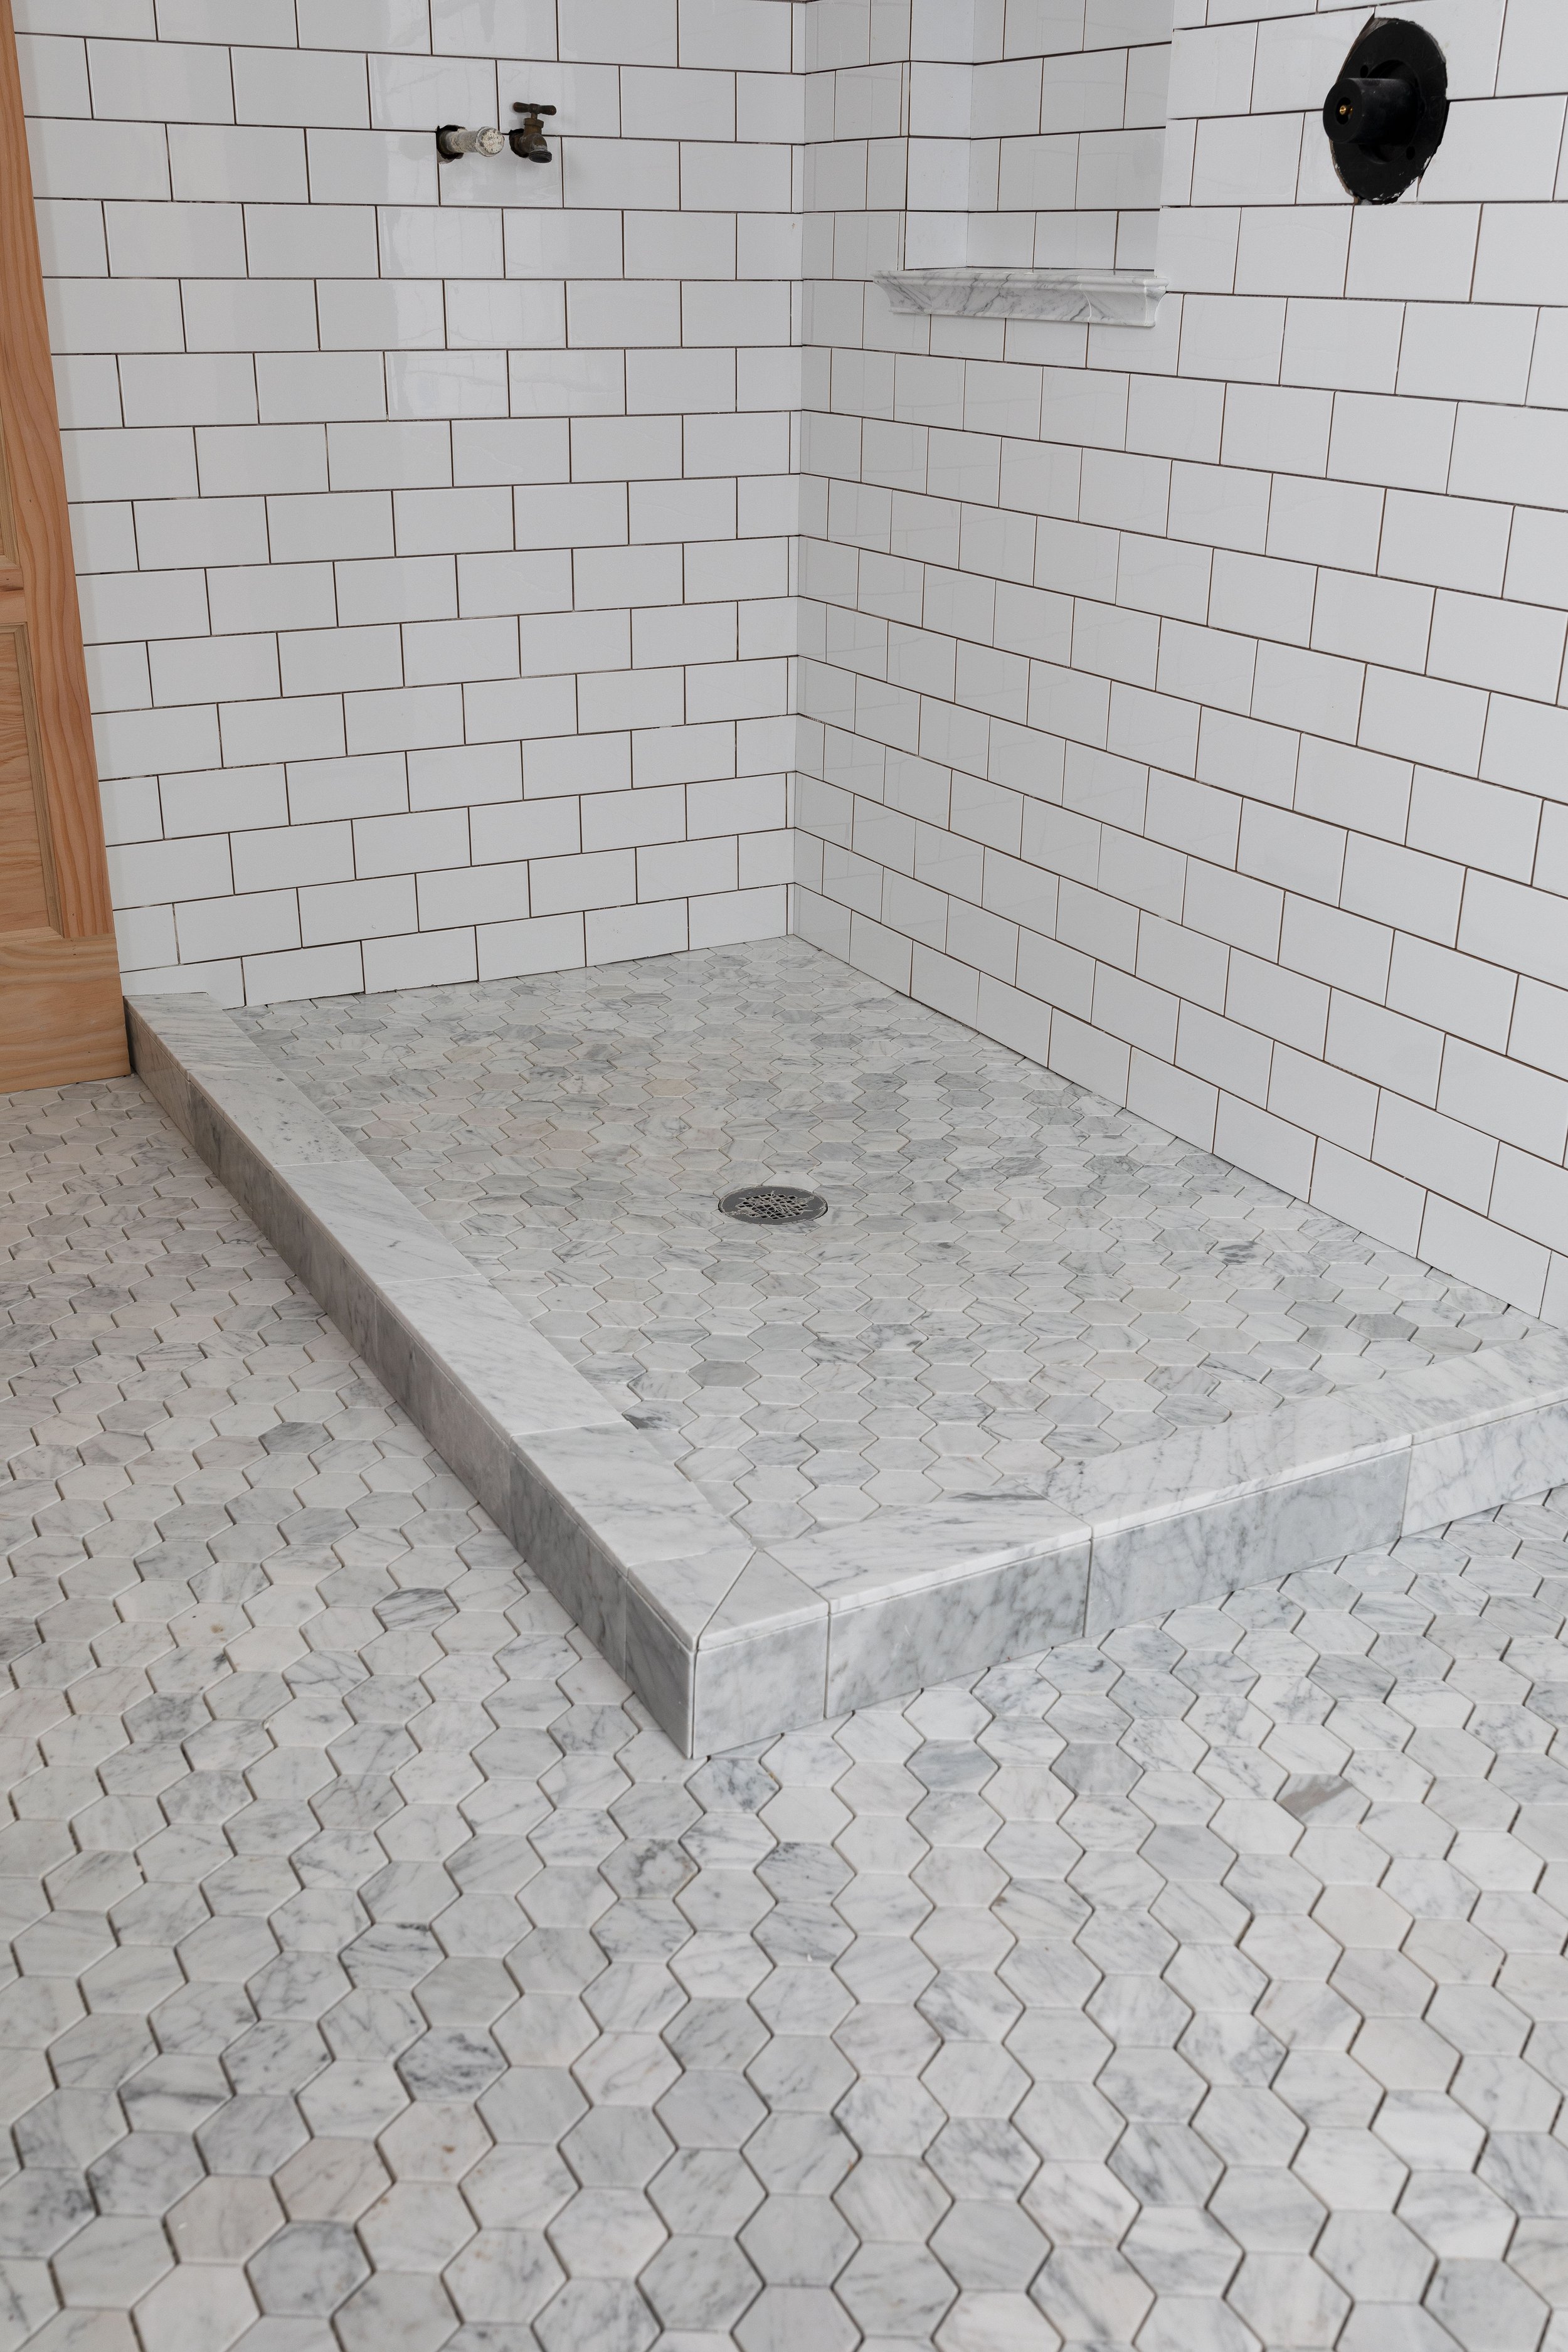
Picking the right tiles is important. Choose tiles that are water-resistant and strong. Ceramic and porcelain are good choices. They last long and handle water well. Stone tiles like marble look nice but need more care. Think about the cost too. Some tiles are more expensive than others. Always check the tile’s quality before buying. You want them to last for a long time.
Tile size matters in a small space. Small tiles can make a space look bigger. They also help with grip. Big tiles look clean and modern. Choose a style that fits your taste. Color is important too. Light colors make a space look bigger. Dark colors feel cozy. Pick a style that you will like for many years.
Measuring And Planning
Measure the shower floor length and width. Multiply these numbers together. This gives the total area. Check the tile box for coverage info. Divide the total area by the coverage per box. Round up to ensure you have enough tiles. Always buy extra tiles. Mistakes happen and tiles can break.
Plan the layout before starting. Use a chalk line to mark the center. Start tiling from the center. Work outwards to the edges. This ensures a balanced look. If tiles need cutting, measure carefully. Use spacers to keep lines straight. Keep consistent gaps between tiles for grout. Double-check your layout plan. Make adjustments if needed.
Installing The Shower Pan
A shower pan stops water from leaking. It protects the floor. Without it, water can cause damage. Mold might grow. Rot might happen. It is vital for safety.
First, choose the right size. It must fit well. Next, prepare the floor. It should be clean and level. Apply mortar to the floor. This helps the pan stick. Place the pan carefully. Press it down firmly. Ensure there are no gaps. Let it dry completely.
After drying, check for leaks. Pour water on the pan. Look for any signs of water escaping. If there are no leaks, the installation is good. Now, you can start tiling.
Applying Waterproofing Membrane
Waterproofing keeps water away. It stops leaks and stops mold. This makes your shower last longer. Water damage can cause big problems. Preventing it saves money and time. Waterproofing is important for a safe home. It helps keep your bathroom clean and dry. A dry shower means no bad smells. No wet floors. No slippery tiles. Waterproofing is like a protective shield. It keeps water in the right place. It is a smart choice for any bathroom.
Start by cleaning the shower floor. It must be free of dust. Next, apply a primer. Let it dry. Then, use a brush to apply the membrane. Be sure to cover all corners. Use a roller for larger areas. Apply the membrane evenly. Check for any missed spots. Wait for it to dry fully. Two coats are better than one. It adds extra protection. Let it dry again. Now, your shower floor is ready for tiles.
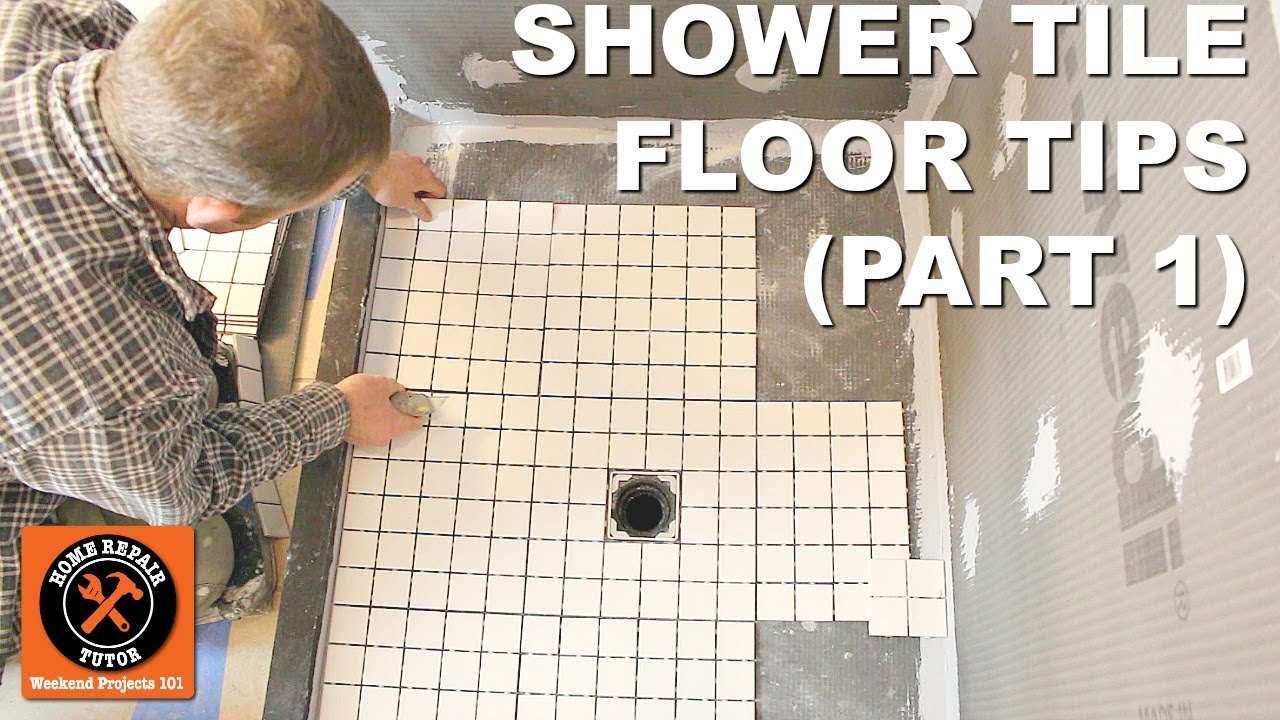
Tile Laying Techniques
Thin-set mortar helps tiles stick strong. Mix it until smooth. Apply it with a trowel. Spread evenly over the floor. It holds tiles in place. Make sure it’s not too thick. This helps the tiles stay level. Too much mortar can cause bumps. Keep it just right.
Use tile spacers for even gaps. Spacers keep tiles apart. This makes grout lines straight. Choose the right size spacers. Bigger tiles need bigger spacers. Smaller tiles need smaller ones. Check tiles often to keep them straight. Adjust if needed. This gives a neat finish.
Cutting And Fitting Tiles
Tiling needs special tools. A tile cutter is key. It helps make straight cuts. A tile nipper is useful too. It shapes small pieces of tile. Use a wet saw for thick tiles. It cuts easily without breaking. A ruler and pencil are also needed. They help mark where to cut. These tools make the job easier and faster.
Some tiles fit in tricky spots. Measure the angle first. Use a protractor to help. Mark the tile with a pencil. Cut slowly for best results. Tile spacers keep tiles even. They help with placement. Patience is important. It takes time to fit tiles right. Always double-check measurements. This avoids mistakes.
Grouting And Sealing
Tiling a shower floor involves careful grouting and sealing. Grout fills the gaps between tiles, ensuring a smooth surface. Sealing protects the grout, preventing water damage and mold growth.
Choosing The Right Grout
Picking the right grout is crucial. It holds tiles in place. Choose a grout that resists water. This keeps your shower safe from leaks. Some grouts have sand. Others do not. Sanded grout is for larger gaps. Unsanded is for smaller gaps.
The color matters too. It should match your tiles. Light colors show dirt. Dark colors hide it. Read the label before buying. It gives important information. Always pick the grout that suits your need.
Applying Sealer For Longevity
A sealer makes grout last longer. It protects against stains. Sealer stops water from entering. Apply it after grout dries. Wait 24 hours for best results. Use a brush or spray. Cover all grout lines.
Let it dry before using the shower. Some sealers need a second coat. Check the instructions. Make sure every part is covered. Sealing is an important step. It keeps your shower looking new.
Finishing Touches
Tiling a shower floor involves careful planning and precision. Start by preparing a clean, level surface for the tiles. Arrange the tiles, ensuring proper alignment and spacing for a seamless finish.
Cleaning The Tiles
First, wipe the tiles with a damp cloth. This removes dust and grout. Use a soft sponge for gentle scrubbing. Avoid hard scrubs to prevent scratches. Mix warm water with mild soap. This makes a safe cleaning solution. Rinse tiles well with clean water. Dry them with a soft towel. This prevents water spots.
Polishing For A Professional Look
Choose a non-abrasive polish for your tiles. Apply a small amount on a soft cloth. Rub the cloth over the tiles in circular motions. This adds shine and enhances the tile’s color. Wipe away extra polish with a clean, dry cloth. Step back and admire the shiny surface. This gives your shower a professional finish.
Maintenance Tips
Begin tiling a shower floor by ensuring the surface is clean and even. Apply waterproof membrane before setting tiles. Use spacers for uniform gaps and grout carefully for a polished finish.
Regular Cleaning Routines
Clean the shower floor weekly. Use mild soap and warm water. Scrub gently with a soft brush. Rinse thoroughly to remove soap residue. Dry with a clean towel. This prevents mold and mildew growth. Avoid harsh chemicals; they damage tiles.
Addressing Common Issues
Grout lines often get dirty. Use a grout cleaner monthly. Check for loose tiles. Fix them quickly to prevent water damage. Inspect for cracks. Seal any openings to keep water out. Watch for stains on tiles. Use baking soda paste to clean. Always keep ventilation good. This reduces humidity and keeps tiles dry.
Frequently Asked Questions
What Tools Do You Need To Tile A Shower Floor?
You need a trowel, tile cutter, level, spacers, and rubber mallet. Also, a mixing bucket and grout float are essential. Ensure you have waterproof membrane and tiles ready. These tools help achieve a professional finish. Proper preparation ensures long-lasting results.
How Do You Prepare The Shower Floor?
Start by cleaning the surface thoroughly. Ensure it’s dry and free from debris. Apply a waterproof membrane to prevent leaks. Measure the area to plan tile placement. Accurate preparation is key for effective tiling. Make sure the floor is level for best results.
What Type Of Tiles Are Best For Showers?
Porcelain tiles are ideal due to their durability and water resistance. They offer various designs and colors. Ceramic tiles are also a good choice. Ensure tiles are slip-resistant for safety. Quality tiles enhance the aesthetic and functionality of the shower.
How Do You Apply Grout To Tiles?
Mix grout following package instructions until smooth. Use a grout float to spread it evenly across tiles. Work diagonally to fill gaps. Wipe excess grout with a damp sponge. Let it cure as recommended. Proper grouting ensures tiles stay secure and water-resistant.
Conclusion
Tiling a shower floor can be easy with the right steps. Measure the area carefully before starting. Choose tiles that match your design. Prepare the surface properly for best results. Use spacers to keep tiles evenly spaced. Apply grout to seal the gaps.
Clean the tiles thoroughly after installation. Ensure the floor is waterproof to prevent damage. Regular maintenance keeps the floor looking new. With patience and attention to detail, anyone can tile a shower floor successfully. Enjoy your refreshed bathroom space!


