
Are you staring at your floor, wondering how to finally say goodbye to those old tiles? Whether you’re planning a stylish renovation or simply tired of the current look, removing floor tiles can seem daunting.
But don’t worry—you’re about to discover how easy it can be. Imagine transforming your space without the hassle of hiring professionals or spending a fortune. With the right guidance, you’ll feel empowered to tackle this project yourself, saving time and money.
Keep reading, and you’ll learn simple steps to efficiently and safely remove tiles, making way for your dream floor. Your journey to a fresh, new look starts here!
Preparation Steps
Start by gathering all the tools you need. A chisel and hammer will help you remove tiles. A scraper is useful for cleaning. You will also need a bucket and sponge for wiping dust. Ensure you have a mask and gloves for safety.
Safety is very important. Always wear safety goggles to protect your eyes. Use gloves to protect your hands. Keep a first-aid kit nearby in case of any injuries. Make sure the area is well-lit.
Remove all items from the floor. Move furniture to a safe place. Make sure the area is clear of any obstacles. This helps you work without interruptions. A clean space makes the job easier and faster.
Assessing The Tile Type
Identify Ceramic Tiles by their shiny surface. They often have a glazed look. These tiles are common in kitchens and bathrooms. They are usually easy to clean. Tap them gently. A hollow sound may mean loose tiles. Be careful while checking.
Recognize Porcelain Tiles as they are very strong. These tiles are thicker than ceramic. They resist water well. Often used for outdoor areas. Porcelain can feel cold to touch. Look for a dense, hard surface.
Spot Natural Stone Tiles by their unique patterns. They come from marble, granite, or slate. Each tile has a different look. Stone tiles are heavy. They feel rough and natural. Often found in luxurious settings.
Initial Tile Removal
First, locate the grout lines. Grout holds tiles together. Use a grout saw or scraper. Carefully remove the grout. Be gentle to avoid damage. Loosen the grout for easier tile removal.
Find the corner tile. Corners are easier to work with. Use tools to pry it up. Start with the edge. Lift the tile slowly. Avoid breaking it. This will help to remove other tiles.
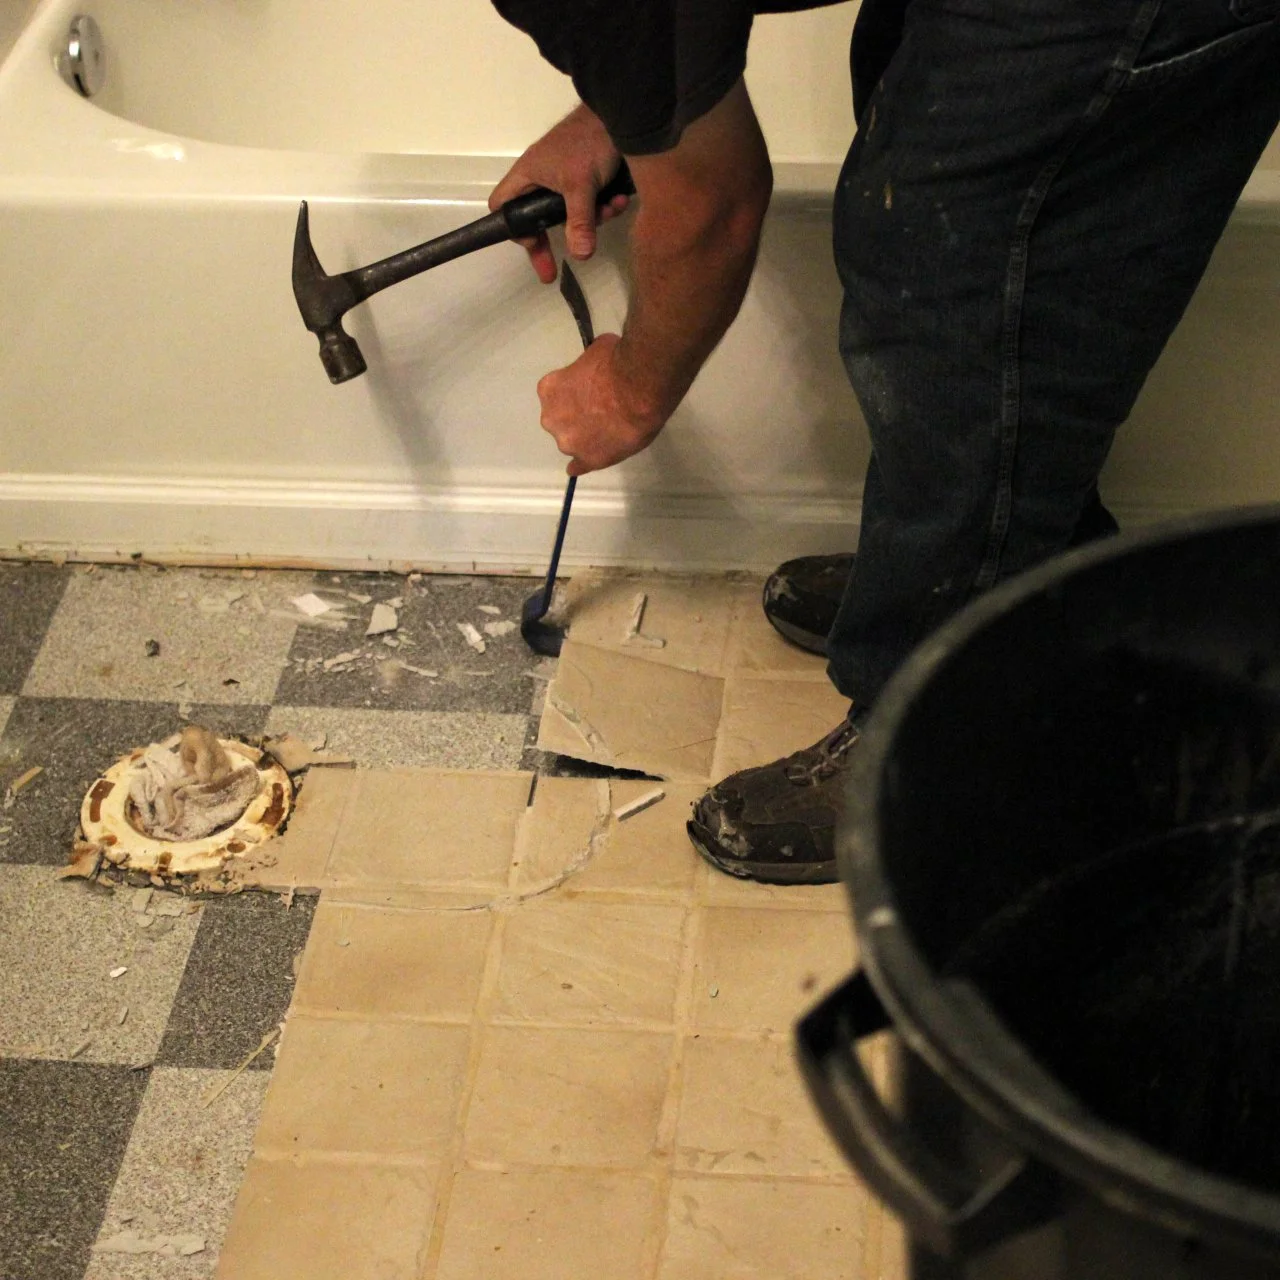
Get a chisel and hammer. Position the chisel under the tile. Tap gently with the hammer. Break the bond holding the tile. Work patiently. Continue this until all tiles are loose.
Advanced Removal Techniques
A pry bar is very useful for removing tiles. Place the bar under the tile edge. Push gently to lift the tile. Use steady pressure to avoid breaking tiles. Work slowly for best results. Tiles can be sharp, so wear gloves.
A power scraper makes tile removal easier. This tool uses power to remove tiles fast. Hold the scraper at a low angle. Move it back and forth to loosen tiles. It’s noisy, so ear protection is smart. Clean up the debris regularly.
Some tiles are more stubborn. Use a hammer and chisel to help. Tap the chisel gently under the tile. Use small taps until the tile loosens. Avoid hitting too hard. Slow and steady wins the race. Protect your eyes with goggles.
Subfloor Inspection
After removing the tile, inspect the subfloor for any damage. Look for cracks or holes. These can cause problems later. Make sure the floor is smooth and even. Uneven floors need fixing. This step is very important.
Use a moisture meter to check the subfloor. High moisture can lead to mold. This is bad for your floor. If moisture is high, dry it out first. Proper drying is crucial for a healthy floor.
If there is damage, gather your repair tools. You may need a hammer, nails, or wood filler. Make sure all tools are ready. Repair the subfloor before adding new tiles. This ensures a strong and lasting floor.
Cleaning Up
Start by gathering tools like a chisel and hammer. Carefully break the tiles into smaller pieces. Lift them using the chisel to avoid damaging the subfloor. Clean up debris and dust for a smooth finish.
Dispose Of Debris Safely
Bag the tile debris carefully. Use thick bags to avoid tears. Keep sharp pieces away from children and pets. Take the debris to a local disposal site. Do not leave it on the curb. Check local rules for proper disposal. Some areas may offer recycling options.
Sweep And Vacuum Area
Sweep the floor to remove all small pieces. Use a broom with firm bristles. Vacuum the area to catch dust and tiny debris. Make sure to check corners and edges. Use attachments for better results. Keep the floor clear of small bits.
Inspect For Leftover Adhesive
Look closely at the floor. Find any leftover adhesive. Use a scraper to remove the sticky parts. Be gentle to avoid damage. Check carefully to get all spots. Clean the floor when done. This will prepare it for new tiles.
Common Mistakes
Using the right tools makes the job easier. Some people use ordinary tools and struggle. It’s like eating soup with a fork. Choose tools like a chisel and hammer. These tools help remove tiles faster. Power tools can also be helpful. They save time and energy.
Tiles protect the floor. Without them, the floor can get damaged. Be gentle with the floor. Use a soft touch when prying tiles. Don’t scratch or dent the surface. A gentle approach helps keep the floor safe. A little care goes a long way.
Safety is important. Always wear safety glasses and gloves. Tiles can chip and fly. This can hurt eyes. Protect your hands with gloves. They keep fingers safe from cuts. A dust mask helps with breathing. It keeps dust out of your lungs.

Expert Tips For Success
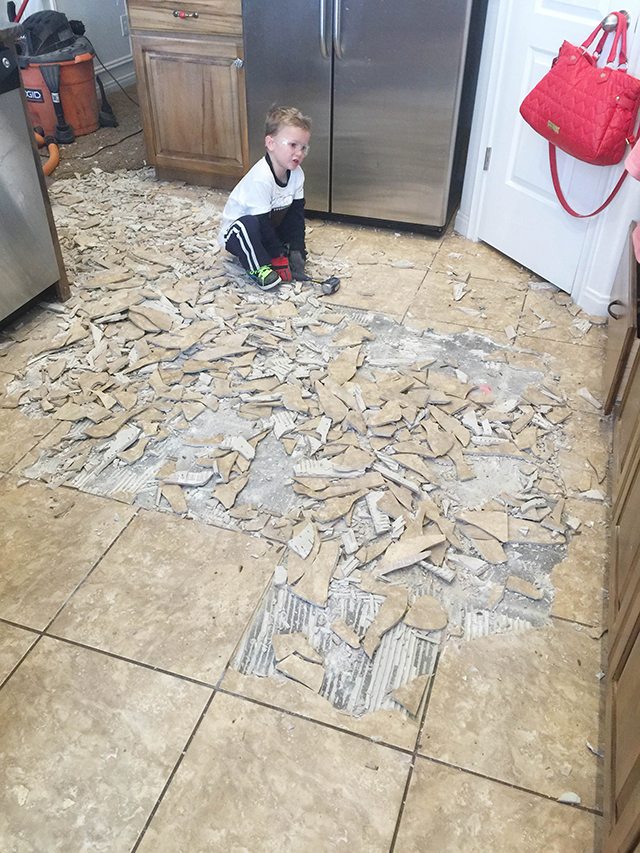
Start by choosing a small area. Focus on removing tiles there first. This helps you stay organized and less tired. Small sections make the job less overwhelming. Use a chisel and hammer carefully. Be gentle to avoid damaging the floor underneath. Working in small chunks also gives you breaks. These breaks help you stay fresh and alert.
Removing tiles can be hard work. Stay calm and patient. Patience ensures better results. Move methodically, one tile at a time. Double-check your progress. This helps in avoiding mistakes. Slow and steady wins the race here. Keep tools ready and organized. Have a plan before you start.
Some tiles may be stubborn. Professional help can save time and effort. Experts have the right tools. They also have experience with tough jobs. Hiring them can protect your floor. It also avoids accidental damage. Consider the cost and benefits. Sometimes, hiring a professional is worth it.
Frequently Asked Questions
What Tools Do I Need To Remove Floor Tile?
To remove floor tile, you’ll need a chisel, hammer, and pry bar. A putty knife and scraper are useful. Safety gear like gloves and goggles is essential. For large areas, consider a power scraper or rotary tool. Proper tools ensure efficient and safe tile removal.
How Long Does It Take To Remove Tile?
The time to remove tile depends on the area size and tools used. A small room might take a few hours, while larger spaces can take days. Manual removal is slower than using power tools. Preparing the floor properly can also affect the time required.
Can I Remove Tile Myself?
Yes, you can remove tile yourself with the right tools and precautions. Ensure you have protective gear and understand the process. It’s labor-intensive but manageable for DIY enthusiasts. Consider professional help if you’re uncomfortable or the area is large.
What Are The Risks Of Removing Tile?
Removing tile can create dust, which may contain harmful particles. Tiles can break, creating sharp edges. Always wear protective gear to avoid injuries. Improper removal can damage the subfloor. Ensure proper ventilation to minimize dust inhalation.
Conclusion
Removing floor tiles can seem challenging. But, with patience, it’s doable. Start with the right tools. Protect yourself with gloves and goggles. Carefully break the tiles, avoiding damage to the floor. Clean the area well after removal. Check for any adhesive residue.
Dispose of the tiles responsibly. This process requires effort but saves money. You can achieve a smooth, tile-free floor. Remember to plan and take breaks. DIY projects build skills and satisfaction. Follow these steps, and your floor can be tile-free soon.
Enjoy your refreshed space.


