
To refinish hardwood floors, you start by evaluating their condition and preparing the room. Remove furniture and obstacles for easy access. Gather essential tools like a drum sander, edger, and vacuum. Next, sand the floors, beginning with coarse grit sandpaper to remove the old finish, then moving to finer grits for a smooth texture. After sanding, apply a high-quality stain or finish, working with the wood grain. Allow adequate drying time, then buff and polish for a professional look. Maintenance is key for longevity, and there's more to explore on keeping your floors in top shape.
Assessing Your Floor Condition
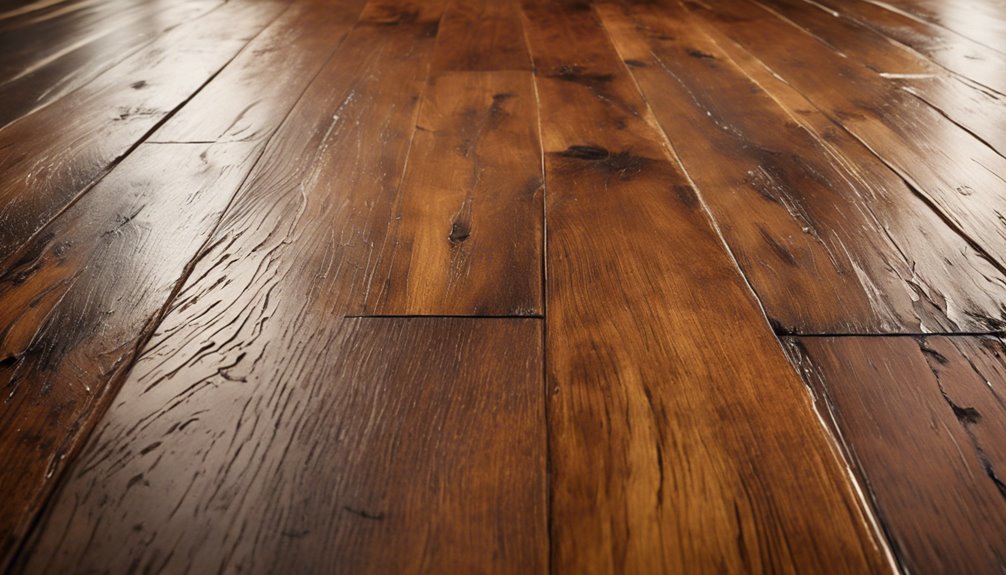
Before diving into refinishing, how do you know if your hardwood floors truly need attention? Start by employing various floor inspection techniques. Look for identifying damage signs like scratches, dents, or discoloration. A simple visual evaluation can reveal surface wear, while a more thorough check involves running your hand over the floor to feel for rough patches or splinters. Pay attention to creaking sounds when walking; this might indicate loose boards. Additionally, check for water damage or warping, which can be signs of deeper issues. If you notice significant wear or damage, it's a clear indicator that refinishing is necessary. By accurately evaluating your floor's condition, you'll be empowered to decide your next steps confidently.
Gather Necessary Tools
Before you start refinishing your hardwood floors, you'll need to gather a specific set of tools to guarantee the job goes smoothly. This includes an essential tools checklist, safety equipment to protect yourself, and preparation supplies to get the floor ready for refinishing. Having everything on hand will streamline the process and help you achieve professional results.
Essential Tools Checklist
Gathering the right tools is essential for a successful hardwood floor refinishing project, as having everything you need on hand can save you time and frustration. Start with a drum sander and edger for smooth surface prep, followed by a vacuum and tack cloth for dust removal. You'll also need a hand scraper for stubborn spots. Choose sandpaper appropriate for your wood types, such as 36-grit to 120-grit, based on the floor's condition. For finishing, have brushes or rollers ready for applying your chosen stain options. Don't forget a paint tray, a measuring cup, and a mixing stick. Finally, a floor buffer will help achieve that flawless, professional-looking finish. With this checklist, you're set for success!
Safety Equipment Needed
While refinishing hardwood floors can yield stunning results, it's vital to prioritize safety throughout the process. Start by donning safety goggles to protect your eyes from dust particles and debris generated during sanding. A respiratory mask is also important; it'll shield you from inhaling harmful dust and fumes emitted by wood finishes and sealants. Additionally, consider wearing ear protection if you're using loud power tools, as prolonged exposure can damage your hearing. Sturdy gloves will help prevent cuts and splinters, while non-slip footwear guarantees you maintain stability on potentially slick surfaces. By gathering the right safety equipment, you create a safer environment, allowing you to focus on transforming your floors with confidence and freedom.
Preparation Supplies Overview
To successfully refinish hardwood floors, you'll need to assemble a thorough set of preparation supplies that guarantees efficiency and effectiveness throughout the process. Start by conducting a surface inspection to identify any damage or imperfections that need addressing. This step is essential for determining the right preparation techniques.
Here's a basic list of essential tools you'll require:
- Floor Sander: For leveling and removing the old finish.
- Dust Mask and Goggles: To protect yourself from dust and debris.
- Wood Filler: For repairing any cracks or holes in the surface.
Gathering these items assures you're well-equipped to tackle your project, resulting in a beautifully refinished floor that showcases your hard work and dedication.
Preparing the Room
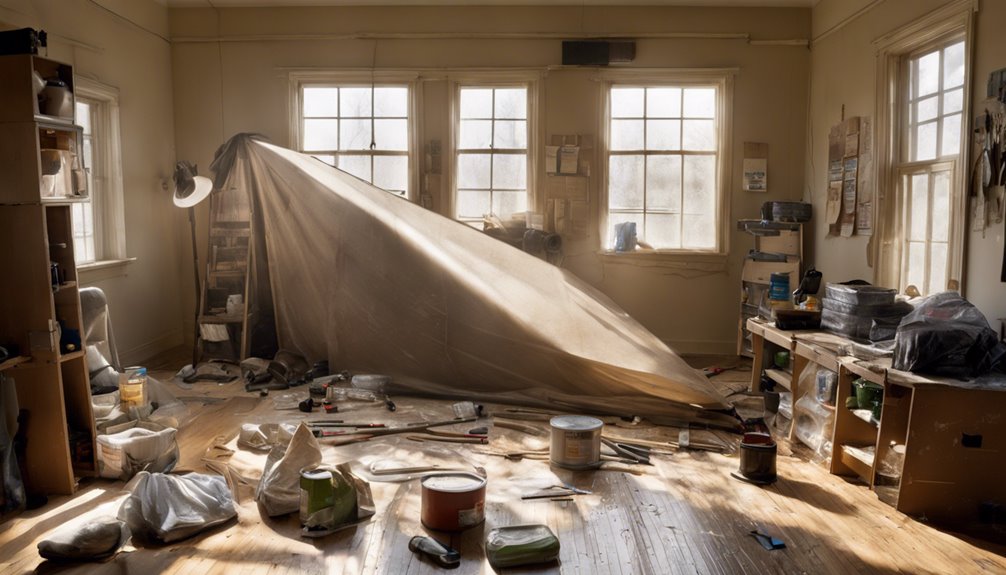
Before diving into the refinishing process, it's important to prepare the room effectively to guarantee a smooth and successful project. Start by evaluating your room layout and developing a space planning strategy. Identify the areas where you'll be working and create a clear path for movement. This helps in maintaining efficiency and avoiding obstacles during the refinishing. Verify the room is well-ventilated by opening windows or using fans, as proper airflow is vital when working with finishing products. Additionally, check for any necessary repairs in the flooring to address before refinishing. Taking these steps not only safeguards your health but also streamlines the entire process, allowing you to focus on achieving a beautiful finish.
Removing Furniture and Obstacles
Clearing out furniture and obstacles is an essential step in the refinishing process, as it sets the stage for a smooth workflow. You'll want to guarantee that the space is free from any distractions that could hinder your progress.
- Move all furniture to a separate room or a safe area.
- Remove rugs, curtains, and any decorative items.
- Create a clear path for obstacle navigation around the working area.
Proper furniture placement is key; it allows you to work efficiently without constantly maneuvering around items. A clear space not only enhances safety but also helps you focus on the task at hand, guaranteeing that you achieve the best results when refinishing your hardwood floors.
Sanding the Floors
With the space now free of furniture and obstacles, the next step in refinishing hardwood floors is sanding. You'll need to choose the right sanding equipment, typically a drum sander for large areas and an edge sander for corners. Start with a coarse grit sandpaper—around 36 to 60 grit—to remove the old finish and level the surface. Employ effective sanding techniques, such as moving in the direction of the wood grain and overlapping each pass for an even finish. After achieving a smooth surface, switch to finer grits, like 80 or 120, to refine the texture. Verify you're wearing proper safety gear, as the dust can be harmful. This meticulous process sets the stage for a beautiful, fresh finish.
Cleaning the Dust
After sanding, the workspace is often left in a haze of fine dust that can hinder the application of your new finish. To guarantee a smooth and flawless result, you'll need to employ effective cleaning methods and dust removal techniques. Start by using a high-powered vacuum equipped with a HEPA filter to capture the majority of the dust particles. Next, follow up with these steps:
- Wipe surfaces with a damp microfiber cloth to trap remaining dust.
- Use a tack cloth to pick up any stubborn particles that escaped.
- Consider using an air purifier to continuously filter the air as you work.
Applying Stain or Finish
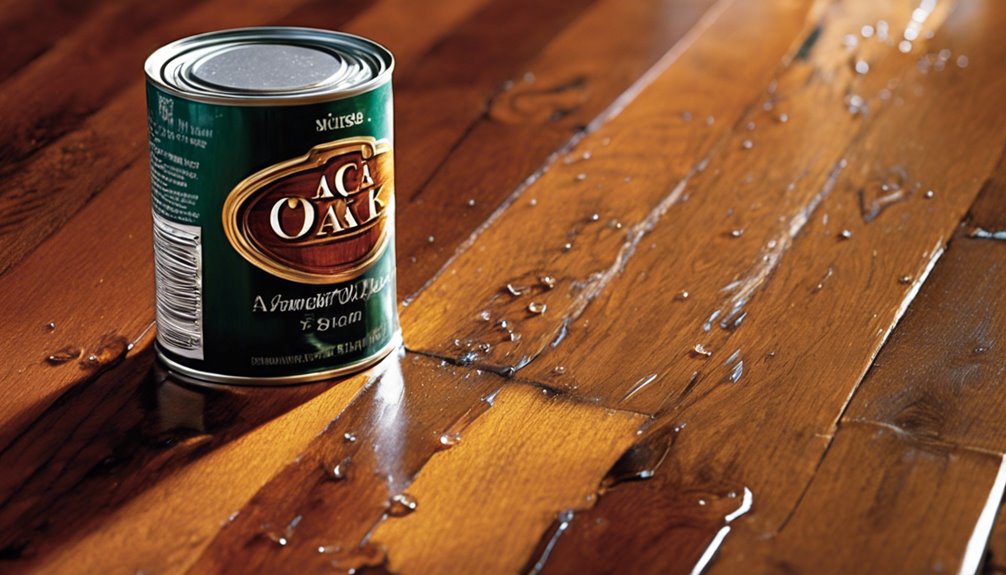
Now that your floors are clean and free of dust, it's time to apply the stain or finish that will enhance their beauty and protect them from wear. Start with the stain application; use a high-quality applicator, like a brush or rag, to guarantee even coverage. Work in sections, applying the stain with the grain of the wood for the best results. Allow the stain to penetrate for about 5-10 minutes before buffing off excess. Next, choose your finish types—polyurethane is popular for durability, while oil-based finishes offer a warm glow. Apply the finish with a clean brush or roller, ensuring smooth, even layers. Follow the manufacturer's instructions for the best adhesion and protection.
Allowing for Dry Time
Once you've applied your stain or finish, allowing adequate dry time is essential for achieving a durable, even coat. Ideal conditions, such as maintaining a controlled temperature and humidity level, will greatly impact the drying process. Without proper drying, you risk compromising the integrity of your refinished floors, leading to unsightly blemishes or peeling.
Importance of Drying Time
While it might be tempting to rush through the refinishing process, understanding the importance of drying time is essential for achieving a durable and aesthetically pleasing finish on your hardwood floors. Proper drying techniques guarantee that the finish adheres correctly, leading to a longer-lasting transformation.
Consider the following factors:
- Humidity levels: High humidity can prolong drying times and affect adhesion.
- Temperature: Warmer environments typically accelerate drying, but too much heat can compromise the finish.
- Ventilation: Good airflow helps reduce moisture and enhances drying efficiency.
Optimal Conditions for Drying
To achieve ideal drying conditions for your hardwood floor finish, it is vital to control the environment in which you're working. Start by guaranteeing proper temperature regulation; the ideal range is between 65°F and 75°F. This temperature facilitates maximum evaporation of solvents in the finish. Next, focus on humidity control—keeping humidity levels between 40% and 60% helps prevent issues like streaks or uneven drying. Consider using a dehumidifier or air conditioner to maintain consistent conditions. Additionally, verify good air circulation; using fans can help accelerate the drying process. By managing these factors, you'll promote a smooth, durable finish that stands the test of time, allowing your floors to shine beautifully and resist wear.
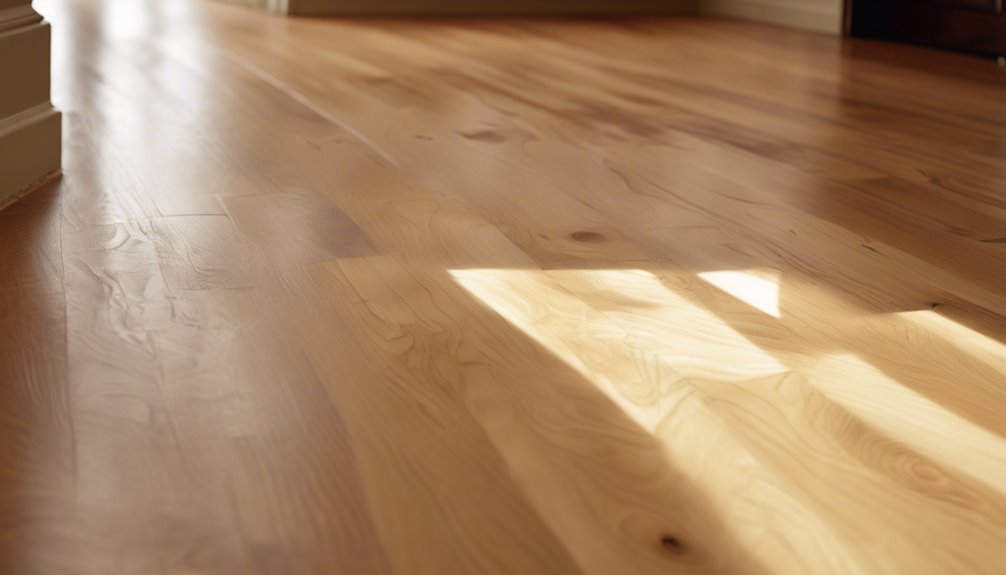
Buffing and Polishing
Buffing and polishing hardwood floors can greatly enhance their appearance and extend their lifespan. By employing effective buffing techniques, you can remove surface scratches and restore the wood's natural luster. To achieve ideal results, consider using high-quality polishing products that are compatible with your floor's finish.
- Choose a buffer with the right pad for your floor type.
- Apply the polishing product evenly for a uniform shine.
- Allow adequate drying time between applications to maximize the finish.
Maintaining Your Floors
To keep your hardwood floors looking their best, it's crucial to adopt regular cleaning techniques that prevent dirt buildup and maintain their shine. You'll also want to implement strategies to prevent scratches and damage, such as using furniture pads and avoiding harsh chemicals. Finally, establishing a periodic maintenance schedule will help guarantee your floors remain in excellent condition for years to come.
Regular Cleaning Techniques
Keeping your hardwood floors looking pristine requires regular cleaning techniques that can easily be integrated into your routine. Daily upkeep is essential, and using the right cleaning solutions guarantees your floors remain stunning and durable. Here are some effective practices to take into account:
- Sweep or vacuum regularly to remove dirt and debris that can scratch your floors.
- Damp mop with a gentle cleaner designed specifically for hardwood to maintain shine without damaging the finish.
- Wipe up spills immediately to prevent moisture damage and staining.
Preventing Scratches and Damage
Although hardwood floors are known for their beauty and durability, they can be easily scratched or damaged if proper precautions aren't taken. Implementing effective scratch prevention and floor protection strategies can extend the life of your flooring.
| Tip | Action | Benefit |
|---|---|---|
| Use Area Rugs | Place rugs in high-traffic areas | Reduces wear and tear |
| Install Furniture Pads | Attach pads to furniture legs | Prevents scratching on floors |
| Maintain Humidity | Keep humidity levels stable | Prevents warping and cracking |
Periodic Maintenance Schedule
When you establish a periodic maintenance schedule for your hardwood floors, you greatly enhance their longevity and appearance. Implementing a routine upkeep strategy not only keeps your floors looking pristine but also prevents costly repairs down the line.
Consider these essential components of your maintenance schedule:
- Seasonal inspections: Check for wear and tear, moisture issues, or damage at least four times a year.
- Regular cleaning: Use a dry mop or vacuum weekly to remove dirt and debris that can scratch the surface.
- Refinishing timeline: Plan to refinish your floors every 3-5 years, depending on foot traffic and wear.
Frequently Asked Questions
Can I Refinish My Hardwood Floors Without Professional Help?
Imagine your hardwood floors as a canvas, waiting to be transformed. Yes, you can refinish them without professional help! With the right DIY techniques, you can breathe new life into your space. Gather necessary tools like sanders, stains, and sealants. Start by sanding the surface to remove imperfections, then apply your chosen finish. Embrace the freedom of creating a beautiful floor yourself, and enjoy the satisfaction of a job well done!
How Often Should I Refinish My Hardwood Floors?
Refinishing frequency for hardwood floors typically depends on your lifestyle and foot traffic. Generally, it's recommended to refinish every 7 to 10 years for ideal hardwood maintenance. However, if you notice scratches or dullness sooner, you might consider doing it more frequently. Regular maintenance, like cleaning and applying finish, can extend the time between refinishing. Understanding your wood's wear will help you decide the best timing for refinishing.
What Types of Finishes Are Best for Hardwood Floors?
When considering finishes for hardwood floors, you've got a couple of excellent options. Oil finishes provide a natural look and allow for easy spot repairs, enhancing the wood's character. On the other hand, polyurethane options offer superior durability and water resistance, making them ideal for high-traffic areas. Each type has its pros and cons, so think about your lifestyle and aesthetic preferences before making a decision that'll meet your needs and enhance your space.
Is It Safe to Refinish Floors While Living in the House?
Refinishing floors while living in your home can be safe, but you'll need to take certain precautions. Guarantee proper ventilation to minimize fumes and dust exposure. Use dust barriers to isolate the work area, keeping your living space free from debris. Consider using low-VOC finishes to reduce harmful emissions. If you're sensitive to dust, wearing a mask and planning your schedule around the refinishing timeline will enhance your safety and comfort during the process.
How Long Does the Entire Refinishing Process Take?
Imagine a homeowner, Sarah, who's enthusiastic to revitalize her living space. The entire refinishing process typically takes around three to five days, depending on the size of the area and the refinishing techniques used. Time considerations include drying times between coats and the final curing period. If you're living in the house, planning around these factors can help minimize disruption while ensuring you achieve a beautiful, durable finish on your hardwood floors.


