Have you ever walked across a room and felt an uneven surface underfoot? It’s frustrating, isn’t it?
Whether you’re laying new flooring or just trying to fix those annoying bumps, leveling a floor is an essential skill that can make a world of difference in your home. Imagine a perfectly smooth surface, where every step feels stable and secure.
You deserve that. You’ll discover simple, effective methods to achieve a level floor. Your home’s beauty and comfort are just a few steps away. Curious to learn how? Keep reading and transform your space into a flawless foundation for your life.
Assessing Floor Condition
Begin by checking the floor for bumps or dips. Use a long, straight board. Place it across the floor. Look for gaps between the board and the floor. This shows where the floor is uneven. Large gaps need more fixing.
Next, check for any cracks or damage. Fix these before leveling. Small cracks can be filled. Big cracks might need expert help.
Use a leveling tool. This tool tells you if the floor is flat. Move it around the floor. Note where it shows the floor is not level.
Measure the height difference. This tells you how much leveling mix you need. Write it down. This helps when buying materials.
Choosing The Right Tools
To level a floor, you need the right tools. Use a spirit level to check the floor’s evenness. A screed helps to spread the leveling compound. You also need a trowel to smooth the surface. Keep a measuring tape for accurate measurements. A bucket is useful for mixing compounds. Don’t forget a drill for mixing. Choose a long-handled squeegee for larger areas. These tools make the job easier.
Safety is very important. Always wear gloves to protect your hands. Use goggles to keep dust out of your eyes. A dust mask helps you breathe safely. Knee pads protect your knees when kneeling. Wear sturdy shoes to guard your feet. Safety gear keeps you safe while you work.
Identifying Uneven Areas
A level tool helps find uneven spots on the floor. Place the tool on different sections. Check if the bubble stays in the middle. If it moves, there’s a slope. Mark these spots with chalk or tape. This helps keep track. Repeat this process for the entire floor. A digital level tool can give readings. It shows exact measurements. These readings show how much correction is needed. Remember, a flat floor is best. It keeps furniture steady. It prevents trips and falls.
Look for cracks or bumps on the floor. Feel the floor with your hands. Check for any raised parts. Listen for hollow sounds. Tap the floor gently. Hollow sounds mean problems underneath. Watch out for shifting furniture. If a chair rocks, the floor might be uneven. These signs help identify problem zones. Spotting these helps in fixing the floor. A smooth floor looks nice. It feels safe.
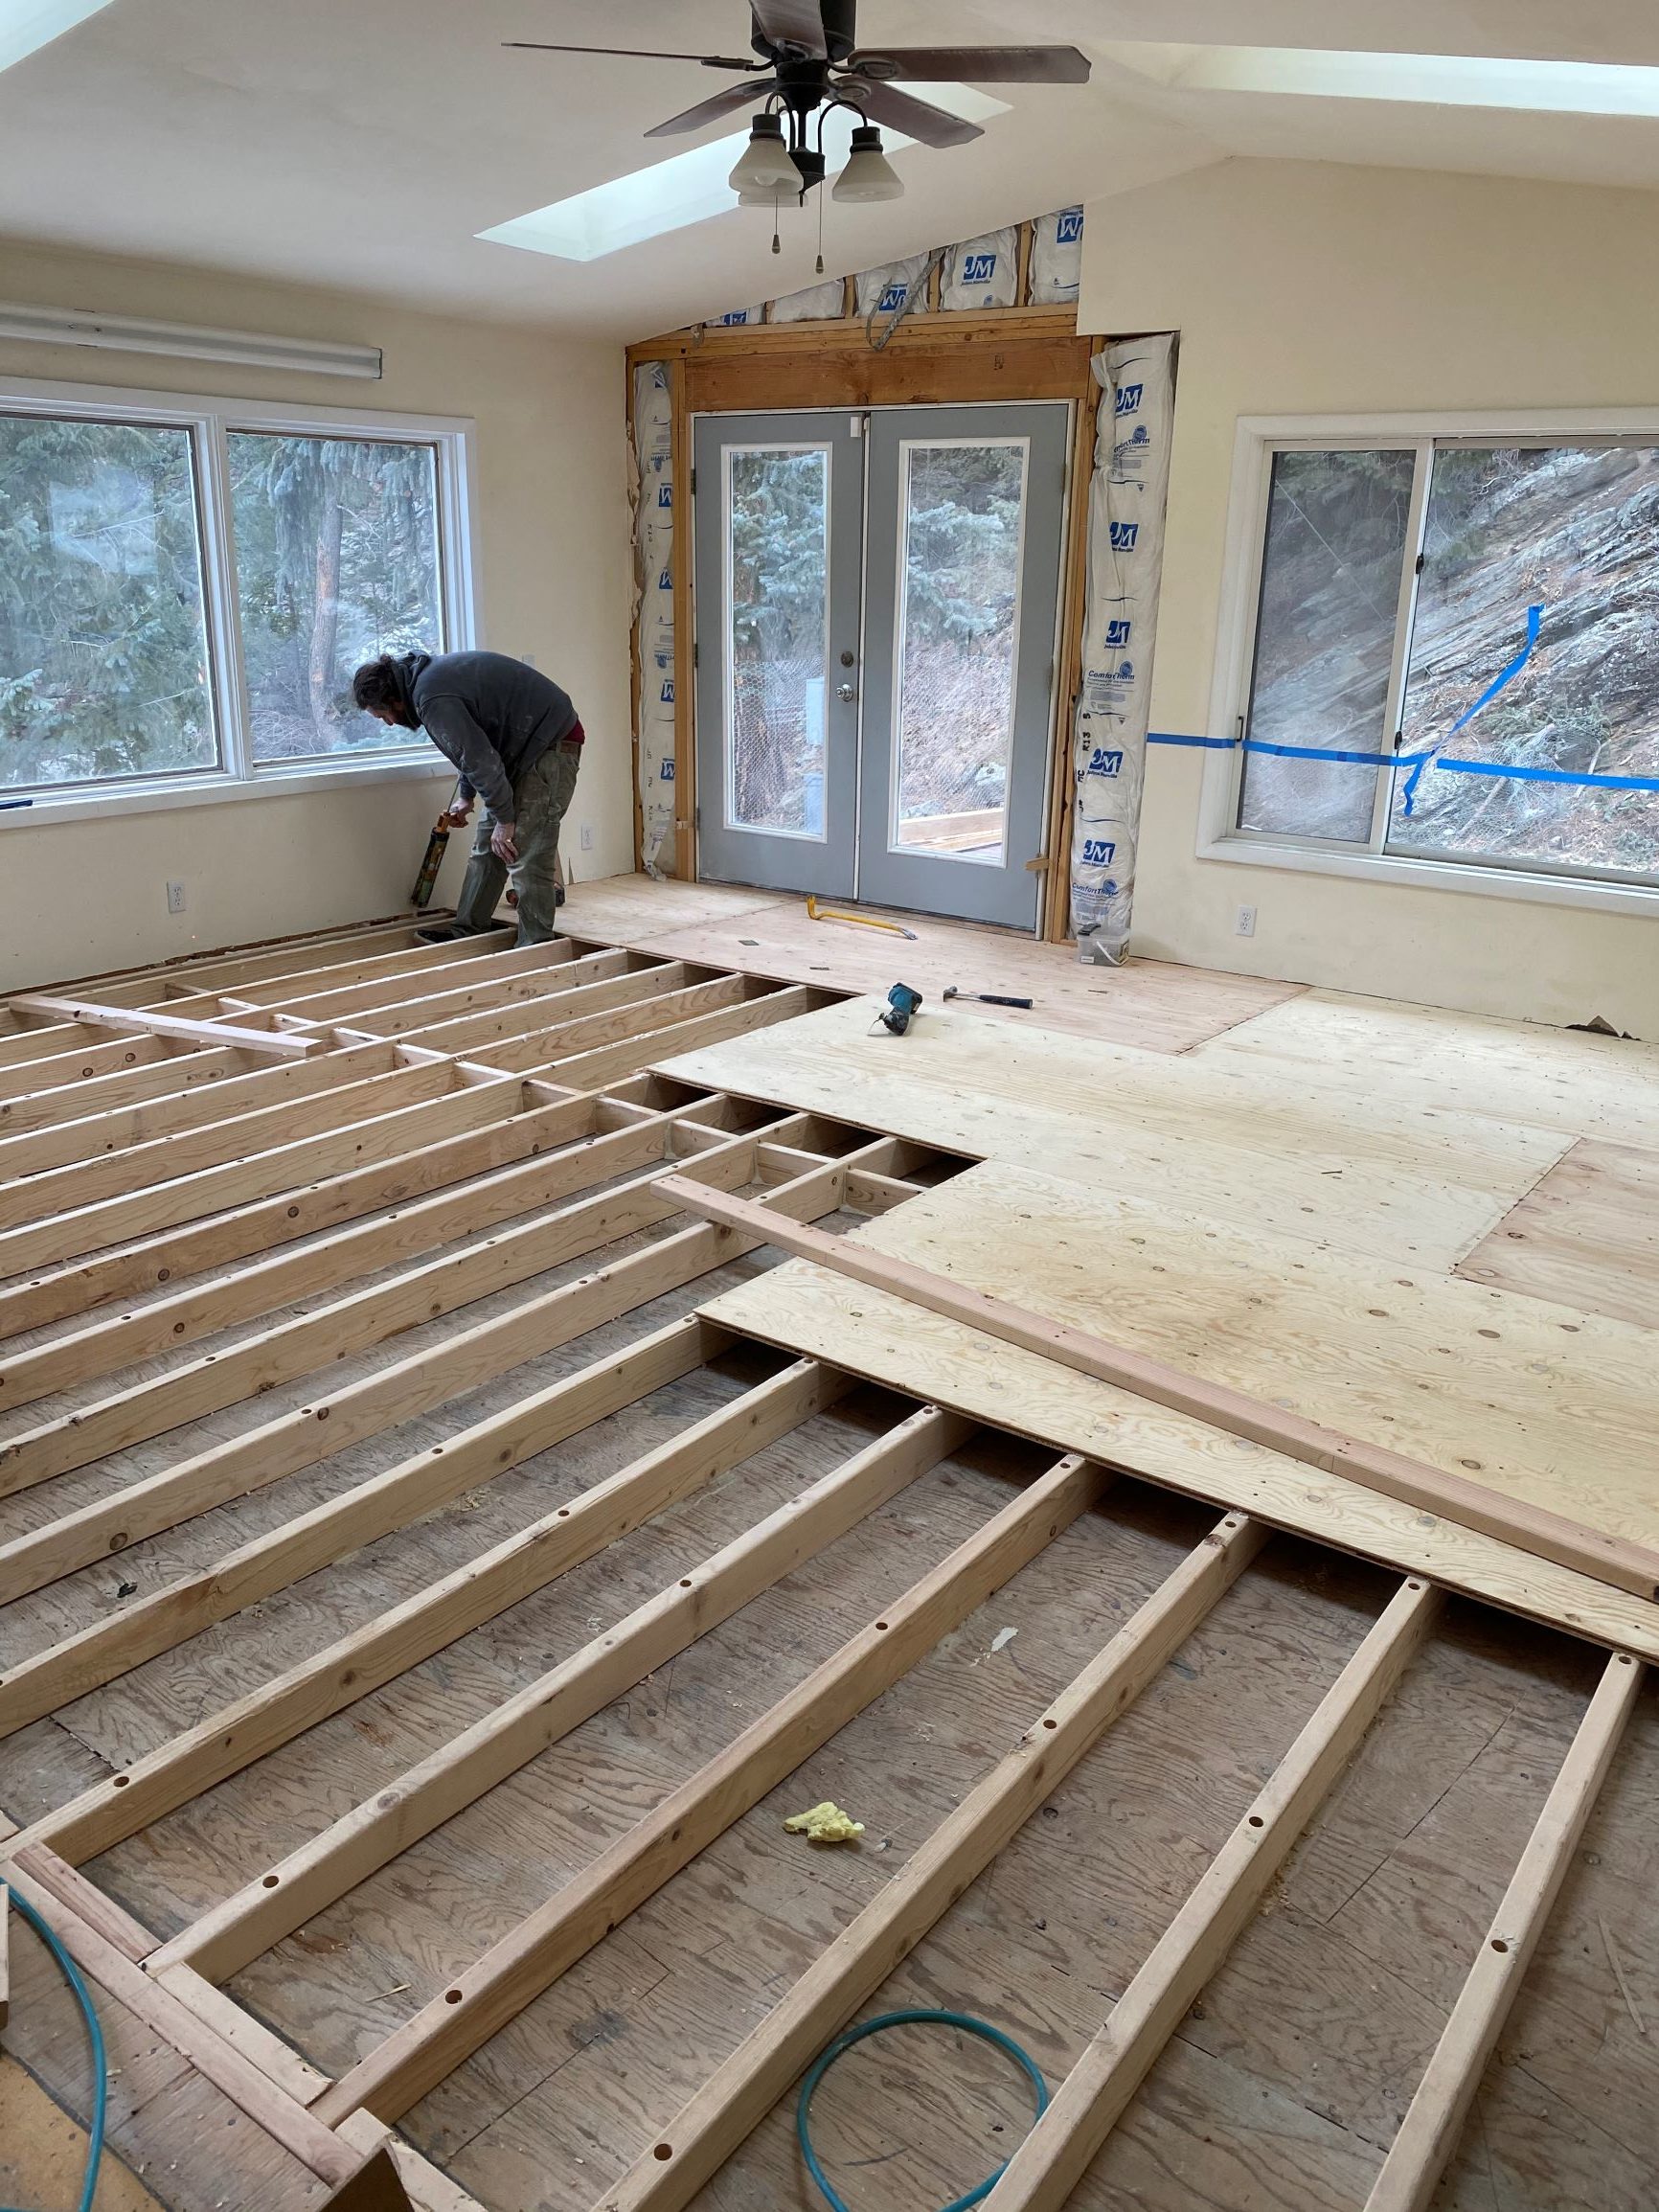
Preparing The Surface
Start by sweeping the floor. Remove all dirt and debris. Use a vacuum for tiny particles. A clean floor helps level it right. Avoid using water. It might damage some floors. Check for any sticky spots. Use a damp cloth to wipe them. Ensure the surface is dry before proceeding. This makes the next steps easier.
Look for any cracks on the floor. Use a filler for small cracks. Press it in with a putty knife. Let it dry fully. For bigger cracks, use a patching compound. Follow the instructions on the package. Smooth the surface after filling. This ensures a flat floor.
Selecting Leveling Compound
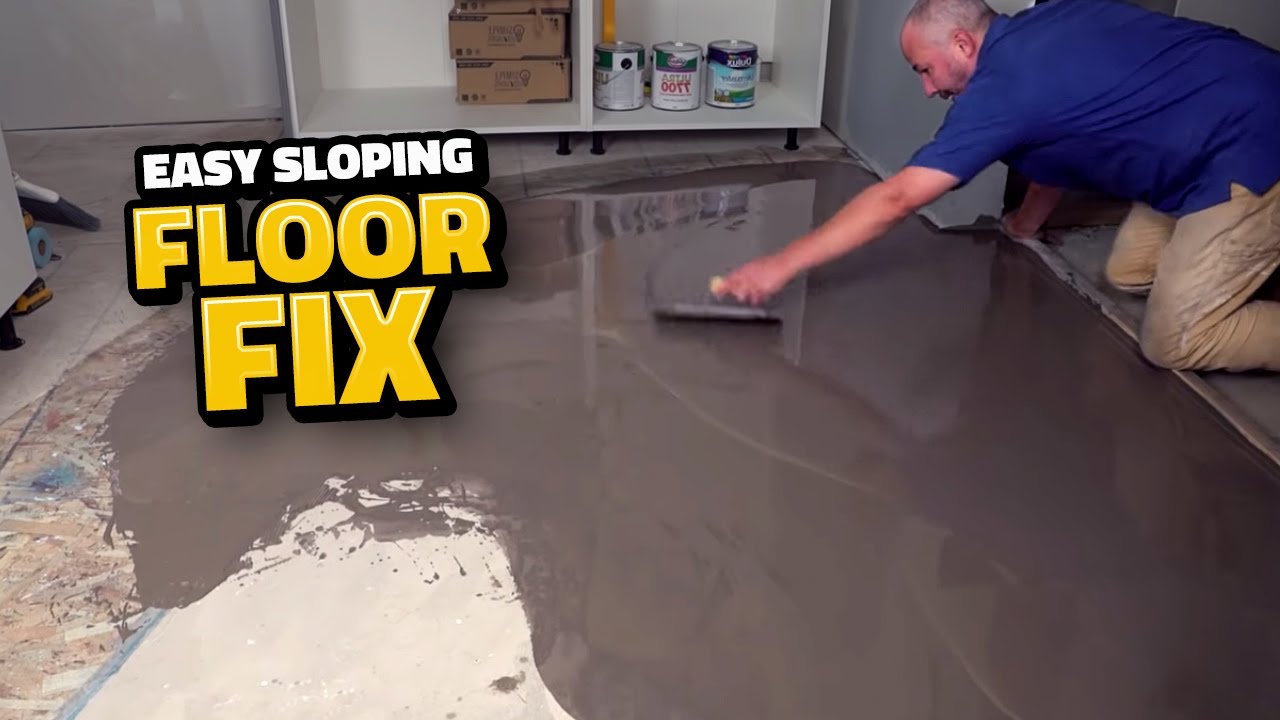
Self-leveling compounds are easy to use. They flow like liquid and cover uneven spots. These compounds harden quickly, making the floor smooth. Many people prefer them for speed. You only need to mix and pour. They work well for small and big areas. Always check the instructions before use. Some compounds are for specific floors. Safety gear is important. Wear gloves and goggles.
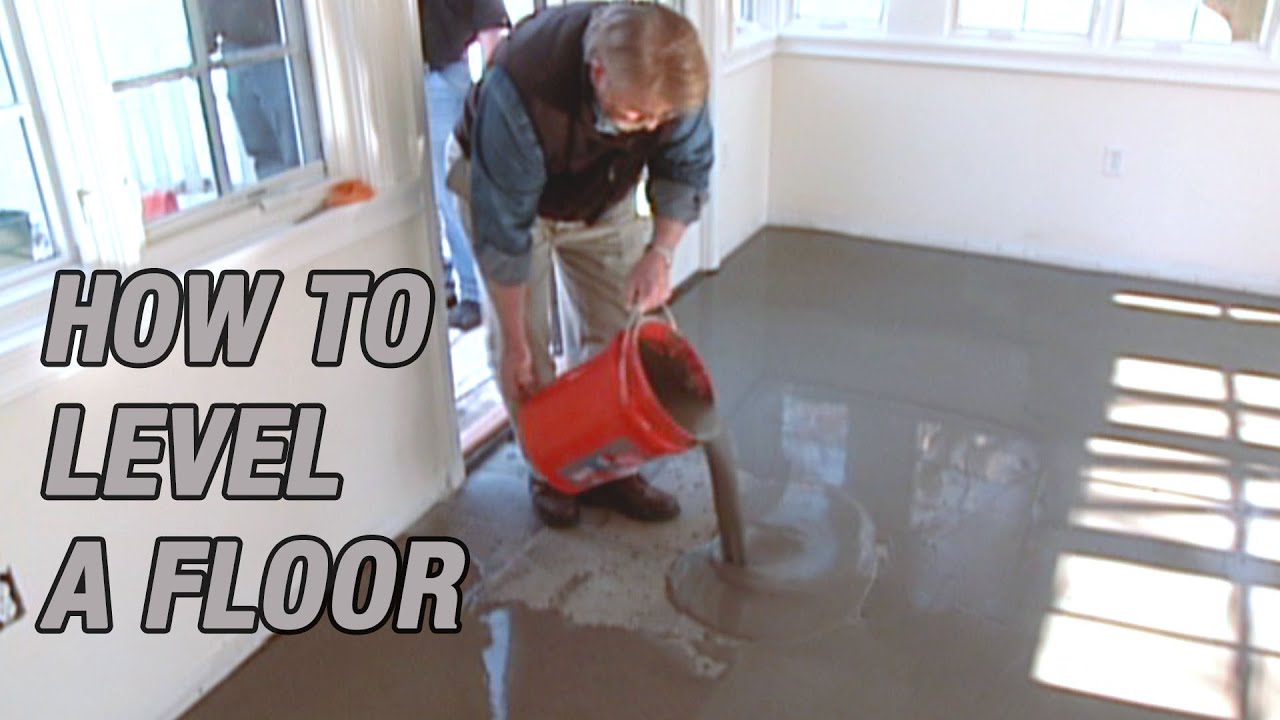
Traditional methods use sand and cement mix. This method is time-consuming but effective. Workers spread the mix by hand. It needs skill to do well. Traditional leveling is good for control. You can adjust the mix thickness. It is useful for very uneven floors. A trowel is needed for this task. Patience is also key. Allow the floor to dry properly.
Mixing And Applying Compound
Mixing the compound needs care. Always follow the instructions on the bag. Use a clean bucket and add water first. Stir the mix well using a drill with a mixing paddle. Make sure there are no lumps. The mix should be smooth like pancake batter. This helps in easy application.
Pour the mix on the floor. Start from one corner. Use a trowel to spread it evenly. Work quickly because it dries fast. Check the level with a spirit level tool. Adjust if needed. Wait for it to dry before walking. Drying takes a few hours. Follow these steps for a smooth floor.
Ensuring Smooth Finish
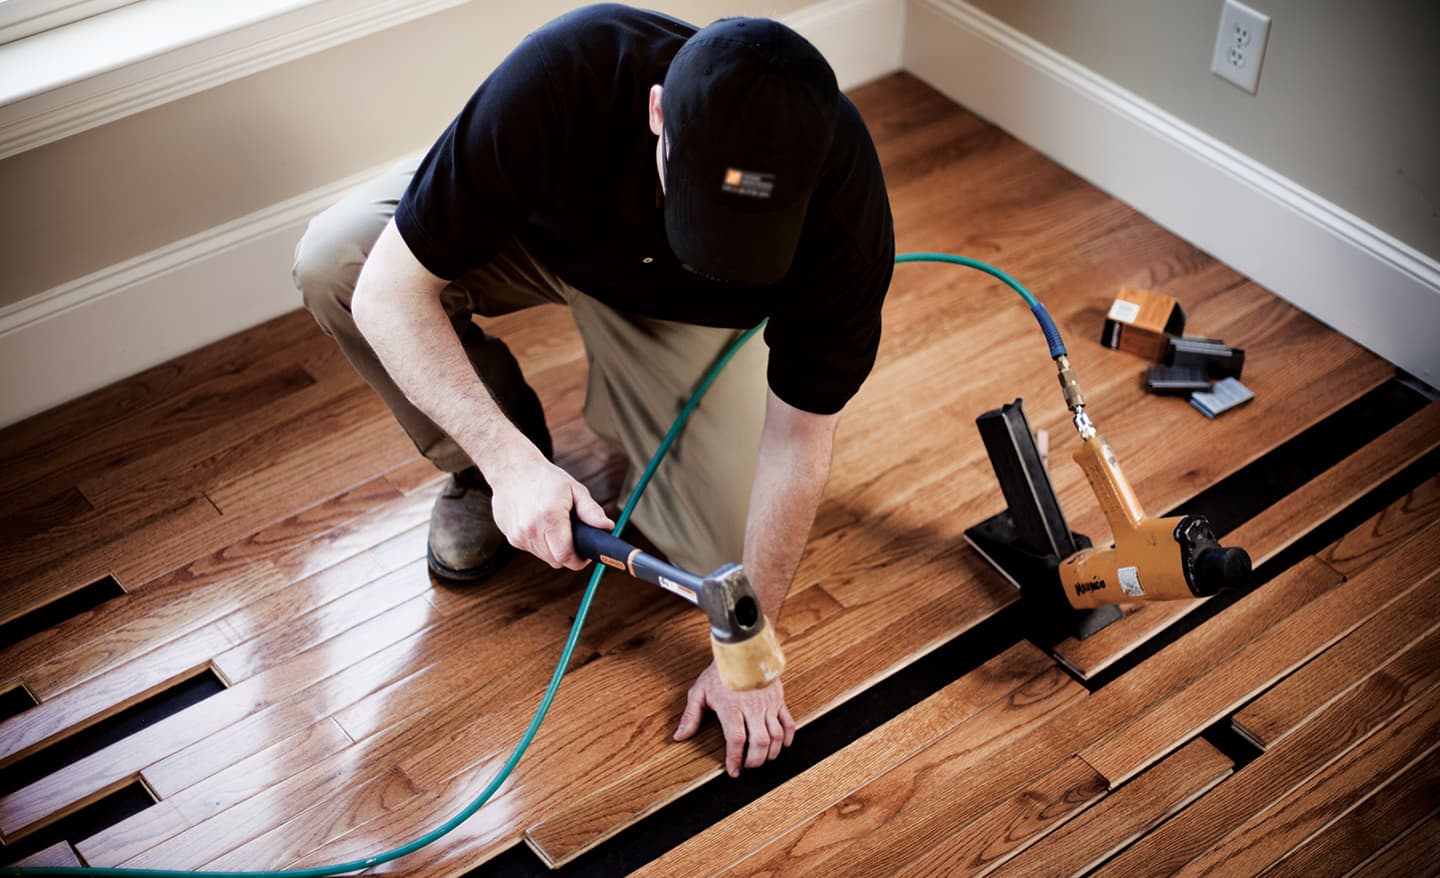
To make a floor even, use smoothing tools. Trowels and sanders help a lot. First, spread the leveling compound evenly. Check for any bumps or gaps. Smoothing is important for a nice floor. A smooth floor looks better and lasts longer. Make sure all tools are clean before use. Use a long board to check for flatness.
Drying time is important in floor leveling. It depends on the compound used. Some compounds dry fast; others take longer. Always check the instructions on the package. Do not step on the floor until it is dry. This can damage the surface. Proper drying ensures the floor stays level and strong.
Post-leveling Maintenance
Floors need regular inspections to stay level. Check for cracks or signs of damage. Small issues can grow big without care. Use a flashlight to spot hidden problems. Inspect around heavy furniture. Floors can sag under weight. Notice changes in floor color or texture. This might hint at deeper issues. Regular checks keep your floors safe and sturdy.
Protect floors with preventive measures. Use furniture pads to avoid scratches. Keep floors dry to stop water damage. Clean spills right away. Use mild cleaners for floor care. Heavy chemicals can harm surfaces. Control humidity in your home. Floors can warp with too much moisture. Regular vacuuming keeps dirt away. Dirt can grind and damage floors over time.
Common Mistakes To Avoid
Preparation is key for a smooth floor. Missing preparation can cause uneven surfaces. Clean the area first. Remove all debris. Measure the floor’s slope. Identify low spots. Mark them clearly. This helps during leveling. Never forget these steps. Your floor depends on them.
Drying time is crucial. Each product has its own drying time. Read instructions carefully. Don’t rush the process. Waiting is important. Rushing can cause cracks. Cracks mean more work later. Be patient. Let the floor dry completely. A strong floor needs time.
Frequently Asked Questions
What Tools Are Needed To Level A Floor?
To level a floor, you’ll need a leveling compound, a trowel, a floor sander, and a measuring tape. These tools help ensure precision in leveling. The leveling compound fills low spots, while the sander smooths high areas. Accurate measurements are crucial for achieving a flat surface.
How To Prepare A Floor For Leveling?
Start by cleaning the floor thoroughly to remove dust and debris. Check for loose boards or tiles and repair them. Use a primer if necessary to ensure the leveling compound adheres well. Proper preparation helps achieve a smoother and more durable finish.
Can You Level A Floor Yourself?
Yes, you can level a floor yourself with some DIY skills. Follow instructions carefully and use the right tools and materials. It’s important to assess the floor’s condition first. For complex issues, consider hiring a professional for best results.
How Long Does Floor Leveling Take?
Floor leveling typically takes a few hours to a day, depending on the floor’s size and condition. The leveling compound may need time to dry completely. Ensure each step is done properly for a successful result. Planning ahead can help manage time efficiently.
Conclusion
Leveling a floor may seem tricky, but it’s manageable. Start by assessing the problem. Then gather the right tools for the job. Follow each step carefully. Patience is key to success. Ensure safety during the process. Once finished, enjoy your smooth, even surface.
Your home will feel more stable. All furniture will sit nicely. No more annoying wobbles or tilts. A level floor boosts comfort and aesthetics. It enhances the space’s functionality. You’re now ready to tackle similar projects. Remember, practice makes perfect.
With time, you’ll refine your skills. Happy leveling!


