Imagine transforming your space with the warmth and elegance of engineered wood flooring. You’ve made a great choice, but now you’re faced with the question: how do you lay it down perfectly?
You want your floors to be stunning, durable, and seamless. You’re not alone—many homeowners like you want to make sure every plank is placed just right. The good news is, with the right guidance, you can achieve a professional finish without being a flooring expert.
This article will walk you through the process step-by-step, ensuring you feel confident and excited about your flooring project. Get ready to unlock the secrets to flawless engineered wood flooring installation, making your home a masterpiece you’ll love to show off.
Preparation
Effective preparation ensures smooth installation of engineered wood flooring. Clean the subfloor thoroughly to remove debris. Acclimate wood planks to room temperature for stability.
Gather Tools And Materials
Collect all necessary tools. Get a measuring tape, saw, and hammer. Buy a flooring nailer. Have nails ready. Get adhesive for the floors. Prepare spacers and a level. Ensure safety gear is available. Gather gloves and goggles. Keep a bucket and mop for cleaning. Have a pencil for marking.
Acclimate The Flooring
Leave the wood in the room. Let it sit for 48 hours. This helps the wood adapt. It adjusts to the room’s temperature. It also adjusts to humidity. This step is very important. It prevents future problems. It keeps the flooring stable.
Prepare The Subfloor
Check the subfloor surface. Ensure it’s dry and clean. Clear any debris or dust. Look for bumps and cracks. Fix them before proceeding. A smooth subfloor is crucial. It ensures a proper fit. Measure the level of the floor. Use a level tool for accuracy.
Measuring And Planning
Start by measuring the room’s length and width. Use a tape measure for accuracy. Write down the numbers. Multiply the length by the width. This gives you the total area. Always buy extra wood. Mistakes happen. Extra wood helps if you need more later.
Think about the wood pattern you like. Some people like straight lines. Others like zigzag patterns. Decide early. It helps with planning. Lay out a few pieces first. This shows how it looks. Make sure the pattern fits the room. This saves time later. No surprises.
Installing Underlayment
Picking the correct underlayment is important. It helps with soundproofing and insulation. Underlayment makes floors more comfortable. It also protects the wood from moisture. Choose one that suits your needs and the type of floor. Options include foam, cork, or rubber.
Start by rolling out the underlayment across the floor. Make sure it is flat and smooth. Use tape to join the edges together. This stops it from moving. Press the tape down firmly. Once secured, the underlayment is ready for the wood planks. Check for any bumps or gaps before proceeding.
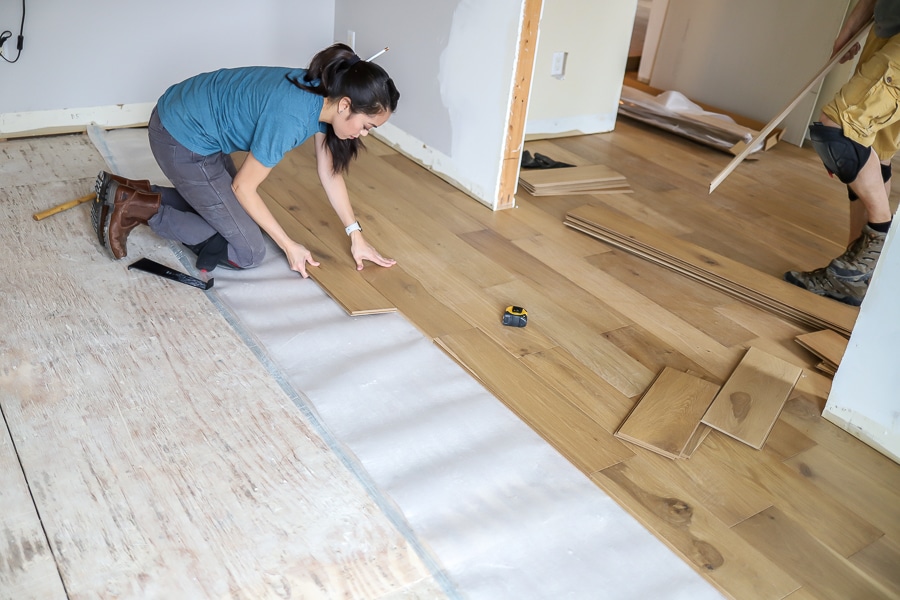
Laying The First Row
Start by placing the first plank. It should be straight. Use a chalk line for guidance. This helps keep the plank even. Ensure the plank is snug against the wall. This prevents gaps. Take your time. Precision is key.
Leave a small gap between the plank and the wall. This is important. Wood expands with heat. The gap allows movement. Use spacers for accuracy. They help keep the gap uniform. Check the gap often. It should be consistent across the room.
Continuing The Installation
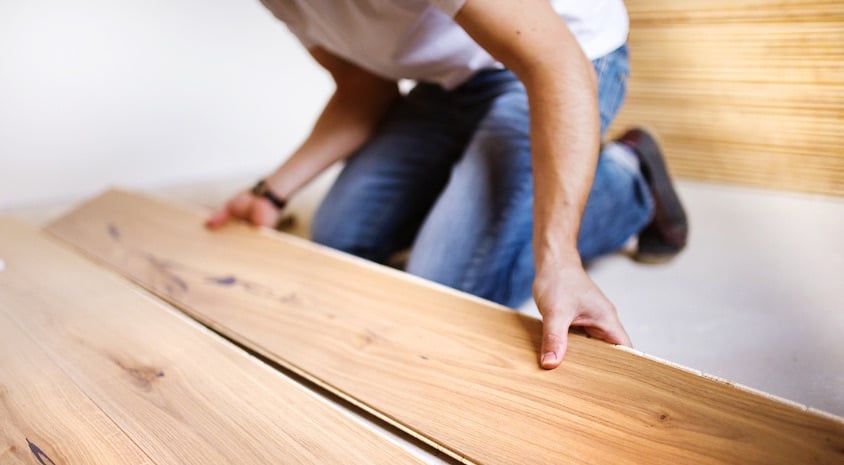
Staggering planks makes the floor strong. You should avoid lining up seams. This will help in preventing weak spots. Use different lengths of planks. Start each row with a different length. This creates a natural look. Make sure to leave a small gap. This is for expansion. It helps the wood breathe. Follow a random pattern for the best result.
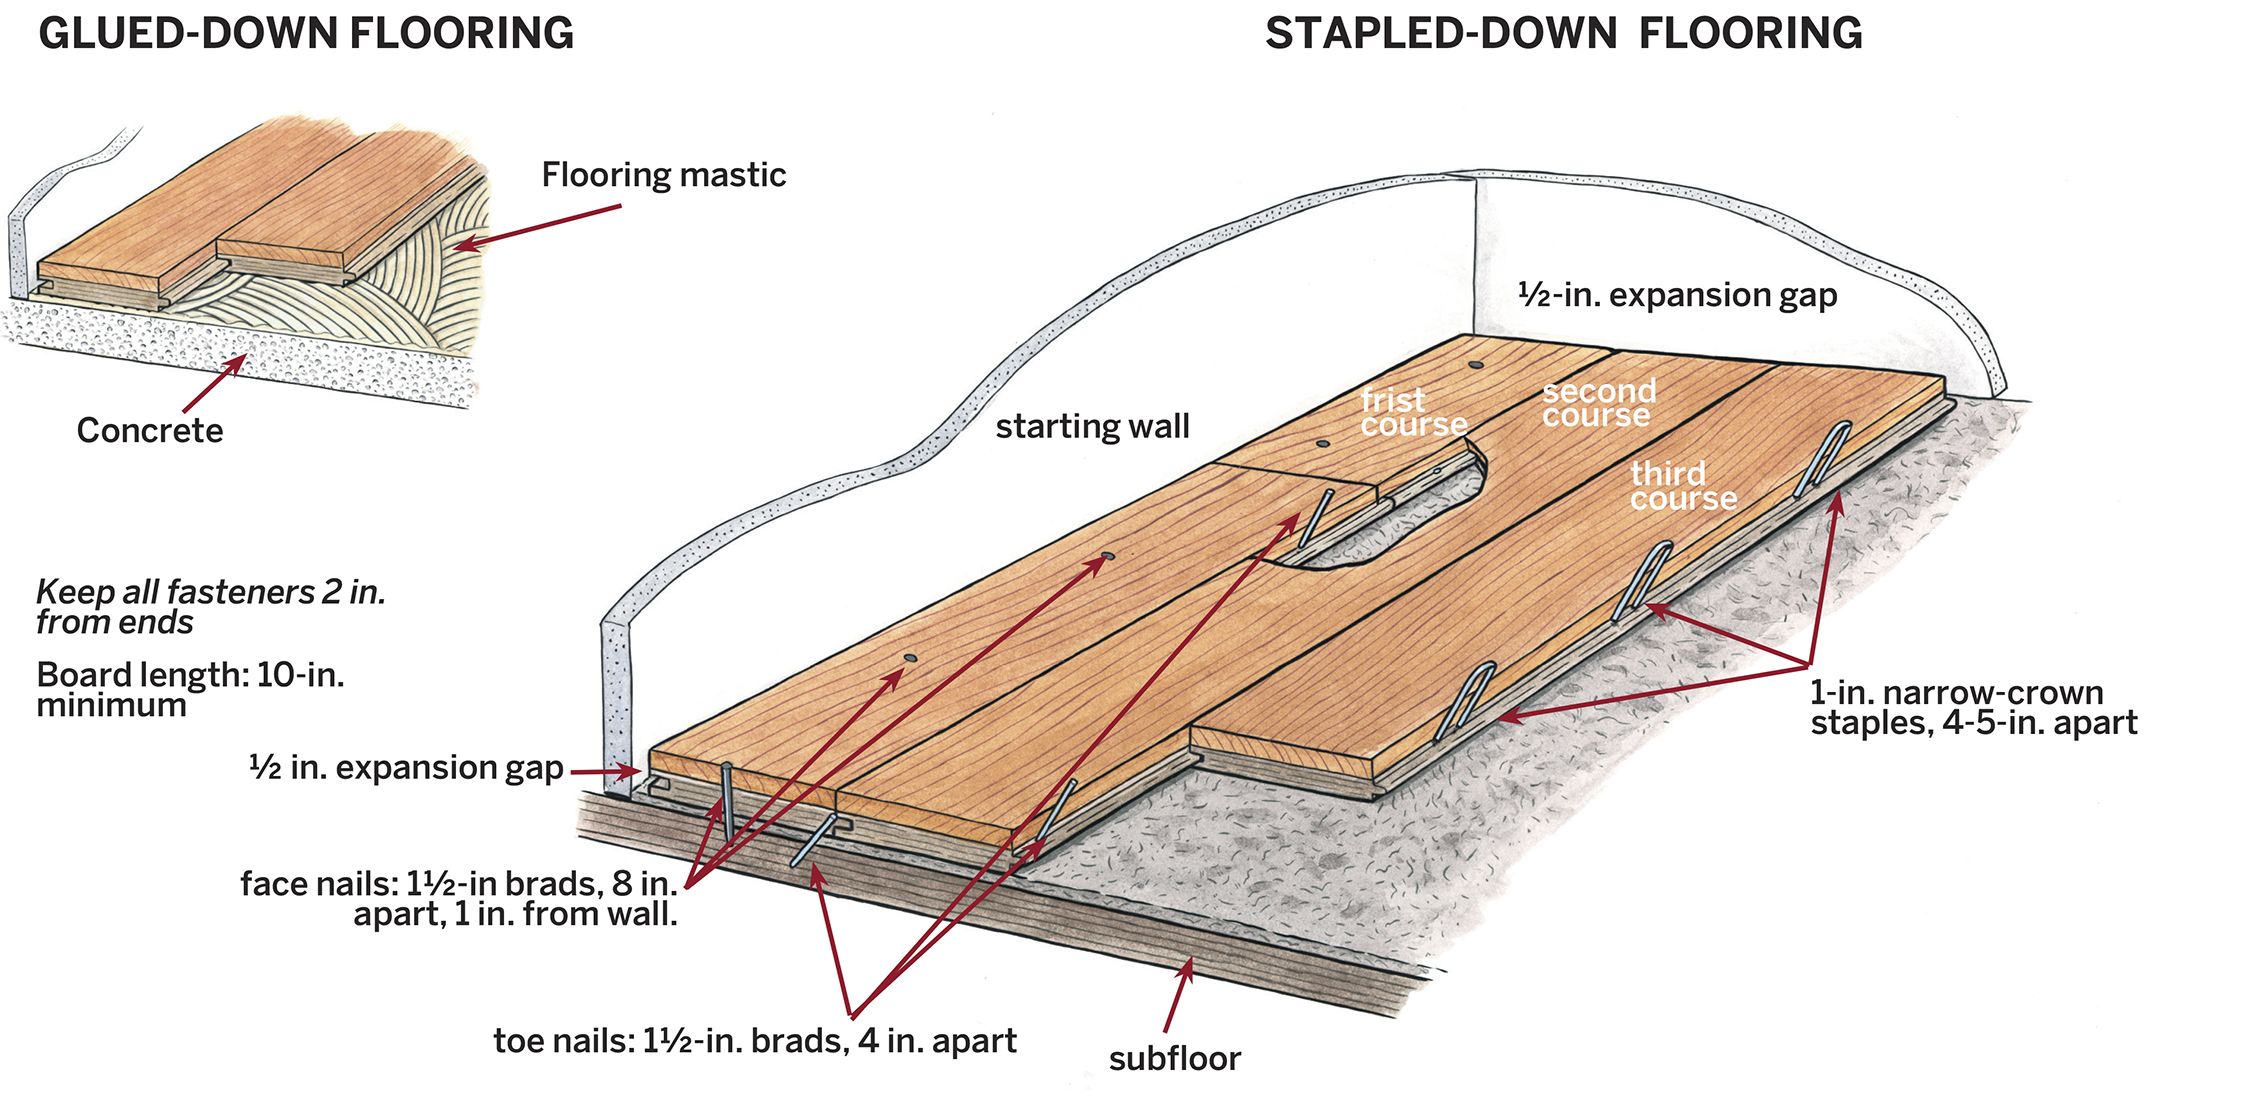
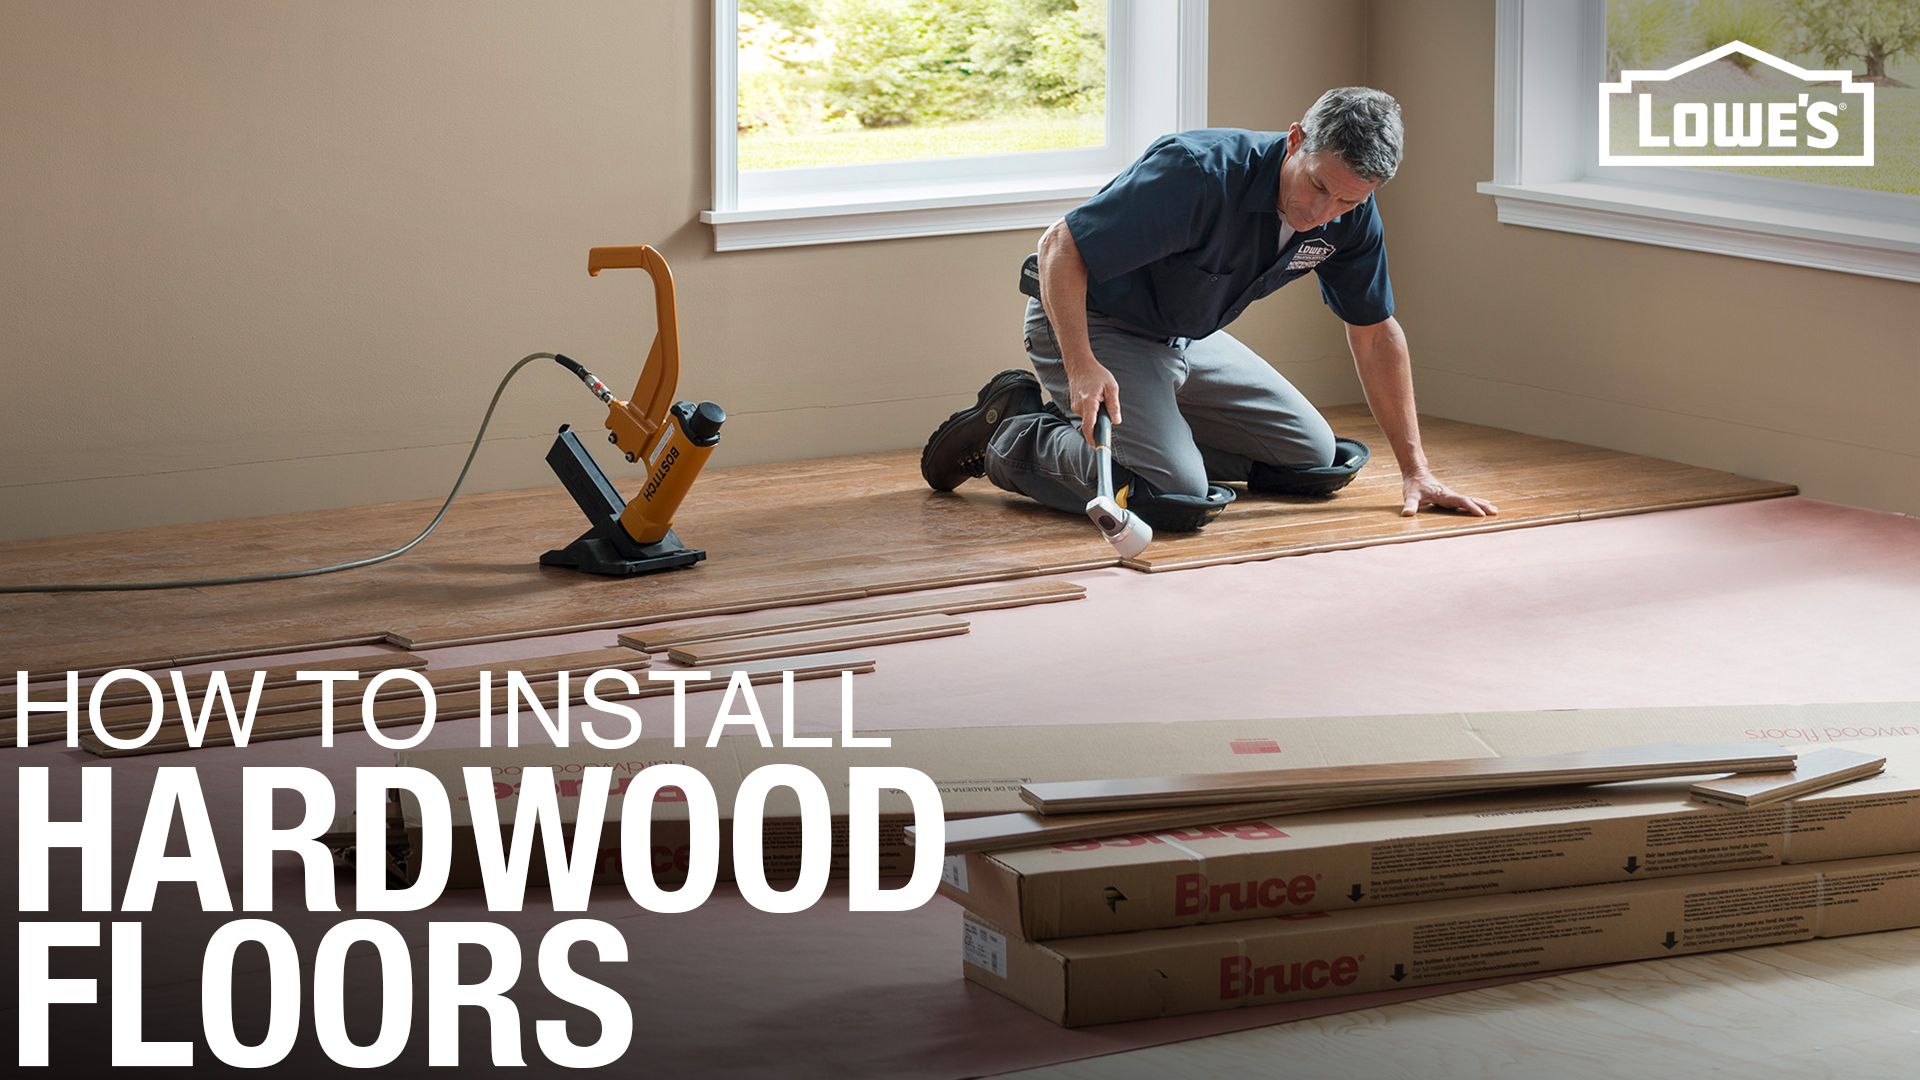
Adhesive or fasteners keep planks in place. Adhesive is glue. It sticks planks to the floor. Spread it evenly. Use fasteners with a nail gun. Fasteners hold planks tight. Choose the method that suits your floor. Both methods are good. Make sure to follow the instructions. This ensures a strong floor.
Handling Obstacles
Laying engineered wood flooring involves precise planning and technique. Start with a clean, level surface. Use a moisture barrier to protect the floor. Arrange planks carefully, ensuring a tight fit. Secure with adhesive or nails as needed. Trim edges for a neat finish.
Cutting Around Door Frames
Door frames can be tricky. To fit the wood, use a saw. Cut the bottom of the door trim. This lets the wood slide under. Hold the board close to the frame. Mark where to cut. Make small cuts for a perfect fit. Always measure twice. Cut once.
Dealing With Irregular Shapes
Some areas have odd shapes. Draw the shape on paper first. This helps to plan. Use a jigsaw for curves. Cut slowly and carefully. It’s like a puzzle. Each piece must fit just right. Always wear safety goggles when cutting. Protect your eyes from dust.
Finishing Touches
Ensure a smooth installation of engineered wood flooring by aligning the planks properly and using spacers. Secure each piece with glue or nails, and finish with a protective sealant. This process enhances durability and appearance, providing a beautiful wood finish to your space.
Install Trim And Moldings
Trim and moldings give your floor a neat look. They cover gaps between the floor and walls. Use a saw to cut the trim to fit. Nail the trim in place using a hammer. Make sure each piece is secure. Moldings add a finished edge to your flooring. They also protect the edges from damage. Pick a color that matches your floor. This makes the room look nice and tidy.
Inspect And Clean The Floor
Check the floor for any damage or gaps. Look closely at each plank. Fill any gaps with wood filler. It helps keep the floor strong. Sweep the floor to remove dust and debris. Use a damp cloth for any sticky spots. This helps keep the floor clean and shiny. A clean floor looks good and lasts longer.
Maintenance Tips
Engineered wood flooring needs careful preparation. Start by ensuring a clean and dry subfloor. Use adhesive or nails to secure each plank. Maintain even spacing to allow for expansion. Properly acclimate the wood to room temperature before installation. Follow manufacturer guidelines for the best results.
Regular Cleaning Advice
Keep your engineered wood flooring looking new. Use a soft broom daily. Dust can scratch the surface. Mop weekly with a damp cloth. Avoid too much water. It can damage the wood. Use mild soap if needed. Strong cleaners can ruin the finish.
Preventing Damage
Place rugs at entrances. This stops dirt from coming in. Use pads under furniture. They prevent scratches. Keep pets’ nails short. They can scratch the floor. Avoid high heels on the floor. They can leave marks. Wipe spills quickly. Water can stain the wood.
Frequently Asked Questions
What Tools Do I Need For Installation?
To lay engineered wood flooring, you’ll need a saw, tape measure, spacers, hammer, tapping block, and pull bar. Ensure you have underlayment and adhesive or nails, depending on installation type. Safety gear like goggles and gloves are also essential.
How Do I Prepare The Subfloor?
Ensure the subfloor is clean, dry, and level before installation. Remove debris and repair any damage. Use a moisture barrier for concrete subfloors. Check compatibility of underlayment with your engineered wood flooring.
Can I Install Engineered Wood Over Concrete?
Yes, you can install engineered wood over concrete. Use a moisture barrier to prevent water damage. Ensure the concrete is level, clean, and dry before installation. Follow specific guidelines provided by the flooring manufacturer.
How Do I Maintain Engineered Wood Flooring?
To maintain engineered wood flooring, regularly sweep or vacuum to remove dirt and debris. Use a damp mop for cleaning, avoiding excess water. Use furniture pads to prevent scratches and avoid harsh chemicals that can damage the finish.
Conclusion
Laying engineered wood flooring can be a rewarding project. With careful planning, the process becomes straightforward. Start by preparing your space. Measure accurately. Clean thoroughly. Then, lay the underlayment. This protects your floor. Next, align your planks. Ensure they fit snugly.
Use a tapping block. This prevents damage. Finally, inspect your work. Check for gaps or uneven areas. Adjust as needed. With patience, you’ll achieve a beautiful finish. Enjoy your new floor. It adds warmth and style to your home. Plus, it enhances your living space.
A perfect DIY project for every homeowner.


