
Are you considering giving your home a stylish makeover with a floating wood floor? You’re not alone.
Many homeowners are choosing this modern flooring option for its elegant look and durability. But before you dive in, you might be wondering how you can install a floating wood floor by yourself, without the need for a professional. Imagine transforming your space with a fresh, sophisticated look, all while saving money and gaining the satisfaction of a DIY project well done.
In this guide, you’ll discover step-by-step instructions that are easy to follow, even if you’re new to home improvement. By the end of this article, you’ll feel confident and ready to tackle your flooring project with ease. Let’s get started!
Choosing The Right Materials
Different wood floors exist. Solid wood is popular. It lasts long. Engineered wood is versatile. It handles moisture well. Both types look great. Laminate flooring is another option. It mimics real wood. It’s cheaper too. Each type offers unique benefits.
Gather important tools first. Tape measure checks room size. Saw cuts wood panels. Hammer taps them into place. Nails hold panels tight. Underlayment cushions the floor. It helps with sound. Leveling tool ensures flat surfaces. Safety gear protects you. Gloves and goggles are key.
Preparing The Subfloor
Start by removing all dust and dirt from the subfloor. Use a broom or vacuum. A clean floor helps the wood stick better. Next, check for any bumps or holes. The floor must be smooth and flat. Use a level tool to see if it’s even. If it’s not, use a leveling compound. This will fill in holes and make it flat. Wait until the compound dries.
A moisture barrier is very important. It stops water from reaching the wood. Lay down a plastic sheet over the entire subfloor. Make sure to overlap the edges by a few inches. This keeps moisture out. Tape the edges down to secure them. Now the subfloor is ready for wood installation. A good barrier keeps your floor safe.
Acclimating The Wood
Acclimating wood is very important before you start installing. Wood needs time to get used to the room. This helps prevent bending or gaps later. Wood must be kept in the room where it will be installed. It should be left there for at least 48 hours. This allows the wood to match the room’s temperature and humidity.
Ensure the room is dry and warm during this time. Ideal temperature is between 60-80 degrees Fahrenheit. Humidity should be between 30-50%. This makes the wood ready for installation. Proper acclimation leads to a perfect floor.
Layout Planning
Start by measuring the room’s length and width. Use a tape measure. Write down each number. This tells you how much flooring you need. Don’t forget to measure doorways too. This ensures a proper fit.
Choose how the wood will lay on the floor. Will it go side to side? Or front to back? The pattern affects how the room looks. Think about light coming from windows. Wood often looks best running along the light. This makes the room feel bigger.
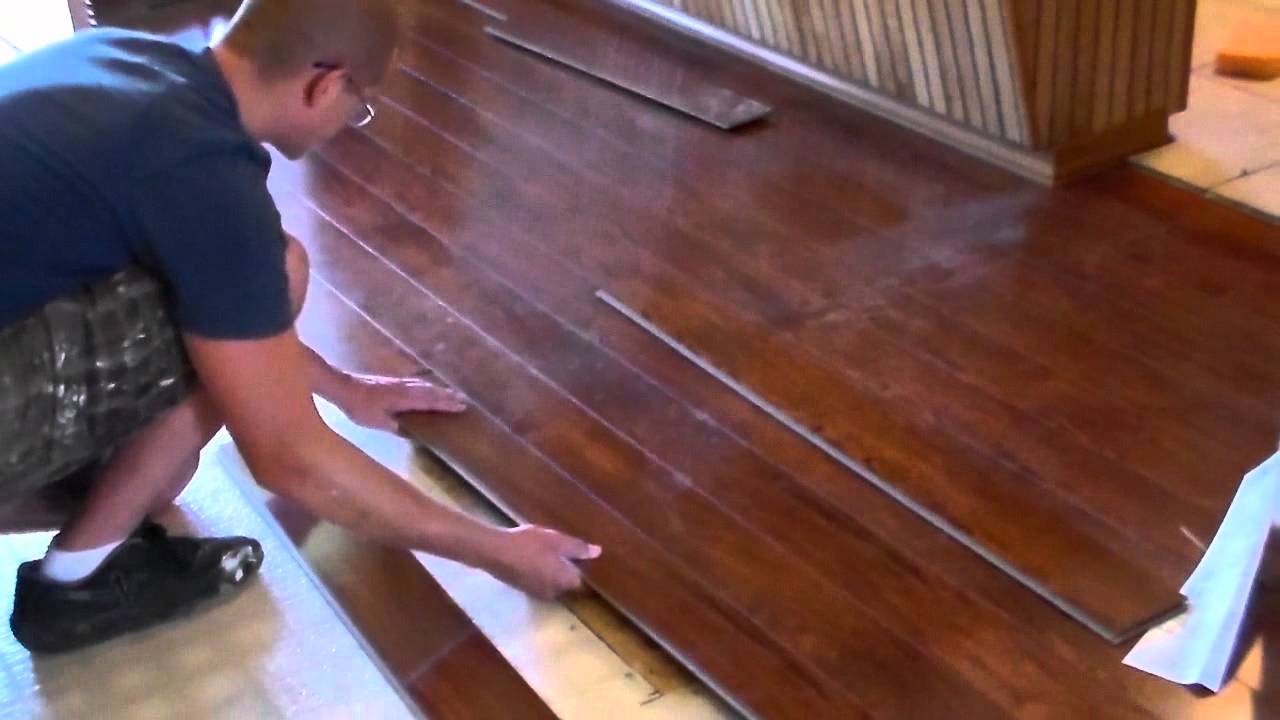
Starting The Installation
Embarking on the installation of a floating wood floor starts with preparing the subfloor. Ensure the surface is clean and level to avoid any unevenness. Carefully lay the planks, clicking them together for a seamless fit.
First Row Setup
Align the first row of wood planks against the wall. Make sure they are straight. This is very important for a smooth floor. Use spacers between the planks and the wall. The spacers keep the planks in place.
Spacers And Expansion Gaps
Spacers help create an expansion gap. This gap lets the floor expand and shrink. Wood floors change with temperature and humidity. Without this gap, the floor might crack. Keep the gap about 10mm wide. This allows enough space for movement.
Continuing The Installation
Continue laying the planks by snapping them together. Ensure each piece fits snugly. Keep a consistent pattern for a seamless look.
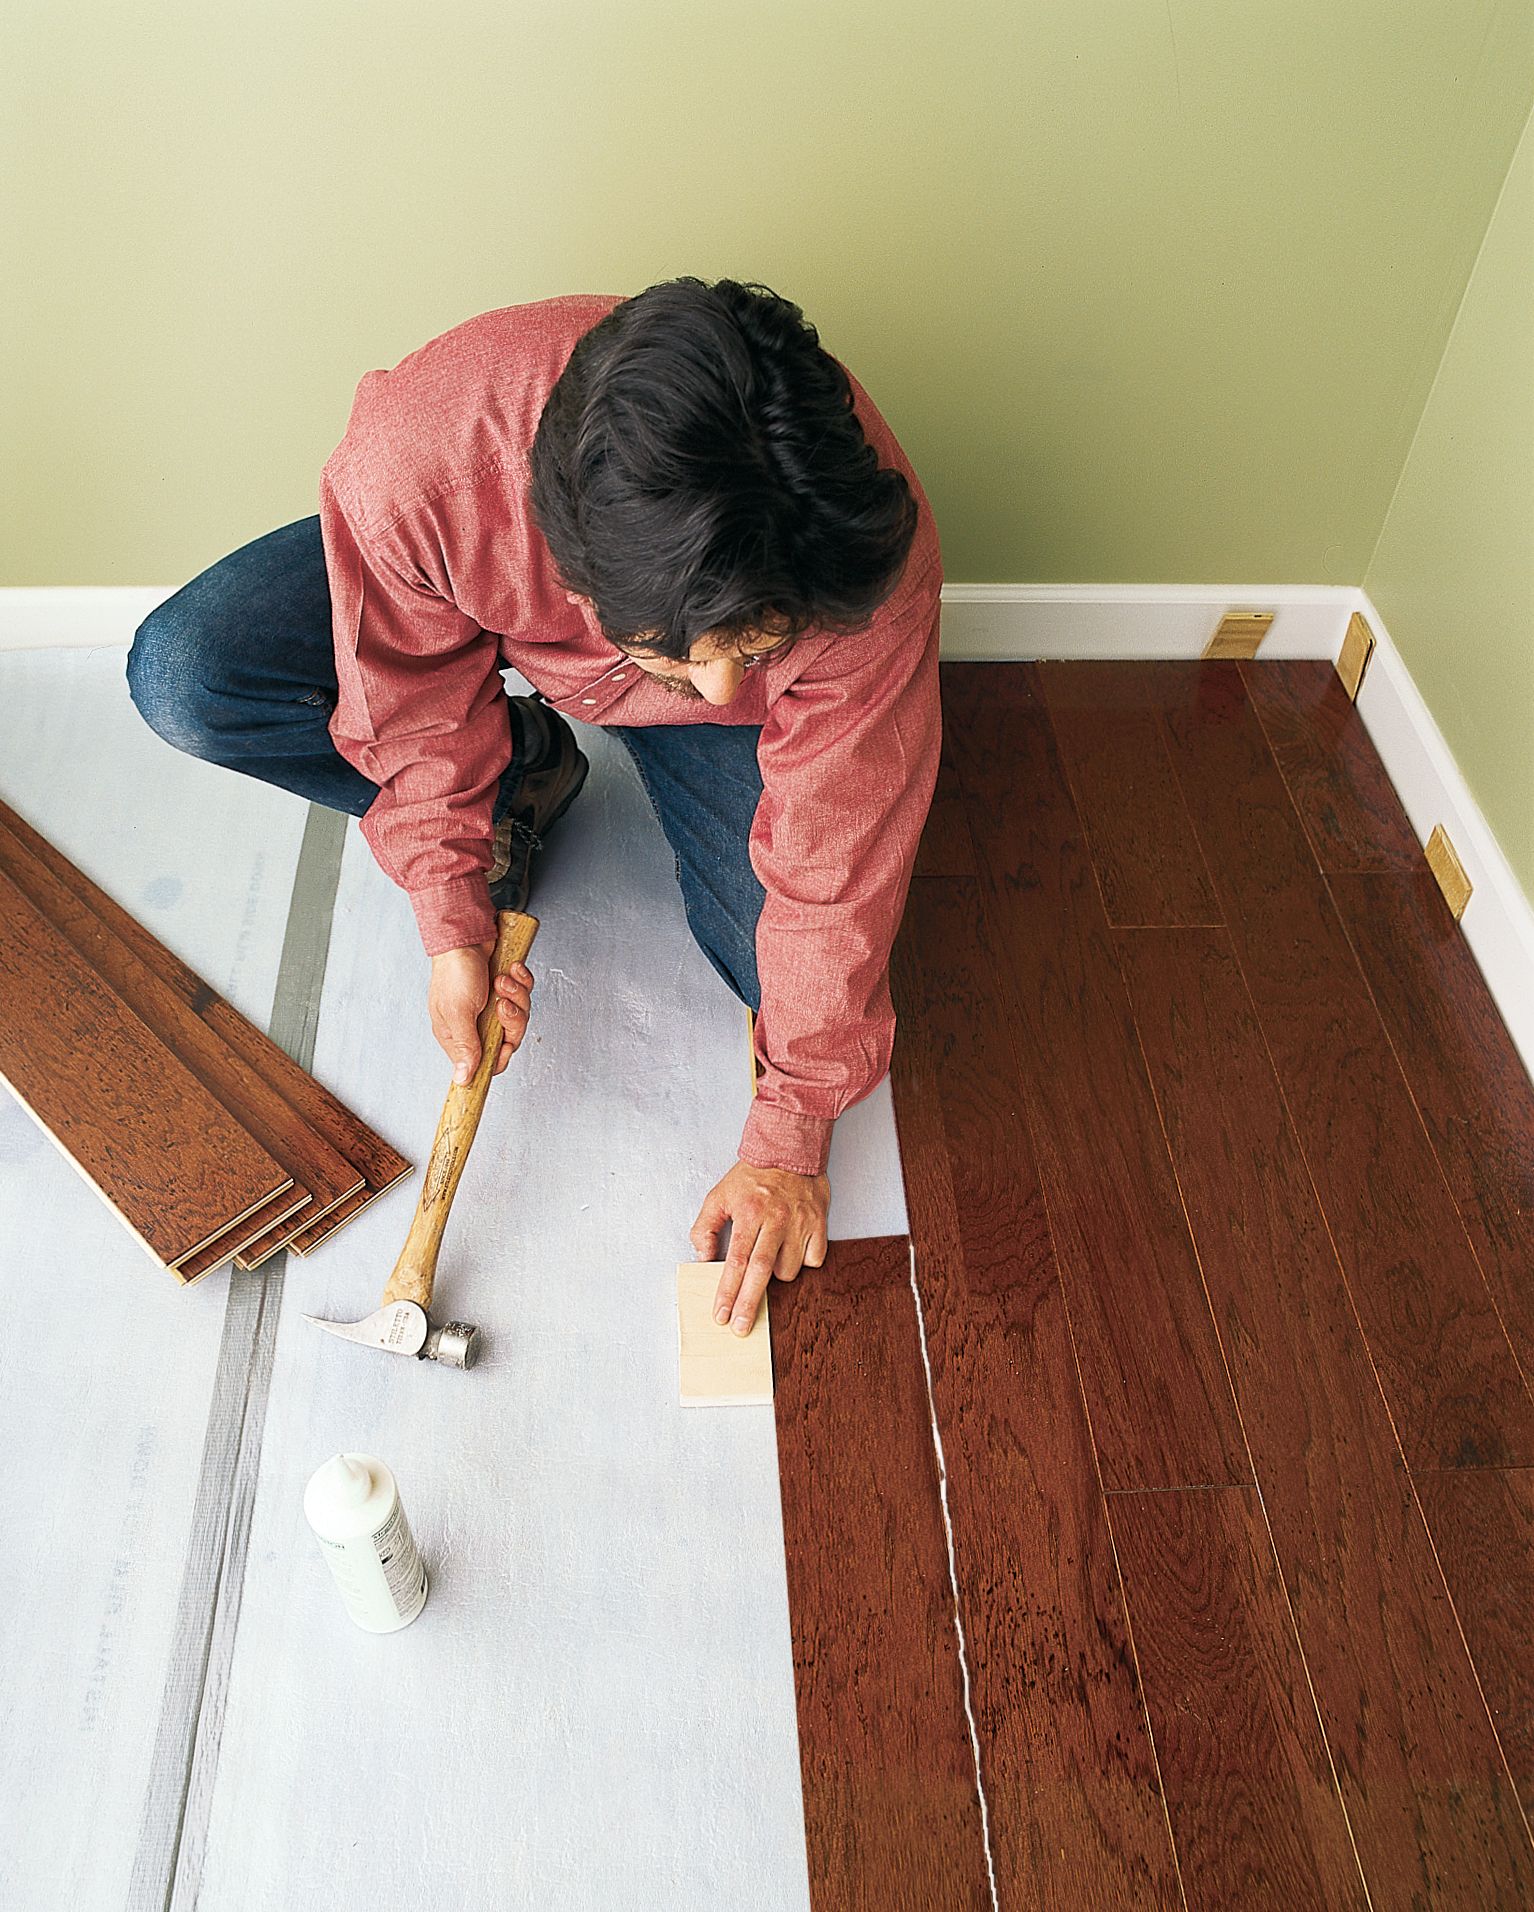
Click-lock Mechanism
The click-lock mechanism makes installation easy. Start by laying the first board against the wall. Ensure the groove side is facing the wall. Connect the next board by angling it into the previous board’s tongue. Press down gently until it clicks. This sound means it is locked in place. Repeat this process for each board. Ensure each click is clear and audible. Mistakes can cause gaps or uneven floors. Use spacers between the wall and boards. This allows room for the floor to expand. Always check each row for alignment.
Staggering Seams
Staggering seams is important for stability. It makes your floor strong and durable. Avoid aligning seams in the same row. Use a random pattern to stagger the seams. This looks nice and prevents weak spots. Begin each row with a different length of board. Cut boards to fit if needed. Keep a consistent pattern for a natural look. Aim for a 6-inch stagger at least. This creates a solid and balanced floor. Always double-check your work as you go.
Handling Obstructions
Cut the wood to fit the doorway. Measure the space carefully. Use a saw to trim the wood. Leave a small gap for the door to swing freely. Install a transition strip. This covers gaps and looks neat. Secure the strip with adhesive or screws. Check the door. Make sure it opens and closes easily.
Use a jigsaw for cutting. Mark the area around the fixture. Cut slowly to avoid mistakes. Test the fit before attaching the wood. Adjust if needed. Secure the wood in place. Use adhesive for a strong hold. Look at the finished piece. Ensure it fits snugly.

Finishing Touches
Baseboards cover the gap between the floor and the wall. First, measure the length of the wall. Cut the baseboard to fit. Use a miter saw for clean edges. Next, apply a bead of adhesive on the back. Press the baseboard against the wall. Hold it in place for a few seconds. Use a nail gun to secure it. Space nails evenly for strength. Fill nail holes with wood putty. Sand smooth after drying. Paint or stain the baseboards to match. This adds a neat finish to your floor.
Check the floor for any gaps. Walk across to test stability. Listen for any creaks or noises. Ensure all boards are secure. Check for uneven spots. Adjust if needed. Look for any visible scratches or marks. Clean the floor with a damp cloth. Make sure all edges are aligned well. This final check ensures your floor looks perfect. A thorough inspection guarantees a lasting finish.
Maintenance Tips
Installing a floating wood floor involves preparing the subfloor, laying the underlayment, and snapping planks together. Maintain a gap for expansion around the room’s perimeter. Trim and fit the last row carefully for a neat finish.
Cleaning And Care
Always keep your floating wood floor clean. Use a soft broom to sweep. This helps remove dirt and dust. For a deeper clean, use a damp mop. Make sure the mop is not too wet. Water can harm wood floors. Dry the floor with a cloth after mopping. Avoid using harsh chemicals. They can damage the wood.
Preventing Damage
Protect your floor from heavy furniture. Place pads under furniture legs. This stops scratches. Don’t drag furniture on the floor. Lift it instead. Keep pet nails trimmed. Long nails can scratch the wood. Use rugs in high-traffic areas. Rugs help reduce wear and tear.
Frequently Asked Questions
What Tools Are Needed To Install A Floating Floor?
To install a floating wood floor, you’ll need essential tools like a saw, tape measure, spacers, and a rubber mallet. You may also require a utility knife, underlayment, and adhesive. Ensure all tools are handy for a smooth installation process.
Can I Install Floating Wood Floor Myself?
Yes, installing a floating wood floor can be a DIY project. With the right tools and preparation, you can complete it successfully. Follow step-by-step instructions and take your time. You can achieve professional results without hiring an expert.
How Long Does Installation Usually Take?
Installing a floating wood floor typically takes one to three days. The duration depends on room size and experience level. Preparation and cleanup time should be considered. With proper planning, the process can be efficient and rewarding.
Do I Need Underlayment For Floating Floors?
Yes, underlayment is essential for floating wood floors. It provides cushioning, sound absorption, and moisture protection. Choose the right type based on your subfloor and specific needs. Proper underlayment ensures durability and enhances comfort.
Conclusion
Installing a floating wood floor is straightforward. Gather your tools and materials first. Prepare the area by cleaning and leveling the subfloor. Lay the underlayment smoothly to ensure comfort and insulation. Begin placing the planks, connecting them securely. Ensure you leave space for expansion.
Trim the edges for a neat finish. Enjoy your new floor’s warmth and beauty. With care, it lasts for years. Now, you have a stylish and durable floor. Perfect for enhancing any room’s look. Remember, proper installation means less maintenance.
Enjoy your space with pride and satisfaction.


