First, inspect your subfloor for damage, moisture, and unevenness, repairing as needed. Next, clean it thoroughly and install a polyethylene moisture barrier or liquid membrane. Then, choose an underlayment suited for vinyl—typically 2-3mm thick foam or cork—and lay it flat with no wrinkles, securing seams properly. Leave a 1/4-inch expansion gap at edges to accommodate movement. Once the base is level, dry, and stable, you’re set to proceed with vinyl installation. There’s more detail to guarantee perfect preparation.
Assessing Your Existing Subfloor Condition
Before installing vinyl sol, you need to carefully inspect your existing subfloor for any damage, moisture issues, or unevenness. Start by employing precise subfloor assessment techniques such as visual inspection, moisture meter readings, and tapping to detect hollow spots. Check for common subfloor issues like water damage, mold, cracks, and warping. Uneven areas exceeding 3/16 inch over 10 feet require leveling. Use a straightedge or level to confirm flatness. Moisture content should be below manufacturer-recommended thresholds to prevent vinyl deterioration. Addressing these factors guarantees a stable base, promoting durability and freedom from future repairs. Accurate subfloor evaluation is essential before proceeding, so you can confidently install vinyl flooring that performs well and lasts long.
Choosing the Right Subfloor Material
Once your subfloor is thoroughly evaluated and any necessary repairs or leveling are completed, selecting the appropriate subfloor material becomes the next step. You’ll want to choose from common subfloor types like plywood, oriented strand board (OSB), or cement board, depending on your environment and vinyl flooring type. Plywood offers strength and moisture resistance, ideal for most installations, while OSB is cost-effective but less moisture tolerant. Cement board suits moisture-prone areas but requires different installation methods. Verify the subfloor material you pick aligns with your vinyl’s specifications and installation method—whether glue-down, click-lock, or loose lay. Properly matching subfloor types and installation methods guarantees a stable, durable base, preventing issues like warping or uneven surfaces. This choice directly impacts your flooring’s longevity and your freedom to enjoy a flawless finish.
Cleaning and Preparing the Subfloor Surface
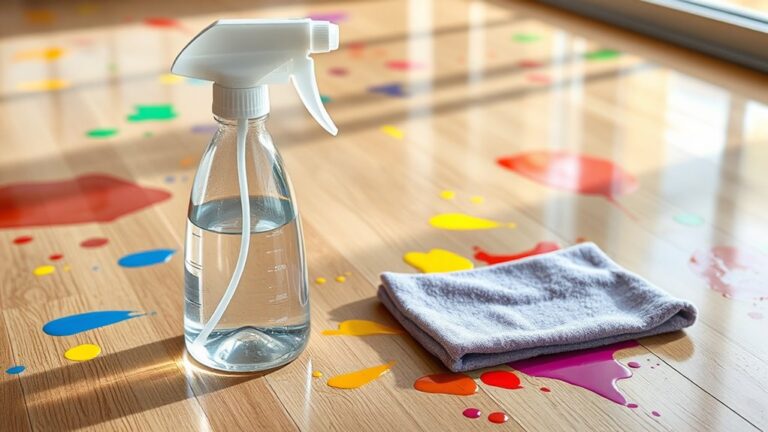
You’ll need to remove all debris from the subfloor to guarantee a clean surface for installation. Check the subfloor for any moisture issues, as excess dampness can damage vinyl flooring. Finally, repair any cracks, holes, or uneven areas to create a smooth, stable base.
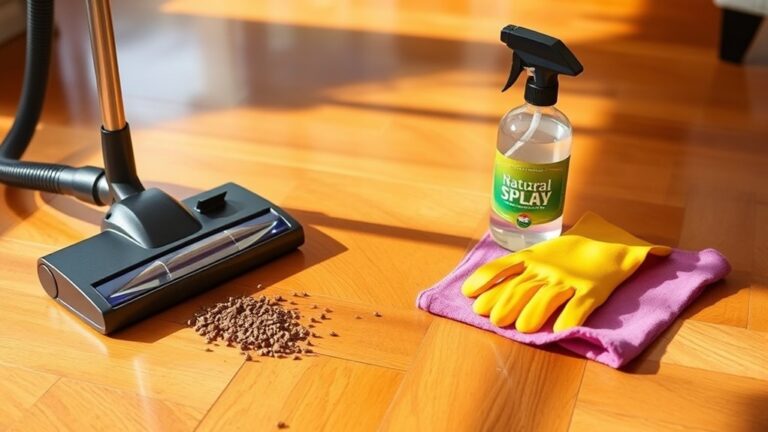
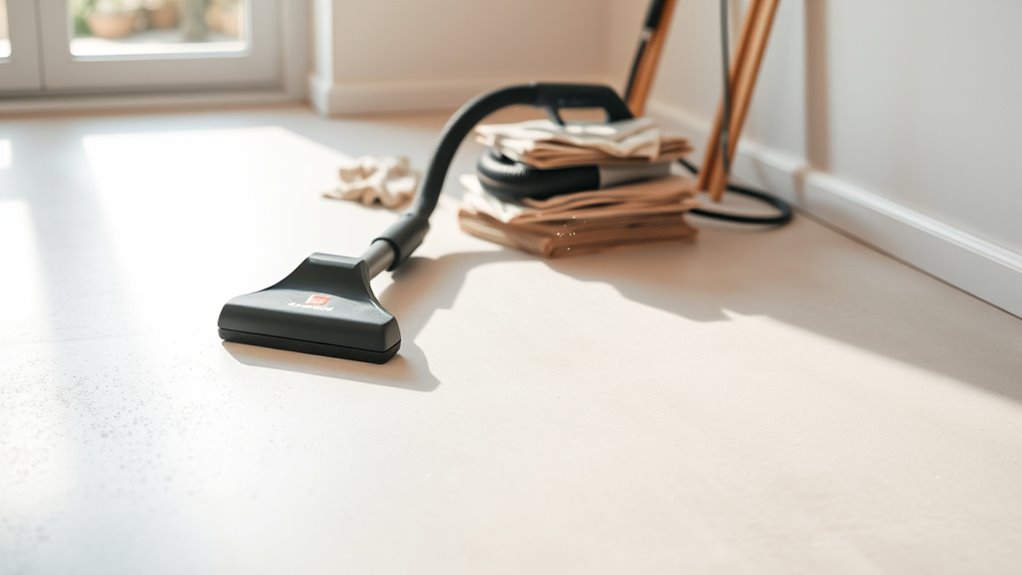
Remove Debris Thoroughly
Although it might seem tedious, removing all debris from the subfloor is essential for ensuring proper adhesion and a smooth surface for your vinyl flooring. Effective debris removal techniques are critical to avoid imperfections that compromise the flooring’s longevity. Start by sweeping or vacuuming the entire area to eliminate dust and loose particles. Next, use a damp mop or cloth with a mild detergent to address stubborn dirt and grease. Be sure to focus on:
- Removing nails, screws, and staples
- Scraping off old adhesive residues
- Cleaning paint splatters or stains
- Eliminating sawdust or wood shavings
- Ensuring no loose particles remain
These surface cleaning methods provide a clean, flat base, enabling your vinyl flooring to lay perfectly and last longer.
Vérifiez l'humidité
Before installing vinyl flooring, it’s essential to check for moisture in the subfloor, as excess dampness can lead to adhesive failure and floor damage. Begin by selecting appropriate testing equipment, such as digital moisture gauges or calcium chloride test kits, designed to accurately measure moisture levels in concrete or wood subfloors. Calibrate your moisture gauges according to the manufacturer’s instructions to guarantee precise readings. Systematically scan the entire subfloor surface, focusing on areas prone to moisture accumulation, like near windows or plumbing. Record moisture levels and compare them to the vinyl manufacturer’s recommended limits. If readings exceed acceptable thresholds, delay installation until the subfloor dries adequately. Addressing moisture proactively ensures the longevity of your vinyl flooring and preserves the freedom to enjoy a durable, flawless finish.
Repair Surface Imperfections
Once moisture levels are within acceptable limits, the next step is to repair any surface imperfections on the subfloor. Proper surface leveling guarantees your vinyl flooring lays flat and lasts longer. You’ll want to clean the area thoroughly, removing debris and dust to improve adhesion. Choose the appropriate filler options—such as patching compounds or leveling compounds—based on the size and depth of the imperfections. Here’s what to focus on:
- Identify cracks, holes, or uneven spots.
- Select filler options compatible with your subfloor material.
- Apply filler evenly to low areas for surface leveling.
- Sand the repaired spots smooth after drying.
- Clean the surface again to remove sanding dust.
This preparation frees you to install vinyl flooring confidently, assuring durability and a flawless finish.
Installing a Moisture Barrier
Since moisture can cause vinyl flooring to warp or develop mold, installing a moisture barrier is essential when laying vinyl over concrete or other porous subfloors. Start by choosing the right moisture barrier type—commonly polyethylene sheets or liquid-applied membranes. Polyethylene sheeting requires you to roll it out smoothly over the entire subfloor, overlapping edges by at least 8 inches, then sealing seams with waterproof tape. Liquid membranes demand an even brush or roller application, ensuring complete coverage without gaps. Before installation, clean and dry the subfloor thoroughly to maximize adhesion and effectiveness. Proper installation techniques are critical; any holes or tears compromise the barrier’s function. By carefully selecting and installing your moisture barrier, you protect your vinyl floor from moisture damage, granting you the freedom to enjoy durable, long-lasting flooring.
Selecting an Appropriate Underlayment
When selecting an underlayment for vinyl flooring, you need to take into account the material type, moisture resistance, thickness, and density. A proper moisture barrier is essential to prevent damage and mold growth beneath the flooring. Choose an underlayment that balances cushioning with durability to guarantee long-term performance.
Types of Underlayment
Choosing the right type of underlayment is essential for guaranteeing the longevity and performance of your vinyl flooring. Understanding underlayment benefits helps you select the most suitable underlayment option for your specific needs. Different underlayment options offer varied levels of sound absorption, cushioning, and subfloor protection. Here are five common types of underlayment to take into account:
- Foam underlayment: lightweight, moisture-resistant, and cost-effective
- Cork underlayment: natural, provides excellent sound insulation
- Rubber underlayment: durable, great for impact noise reduction
- Felt underlayment: dense, offers good cushioning and soundproofing
- Combination underlayment: integrates moisture barrier with padding
Choosing the correct type guarantees your vinyl floor remains stable, comfortable, and protected over time.
Moisture Barrier Importance
One critical factor to evaluate for your vinyl flooring installation is the moisture barrier, which protects both the subfloor and the vinyl from moisture damage. You need to identify potential moisture sources—like concrete slabs, basements, or high humidity areas—that can compromise your flooring. Selecting appropriate barrier materials is vital; polyethylene sheeting, foil-backed underlayments, or specialized moisture-resistant pads effectively block moisture transmission. Ascertain the barrier is continuous and sealed at seams to prevent vapor intrusion. Proper installation of these materials not only extends the life of your vinyl flooring but also prevents warping, mold, and adhesive failure. By prioritizing moisture barrier selection, you maintain structural integrity and safeguard your investment, giving you the freedom to enjoy durable, worry-free flooring.
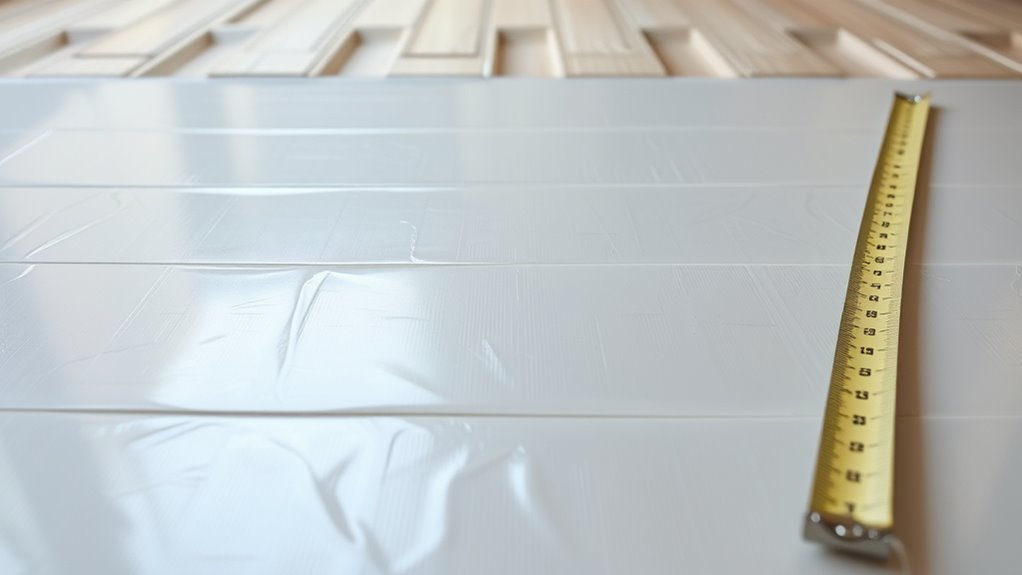
Thickness and Density Choices
Although moisture barriers are essential, selecting the right thickness and density for your vinyl flooring underlayment is equally important to guarantee stability and comfort. You’ll want to assess thickness options carefully since too thin won’t absorb impact well, while too thick may cause unevenness. Density factors influence durability and sound insulation—higher density means better support but less flexibility.
Consider these key points when choosing underlayment thickness and density:
- Opt for 2mm to 3mm thickness for balance between cushioning and firmness
- Choose medium to high density for heavy foot traffic areas
- Avoid very soft underlayments that compress over time
- Ascertain compatibility with your specific vinyl flooring type
- Factor in subfloor condition to select appropriate thickness and density
This approach guarantees your flooring stays stable and comfortable long-term.
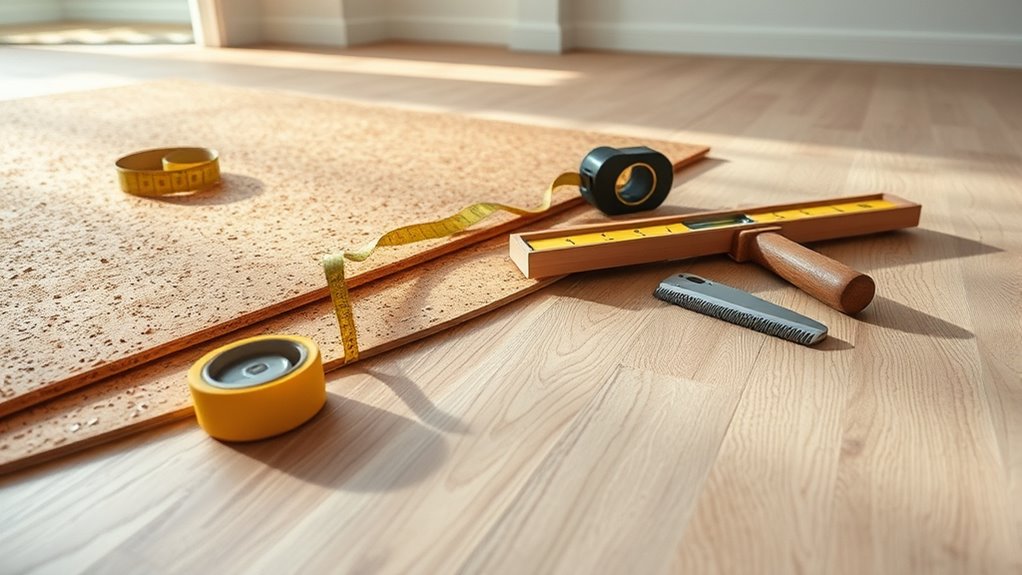
Laying the Underlayment Correctly
Before laying your vinyl flooring, you’ll need to guarantee the underlayment is installed properly to provide a smooth, stable base. Start by cleaning and leveling the subfloor to eliminate debris and imperfections. Roll out the underlayment, ensuring it lies flat without wrinkles or gaps; this preserves underlayment benefits like sound absorption and moisture protection. Use recommended installation techniques such as overlapping edges or taping seams, depending on the product specifications. Cut the material precisely to fit room contours, avoiding excess material that could cause unevenness. Secure the underlayment with staples or adhesive as appropriate, preventing movement during vinyl installation. Properly laid underlayment enhances durability and comfort, setting the foundation for your vinyl flooring to perform effectively and last longer.
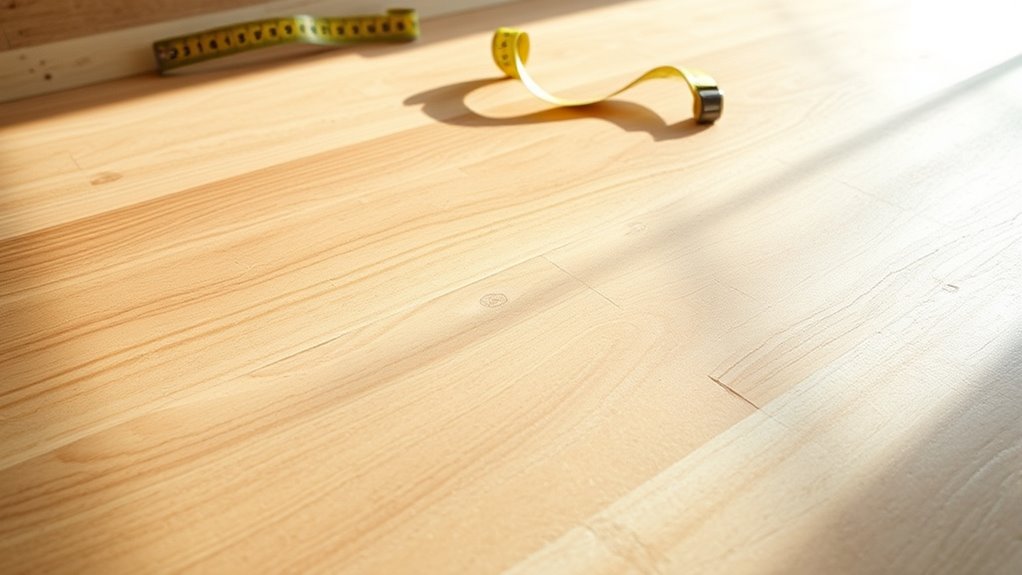
Allowing for Expansion and Contraction
With the underlayment properly installed to create a stable base, you’ll need to address the natural expansion and contraction of vinyl flooring. Vinyl expansion techniques are critical to prevent buckling or gaps as temperature and humidity fluctuate. Focus on contraction considerations to maintain flooring integrity over time. Here’s what you should do:
- Leave a consistent perimeter gap (usually 1/4 inch) around walls and fixtures.
- Use spacers during installation to maintain expansion space.
- Avoid fastening vinyl flooring tightly to the subfloor; allow movement.
- Choose underlayment materials that accommodate slight dimensional changes.
- Plan for changes at doorways to absorb expansion shifts.
Final Inspection Before Vinyl Installation
Since proper preparation guarantees a successful vinyl flooring installation, you’ll need to conduct a thorough final inspection of the subfloor and underlayment. Start by reviewing your final checklist: verify the surface is clean, dry, level within 3/16 inch over 10 feet, and free of debris or adhesive residues. Check that the underlayment is securely fastened and properly aligned, confirming no gaps or overlaps that could affect installation readiness. Confirm moisture levels meet manufacturer specifications to avoid future issues. Examine expansion gaps around room perimeters to accommodate natural movement. Address any imperfections immediately to maintain a stable foundation. Completing this precise final inspection assures your subfloor and underlayment provide the ideal base, granting you the freedom to install your vinyl flooring confidently and achieve a flawless finish.