Repairing cracks in epoxy floor coatings is essential for maintaining your floor's aesthetics and functionality. Start by identifying the crack type—hairline, surface, or deep—since each requires different methods. Clean the cracked area thoroughly before applying an appropriate epoxy filler. For hairline cracks, use a specialized epoxy and smooth it with a putty knife. Surface cracks need sanding, while deep cracks may require chisel widening before applying thick epoxy resin. Always prioritize safety by wearing protective gear. By understanding these processes, you can guarantee effective repairs and enhance your flooring's longevity. There's more to learn about selecting correct materials and techniques.
Understanding Epoxy Floor Cracks
Époxy sol cracks can be a significant concern for both aesthetics and functionality. Understanding the underlying crack causes is vital to maintain the integrity of your flooring system. Various factors contribute to these cracks, including improper installation, moisture infiltration, and thermal expansion. If you've chosen a lower-quality epoxy type, it might not withstand the stresses of daily use, leading to premature cracking.
Different epoxy types exhibit varying levels of durability and resistance to environmental conditions. For instance, 100% solid epoxy is typically more resistant to cracking than water-based options due to its superior adhesion and strength. When you select an epoxy type, consider the specific demands of your environment to guarantee the best performance. If you're working in a high-traffic area or a space exposed to extreme temperatures, a more robust epoxy solution is advisable.
Additionally, it's important to address any structural issues before applying an epoxy coating. Cracks in the concrete substrate can telegraph through the epoxy, compromising its appearance and functionality. Regular maintenance can also help mitigate potential crack causes. Inspect your flooring periodically for signs of wear or damage, and take action promptly if you notice any irregularities.
Tools and Materials Needed
Gathering the right tools and materials is vital for effectively repairing cracks in epoxy floor coatings. Proper preparation and the use of high-quality items will guarantee a successful repair, prolonging the lifespan of your floor. Here's a list of essential tools and materials you'll need:
- Epoxy Repair Kit: Choose a kit specifically designed for epoxy floors. These kits typically include resin, hardener, and filler, ensuring compatibility with your existing flooring.
- Floor Preparation Tools: This includes a concrete grinder or sander, which will help you smooth the area around the crack. Clean and prepare the surface properly to promote good adhesion of the repair material.
- Caulking Gun: For applying the epoxy filler, a caulking gun will provide precision and control, allowing you to fill the crack without excess material spilling over.
- Équipement de sécurité: Don't overlook personal protective equipment. Safety glasses, gloves, and a dust mask are vital to protect yourself from dust and fumes during the repair process.
Before starting your repair, make sure to read the instructions provided with your repair kit. Proper floor preparation is key to achieving a durable repair. If you take the time to gather these tools and materials, you'll be well-equipped to tackle those pesky cracks safely and effectively.
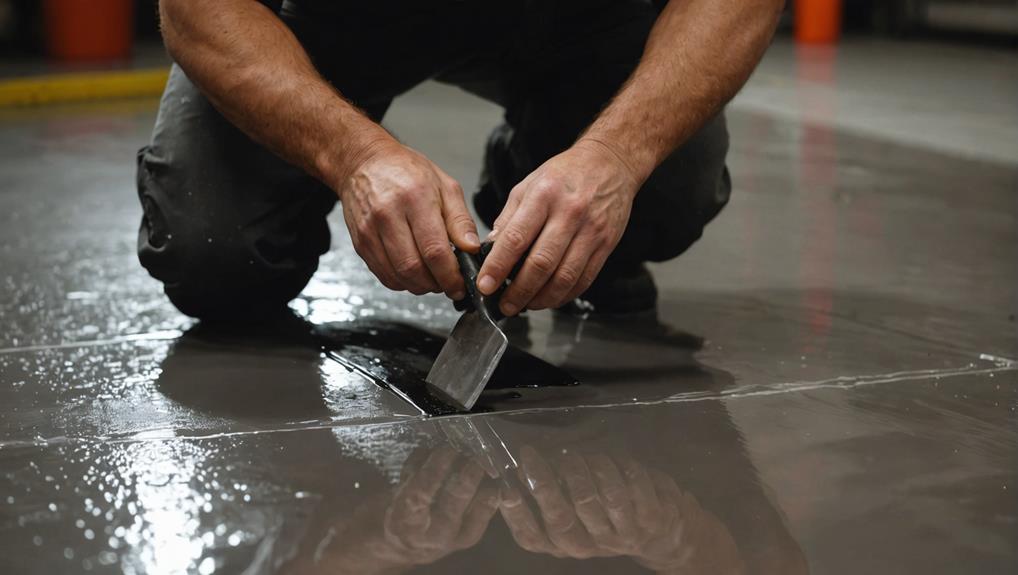
Processus de réparation étape par étape
With the right tools and materials at hand, you're ready to begin the repair process for cracks in your epoxy floor. Start by identifying the crack types: hairline, surface, and deep cracks each require different approaches. Once you've assessed the damage, clean the area thoroughly to remove any debris, dust, or oils that could interfere with adhesion.
For hairline cracks, use a specialized epoxy filler. Apply it directly into the crack using a putty knife, smoothing it out to match the surrounding surface. Allow it to cure as per the manufacturer's instructions before proceeding.
For surface cracks, a similar epoxy filler can be used, but you might need to sand down the area first to guarantee an even application. After filling the crack, feather the edges to blend it seamlessly with the rest of the floor. Cure the filler properly.
Deep cracks need a more robust repair technique. Begin by widening the crack slightly with a chisel to create a V-shape, which enhances the bond. Fill the crack with a thick epoxy resin, guaranteeing it's packed tightly. Use a trowel to level it off. After the repair has cured fully, sand the area smooth to eliminate any unevenness.
Throughout this process, always wear safety gear, including gloves and goggles, to protect yourself from epoxy fumes and potential spills. Following these steps diligently will help restore your epoxy floor's integrity and appearance.
Tips for a Successful Repair
Successful repairs to epoxy floors hinge on meticulous preparation and execution. By understanding the causes of cracks and implementing preventive measures, you can achieve a durable and effective repair. Here are some essential tips to guarantee your repair process is successful:
- Identify the Cause: Before beginning any repair, take the time to identify the underlying cause of the cracks. Common causes include moisture infiltration, improper installation, and heavy loads. Addressing these issues is vital to prevent future damage.
- Choose the Right Materials: Use high-quality epoxy repair products specifically designed for floor applications. Verify the materials are compatible with your existing floor coating to achieve a seamless bond.
- Préparation adéquate de la surface: Clean the area around the crack thoroughly. Remove any debris, dust, or grease to promote adhesion. For larger cracks, consider using a grinder to create a rough surface, enhancing the bond between the repair material and the existing floor.
- Follow Safety Protocols: Always wear appropriate personal protective equipment, such as gloves and a mask, during the repair process. Ensure proper ventilation in the area to avoid inhaling fumes from the epoxy.
Quand appeler un professionnel
Repairing epoxy floors can sometimes feel overwhelming, especially when cracks indicate deeper underlying issues. If you notice significant or widespread cracking, it's vital to assess whether you should attempt a DIY repair or call in professional services. A detailed crack analysis is important in this decision-making process.
Start by evaluating the size and depth of the cracks. Hairline fractures might be manageable with a DIY approach, but cracks wider than a quarter-inch usually signal more serious problems, such as substrate movement or moisture intrusion. If you're unsure about the cause or the extent of the damage, it's best to consult a professional. They can conduct a thorough crack analysis, identifying underlying issues that may not be visible to the naked eye.
Additionally, if you've attempted repairs in the past but the cracks have reappeared or worsened, it's a sign that the problem requires expert intervention. Professionals have the tools and knowledge to address not only the symptoms but also the root causes effectively, guaranteeing a long-lasting solution.
Safety is another significant factor. Handling epoxy materials without the proper training can lead to health risks, including respiratory issues or skin irritation. If you feel uncertain at any point, don't hesitate to reach out for professional services. They can confirm that the repair process is safe and effective, giving you peace of mind in maintaining your epoxy floor.
Questions fréquemment posées
Can I Paint Over Repaired Cracks in Epoxy Flooring?
Yes, you can paint over repaired cracks in epoxy flooring, but it's crucial to verify the repairs are fully cured and stable first. For effective epoxy flooring maintenance, use proper crack repair techniques to assure a solid base. Once the repairs are set, clean the area thoroughly and choose a compatible paint. This guarantees adhesion and longevity, providing a safe and durable finish that meets your flooring needs. Always wear appropriate safety gear during the process.
How Long Does Epoxy Repair Take to Cure Completely?
When it comes to epoxy repair, patience is key. You'll find that cure time can vary, typically ranging from 24 to 72 hours, depending on the repair methods used and environmental conditions. To guarantee safety and ideal results, it's essential to follow the manufacturer's guidelines. This way, you can trust that your repair will fully set, providing a durable surface that withstands wear and tear while maintaining its integrity over time.
What Causes Epoxy Floor Cracks to Reappear?
Epoxy floor cracks can reappear due to several factors, including improper installation, insufficient surface preparation, or thermal expansion. To minimize these risks, it's vital to prioritize epoxy floor maintenance. Regular inspections and timely repairs are essential for crack prevention. Additionally, using high-quality materials and following manufacturer guidelines during installation can guarantee the floor remains durable. By being proactive, you can help maintain the integrity of your epoxy flooring and prevent future cracks.
Est-il sécuritaire de marcher immédiatement sur les zones réparées ?
When you've repaired areas, it's essential to know if it's safe to walk on them immediately. Generally, it's best to wait until the repair methods have fully cured, which can take several hours to days, depending on the product used. Rushing may compromise the integrity of your repair. For ideal safety, follow maintenance tips and manufacturer guidelines to guarantee the floor remains durable and secure after repairs. Your safety is paramount.
Can I Use a Different Color Epoxy for Repairs?
Yes, you can use a different color epoxy for repairs, but it's crucial to take into account color matching with the existing surface. While it might be tempting to choose a contrasting shade, doing so could result in an uneven appearance. For the best results, employ proper repair techniques to guarantee a seamless blend. Always prioritize safety by following manufacturer guidelines for application and curing times to achieve a durable and aesthetically pleasing finish.