To stain Pergo floors, start by thoroughly cleaning and lightly sanding the surface to promote adhesion. Use a gel or laminate-specific stain, applying it evenly with a foam applicator in small sections, following the grain. Avoid traditional wood stains as they won’t penetrate the laminate. Let the stain dry in controlled conditions, then seal the floor with a compatible polyurethane finish for durability. Following these precise steps guarantees a uniform, lasting result; detailed guidance can help perfect your approach.
Understanding Pergo Flooring and Staining Compatibility

Although Pergo floors are known for their durability and ease of maintenance, understanding their material composition is essential before attempting any staining. Pergo characteristics include a laminate surface layer, a fiberboard core, and a protective wear layer, which together resist moisture and wear but limit stain absorption. Unlike solid hardwood, Pergo’s laminate finish prevents traditional wood stains from penetrating effectively. You’ll find that only specific stain types designed for laminate or engineered sol can alter its appearance without damaging the surface. Attempting to use conventional wood stains risks uneven coloring or surface degradation. To maintain freedom in your design choices, you need to select stain types compatible with Pergo’s composite structure, ensuring a successful transformation without compromising its inherent durability.
Gathering the Necessary Tools and Materials
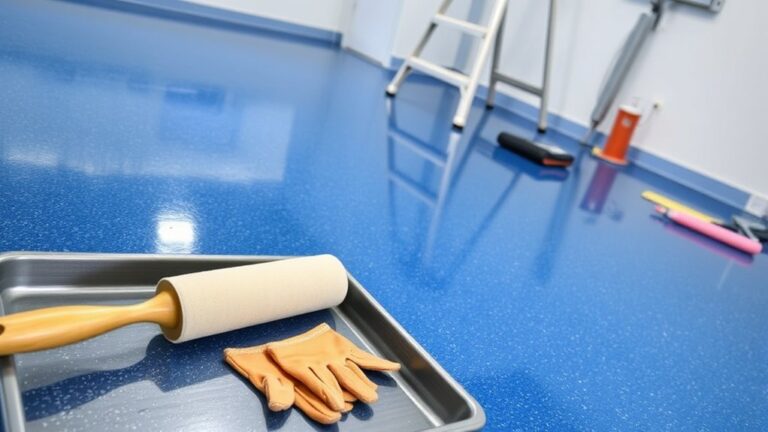
To successfully stain Pergo floors, you’ll need a specific set of tools and materials tailored to its laminate surface. Tool selection is critical; opt for lint-free cloths, fine-grit sandpaper (if light abrasion is necessary), quality painter’s tape, and a stain compatible with laminate finishes. Avoid traditional wood stains that can damage Pergo’s protective layer. Material preparation means guaranteeing all items are clean, dry, and ready for use to prevent contamination or uneven application. You’ll also require a clear, water-based polyurethane sealer to protect the stain afterward. Choosing the correct tools and materials guarantees you maintain the floor’s integrity while achieving a uniform, durable finish. Proper tool selection and material preparation give you control and freedom to customize your Pergo floors confidently.
Preparing the Pergo Floor Surface
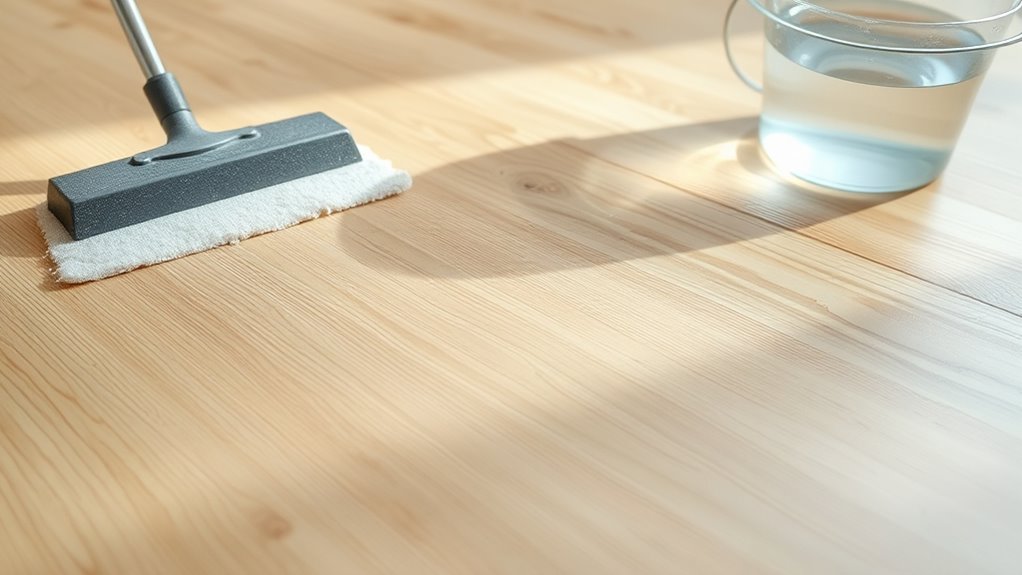
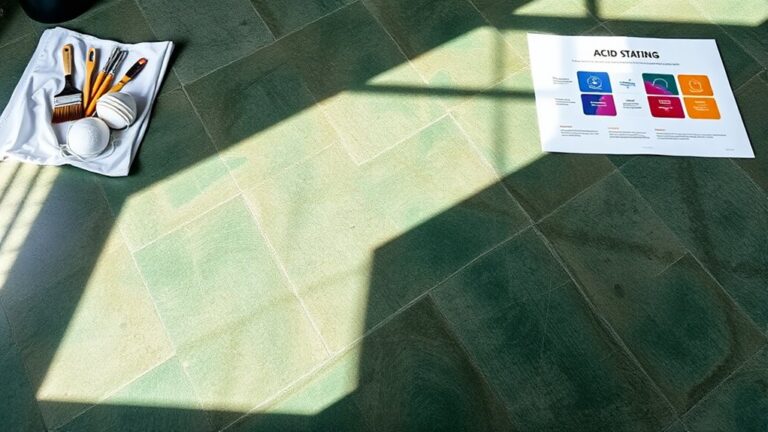
With the right tools and materials ready, your next step is preparing the Pergo floor surface to guarantee proper stain adhesion. Start by thoroughly cleaning the floor using effective cleaning techniques—vacuum to remove debris, then mop with a mild detergent solution to eliminate dirt and oils. Avoid harsh chemicals that can damage the floor’s protective layer. Once clean, allow the surface to dry completely. Next, lightly sand the Pergo floor with fine-grit sandpaper (220 grit) to abrade the finish, which promotes stain absorption. Be consistent and gentle to avoid damaging the laminate core. After sanding, remove all dust with a tack cloth or vacuum with a brush attachment. Proper surface preparation guarantees your stain penetrates evenly and adheres firmly, giving you the freedom to achieve a flawless finish.
Choosing the Right Stain for Your Floors
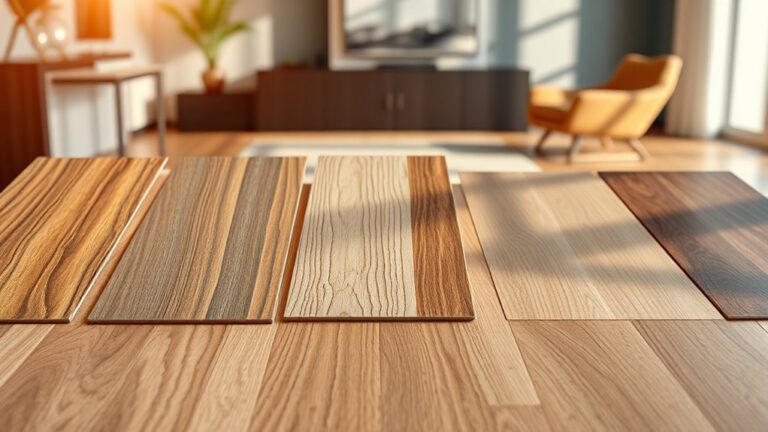
Since Pergo floors have a laminate surface designed to resist moisture and stains, selecting the right stain requires careful consideration of compatibility and absorption properties. You’ll want to avoid traditional wood stains, which won’t penetrate the laminate. Instead, opt for specialized stain types formulated for non-porous surfaces, such as gel stains or tinted polyurethane finishes. These provide adhesion without damaging the floor’s protective layer. When it comes to color selection, aim for shades that enhance the existing floor tone while matching your design vision. Test samples on inconspicuous areas to verify appearance and durability under your lighting conditions. By choosing stain types and colors specifically suited for Pergo, you maintain the floor’s integrity and achieve the freedom to customize your space effectively.
Applying the Stain Evenly
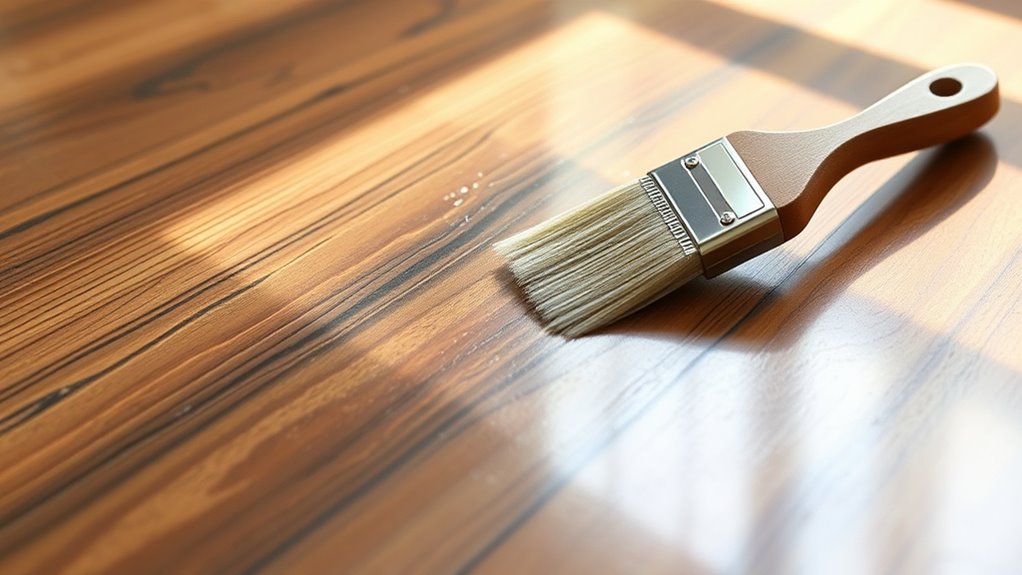
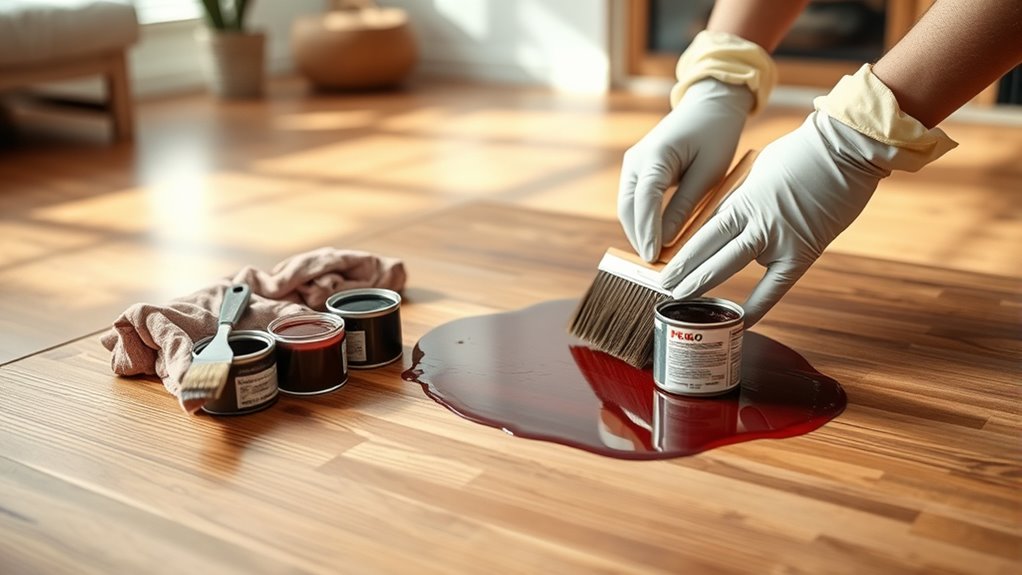
Achieving an even stain application on Pergo floors demands meticulous preparation and technique. Start by working in small sections, applying the stain with a high-quality brush or foam applicator to maintain control. Use consistent, long strokes following the wood grain to guarantee uniform penetration. Technique tips include avoiding over-application, which causes blotching, and immediately wiping excess stain with a clean cloth to preserve color consistency. Maintain a wet edge to prevent lap marks and blend sections seamlessly. Stir the stain frequently to keep pigment evenly distributed. By adhering to these precise steps, you can confidently achieve a flawless, consistent finish that highlights the floor’s natural beauty while granting you the freedom to customize your space with professional results.
Allowing the Stain to Dry Properly
Once you’ve applied the stain evenly, the next step is to let it dry thoroughly to confirm a durable and uniform finish. Proper drying time is critical; rushing this phase can compromise adhesion and cause uneven coloration. You should monitor humidity levels closely, as high humidity slows evaporation and extends drying time. Ideally, maintain indoor humidity between 40-60% and temperature around 70°F (21°C) to optimize drying conditions. Avoid walking on or placing objects over the floor until the stain is fully dry, typically 6-12 hours, depending on environmental factors and stain type. By respecting these parameters, you guarantee the stain sets correctly, releasing the freedom to enjoy a beautifully enhanced Pergo floor with lasting resilience and consistent appearance.
Sealing and Protecting the Newly Stained Floors
Although the stain has dried, you shouldn’t skip sealing your Pergo floors to guarantee long-term protection and durability. Sealing locks in color and shields the surface from wear. To assure ideal results, follow these essential steps:
- Choose a compatible polyurethane sealer designed for Pergo floors to enhance stain longevity.
- Apply the sealer evenly with a high-quality applicator, avoiding pooling or streaks.
- Allow sufficient drying time between coats, typically 2-4 hours, applying 2-3 coats for robust protection.
- Follow recommended floor maintenance tips, including gentle cleaning and immediate spill removal.