To tile over vinyl flooring, first check for damage and repair any cracks or loose spots. Clean thoroughly, then apply a compatible primer to guarantee good adhesion. Plan your tile layout and measure carefully. Use thinset mortar to secure tiles, keeping spacers for even gaps, and avoid walking on fresh tiles. After drying, grout and seal the joints for durability. Following these steps will help you achieve a smooth, lasting finish, and you can explore detailed tips for a flawless installation.
Assessing the Condition of Your Vinyl Floor
Before you begin tiling over your vinyl sol, you need to carefully assess its condition to confirm a smooth and durable finish. Start with a thorough vinyl floor inspection, checking for any signs of damage like tears, bubbles, or loose sections. These imperfections can compromise tile adhesion and your floor’s longevity. Next, perform a floor stability assessment by pressing firmly in different areas to detect any movement or weak spots. If the vinyl floor feels unstable or uneven, you’ll need to address these issues before tiling. Remember, a solid, stable base is essential for tile installation. Taking the time to properly inspect and assess your vinyl floor guarantees a safer, longer-lasting surface, giving you the freedom to enjoy your new tiles without worry.
Gathering the Necessary Tools and Materials
Before you start tiling, make sure you have the right tools like a tile cutter, notched trowel, and a level. Choose materials that bond well with vinyl, such as a suitable primer and thin-set mortar. Don’t forget to gather safety gear like gloves, goggles, and a mask to protect yourself throughout the project.
Essential Tools Overview
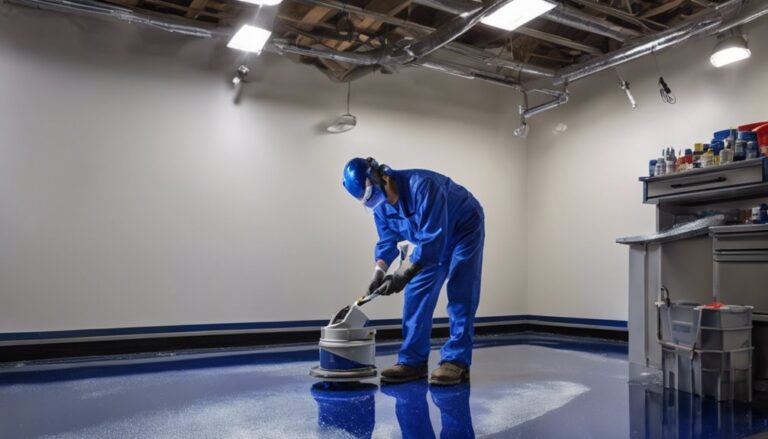
Tiling over vinyl flooring requires the right set of tools to guarantee a smooth and durable finish. You’ll need a notched trowel to spread flooring adhesives evenly, ensuring your tiles stick properly. A tile cutter or wet saw is key for shaping different tile types to fit your space precisely. Don’t forget a level to keep your surface flat and grout float for applying grout neatly between tiles. Safety goggles and gloves protect you during cutting and adhesive application. A tape measure and pencil help mark accurate cuts, while a rubber mallet gently sets tiles without damage. Having these essentials ready lets you work efficiently and safely, giving you the freedom to create a flawless tile floor over vinyl with confidence.
Choosing Suitable Materials
Selecting the right materials is essential to guarantee your tile installation over vinyl is both durable and attractive. Start by choosing tile materials that suit your space—ceramic or porcelain tiles work well, offering strength and style. Avoid heavy natural stone, which may not bond properly over vinyl. Next, consider your adhesive options carefully. A high-quality, flexible thin-set mortar or a specially formulated vinyl flooring adhesive guarantees strong bonding without damaging the existing floor. Make sure the adhesive is compatible with both vinyl and your chosen tiles. Gather all necessary materials—tiles, adhesive, grout, spacers, and a tile cutter—to streamline your project. By selecting appropriate tile materials and adhesive options upfront, you set yourself up for a smooth, long-lasting tile-over-vinyl transformation that lets your creativity run free.
Preparing Safety Equipment
Safety goggles, gloves, and a dust mask are must-haves when working on your tile-over-vinyl project. Protecting your eyes, hands, and lungs keeps you safe and free to work confidently. Grab work gloves to shield your hands from sharp edges and rough surfaces, and don safety goggles to prevent dust or debris from causing injury.
Here’s a quick checklist to prepare your safety gear:
| Équipement | But | Conseil |
|---|---|---|
| Lunettes de sécurité | Eye protection | Choose snug-fitting models |
| Work Gloves | Hand protection | Use durable, flexible gloves |
| Masque anti-poussière | Respiratory safety | Opt for N95 or better |
Wearing the right gear lets you focus on your freedom to create without worry.
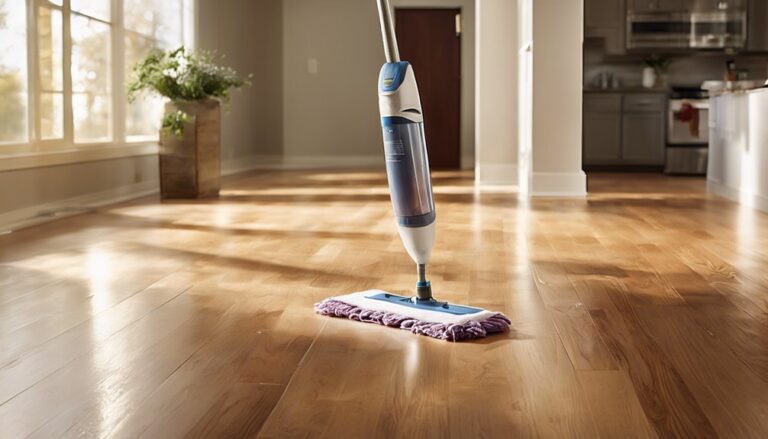
Cleaning and Preparing the Vinyl Surface
Before you lay any tiles, you’ll need to thoroughly clean and prepare the vinyl surface to guarantee proper adhesion. Using effective cleaning techniques is vital for surface preparation, ensuring your tiles stick well and last long. Start by removing all dirt, grease, and residues that can block the adhesive.
Follow these steps for a solid surface prep:
- Sweep or vacuum to clear dust and debris.
- Use a mild detergent mixed with warm water to mop the floor.
- Rinse the area with clean water to remove soap residue.
- Allow the surface to dry completely.
- Wipe the vinyl with rubbing alcohol to eliminate remaining oils.
Taking these precautions helps you create a clean, dry foundation, setting your project up for success while keeping safety in mind.
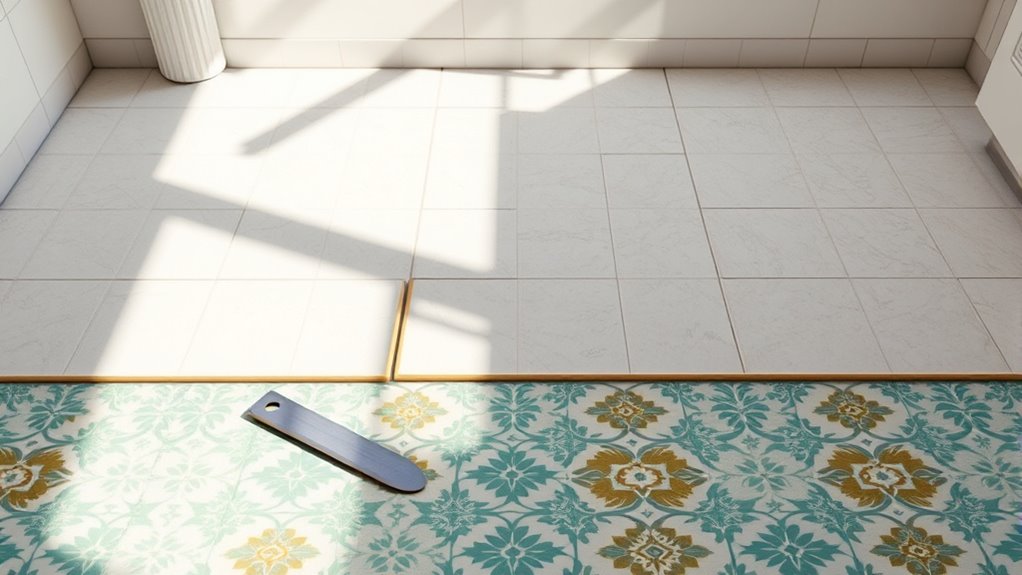
Repairing Any Damages in the Vinyl Flooring
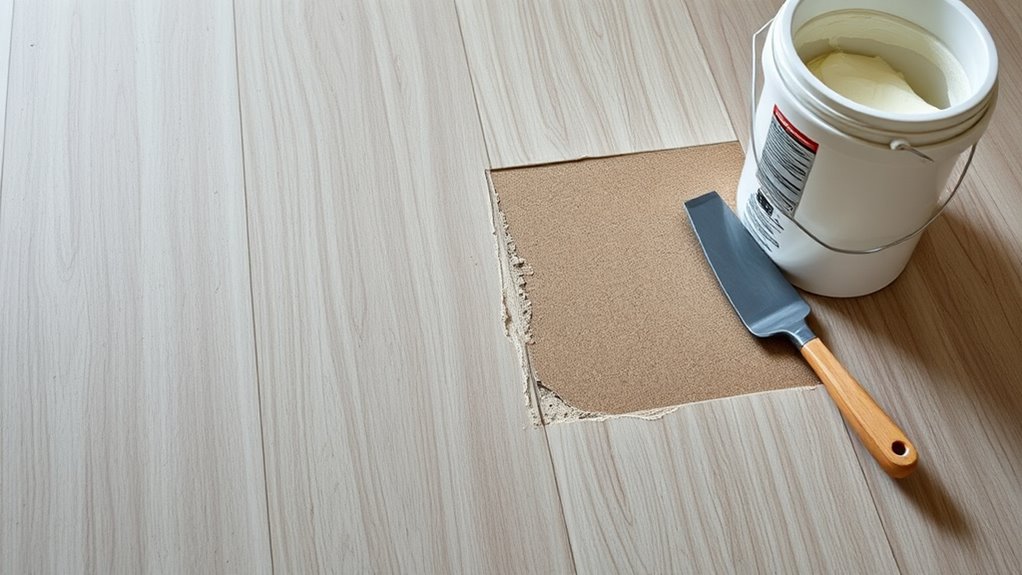
Inspect your vinyl flooring carefully for any cracks, holes, or loose sections that could affect the tile installation. Start with a thorough damage assessment to identify areas needing attention. For small cracks or holes, use a vinyl floor repair kit to fill and smooth the surface, guaranteeing a level base for your tiles. Loose vinyl sections should be glued down securely with an appropriate adhesive, preventing future movement. Always wear gloves and a mask when handling repair compounds to protect yourself from fumes or irritants. Take your time with repairs; a solid, even foundation will make your tile installation easier and last longer. Proper vinyl floor repair guarantees your tiles won’t crack or lift, giving you the freedom to enjoy a durable, beautiful floor.
Applying a Suitable Primer or Bonding Agent
Although your vinyl floor is repaired and smooth, you’ll need to apply a suitable primer or bonding agent to guarantee your tiles adhere properly. Choosing the right bonding agents or primer types is key for a lasting hold. Here’s how to proceed:
- Select a primer designed for non-porous surfaces like vinyl.
- Ascertain the bonding agent is compatible with both vinyl and tile adhesive.
- Apply the primer evenly using a roller or brush.
- Allow full drying time as specified by the product instructions.
- Work in a well-ventilated area and wear gloves for safety.
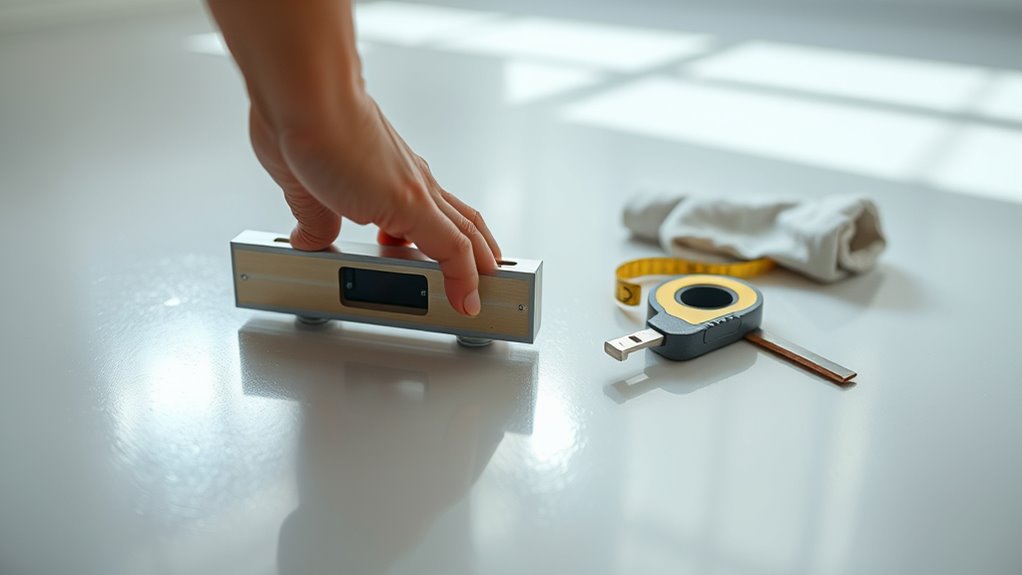
Planning the Tile Layout and Measuring the Area
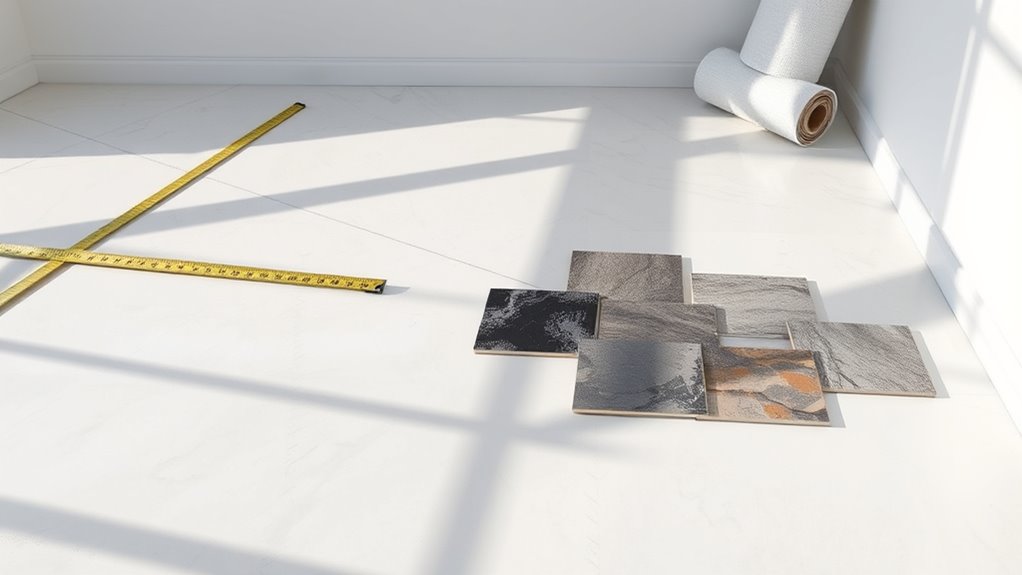
To get a precise and visually appealing tile installation, start by measuring the entire floor area accurately and planning your tile layout carefully. Use a tape measure to record the length and width, then calculate the square footage to estimate tile quantity. Sketch your layout design on paper, considering tile patterns like straight, diagonal, or herringbone to match your style and room shape. Dry-lay a few tiles to visualize the pattern and check for awkward cuts near walls. Aim for balanced cuts to avoid tiny slivers at edges, which can break or look messy. Safety matters—wear gloves when handling tiles and keep your workspace clear. Thoughtful planning guarantees a smooth project, giving you freedom to create a durable, stunning floor over your vinyl base.
Mixing and Applying Thinset Mortar
With your tile layout planned and measured, you’re ready to prepare the thinset mortar that will secure the tiles to the vinyl floor. Focus on mixing techniques to achieve the perfect thinset consistency—too dry, it won’t bond well; too wet, it’ll be messy and weak. Use a drill with a mixing paddle for smooth blending. Remember these tips:
- Follow manufacturer’s water-to-powder ratio exactly
- Mix slowly to avoid air bubbles
- Let thinset slake (rest) for 5-10 minutes before remixing
- Work in small batches to prevent drying out
- Wear gloves and a mask to protect skin and lungs
Getting the thinset right sets you free from future tile issues, ensuring a strong, lasting bond over your vinyl flooring.
Laying the Tiles and Ensuring Proper Spacing
Once you’ve spread the thinset evenly, you can start laying the tiles carefully onto the vinyl floor. Begin at your reference point, pressing each tile firmly into the mortar. Use tile spacers to maintain consistent spacing between tiles—this guarantees proper grout lines and a professional finish. Pay close attention to tile alignment; check frequently with a level or straightedge to keep rows straight and even. If a tile feels loose, press it down again to improve adhesion. Avoid walking on freshly laid tiles to prevent shifting. Remember, precise spacing techniques not only make your floor look great but also allow for natural expansion. Taking your time here assures a durable, stylish tile floor that gives you the freedom to enjoy your space fully.
Grouting and Sealing the Newly Tiled Floor
After laying your tiles and confirming they’re firmly set with even spacing, the next step is to fill the gaps with grout. Choose the right grout type—sanded for wider joints, unsanded for narrow ones—to guarantee durability. Apply grout with a rubber float, pressing it firmly into the gaps. Wipe excess grout quickly with a damp sponge to avoid residue. Once dry, sealing the grout is essential to protect against stains and moisture.
Keep these sealing techniques in mind:
- Use a penetrating grout sealer for better protection
- Apply sealer evenly with a small brush or applicator
- Allow grout to cure fully before sealing
- Reapply sealer yearly for lasting results
- Ventilate the area well during application for safety
This approach guarantees a strong, clean, and lasting finish freedom to enjoy.