Start by thoroughly cleaning and leveling your kitchen floor, then gather essential tools like a tile cutter, notched trowel, and spacers. Plan your tile layout centered on the room for symmetry, and snap chalk lines for accuracy. Mix and spread thinset mortar evenly with a notched trowel before carefully laying tiles, cutting pieces to fit edges. Finish by applying grout smoothly, wiping excess promptly for a clean look. Follow these precise steps to guarantee a lasting, professional result.
Prepare the Kitchen Floor Surface
Before laying any tiles, you’ll need to thoroughly prepare the kitchen sol surface. Start with surface cleaning: remove all debris, grease, and dust to guarantee proper adhesion. Use a vacuum and mop to eliminate particles that could interfere with tile placement. Next, assess the floor’s flatness. Floor leveling is critical; uneven areas must be addressed to prevent tile cracking and uneven wear. Use a straightedge to identify high and low spots. For minor dips, apply a self-leveling compound following the manufacturer’s instructions. Allow it to cure completely before proceeding. This preparation guarantees a stable, even base, maximizing tile longevity and performance. Skipping these steps compromises your freedom to enjoy a flawless, durable kitchen floor.
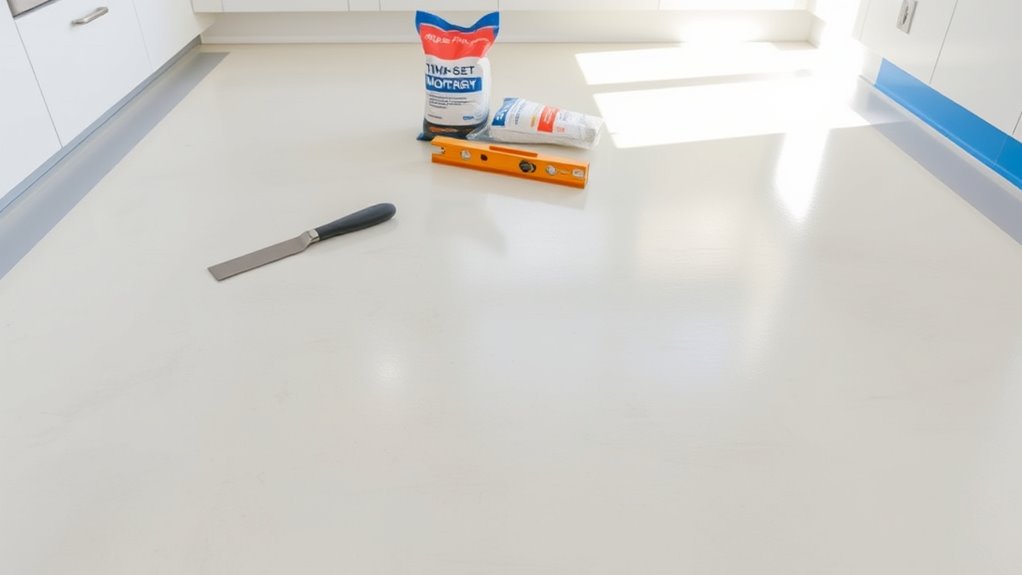
Gather Your Tools and Materials
You’ll need to assemble essential tools like a notched trowel, tile spacers, and a tile cutter before starting. Select the appropriate tile type based on durability and kitchen traffic. Finally, prepare adhesive materials according to the tile specifications to guarantee proper bonding.
Essential Tools Checklist
To complete your kitchen floor tiling project efficiently, gather these essential tools: a tile cutter or wet saw, notched trowel, tile spacers, rubber grout float, level, tape measure, chalk line, and a bucket for mixing thin-set mortar. Don’t forget essential safety gear like gloves, safety goggles, and a dust mask to protect yourself during tile cutting and mixing.
Keep these tile installation tips in mind:
- Measure twice with a tape measure and chalk line to guarantee precision.
- Use a notched trowel to spread thin-set mortar evenly for strong adhesion.
- Employ tile spacers consistently to maintain uniform grout lines.
Having the right tools and gear ready will streamline your work and help you achieve a free, flawless finish.
Choosing Tile Types
Selecting the right tile type is essential for durability, aesthetics, and ease of maintenance in your kitchen. Start by evaluating tile materials: ceramic, porcelain, and natural stone each offer distinct benefits. Porcelain excels in moisture resistance and strength, ideal for high-traffic areas. Ceramic is budget-friendly with versatile designs, while natural stone provides unique textures but requires sealing. Consider tile colors carefully; lighter shades can enlarge the space visually, while darker tones hide stains better. Matte finishes reduce slip risks, vital in kitchens. Match tile materials and colors to your kitchen’s style and functional needs, ensuring longevity and ease of cleaning. By choosing wisely, you’ll maintain freedom in design and upkeep, creating a kitchen floor that’s both practical and visually appealing.
Preparing Adhesive Materials
Once you’ve settled on the tile type and design, assembling the right adhesive materials is the next step to guarantee a secure and lasting installation. Effective surface preparation is vital; confirm the floor is clean, dry, and level before applying any adhesive. Selecting the proper adhesive type depends on your tile material and floor conditions—cement-based mortar works well for ceramic, while epoxy adhesives suit stone tiles.
Gather these essentials for a smooth process:
- Thin-set mortar or epoxy adhesive tailored to your tile choice
- Notched trowel for even adhesive spreading
- Mixing bucket and drill with a mixing paddle for consistent adhesive texture
Choosing the right adhesive types and preparing the surface meticulously will set the foundation for a durable, professional finish.
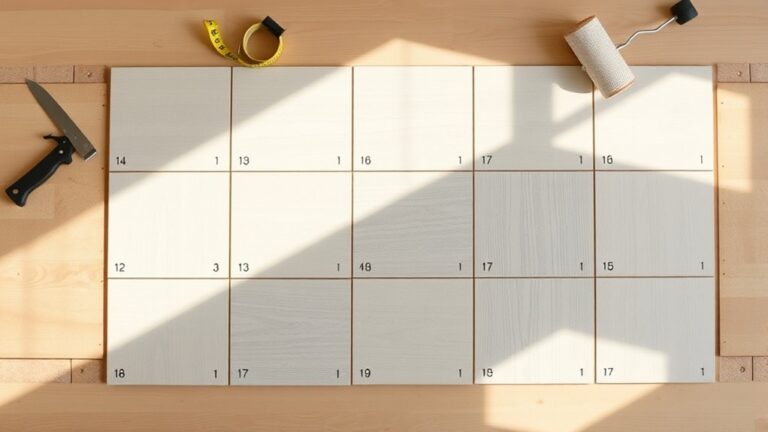
Plan Your Tile Layout
Although it may seem straightforward, planning your tile layout is critical for achieving a balanced and professional finish. Start by selecting a tile pattern that complements your kitchen’s style—common options include straight, diagonal, or herringbone. Next, measure your floor accurately and sketch a layout design, positioning tiles to avoid narrow cuts at edges. Center your layout to guarantee symmetry, typically beginning from the room’s focal point or midpoint. Use chalk lines as guides for alignment, maintaining consistent grout spacing. This step minimizes waste and guarantees your tile pattern flows seamlessly. By carefully planning your tile layout, you retain control over aesthetics and functionality, avoiding costly mistakes and guaranteeing your kitchen floor looks polished and cohesive.
Mix and Apply Thinset Mortar
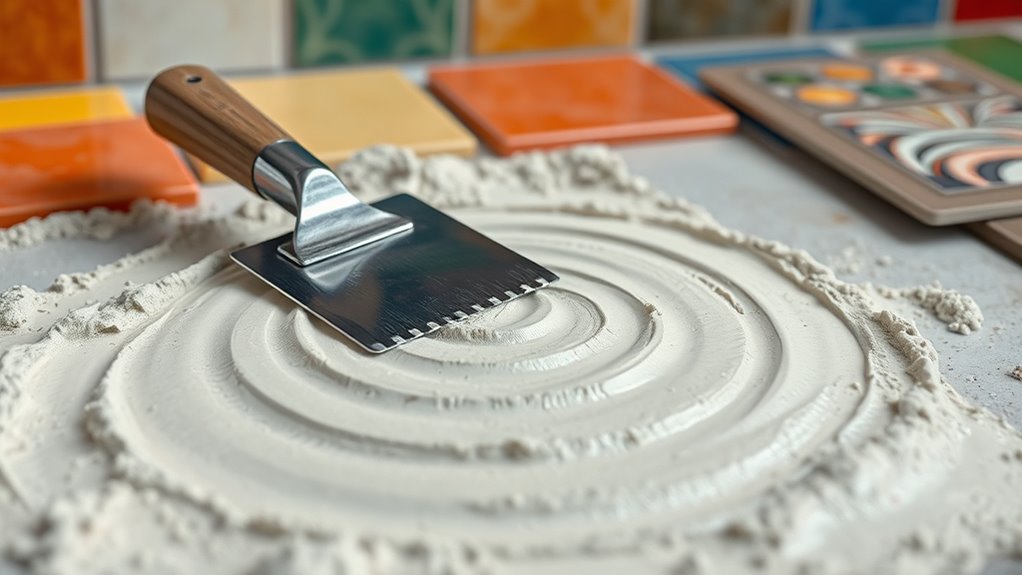
Before laying your tiles, you’ll need to mix thinset mortar to the right consistency, ensuring a strong bond between the floor and tiles. Achieving the proper thinset consistency is essential; it should be smooth, not too runny or stiff. Start by adding water to the mortar powder gradually, mixing thoroughly with a drill and paddle attachment. For effective mortar application, use a notched trowel to spread the thinset evenly on the subfloor. Keep these tips in mind:
- Mix small batches to maintain workability and prevent drying out.
- Apply thinset in sections to avoid it setting before tile placement.
- Comb the mortar with the trowel’s notches to create ridges, enhancing adhesion.
Mastering this step sets the foundation for a durable, beautifully tiled kitchen floor.
Lay the Tiles Carefully
Press each tile firmly into the thinset, aligning it carefully with your layout lines to maintain straight, even rows. Consistent tile alignment is critical to achieving a professional finish. Use tile spacers to enforce uniform spacing techniques, ensuring grout lines remain even throughout the floor. Check each tile’s position against adjacent tiles frequently, adjusting before the mortar sets. Avoid sliding tiles, as this can disrupt the mortar bed and cause uneven surfaces. Work methodically, completing one section at a time to maintain control over alignment and spacing. Keep a level handy to verify the tiles are flush and flat. By adhering to precise tile alignment and consistent spacing techniques, you’ll gain a seamless, durable surface that supports your freedom to create the kitchen floor you envision.
Cut Tiles to Fit Edges and Corners
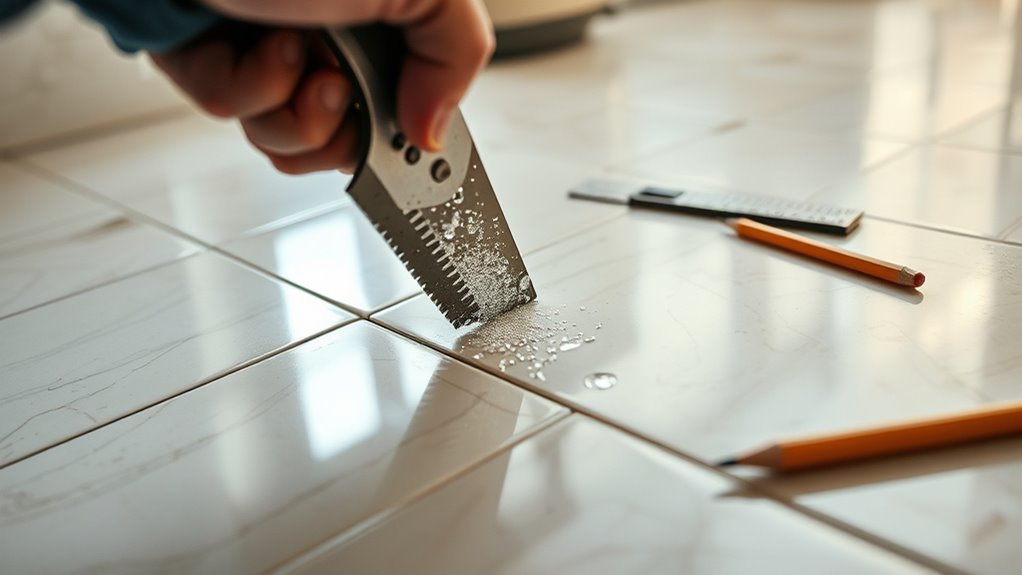
Once you’ve secured the full tiles in place, you’ll need to cut tiles to fit along edges and corners where full tiles won’t fit. Mastering tile cutting techniques is essential to maintain a clean, professional look. Start by measuring the space accurately and marking the tile with a pencil or grease pencil. Use a wet saw or tile cutter for precise cuts, especially around corners. Keep these corner fitting tips in mind:
- Score and snap for straight cuts on ceramic tiles.
- Use a tile nipper for small, irregular shapes near corners.
- Wear safety goggles and gloves to protect yourself during cutting.
Grout the Tiles and Clean Up
You’ll start by mixing the grout to a smooth, consistent texture without lumps. Next, apply the grout evenly between the tiles using a rubber float, pressing firmly to fill all gaps. Finally, clean off excess grout promptly with a damp sponge to prevent haze and guarantee a clean finish.
Mixing Grout Properly
Although mixing grout seems straightforward, achieving the correct consistency is essential for a durable and even finish. Start by choosing the right grout color selection that complements your tiles and kitchen aesthetic. Next, focus on grout consistency—too thick, and it won’t fill joints properly; too thin, and it’ll slump or wash out.
Keep these tips in mind when mixing:
- Gradually add water to the grout powder, stirring constantly for a smooth, peanut butter-like texture.
- Allow the grout to slake (rest) for 5-10 minutes, then remix before use.
- Avoid adding excess water after mixing, as it weakens the grout’s strength and color integrity.
Mastering these steps sets you up for a lasting, professional-looking tile job.
Applying Grout Evenly
Before the grout begins to set, you need to apply it evenly across the tile joints using a rubber float held at a 45-degree angle. Employ grout application techniques that push the grout firmly into gaps, preventing air pockets. Choose grout color selection carefully to complement your tiles and kitchen aesthetics. Work in small sections to maintain control and consistency. Use the float’s edge to scrape off excess grout, keeping joints smooth and uniform.
| Grout Application Techniques | Grout Color Selection |
|---|---|
| Hold float at 45-degree angle | Match grout to tile hues |
| Press grout into joints firmly | Consider contrast or blend |
| Work in small, manageable areas | Factor in kitchen lighting |
Mastering these guarantees a durable, visually appealing kitchen floor you’ll enjoy freely.
Cleaning Excess Grout
Wipe away excess grout from the tile surfaces promptly to prevent it from hardening and becoming difficult to remove. Effective grout cleaning techniques are vital to maintain a crisp finish and prevent grout stains. Start by lightly dampening a sponge to clean the tiles without disturbing grout lines. Follow these steps for best results:
- Use a clean, damp sponge to wipe excess grout in circular motions.
- Rinse the sponge frequently with clean water to avoid spreading grout residue.
- After initial cleaning, polish the tiles with a dry cloth to remove grout haze.
Timely and precise grout cleaning techniques guarantee your floor looks flawless while preventing grout stains that can mar your kitchen’s freedom-inspired style. Stay sharp and efficient in your cleanup for a professional, clean finish.