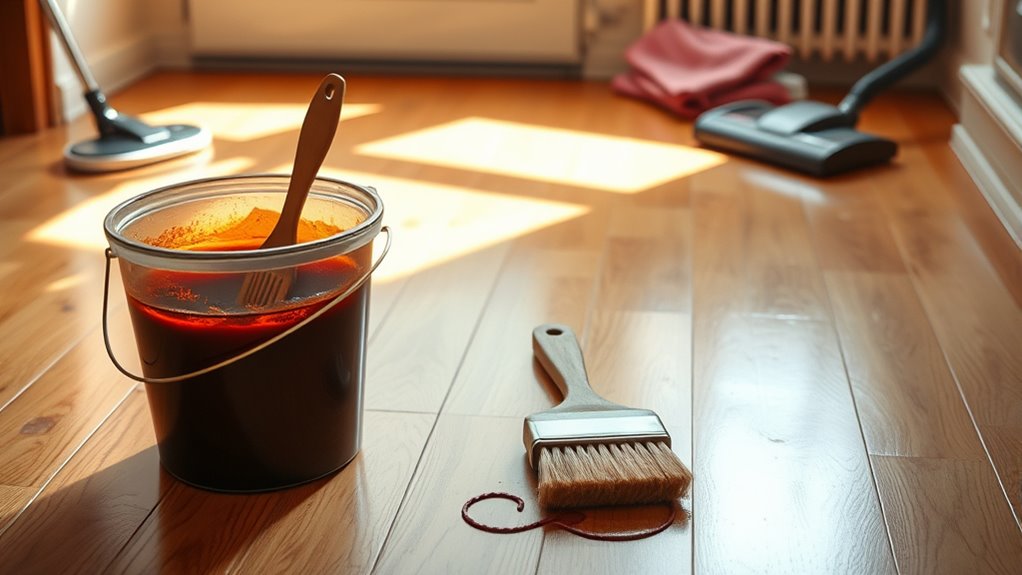
You’ll start by gathering the right materials—wood stain, sandpaper, applicators, and sealants. Clear and clean your floor thoroughly, removing all dust and debris. Sand the wood progressively with coarser to finer grits for a smooth surface, then clean again. Apply a wood conditioner to guarantee even stain absorption. Next, stain in thin, even coats with the grain, wiping off excess. Finally, seal with a durable finish to protect your work. Understanding these basics prepares you to achieve a professional result.
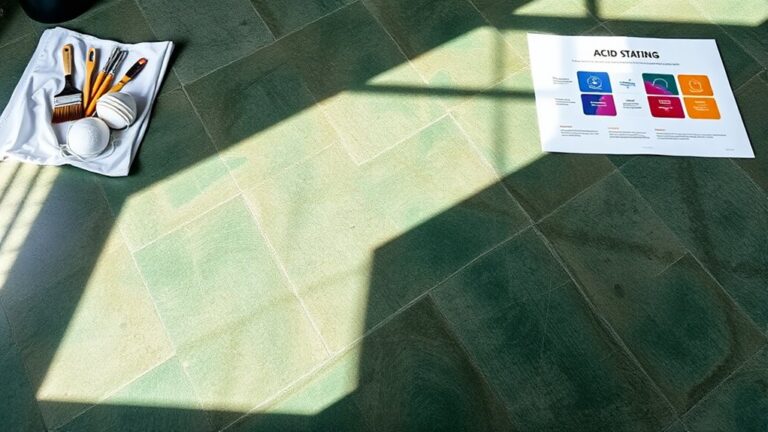
Gather Your Materials and Tools
Before you begin staining your sol, you’ll need to gather all essential materials and tools to guarantee a smooth process. Start with the right flooring materials—select a wood type compatible with your chosen stain to guarantee ideal absorption and appearance. Next, choose quality staining techniques suited for your project: apply with a brush for precision or a rag for smooth, even coverage. Essential tools include sanding equipment to prep surfaces, stain applicators, protective gloves, and a respirator mask for safety. Also, have clean cloths and sealants ready for finishing. By assembling these precise materials and tools upfront, you’ll maintain control and freedom throughout the staining process, avoiding interruptions and achieving professional results efficiently. This preparation is key to mastering floor staining techniques with confidence and ease.
Prepare the Floor Surface
Once you’ve gathered your materials, you’ll need to thoroughly prepare the floor surface to guarantee the stain adheres properly. Start by removing all furniture and debris, then apply effective surface cleaning methods to eliminate dust, grease, and any residues. Use a vacuum followed by a damp mop with a mild detergent solution for thorough cleaning. Employ appropriate floor preparation techniques such as inspecting for damage or old finish remnants. Address any imperfections with suitable fillers or cleaners designed for wood. Confirm the floor is completely dry before proceeding. Proper floor preparation techniques prevent uneven staining and enhance durability, giving you control over the finish quality. Taking these steps lets you stain confidently, achieving a flawless, long-lasting result that matches your vision for freedom in your space.
Sand the Wood for a Smooth Finish
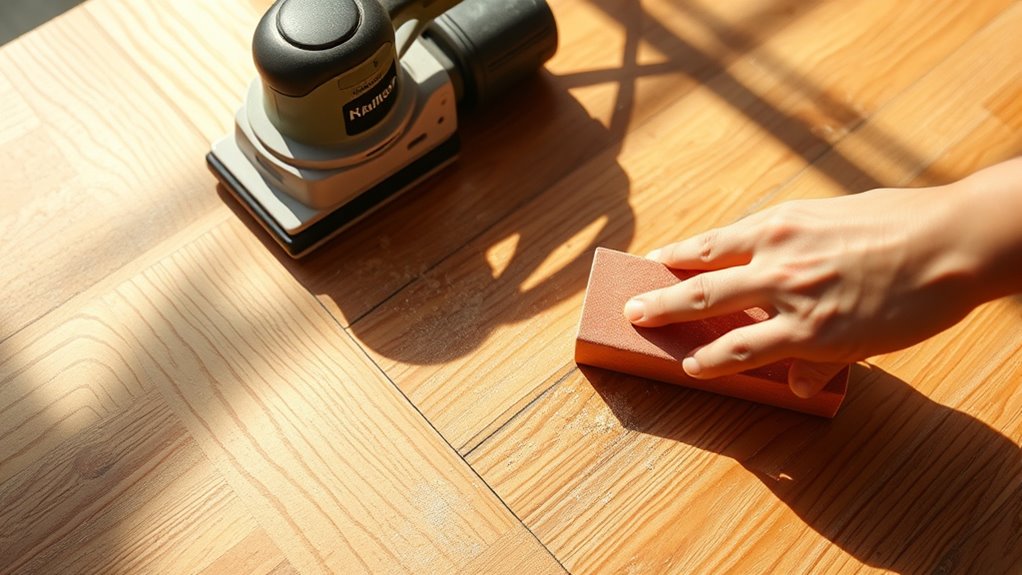
You’ll need to select the proper sandpaper grit to avoid damaging the wood while achieving a smooth finish. Use consistent, overlapping strokes with the sander to guarantee even sanding across the floor. Finally, thoroughly remove all dust to prevent imperfections in the stain’s absorption.
Choosing the Right Grit
Selecting the right sandpaper grit is essential for achieving a smooth, even surface that accepts stain uniformly. Your grit selection directly impacts sanding benefits, influencing how well the wood preps for staining. Start with a coarser grit, around 60-80, to remove old finishes and level imperfections. Then, progress to medium grit, 100-120, to smooth the surface further without scratching it deeply. Finally, finish with fine grit, 150-180, to refine the wood’s texture, ensuring the stain penetrates evenly and highlights the grain. Choosing grits outside this range risks uneven absorption or surface damage, limiting your freedom to achieve a flawless finish. Stick to this sequence for controlled sanding benefits, and you’ll set the foundation for a professional-looking stained floor.
Sanding Technique Tips
Although sanding might seem straightforward, mastering the correct technique is crucial for achieving a smooth, even finish that allows stain to penetrate uniformly. Begin with the appropriate grit selection, starting coarse enough to remove imperfections but fine enough to avoid deep scratches. Progress systematically through finer grits, typically from 80 to 120 or 150, depending on your wood type. Apply even pressure and move the sander with the grain, never against it, to prevent surface damage. Avoid lingering too long in one spot to maintain a level surface. Use consistent, overlapping passes to guarantee uniform abrasion. Proper sanding techniques not only prepare the wood but also enhance the stain’s absorption and final appearance, giving you the freedom to achieve professional results with confidence.
Dust Removal Methods
Once sanding is complete, removing dust thoroughly is essential to guarantee a flawless stain application. You’ll want to start with a high-efficiency dust collection system attached to your sander; this captures the majority of debris at the source, minimizing airborne particles. Next, use a vacuum equipped with a HEPA filter to eliminate residual dust from the floor surface and surrounding areas. After vacuuming, wipe the floor with a slightly damp microfiber cloth to pick up any fine particles left behind. For ultimate cleanliness, consider running an air filtration unit in the room during and after sanding to reduce airborne dust continuously. These methods guarantee your wood is free of contaminants, allowing the stain to adhere evenly and produce a smooth, professional finish.
Clean the Floor Thoroughly
You’ll need to remove all dust and debris left from sanding to guarantee a smooth stain application. Mop the floor with a cleaner suitable for your wood type to eliminate any residue that could interfere with absorption. Finally, make certain the floor is completely dry before moving on to staining.
Remove Dust and Debris
Before applying any stain, it’s essential to remove all dust and debris from the floor to guarantee a smooth, even finish. Proper cleaning techniques and dust prevention are vital to avoid imperfections in your stain job. Start by thoroughly vacuuming the entire surface to lift loose particles. Then, use a microfiber cloth or tack cloth to wipe away any remaining dust, ensuring the floor is perfectly clean. Pay special attention to corners and edges where debris tends to accumulate. Consider these key steps:
- Vacuum the floor with a brush attachment for deep particle removal
- Wipe the surface with a dampened microfiber cloth to catch fine dust
- Use compressed air or a soft brush to clear hard-to-reach areas
Following these steps will set a clean, dust-free foundation for your staining project.
Mop With Appropriate Cleaner
Select a cleaner specifically designed for your floor type to confirm effective removal of oils, residues, and remaining dust. Proper cleaner selection is critical; using the wrong product can leave residues that interfere with stain adherence. Employ proven floor cleaning techniques—dilute the cleaner as instructed, mop evenly, and avoid oversaturating the wood. This guarantees a pristine surface, free of contaminants, ready for staining.
| Cleaner Type | Compatibilité de surface | Impact émotionnel |
|---|---|---|
| pH neutre | Hardwood, Laminate | Confidence in results |
| Oil-based | Unfinished wood | Assurance of depth |
| Water-based | Sealed floors | Peace of mind |
| Enzymatic | Heavily soiled floors | Relief from residue |
| Eco-friendly | Sensitive surfaces | Freedom to choose |
Follow these cleaner selection tips for flawless preparation.
Ensure Complete Dryness
Although the floor may look dry, any lingering moisture can compromise stain absorption and finish quality. Ensuring complete dryness is essential before you proceed. Use effective drying techniques tailored to your environment and floor type. Monitor humidity levels closely—high humidity slows drying and risks uneven staining.
To guarantee dryness:
- Employ fans or dehumidifiers to accelerate moisture evaporation.
- Allow adequate drying time; don’t rush the process, especially in humid conditions.
- Conduct a moisture test using a damp cloth; if it darkens the floor, drying isn’t complete.
Apply the Wood Conditioner
Apply the wood conditioner evenly across the floor to guarantee consistent stain absorption. This step is essential for preventing blotchy results and enhancing wood conditioner benefits like sealing soft grain sections and promoting uniform color. Use a brush or cloth, applying thin, even coats following the grain direction. Avoid puddles or thick spots.
| Avantage | Application Technique |
|---|---|
| Prevents blotching | Apply thin, even coats |
| Enhances uniformity | Follow wood grain |
| Seals soft grain | Use brush or cloth |
| Improves stain absorption | Avoid puddles |
| Saves time | Allow proper drying time |
Master these application techniques to maintain control, ensuring your stained floor reflects your freedom to create flawless finishes.
Stain the Floor Evenly
Once the wood conditioner has dried thoroughly, you’ll want to stain the floor evenly to achieve a consistent color and finish. Proper stain application guarantees uniform penetration and prevents blotches or streaks. To maintain even coverage, follow these key steps:
- Work in small sections, applying stain with a clean cloth or brush in the wood grain direction.
- Wipe off excess stain promptly to avoid uneven dark spots or pooling.
- Maintain a wet edge by overlapping strokes slightly; this prevents lap marks and color inconsistencies.
Seal the Floor for Protection
Even stain application sets the foundation for a flawless finish, but protecting that finish is equally important. Sealing your floor safeguards against wear, spills, and UV damage. Choosing the right sealing option guarantees durability while maintaining your floor’s natural beauty. Follow these floor maintenance tips to extend its lifespan and keep it looking fresh.
| Sealing Option | Durabilité | Application Notes |
|---|---|---|
| Polyurethane | Haut | Requires multiple coats |
| Water-Based | Modéré | Low odor, quick drying |
| Oil-Based | Très élevé | Enhances grain, longer cure |
| Wax | Faible | Easy touch-ups, less durable |
Select a sealant based on your environment and traffic. Proper sealing empowers you with freedom from frequent refinishing.