
To stagger Pergo flooring in five easy steps, first prepare your workspace and gather materials. Measure and cut the first row of planks precisely. For the second row, start with a plank cut to offset joints by 6 to 12 inches from the first row, ensuring the tongue and groove align. Continue staggering each subsequent row by alternating plank lengths and maintaining consistent offsets. Finally, inspect the installation for tight joints and gaps. Following this, you’ll better understand how to achieve a flawless staggered pattern.
Prepare Your Workspace and Materials
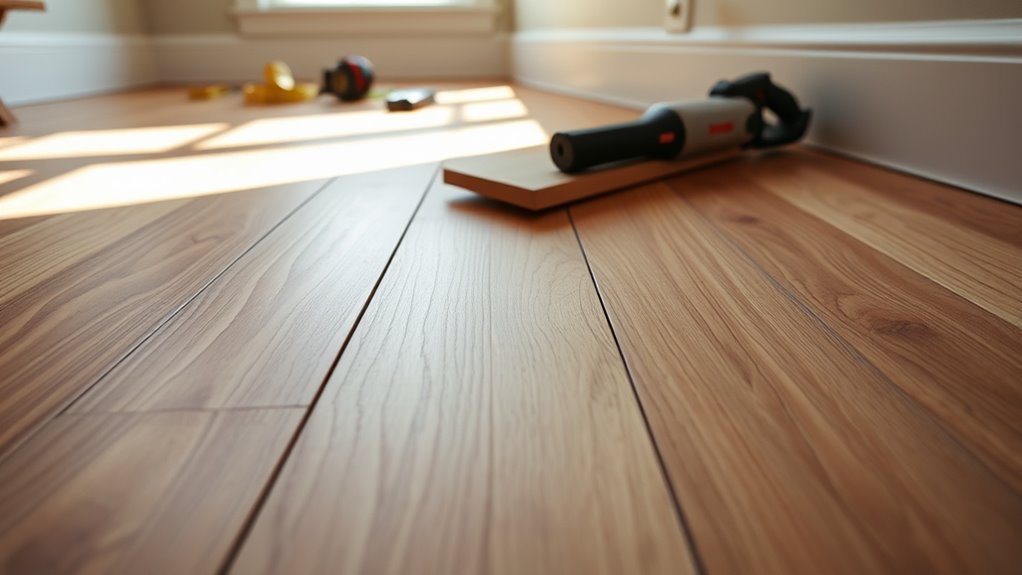
Before you begin installing Pergo sol, make certain your workspace is clean, dry, and well-lit to avoid any errors during the process. Effective workspace organization is essential; arrange tools and materials logically to streamline workflow and reduce distractions. Select materials carefully—ensure you have the correct Pergo planks, underlayment, spacers, and appropriate adhesive if required. Confirm the flooring type matches your subfloor and room conditions to prevent future issues. Keep planks acclimated in the room for at least 48 hours to stabilize moisture content. Proper material selection and a well-organized workspace empower you to install with precision and minimal interruption, granting you the freedom to focus on achieving a flawless staggered pattern in your Pergo flooring.
Measure and Cut the First Row of Planks
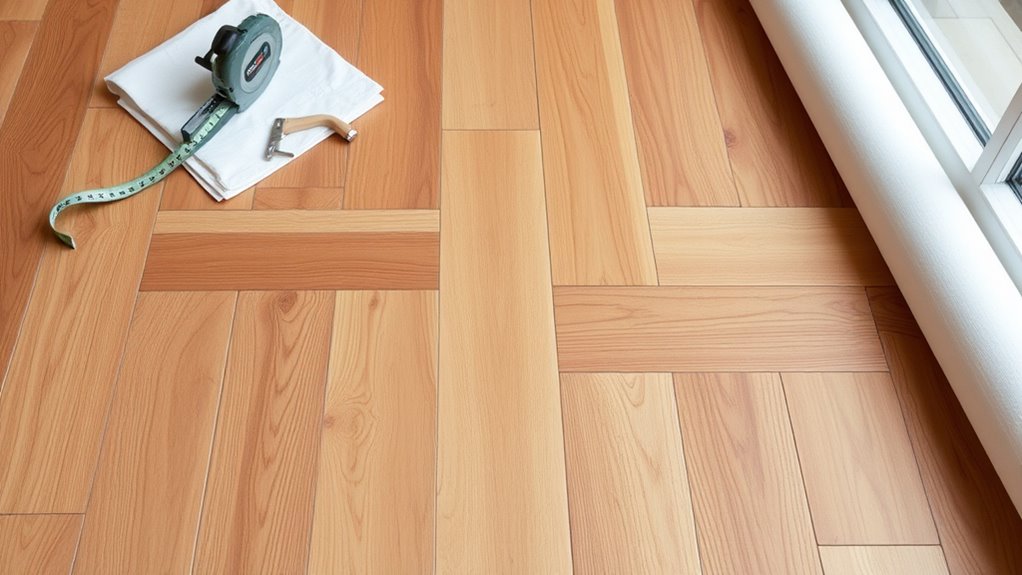
Start by measuring the length of the wall where you’ll lay the first row of Pergo planks. Use a tape measure to accurately measure plank lengths, ensuring you account for any irregularities along the wall. Mark your measurements clearly on the plank using a pencil. When cutting, use a saw suitable for laminate flooring to cut straight edges; a miter saw or circular saw works best for precision. Place the plank firmly on a stable surface before cutting to avoid movement that could cause uneven edges. Cutting straight edges is essential for a tight fit and seamless appearance. Double-check measurements before each cut to minimize waste and maintain the staggered pattern’s integrity. Accurate measuring and cutting set the foundation for a professional-looking installation.
Start the Second Row With a Staggered Plank
One effective approach to laying the second row is to begin with a plank cut to a specific length that staggers the joints from the first row. This staggered layout prevents alignment of end joints, enhancing both structural integrity and aesthetic appeal. Measure the length needed by guaranteeing the cut plank’s end joint falls at least 6 to 12 inches away from the first row’s joint. Maintain consistent plank orientation by aligning the tongue and groove properly for a secure fit. Position the cut plank carefully, locking it into place before proceeding. This method guarantees stability and reduces the risk of weak points. By precisely controlling plank orientation and staggered layout, you’ll achieve a seamless, durable flooring installation that offers freedom from alignment errors.
Continue Staggering Subsequent Rows
Each subsequent row should continue the staggered pattern by ensuring that end joints are offset at least 6 to 12 inches from those in the previous row. This offset prevents alignment of seams, which enhances the floor’s structural integrity and aesthetic appeal. When laying each plank, measure carefully and adjust cuts as needed to maintain consistent staggered patterns throughout the installation. Avoid repeating the same joint placement in adjacent rows to reduce weaknesses and visible seams. A solid approach is to alternate plank lengths and start points methodically. Keep these installation tips in mind: maintain tight joints, verify plank alignment, and use spacers for consistent gaps at walls. By rigorously following this method, you’ll achieve a durable, visually appealing Pergo floor that offers both freedom in design and lasting performance.
Inspect and Finish the Installation
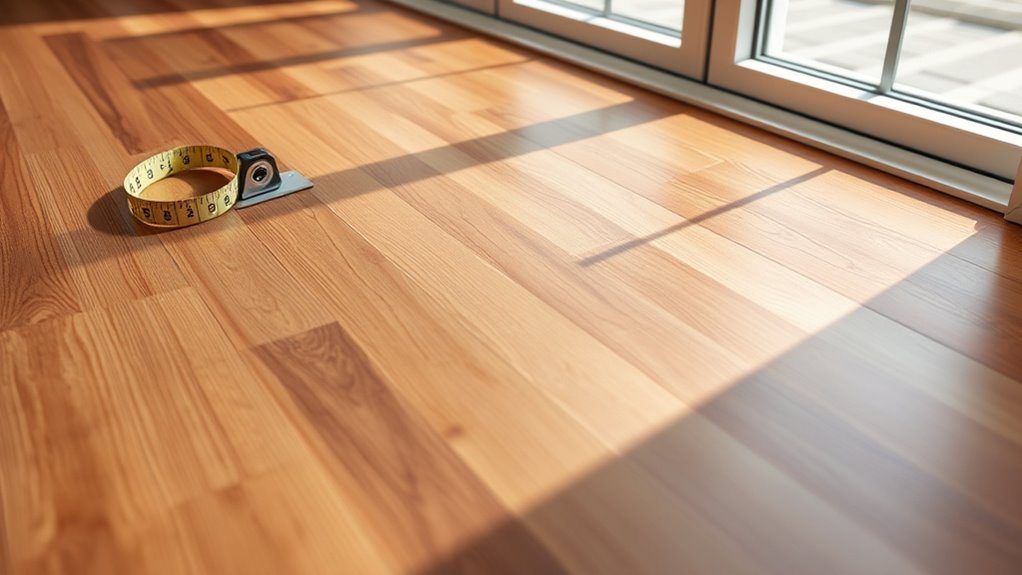
Carefully inspect the entire Pergo floor for any gaps, misaligned planks, or uneven surfaces before completing the installation. Conduct a thorough installation inspection by checking each row’s alignment and confirming all planks securely lock together. Address any minor gaps with a tapping block and mallet to maintain the staggered pattern’s integrity. Once satisfied, proceed with the final touches: trim expansion gaps with baseboards or quarter-round molding to allow natural floor movement. Clean the surface to remove dust or debris, preventing scratches or damage. Finally, verify that all connections to other flooring types are smooth and secure. Following these precise steps guarantees your Pergo flooring is both durable and visually seamless, granting you the freedom to enjoy a flawless, professional finish.