To replace your camper floor in three simple steps, first remove the old flooring by clearing furniture and prying up vinyl, laminate, or carpet carefully. Next, inspect and prepare the subfloor—repair any damage, sand uneven areas, and install a tight moisture barrier. Finally, cut and fit your new flooring, applying adhesive evenly and pressing it securely to prevent moisture issues. Keep following for detailed guidance to guarantee a durable, professional-quality finish.
Remove the Old Flooring
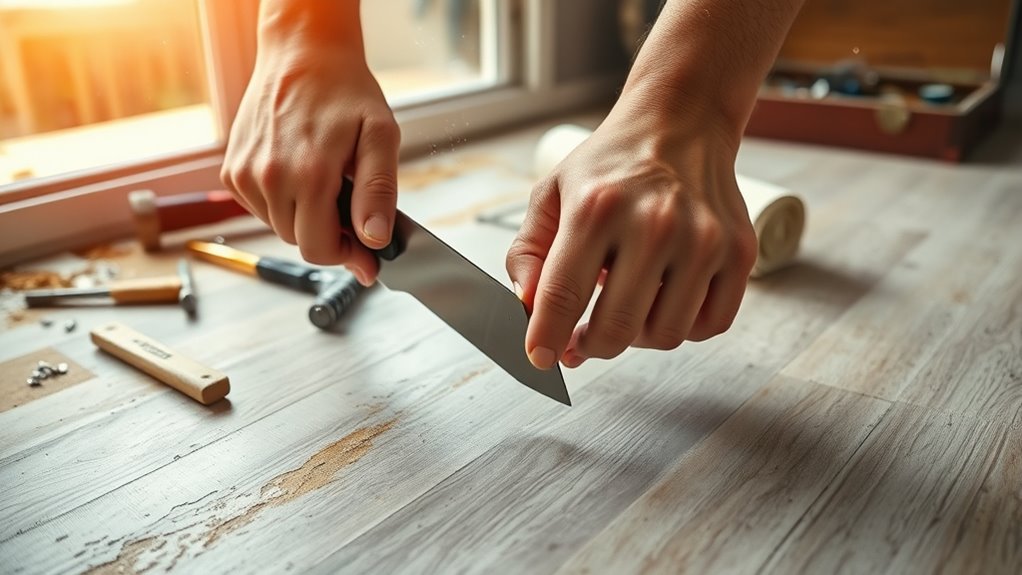
Before you begin removing the old sol, make certain the camper is clean and free of any furniture or fixtures that might obstruct your work. Start by evaluating the type of flooring materials installed—vinyl, laminate, or carpet—to determine the appropriate removal techniques. Use a utility knife to score vinyl or laminate, then carefully pry up edges with a flat bar. For carpet, cut manageable sections with a utility knife and pull them up along with the padding underneath. Remove any adhesive residue using a scraper or adhesive remover to guarantee a smooth surface. Take care not to damage the subfloor beneath as you work. Employ protective gloves and eye protection for safety. Following these precise removal techniques will prepare you for a seamless replacement process, releasing your camper’s potential for freedom on the road.
Préparer le sous-plancher
A clean, level subfloor is essential for a durable and even camper floor installation. Start by thoroughly inspecting the subfloor materials for damage or rot, replacing any compromised sections with plywood or marine-grade panels suited for moisture resistance. Sand down uneven spots to create a flat surface, ensuring the new floor lies perfectly. Next, install a moisture barrier over the subfloor to protect against water infiltration and prolong the floor’s lifespan. Choose a vapor-retardant material compatible with your camper’s environment, securing it tightly to prevent gaps. Proper preparation of the subfloor not only guarantees structural integrity but also supports your freedom to travel without worry about hidden floor issues. Take your time here—precision now saves headaches later.
Install the New Flooring
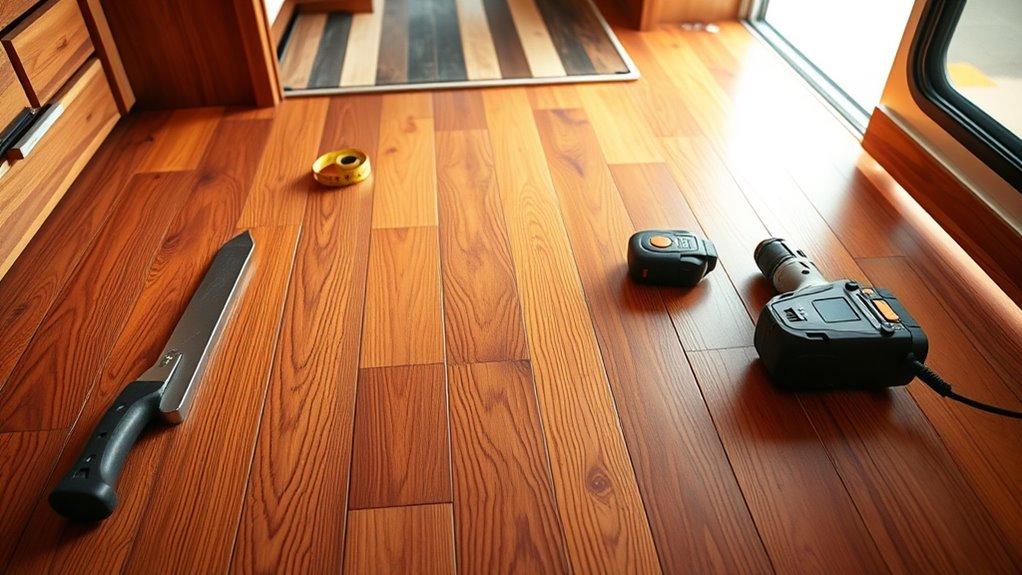
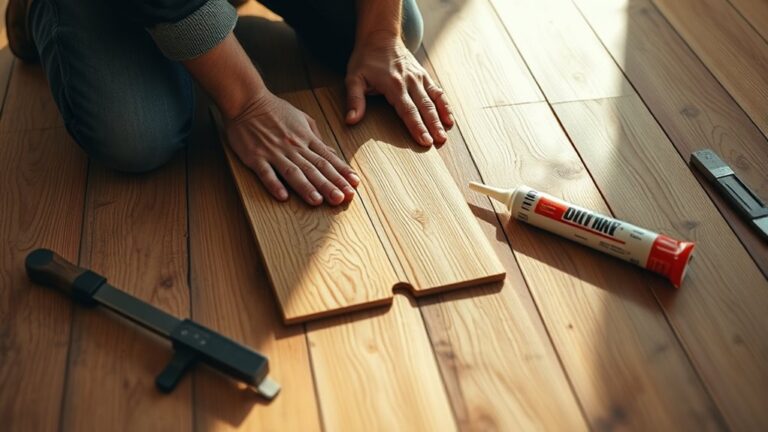
Begin by measuring and cutting your flooring material to fit the camper’s dimensions accurately. Choose from various flooring options like vinyl, laminate, or plywood based on durability and ease of installation. Apply adhesive evenly to the subfloor, then carefully lay the cut pieces, guaranteeing tight seams and alignment. Use installation techniques such as rolling or pressing to secure the flooring. Trim excess edges and seal joints to prevent moisture intrusion.
| Flooring Option | Durabilité | Installation Technique |
|---|---|---|
| Vinyle | Haut | Adhesive + Rolling |
| Stratifié | Modéré | Click-lock + Pressing |
| Contre-plaqué | Variable | Screw down + Sealing edges |
| Bois d'ingénierie | Moderate-High | Glue down + Rolling |
Proper installation guarantees a resilient floor that supports your freedom on the road.