To remove ceramic tile flooring in 3 easy steps, first clear your workspace and gather safety gear like goggles, gloves, and a dust mask. Next, carefully break and pry up the tiles using a hammer and chisel, working slowly to avoid damaging the subfloor. Finally, scrape off any leftover adhesive and inspect the subfloor for damage. Taking your time and prioritizing safety will make the job easier and cleaner. Keep going to discover tips on protecting your floor and handling tough tiles.
Prepare Your Workspace and Gather Tools
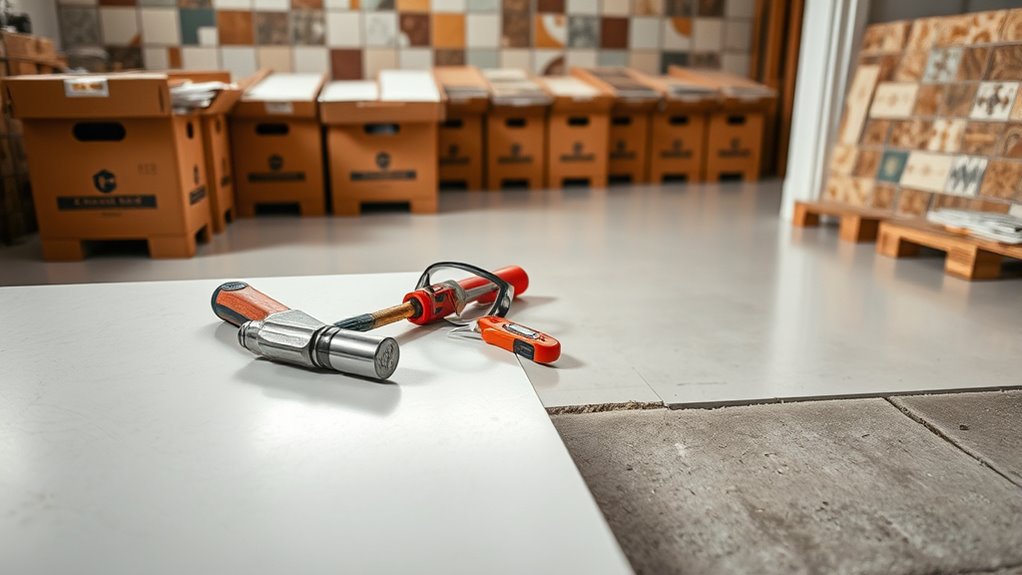
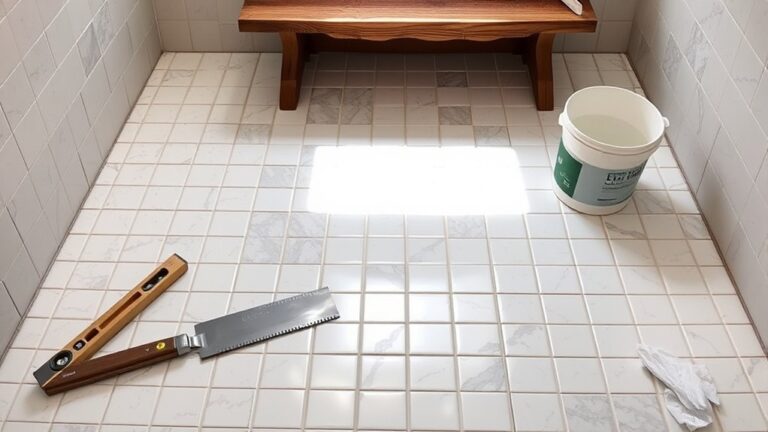
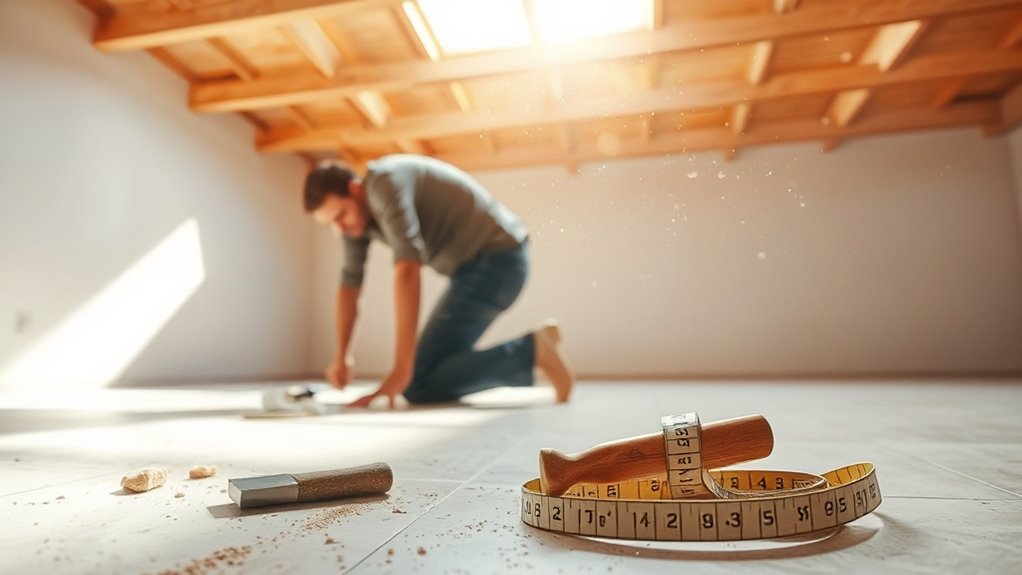
Before you begin removing ceramic tile sol, make certain you clear the area completely and gather all necessary tools to work efficiently and safely. Start by removing furniture and anything that could obstruct your movement. Lay down drop cloths to protect surrounding surfaces and improve workspace safety. Organize your tools—like a hammer, chisel, pry bar, safety goggles, gloves, and a dust mask—in one accessible spot to avoid unnecessary trips. Keep a trash bin nearby for debris to maintain a clean, hazard-free area. Proper tool organization not only speeds up your work but also reduces the risk of accidents. Taking these steps guarantees you have the freedom to move confidently and focus on the task ahead without distractions or hazards.
Break and Remove the Ceramic Tiles
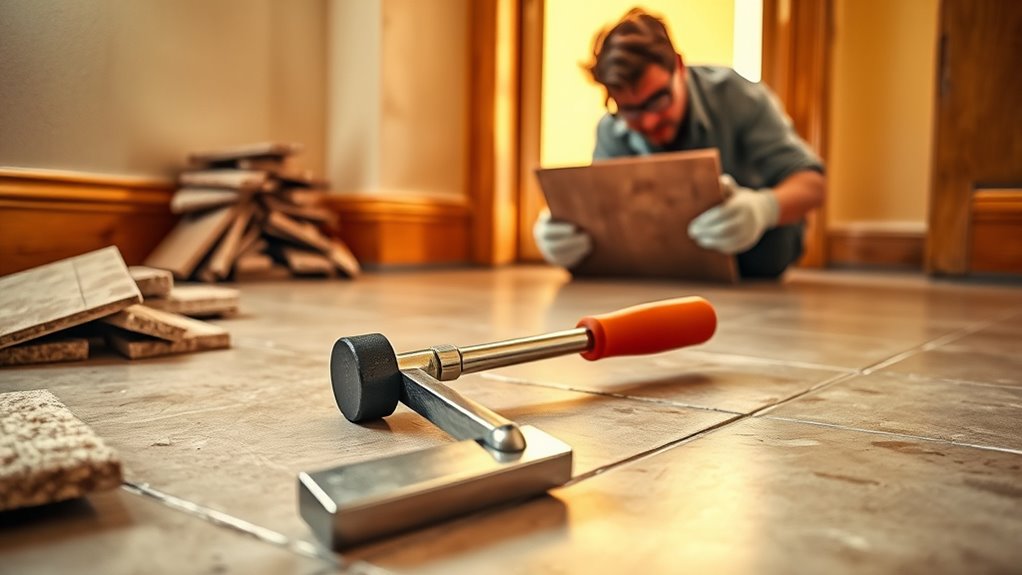
With your workspace set and tools ready, you can start breaking and removing the ceramic tiles. Begin by wearing safety goggles and gloves to protect yourself from sharp shards—these safety precautions are essential. Use a hammer and chisel to carefully tap under the edge of a tile, applying steady pressure. Employ tile breaking techniques like scoring the tile surface before prying to control breakage and minimize dust. Work slowly, removing tiles one at a time, and keep debris contained for easy cleanup. If tiles are stubborn, try using a pry bar for extra leverage, but be cautious not to damage the subfloor beneath. Taking your time and following these tile breaking techniques will make the process smoother and keep you safe throughout.
Clean and Inspect the Subfloor
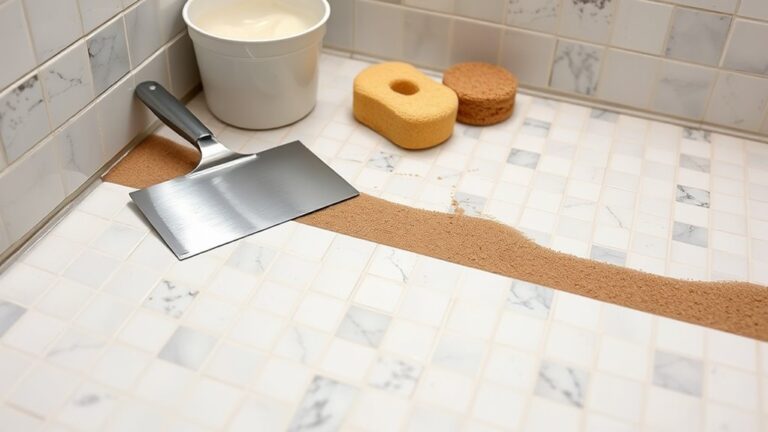
Once you’ve removed all the ceramic tiles, you’ll need to thoroughly clean the subfloor to remove any leftover adhesive, grout, and debris. Use a scraper or adhesive remover to tackle stubborn tile adhesive, making certain the surface is smooth. Carefully inspect the subfloor for damage like cracks or rot, which can compromise your new flooring’s stability. Address any subfloor damage promptly to maintain a solid foundation.
| Tâche | Outil nécessaire | Safety Tip |
|---|---|---|
| Remove tile adhesive | Scraper, adhesive remover | Wear gloves and mask |
| Sweep debris | Broom, vacuum | Avoid inhaling dust |
| Inspect subfloor | Lampe de poche | Look for cracks or softness |
| Repair damage | Wood filler or patch | Use proper ventilation |
| Final clean | Mop, mild cleaner | Make sure no residue remains |
Stay safe, and take your time for the best results.