To paint vinyl tile floors, start by cleaning the surface thoroughly and repairing any damage. Lightly sand the tiles, then wipe away dust. Apply a primer designed for vinyl to guarantee paint adhesion. Once dry, use durable sol paint or epoxy applied evenly with a roller or brush. Let the paint cure fully to avoid damage. You’ll also want to add a protective sealant for longevity. Keep going to discover expert tips on each step and maintenance for lasting results.
Gather Your Materials and Tools
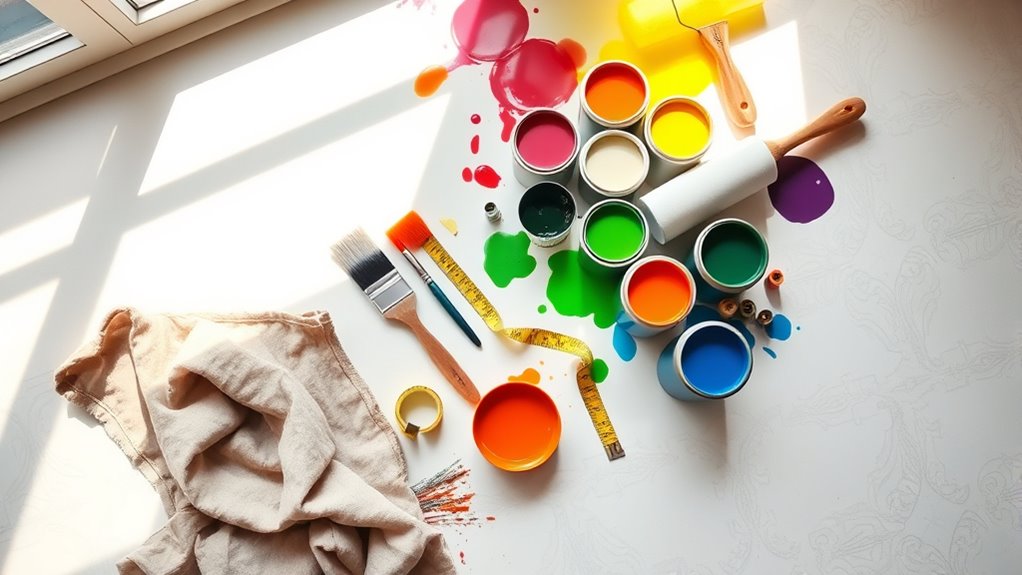
Before you begin painting your vinyl tile floors, you’ll need to gather a few essential materials and tools to guarantee a smooth and durable finish. Start by gathering tools such as a high-quality paint roller, angled brushes for edges, painter’s tape, a paint tray, and drop cloths to protect surrounding areas. Don’t forget a primer designed for vinyl surfaces and a durable floor paint or epoxy. When choosing colors, consider both your room’s lighting and your personal style to assure the color complements your space and expresses your freedom to customize. Opt for light shades to brighten or darker tones for a dramatic effect. Having all these tools and carefully selected colors ready will make your project efficient and satisfying, setting you up for a successful transformation.
Prepare the Vinyl Tile Surface
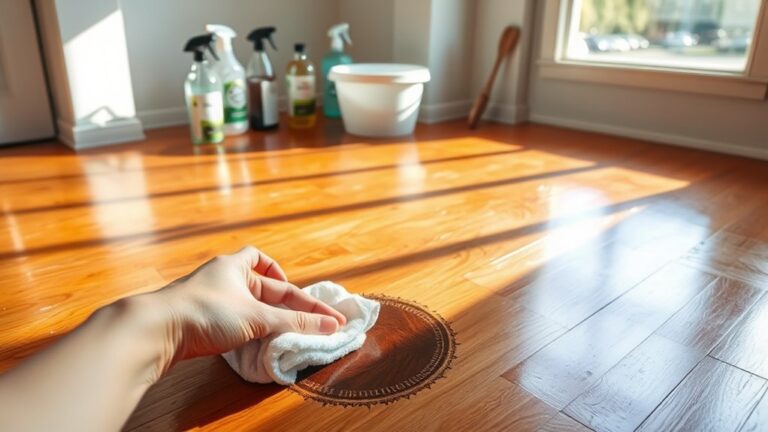
To prepare your vinyl tile surface properly, start by thoroughly cleaning the floor to remove dirt, grease, and any residues that could prevent paint adhesion. Next, inspect the vinyl tile for any cracks, chips, or loose tiles, and repair them to guarantee a smooth, even surface. Lightly sand the vinyl tile using fine-grit sandpaper to create a slightly rough texture, which improves paint bonding. Be sure to wipe away all sanding dust with a damp cloth. This surface preparation is essential for achieving a durable and long-lasting finish. Taking these steps guarantees your paint will stick well and resist wear, giving you the freedom to transform your space confidently. Proper surface preparation sets the foundation for a successful vinyl tile painting project.
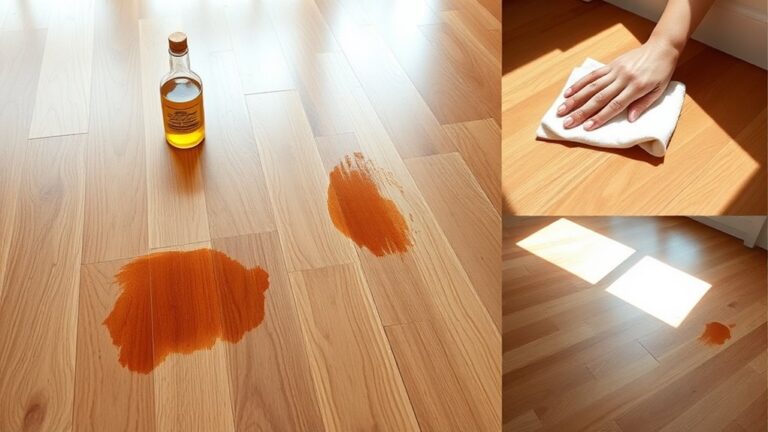
Clean and Dry the Floor Thoroughly
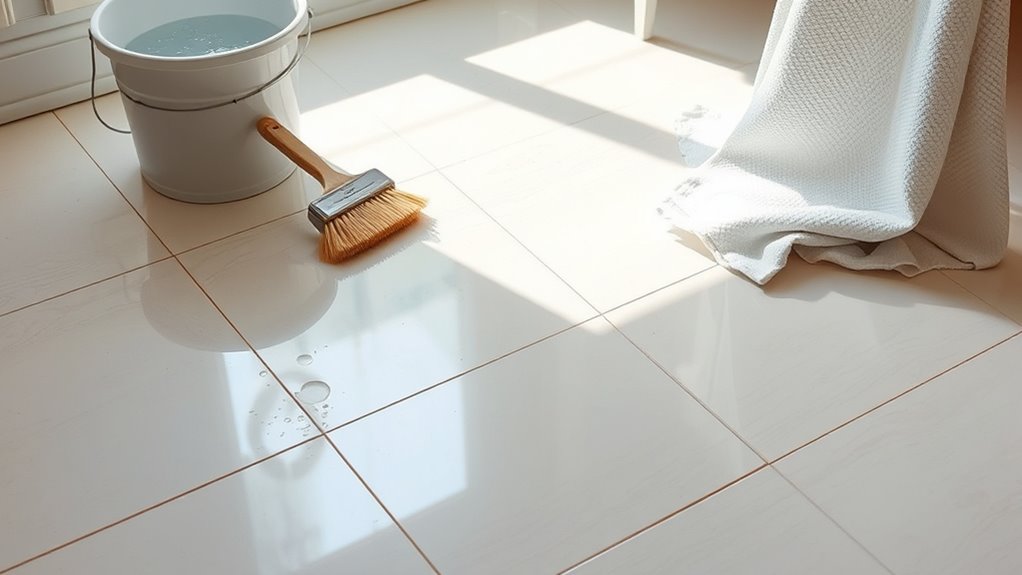
Since any moisture left on the vinyl tile can interfere with paint adhesion, you need to clean and dry the floor thoroughly before painting. Start by sweeping or vacuuming to remove loose dirt and debris. Next, use a mild detergent mixed with warm water for effective cleaning techniques—avoid harsh chemicals that can damage the vinyl. Scrub gently with a soft-bristle brush or mop, paying attention to grout lines and corners. Rinse with clean water to eliminate soap residue, which could affect paint grip. For drying methods, use a microfiber mop or towels to soak up excess water quickly. Allow the floor to air dry completely, or use a fan to speed up the process. Ensuring the floor is spotless and bone dry gives you the freedom to achieve a flawless paint finish.
Apply Primer Suitable for Vinyl
With the floor completely clean and dry, you’re ready to apply a primer designed specifically for vinyl surfaces. Choosing the right primer type is essential for vinyl adhesion, ensuring your paint lasts and resists peeling. Use a primer formulated for vinyl or plastic to create a strong bond.
Here’s a quick guide to primer types and their benefits:
| Primer Type | Avantages |
|---|---|
| Acrylic Bonding | Excellent adhesion, quick dry |
| Epoxy-Based | Durable, moisture resistant |
| Shellac-Based | Strong adhesion, blocks stains |
| Vinyl-Specific Primer | Tailored for vinyl’s smooth surface |
Apply the primer evenly with a roller or brush, avoiding puddles. Allow it to dry fully before painting. This step maximizes vinyl adhesion and sets the foundation for a flawless finish.
Choose and Apply the Right Paint
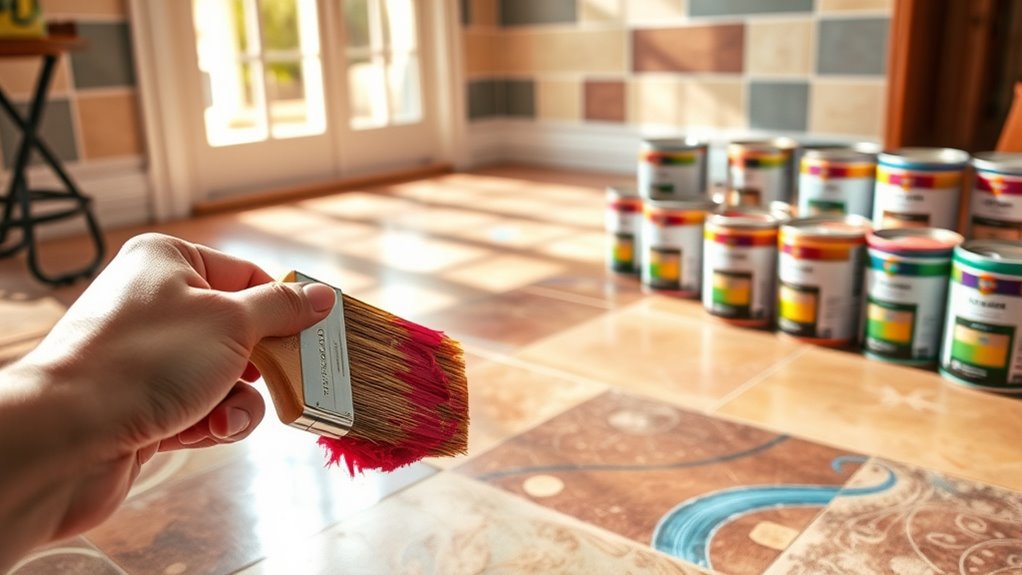
You’ll want to choose a paint specifically designed for vinyl or floors to guarantee durability and adhesion. Before applying, make certain to stir the paint thoroughly and pour it into a tray for easy use. Use smooth, even strokes with a brush or roller to achieve consistent coverage without streaks or bubbles.
Selecting Suitable Paint Types
Although vinyl tile floors can be tricky to paint, choosing the right type of paint is essential for a durable and attractive finish. To guarantee your floor looks great and lasts, consider these types of paint known for their paint durability:
- Epoxy Paint – Ideal for high-traffic areas, it bonds well and resists wear.
- Latex Paint – Easy to apply and clean, but requires a quality primer for durability.
- Acrylic Paint – Flexible and resistant to cracking, suitable for vinyl surfaces.
- Urethane-based Paint – Offers excellent durability and a tough finish.
Selecting one of these types of paint will give your vinyl tile floor the freedom to shine while standing up to daily use. Choose wisely to enjoy a lasting, beautiful result.
Preparing Paint for Application
Before you start painting, make sure you properly prepare your chosen paint to guarantee smooth application and lasting adhesion. Proper surface preparation is essential, so make certain the vinyl tiles are clean, dry, and free of debris. Choose paint types designed for vinyl or floors, such as epoxy or acrylic latex, which offer durability and flexibility.
| Paint Type | Surface Preparation Needed | Meilleure utilisation |
|---|---|---|
| Époxy | Clean, sand lightly | Zones à fort trafic |
| Acrylic Latex | Clean, prime if possible | Moderate-use rooms |
| Floor-Specific | Clean, follow manufacturer | Durable, flexible finishes |
Mix your paint thoroughly to avoid clumps and make sure of even color. Thin with water or recommended thinner if needed, following product instructions. This prep sets you up for a professional finish and long-lasting results.
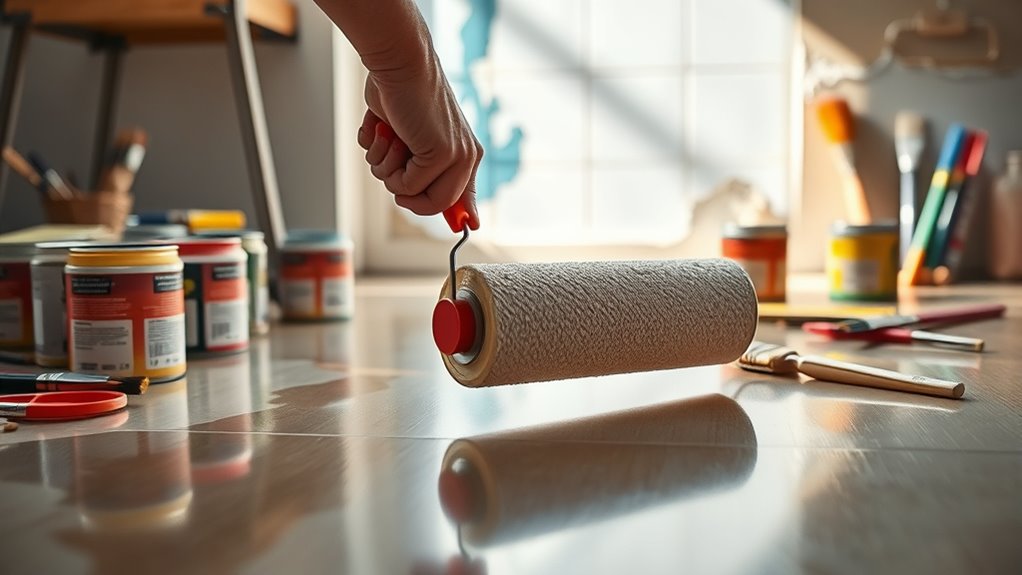
Techniques for Even Coverage
Selecting the right tools and techniques will help you achieve smooth, even coverage on your vinyl tile floors. Choosing quality paint designed for vinyl surfaces is key, but how you apply it makes all the difference. Follow these steps for best results:
- Use the brush technique to carefully cut in around edges and corners, ensuring paint reaches tight spots.
- Employ a roller application for large, flat areas to spread paint evenly and avoid streaks.
- Apply thin, consistent coats rather than heavy layers to prevent drips and pooling.
- Allow each coat to dry fully before applying the next to maintain a flawless finish.
Add a Protective Sealant
To protect your painted vinyl tile floor, you’ll need to choose the right sealant designed for durability and flexibility. Apply the sealant evenly using a foam roller or brush, ensuring full coverage without pooling. This step will help preserve your paint job and extend the floor’s lifespan.
Choosing the Right Sealant
Anyone looking to protect their freshly painted vinyl tile floors will want to choose a sealant that offers durability and moisture resistance. Selecting the right sealant type is essential for long-lasting results. Here’s what to take into account:
- Water-based polyurethane – Easy to apply, dries quickly, and provides good protection.
- Oil-based polyurethane – Offers stronger durability but takes longer to dry and has a stronger odor.
- Acrylic sealants – Provide flexibility and resist cracking, ideal for floors with slight movement.
- Epoxy sealants – Extremely durable and moisture resistant, though more complex in application.
Understanding these sealant types helps you pick the best one for your project. Keep in mind that each has specific application methods, so choose one that fits your skill level and desired finish.
Techniques d'application
Before you apply your chosen sealant, make certain the painted vinyl tile floor is completely dry and clean. This guarantees peak adhesion and durability. When selecting application methods, consider using a high-quality synthetic brush or a roller with a smooth nap to evenly cover the surface texture without leaving streaks. Apply the sealant in thin, consistent coats, allowing each layer to dry fully before adding the next. Avoid heavy application, which can cause bubbling or uneven finishes. For edges and corners, a small angled brush offers precise control. Proper application methods protect your hard work and enhance the floor’s longevity, giving you the freedom to enjoy a refreshed space without worrying about wear or damage. Always follow manufacturer instructions for best results.
Allow Proper Drying and Curing Time
Although it might be tempting to rush, you’ll need to let the paint dry and cure fully to guarantee a durable finish. Proper drying techniques and understanding the curing process are essential for a long-lasting vinyl tile floor. Here’s how to ascertain your paint sets perfectly:
Patience is key—allow paint to dry and cure fully for a durable, long-lasting vinyl tile finish.
- Keep the room well-ventilated to speed up drying and reduce fumes.
- Avoid heavy foot traffic for at least 24-48 hours after painting.
- Use a fan or dehumidifier to maintain consistent airflow and humidity.
- Allow a full curing time of 7 days before placing furniture or rugs.